Ed Nisley's Blog: Shop notes, electronics, firmware, machinery, 3D printing, laser cuttery, and curiosities. Contents: 100% human thinking, 0% AI slop.
The tiny sandblaster turns out to be a Badger 260 with miniature Propel threaded fittings on the air line:
Badger Propel air fitting – DIY cork washers
Foreseeing a Propel washer getting lost in the confusion, I punched a few from a cork sheet and trimmed them to half-thickness. The little brass hole punch isn’t good for more than a few whacks, but that’s all I needed. My cork is crumblier than theirs, but I got a few decent-looking washers and, with a bit of luck, won’t need any of them.
Maybe I should make a soft gasket from a thin plastic sheet?
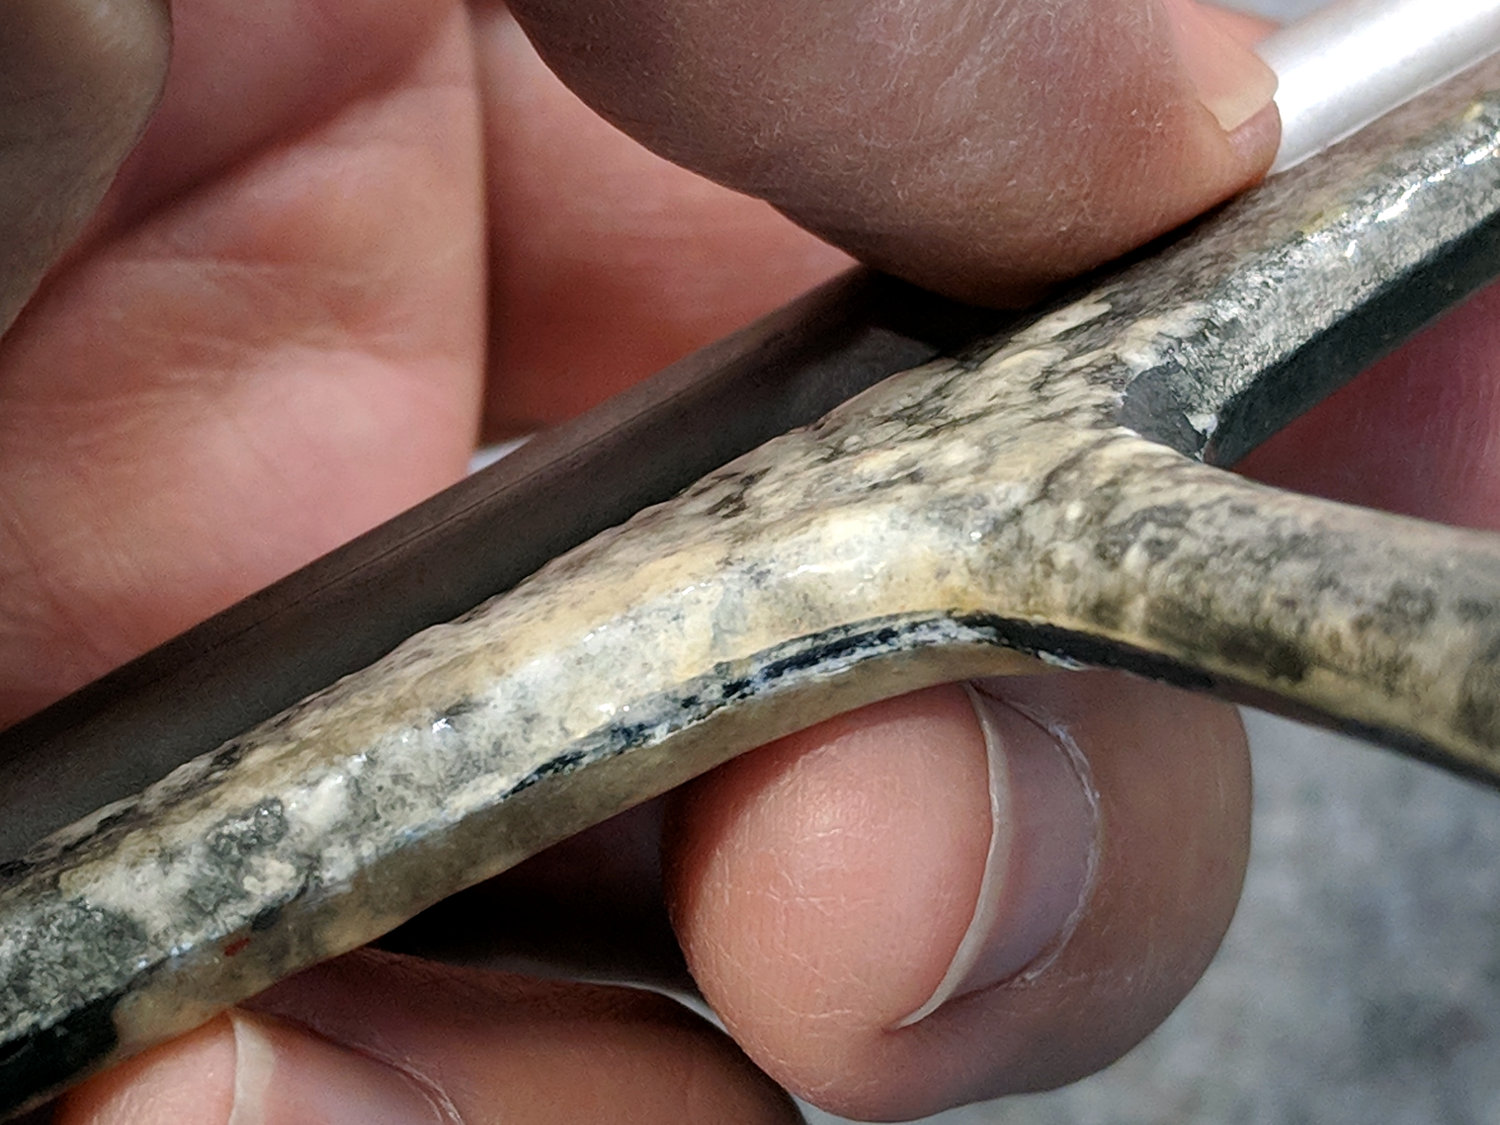
Most of the epoxy remains in good shape, but it’s obviously not the right hammer for this job.
Having recently spotted my tiny sandblaster, I think I can clear off the corrosion and epoxy well enough to try again with good old JB Weld epoxy. It’s not rated for underwater use, so I don’t expect long-term goodness, but it’ll be an interesting comparison.
Bonus: the slicer will start with a uniform gray surface!
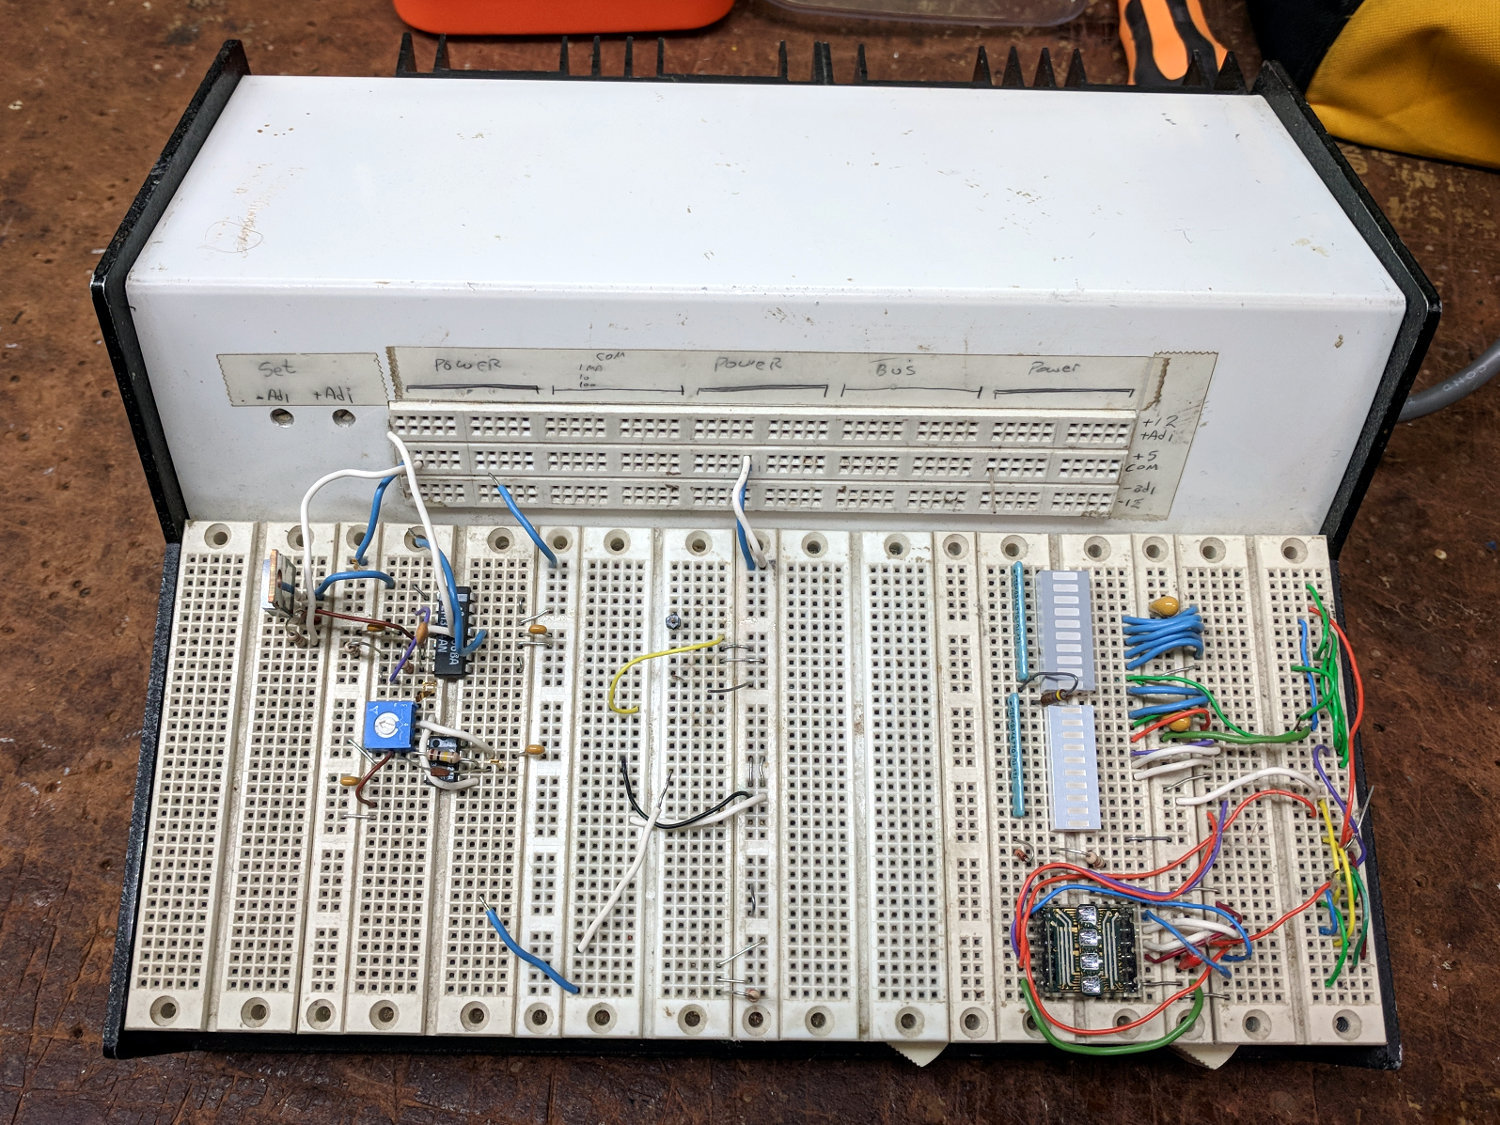
One of my very first projects, after setting up my very first home shop in our very first home, was building an overly elaborate prototype board with five (!) linear power supplies:
Proto Board – overview
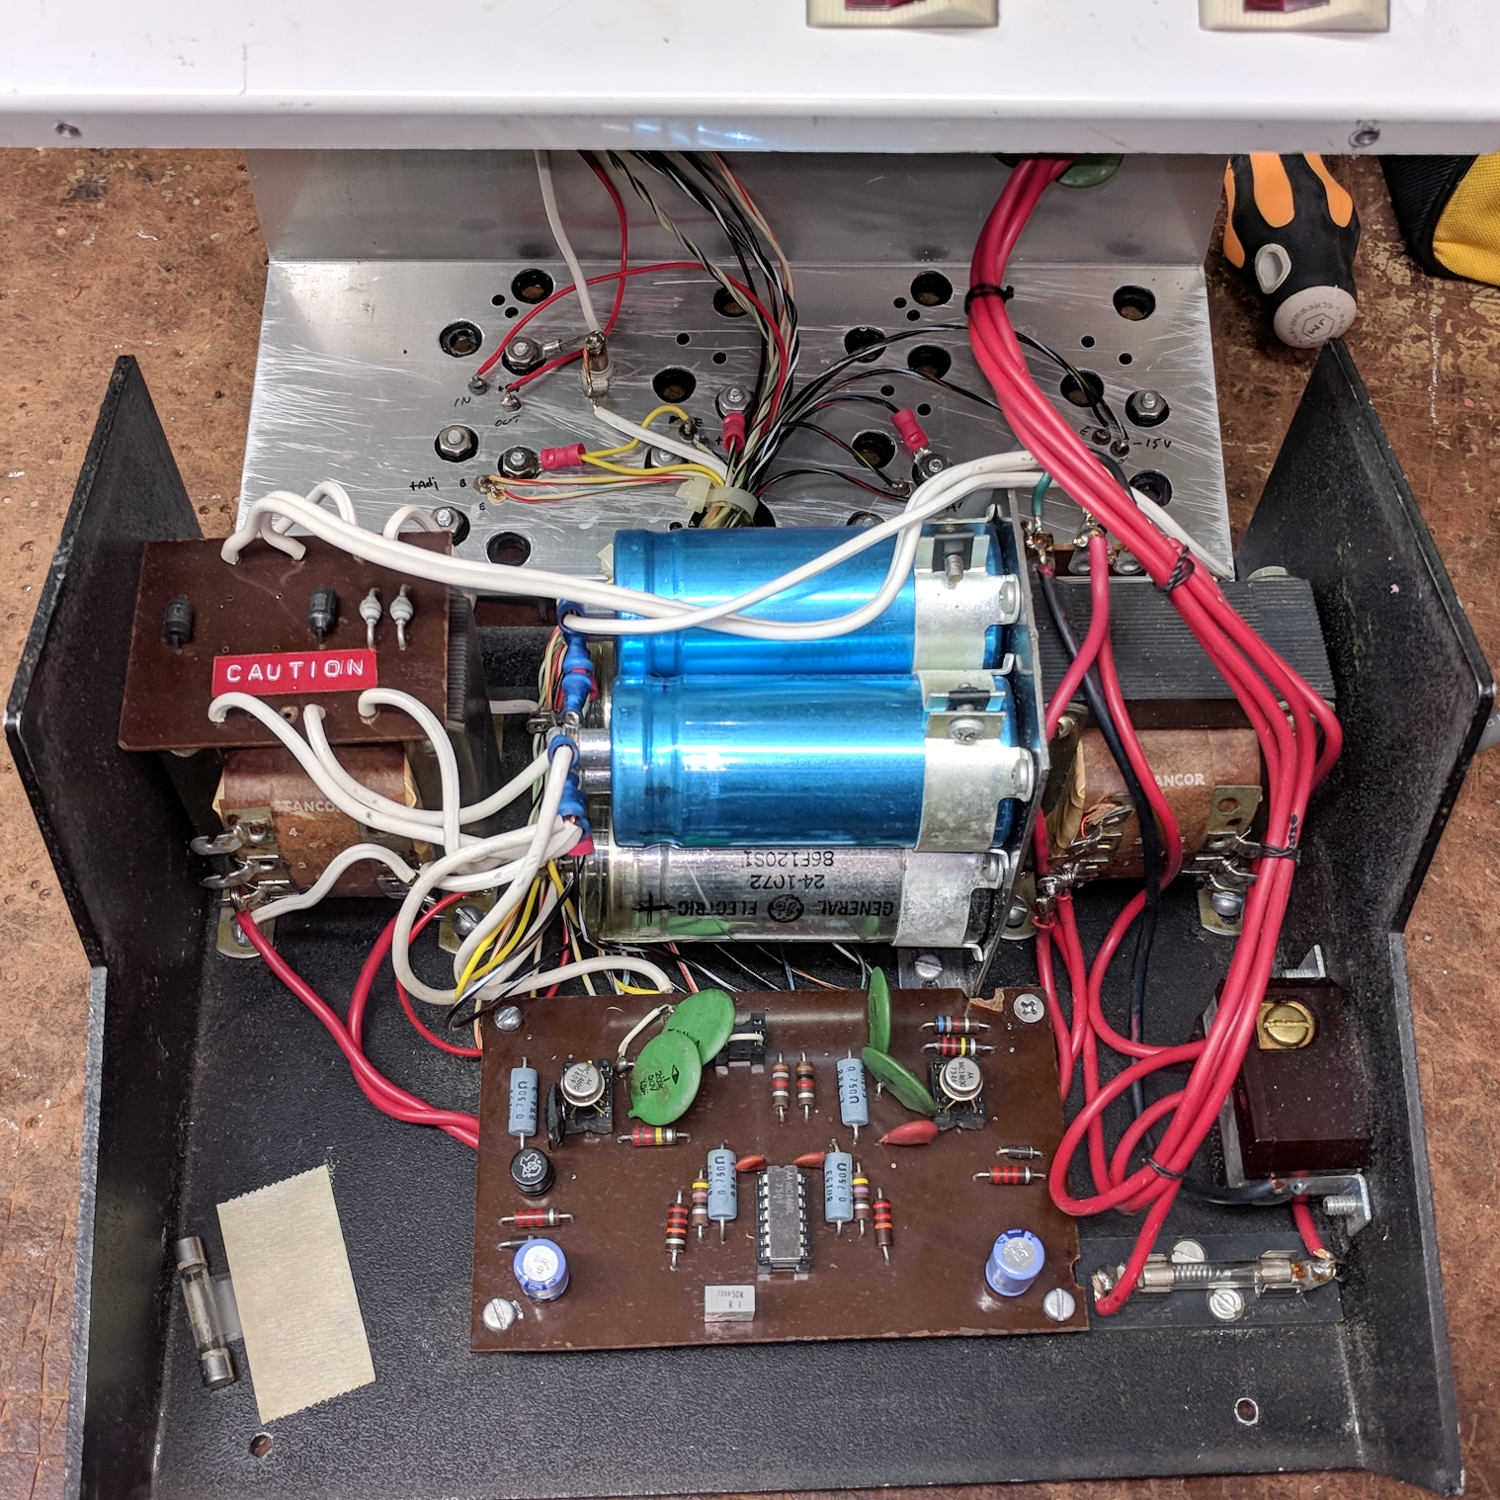
The components come from the mid-70s and the shop happened around 1980, so it’s been ticking along for nigh onto four decades. Of late, the supply voltages became erratic and I eventually popped the top:
Proto Board – innards
Yeah, linear pass transistor regulators driven from bulk cap storage, hand-hewn bridge rectifiers, and multi-tap transformers. Everything mounts on screws tapped into the 1/8 inch aluminum chassis, with power transistors on a huge finned heatsink attached to the rear panel. The thing weighs 11.6 pounds = 5.3 kg.
Not a trace of firmware to be found. Heck, surface-mount components hadn’t yet come into common use.
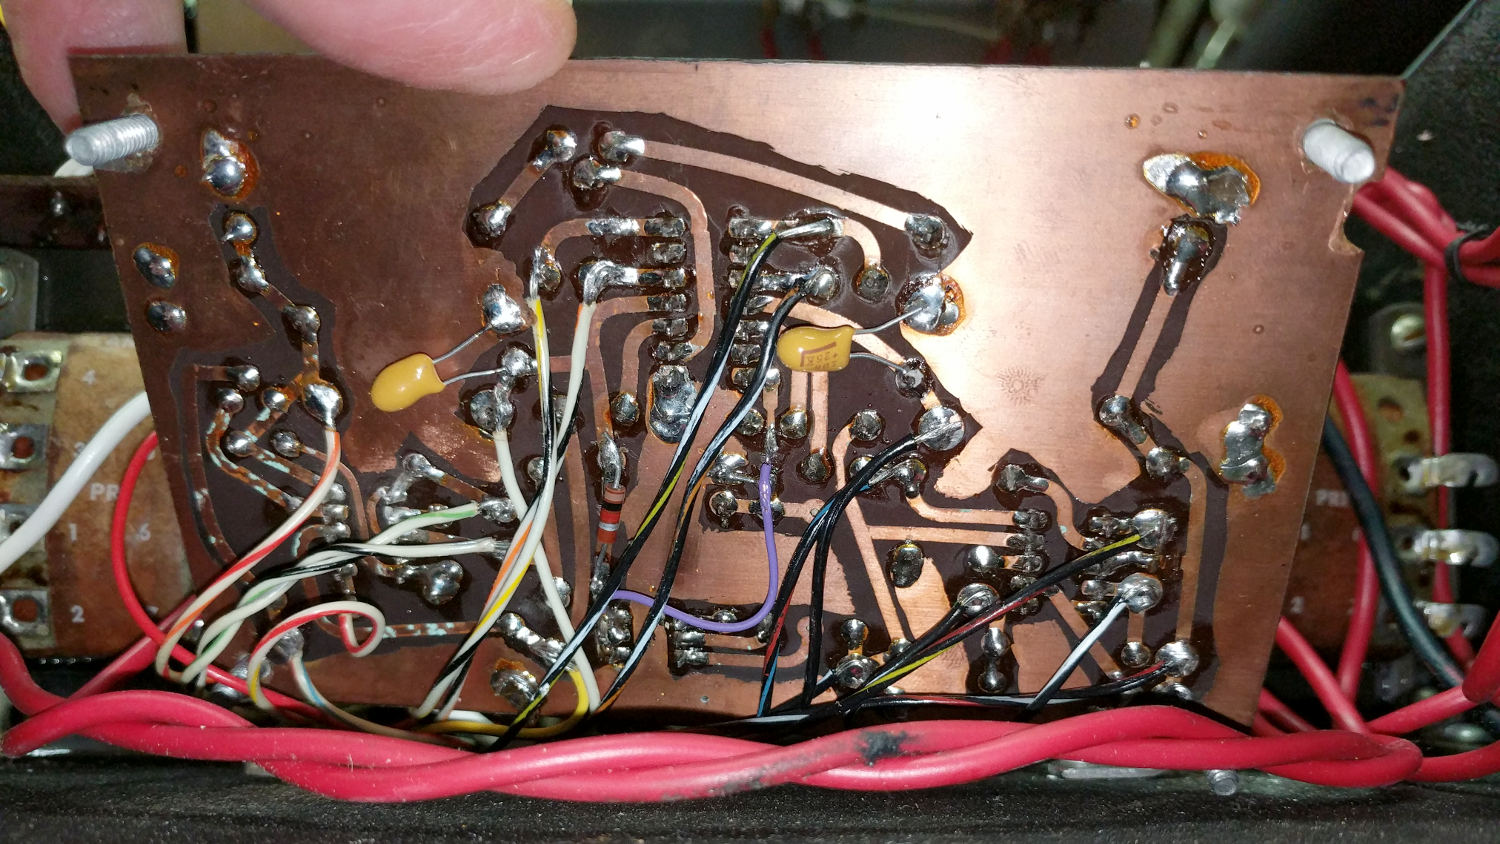
The circuitry lives on a crudely etched phenolic board:
Proto Board – etched circuit board
There may be a schematic somewhere in my collection, but it hasn’t surfaced in a long time. I’m mildly surprised I didn’t tuck it inside the case, which may have been a life lesson yet to be learned.
Based on my recent experience with the Tek AM503, I wiggled the two metal-can regulators and the ceramic (!) regulator, gingerly plugged in the line cord, flipped the switch, and all the supply voltages once again work perfectly.
The outer doorknob on the kitchen pantry became very loose and sloppy, with the screw holding the inner knob on the shaft remaining snug. Obviously, something else was wrong inside the door.
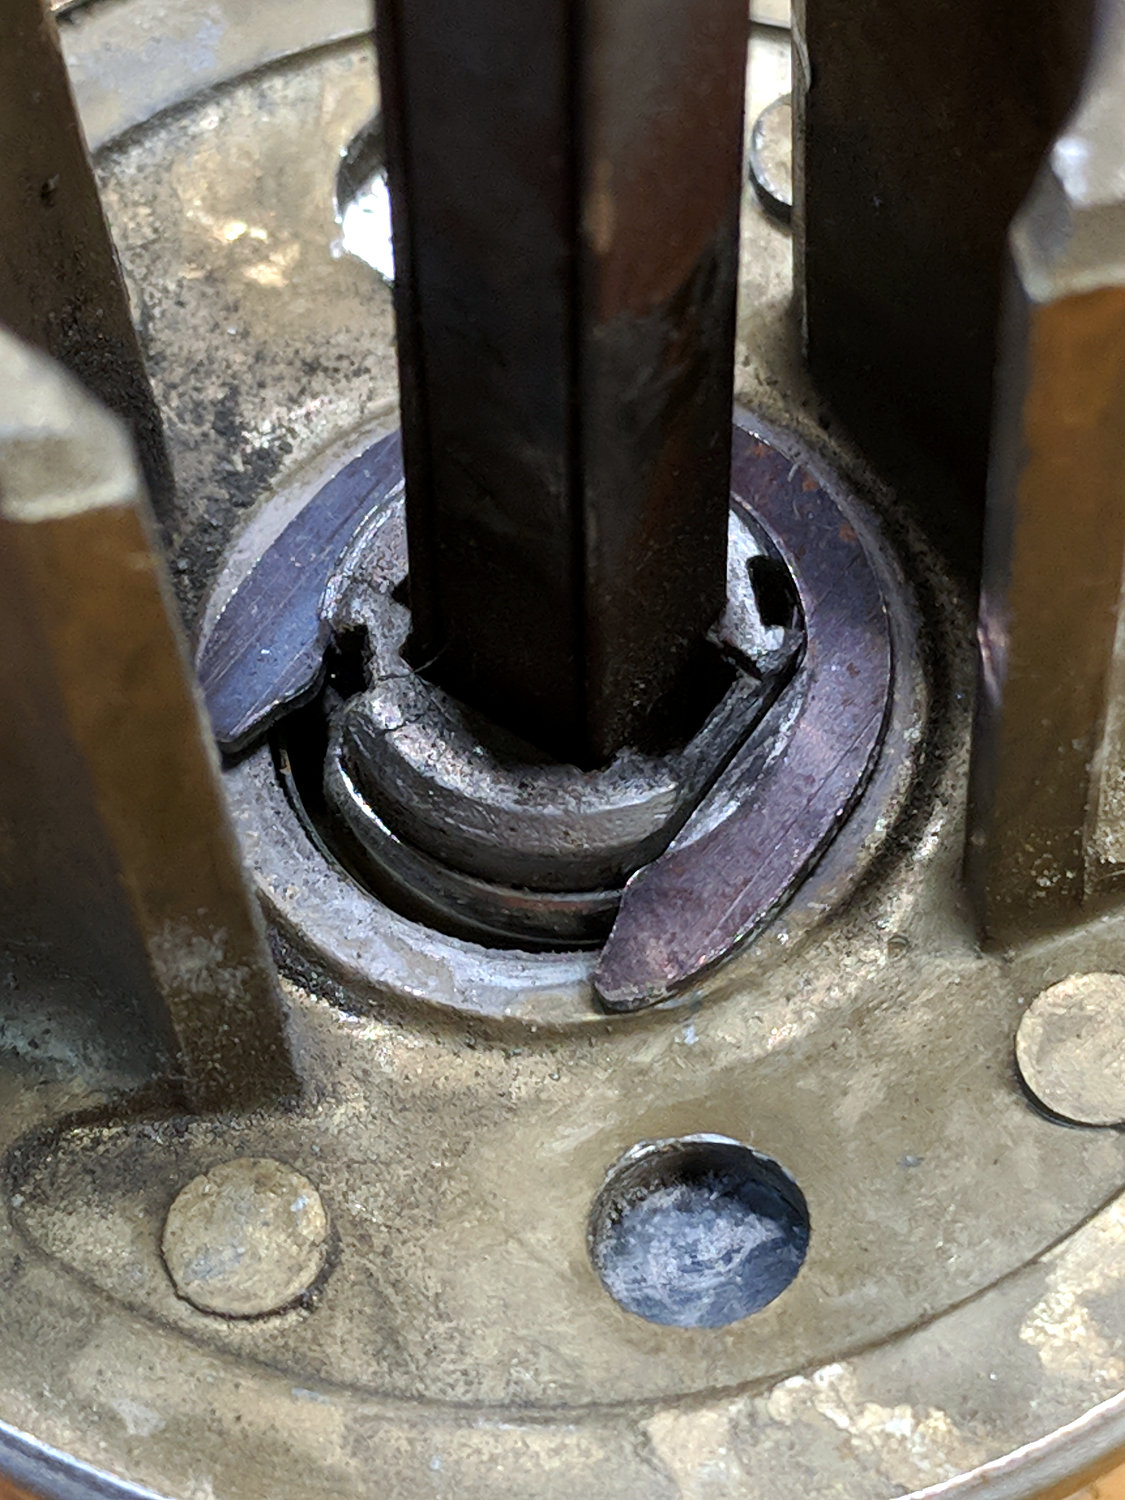
A spring clip should retain the outer knob in the escutcheon:
Doorknob – worn retaining flange – detail
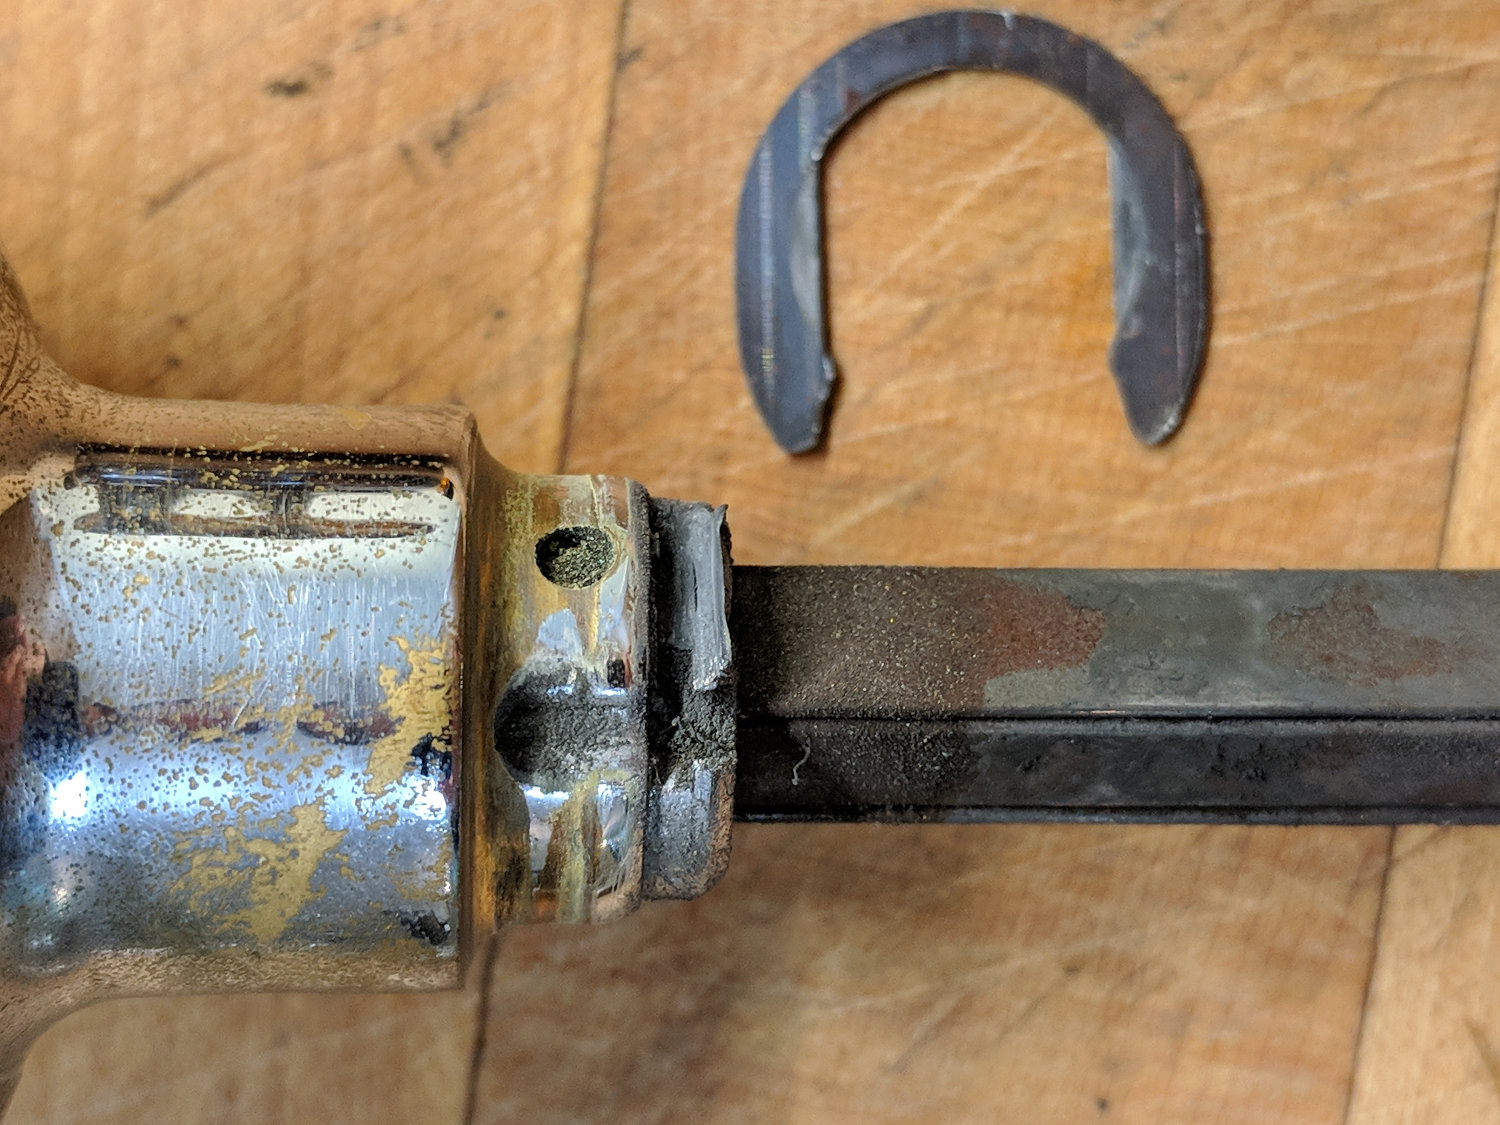
The flange holding the clip has worn away, letting the clip fall loose. A side view shows the problem:
Doorknob shaft – worn retaining flange
Yes, the knob’s chrome plating is in sorry shape after six decades of wear. I’d rather keep using a solid knob, instead of force-fitting some contemporary half-assed / cost-reduced junk into the door.
Reference: beausage. I say it “beau-sage”, the beauty that comes from usage.
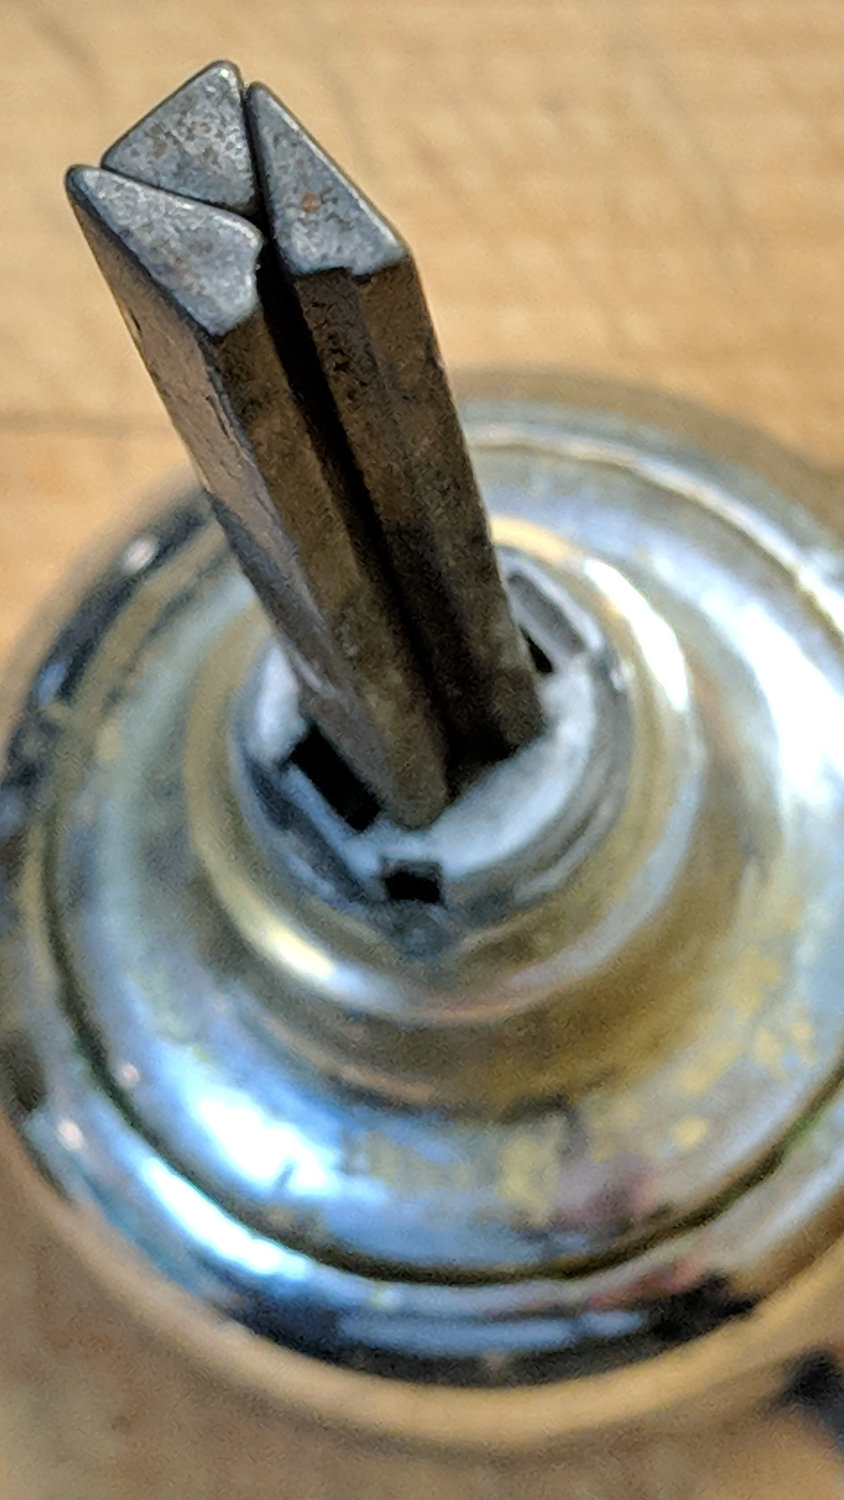
The shaft consists of three triangular rods, with the setscrew on the inner knob pressing against the smaller rod to lock all three of them in place and eliminate all rattle & play:
Doorknob shaft – detail
A tapered pin (!) locks the three shaft rods into the outer knob:
Doorknob shaft – tapered pin
Some doodling, most of which turned out to be irrelevant, captured the essential dimensions and suggested how to replace the flange:
Doorknob – dimension doodles
The stock is 11/16 inch O-1 oil-hardening rod, forever to remain unhardened:
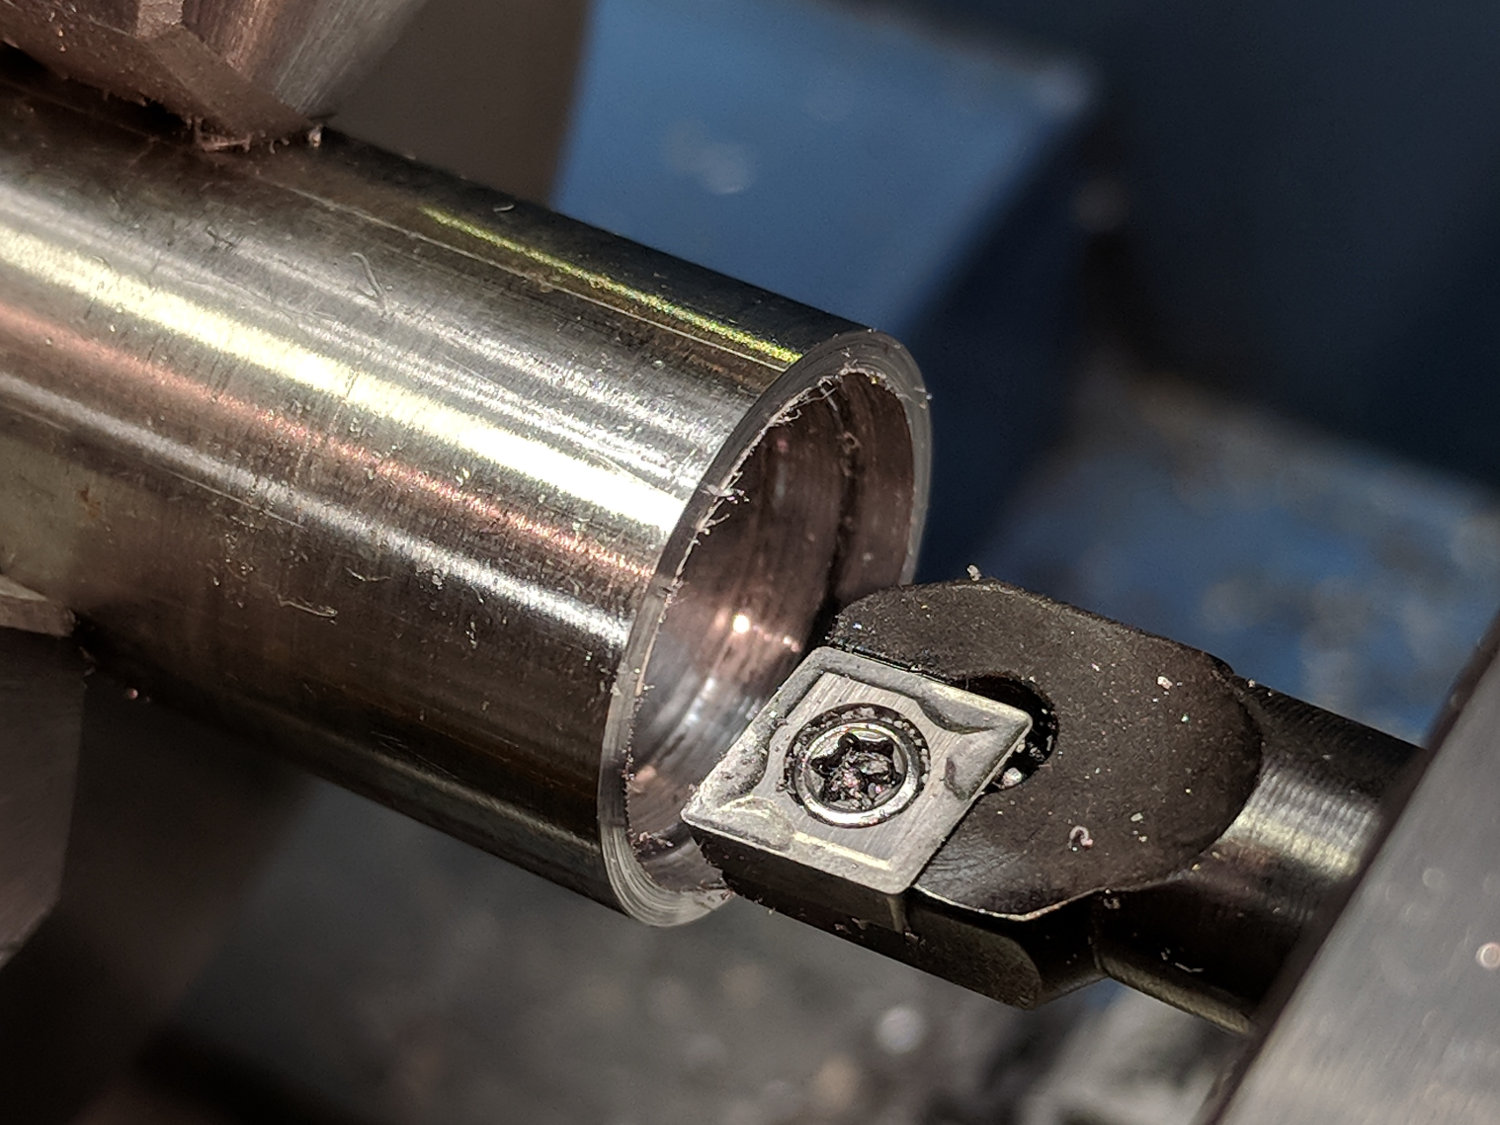
Doorknob – retainer ring boring
I drilled a few holes to get up to 1/2 inch, the largest drill bit I have and just barely clearing the the boring bar.
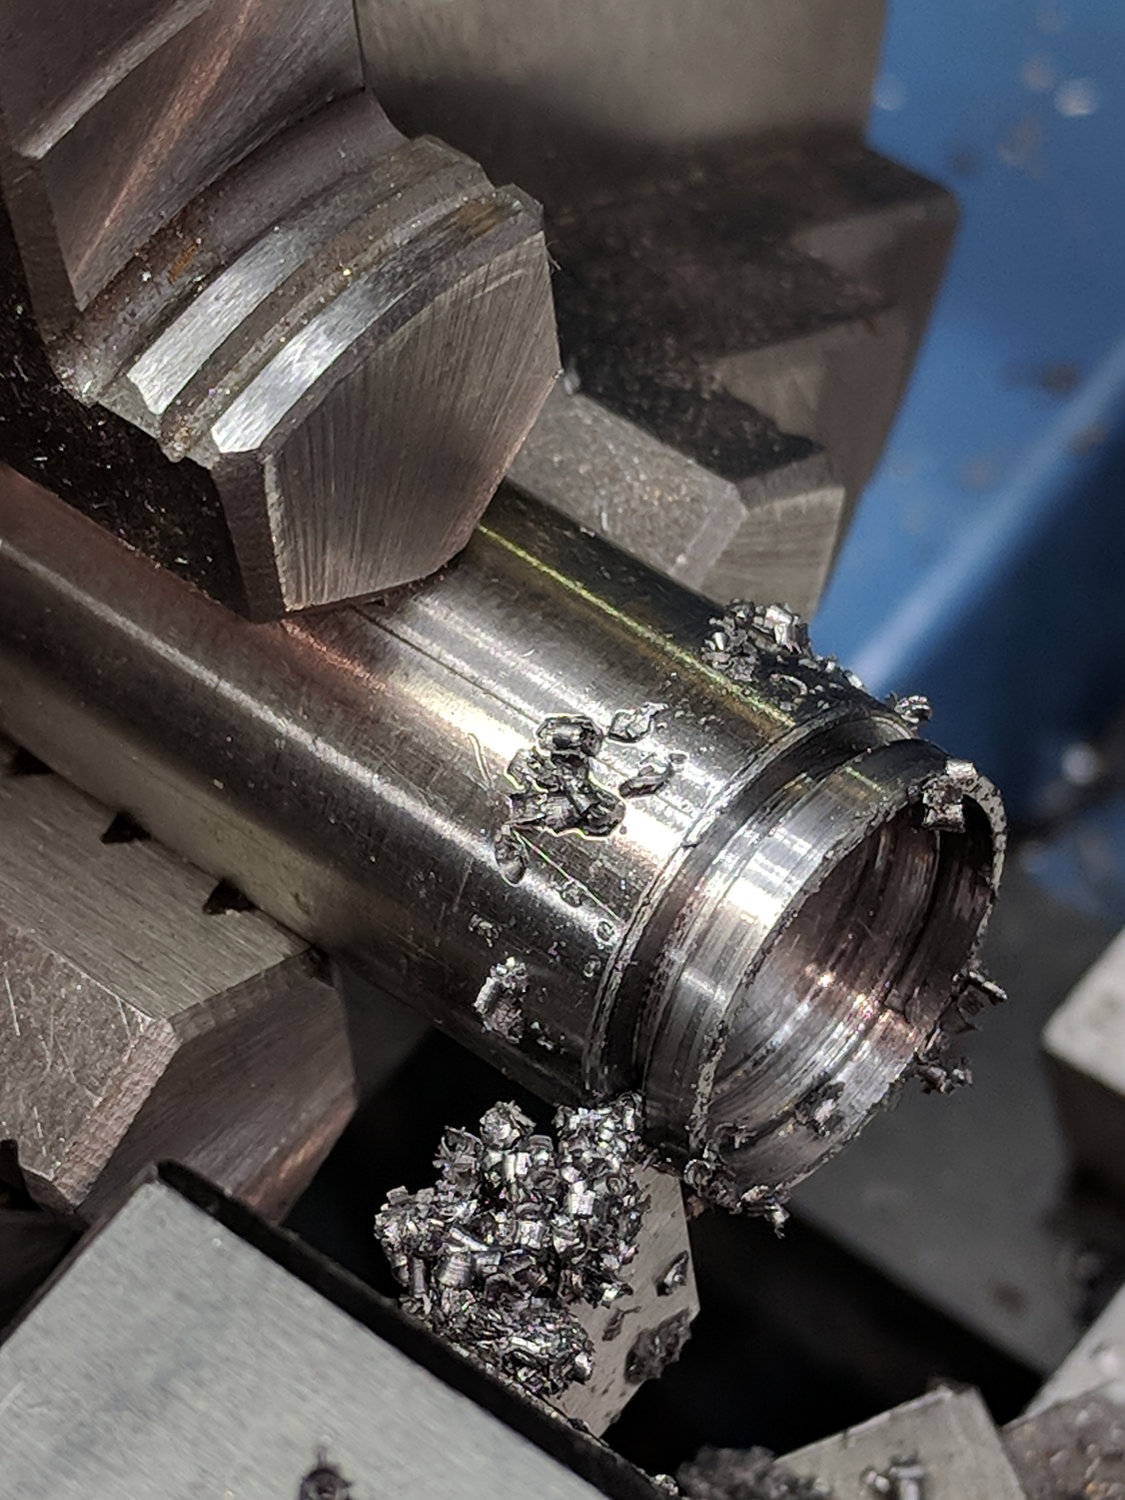
With the hole bored out to fit the end of the knob, cut it off:
Doorknob – retainer ring cutoff
Trial-fit the ring on the knob with the spring clip:
Doorknob – retainer trial fit
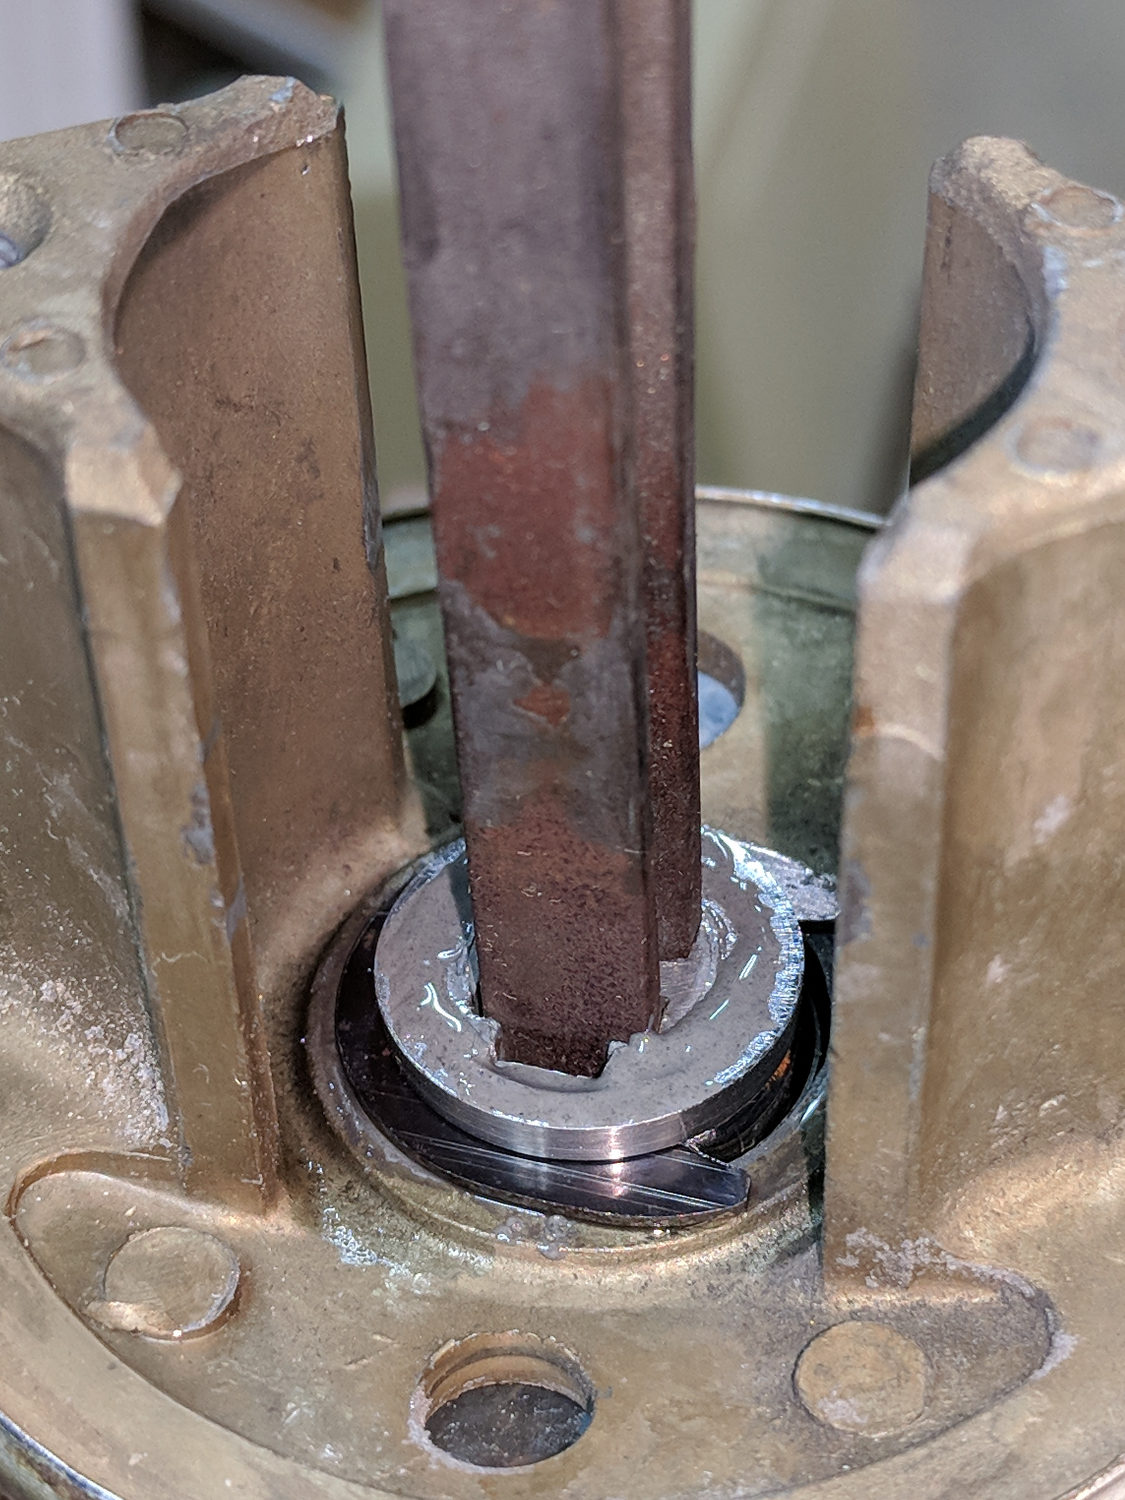
Reinstall the shaft, tap in the retaining pin, then epoxy the ring in place with the knob supported from below to eliminate having to fiddle with the spring clip:
Doorknob – retainer ring epoxy
Add a few dots of oil here & there, reinstall the parts in reverse order, and the knob works perfectly again. Still looks heavily used, of course, but that’s OK.
They definitely don’t make ’em like that any more …
The MPCNC has bCNC running on a Raspberry Pi, with a Samsung EVO MicroSD card serving as the “hard drive”:
Sandisk Extreme Plus vs. Samsung EVO MicroSD cards
The picture also shows a defunct Sandisk Extreme Plus killed by continuous video recording in my Fly6 bike camera. I later replaced the EVO with a video-rated Samsung card which has been running fine ever since, albeit with the occasional crash-and-reformat expected with “action” cameras.
With that as background, a different Samsung EVO card from the same batch has been running the MPCNC’s Raspberry Pi for about a year. Over the course of a few days last week, the RPi went from an occasional stall to a complete lockup, although waiting for minutes to hours would sometimes resolve the problem. As I’ve learned by now, it’s not a software crash, it’s the controller inside the card suffering from write amplification while trying to move data from failing sectors.
Applying f3write to the card shows the problem:
MPCNC MicroSD – f3write slowdown
The write speed started out absurdly high as the card’s write cache fills, then slowed to to the flash memory’s ability to absorb data, and eventually ran out of steam during the last few files.
But, as you might not expect, f3read reported the data was fine:
Unshown: a finger fumble requiring MBR restoration.
Having forced the card controller to reallocate all the failed sectors, the card works now fine and runs at full speed again. This won’t last long, but it’ll be interesting to see how it plays out.
While I was at it, I wrote the partitions to a new-ish / unused Samsung EVO Plus card, now tucked under the MPCNC’s monitor in case of emergency.
An old SFF Optiplex with an SSD may be a better fallback.
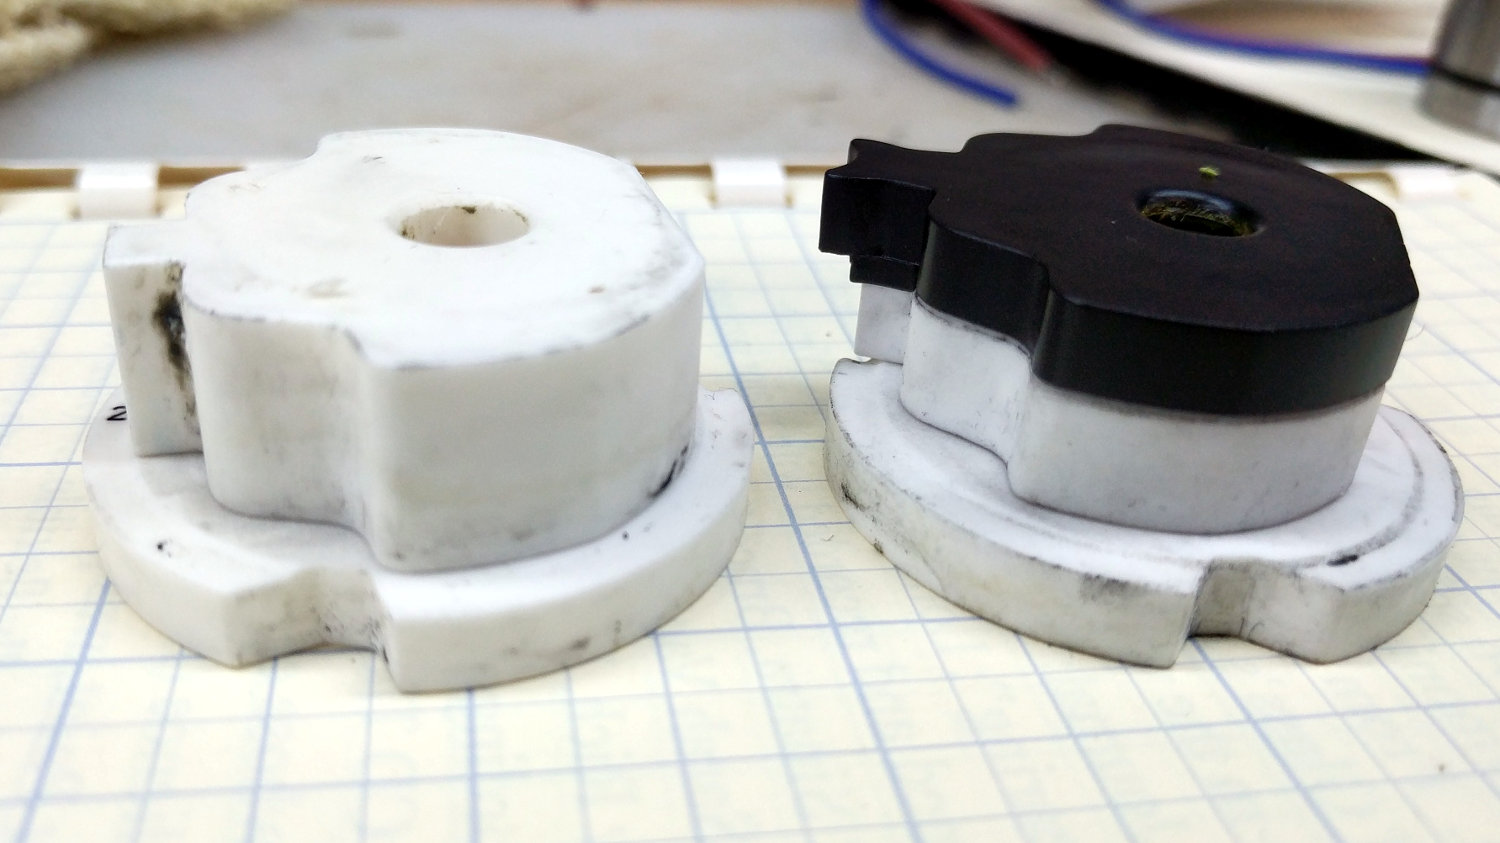
The ceramic valve core from our kitchen faucet certainly qualifies for a spot on the bottom flange of the I-beam across our basement serving as a display case / collection area for shop curiosities, mementos, and the like. I am, if nothing else, a creature of fixed habits, because the spot where the core belonged already had one:
American Standard Ceramic Faucet Valve Cores – old vs new
The core on the left dates back to the 2016 replacement, so they’ve apparently decided plastic will work fine for the handle socket.
Having the ceramic core fail after two years suggests the manufacturing process needs attention, though. I can still wring the slabs together, though, and they’d need a drop of oil to serve as bearing surfaces.