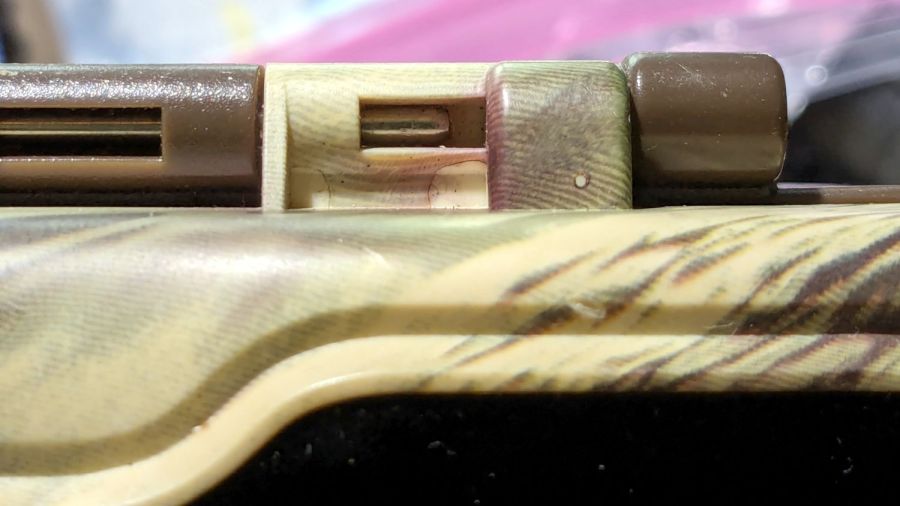
Mary’s new Sewing Room (f.k.a. The Living Room) has a set of cellular blinds over the windows:

They have internal springs instead of pull cords: you just grab the tabs on the lower bar to raise / lower the shade. This worked with one hand for the narrower shades on the sides, but the center shade seemed unusually difficult to move, even with one person on each end.
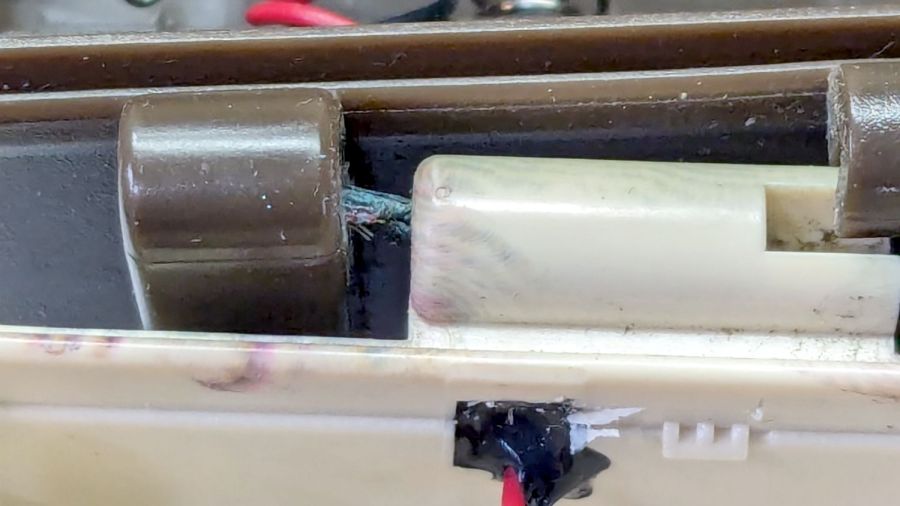
Then, one morning, the center shade jammed in place about halfway up and resisted all persuasion to move in either direction. So I evacuated all the plants, dismounted the shade, laid it out on the quilting table, and found a sticker showing they were manufactured in 2018:

They were surely installed shortly thereafter, so they’re the better part of six years old. Although parts are available for some shades, casual searching suggested replacing all three blinds (because color matching) would require more attention than I wanted to apply in the midst of our ongoing real estate transactions.
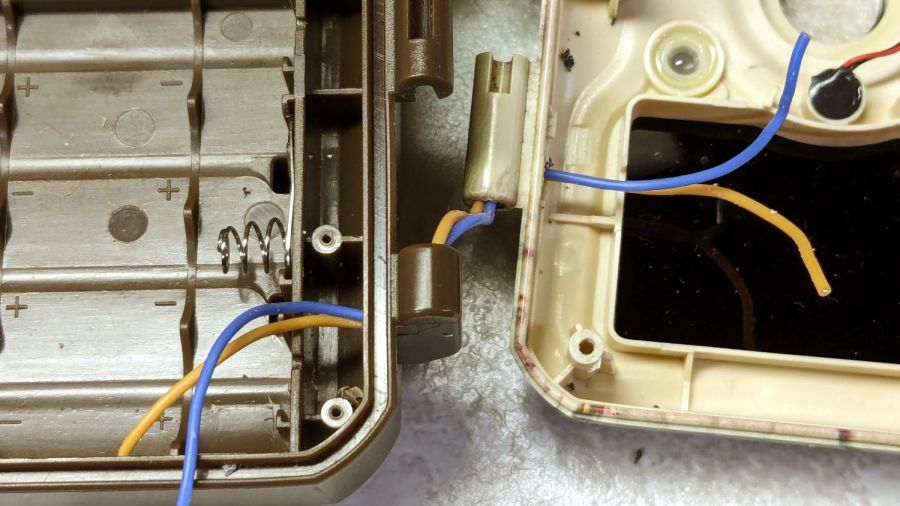
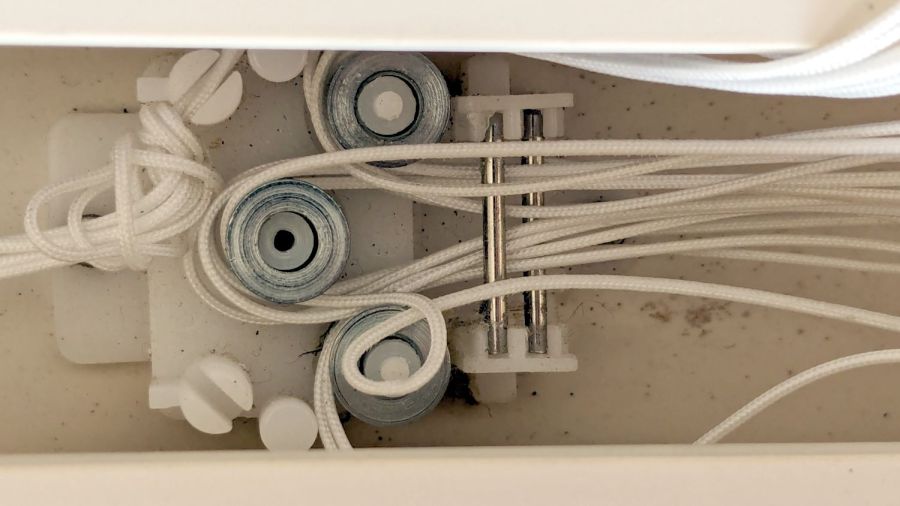
Gingerly removing the spring released the tension on the mechanism and a vast array of cords, so I could lay things out and see how the shade was supposed to work:

Four cords support the lower bar, pass through the entire height of the shade, and emerge through plastic guides into the upper bar:

All four cords pass around pulleys in the fixed block on the left, to more pulleys in the movable block on the right, then back to the fixed block where they are tied off:

The possibility of successfully re-stringing those cords from a cold start is exactly zero, so I knew I must not fumble anything.
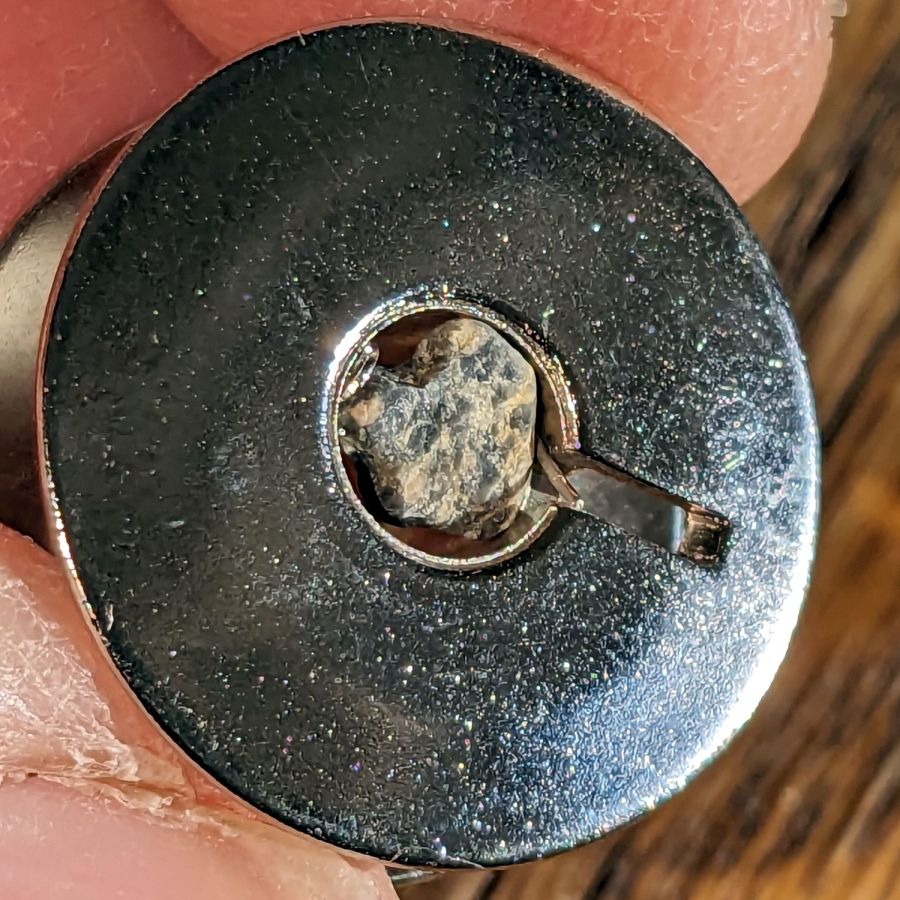
The hook on the right side of the movable block connects to the spring counterbalancing the weight of the shade:

After considerable pondering, I noticed the upper pulley has four cords on its outer side and the lower pulley has only three. Reasoning by symmetry, I concluded that can’t possibly be right.
Gentle poking at the fixed block showed where the missing cord went:

Apparently the loop slipped off the lower pulley in the movable block, distributed several feet of loose cord somewhere inside the shade, and eventually bound tight around the lower pulley in the fixed block.
Removing the cover from the fixed block confirmed the diagnosis:
Removing the cover from the movable block shows the cord layout, with the lower pulley still missing one loop:

Gingerly pulling the loose cord from deep inside the shade, I managed to extend the errant loop back around the pulley in the movable block, then, following the “First, do no harm” part of the Hippocratic Oath, I immobilized all the cords in their current positions relative to all the pulleys / pins / blocks:

Which revealed how the cord got loose in the first place:

Apparently half a dozen years is enough to warp a thin plastic plate. Who would have expected that?
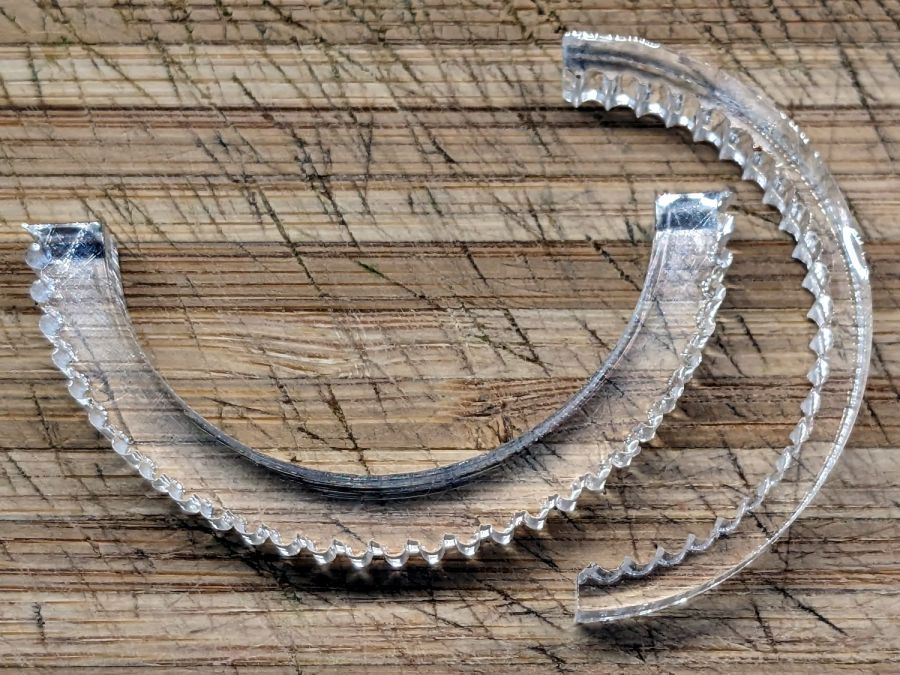
With the cords sorted out, I eased them off the pulleys, freed the block, and discovered the situation was worse than I thought:

Now that I knew what to look for, it was obvious the tiny pin molded into the boss supporting the lower pulley had broken, allowing the cord to slide between the pulley and the top plate. You can see the dark hole vacated by the pin in the first picture of the upper block.
Knowing what I had to do next, I snipped the pin off the other boss with flush-cutting pliers.
Line up the drill press using the top plate to center the drill in the boss, drill a hole suitable for a small screw, and repeat for the other pulley:
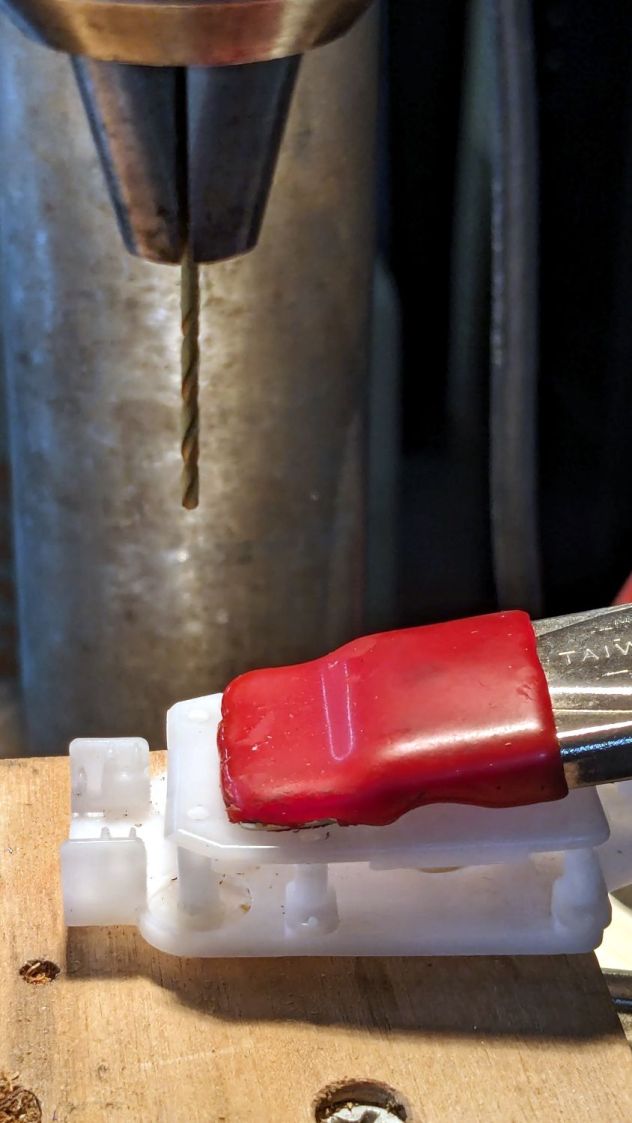
At that point, the New Basement Shop™ consisted of empty shelves and full moving boxes, but the drill press and tool chests were accessible. The basement has four outlets, one in each far-distant corner, but I have extension cords and know how to use them; I intend to spray-paint the walls with outlets in the near future.
With the holes drilled, I restored the pulleys / pins / cords to their proper locations:

Almost proper, as it turned out I put the errant loop on backwards, so I had to go through one completely assembly / test / disassembly cycle.
The two new screws in the pulleys, in addition to the two old screws along the midline, hold the top plate flat against the bottom plate, with the remaining pins seated securely in their holes.
Reassemble in reverse order, tension the spring, snap it on the movable block, and reinstall in the window. I don’t have any pix of the completed assembly, but the shade now works as it should: we can raise and lower it from either end with just a bit of effort.
That wasn’t easy, but it ended well.