Ed Nisley's Blog: Shop notes, electronics, firmware, machinery, 3D printing, laser cuttery, and curiosities. Contents: 100% human thinking, 0% AI slop.
In what’s surely a change intended to better meet the needs of their customers, the newspaper changed the crossword layout just a little teeny bit, so my previous script needed a tweak:
As you’d expect, the soft feet on the bottom of the Kenmore Model 158 sewing machine’s foot pedal control turn into hard buttons after a few decades. The OEM feet have mushroom tops that push through holes in the case and latch in place; of course, none of the rubber feet in my collection match the hole diameter or case thickness.
No problem! Design a bushing that fits the case hole and passes a 4-40 screw:
Speed Control Foot Bushing
Then print up a handful, add screws to fit the rubber feet, and top off with nuts:
Kenmore 158 – pedal foot bushing – detail
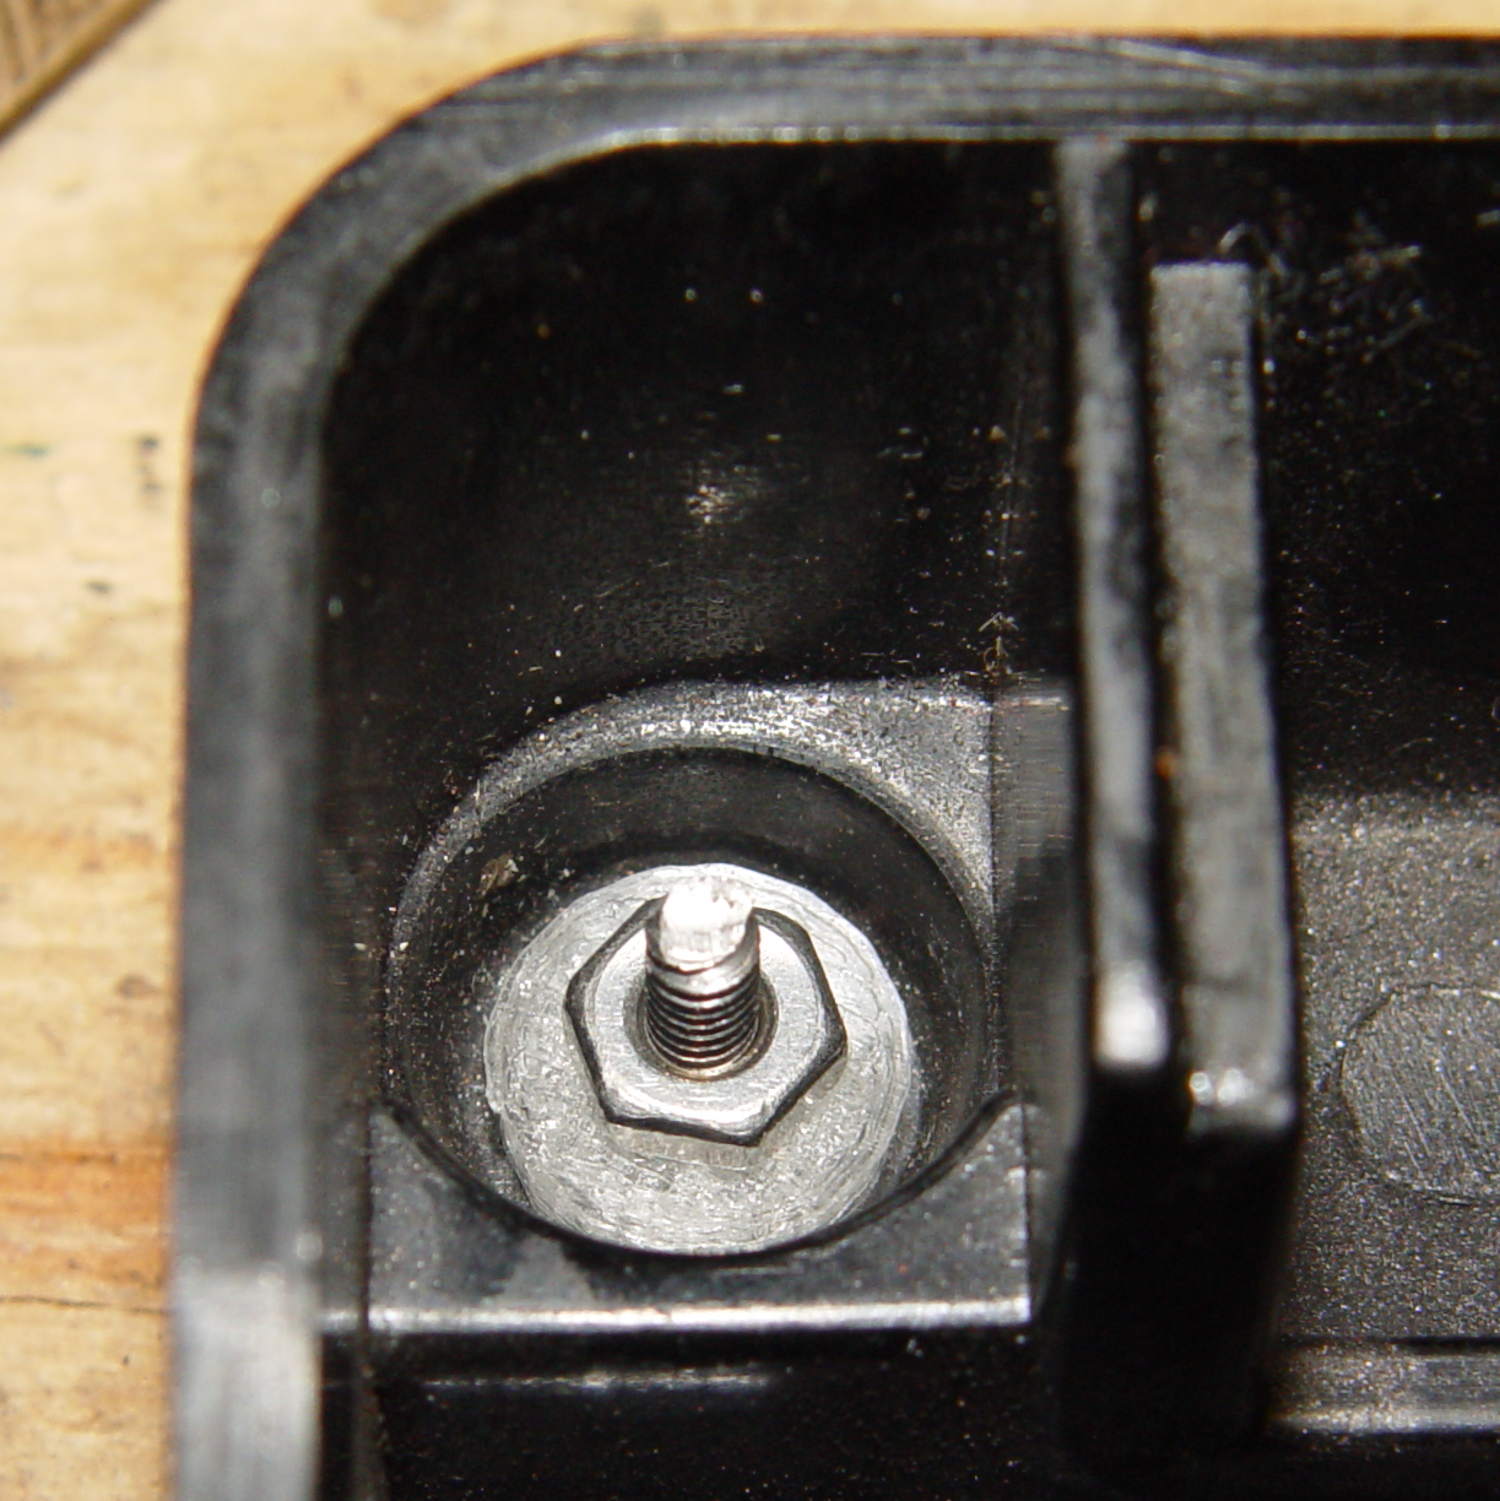
Installed, with the screws cropped to a suitable length, they look about like you’d expect:
Kenmore 158 – pedal foot bushing – interior
Turns out that the springs supporting the foot pedal rest in those pockets, so the bushing reduces the spring travel by a few millimeters. The springs aren’t completely compressed with the pedal fully depressed, so it’s all good.
The OpenSCAD source code:
// Kenmore Model 158 Sewing Machine Foot Control Bushings
// Ed Nisley - KE4ZNU - June 2014

//- Extrusion parameters must match reality!
//  Print with 2 shells and 3 solid layers

ThreadThick = 0.20;
ThreadWidth = 0.40;

HoleWindage = 0.2;			// extra clearance

Protrusion = 0.1;			// make holes end cleanly

function IntegerMultiple(Size,Unit) = Unit * ceil(Size / Unit);

//----------------------
// Dimensions

Stem = [2.5,5.7];			// through the case hole
Cap = [3.0,10.0];			// inside the case

LEN = 0;
DIA = 1;

OAL = Stem[LEN] + Cap[LEN];

ScrewDia = 2.8;				// 4-40 generous clearance

//----------------------
// Useful routines

module PolyCyl(Dia,Height,ForceSides=0) {			// based on nophead's polyholes

  Sides = (ForceSides != 0) ? ForceSides : (ceil(Dia) + 2);

  FixDia = Dia / cos(180/Sides);

  cylinder(r=(FixDia + HoleWindage)/2,
           h=Height,
           $fn=Sides);
}

module ShowPegGrid(Space = 10.0,Size = 1.0) {

  RangeX = floor(100 / Space);
  RangeY = floor(125 / Space);

	for (x=[-RangeX:RangeX])
	  for (y=[-RangeY:RangeY])
		translate([x*Space,y*Space,Size/2])
		  %cube(Size,center=true);

}

//----------------------
// Build it!

ShowPegGrid();

difference() {
	union() {
		cylinder(d=Stem[DIA],h=OAL,$fn=16);
		cylinder(d=Cap[DIA],h=Cap[LEN],$fm=16);
	}
	translate([0,0,-Protrusion])
		PolyCyl(ScrewDia,OAL + 2*Protrusion,6);
}
We still haven’t exhausted the never-sufficiently-to-be-damned Samsung Quiet Jet vacuum’s bag supply, so when a wheel fell off the floor brush again, I had to come up with a better fix than a twist of wire. Obviously, those delicate little retaining latches need more persuasion.
Capture the wheel in the Sherline’s 4-jaw chuck on the rotary table and drill four holes just below the end of the latches:
Samsung wheel – drilling
The wheel is 20 mm thick. The holes lie 9 mm back from the open end of the wheel or 11 mm from the closed end at the chuck face. Drill maybe 6 mm down; I did it by eye, jogging slowly downward until the tip of the drill touched the latch.
Tap the holes and install four 8-32 setscrews:
Samsung wheel – setscrews installed
I don’t have a bottoming tap, but an ordinary plug tap was Good Enough; the incomplete threads should hold the setscrews in place.
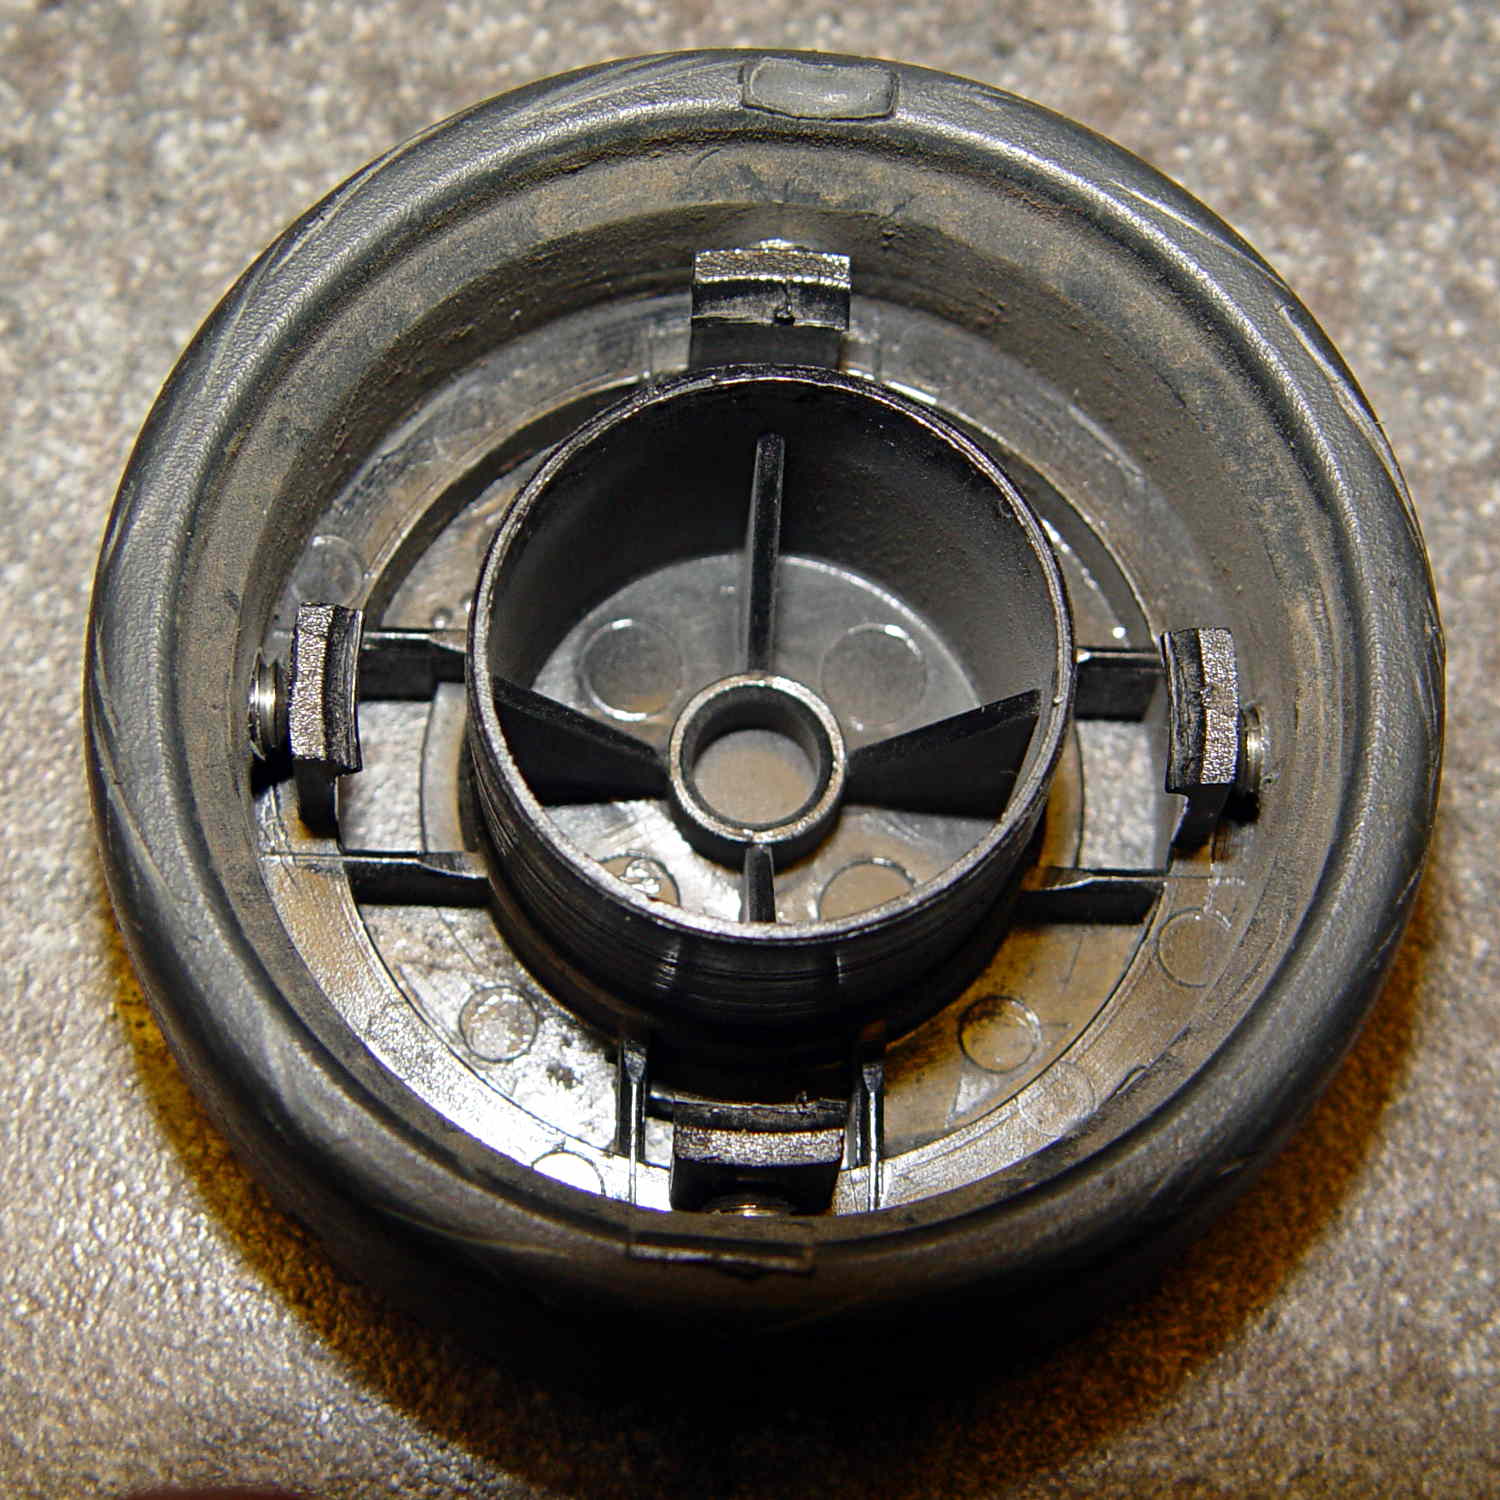
Reinstall the wheel, tighten the setscrews, and wrap festive silicone tape around the whole affair:
Samsung floor brush – wheel installed
I heroically resisted the temptation to pry the other wheel off for a preemptive repair …
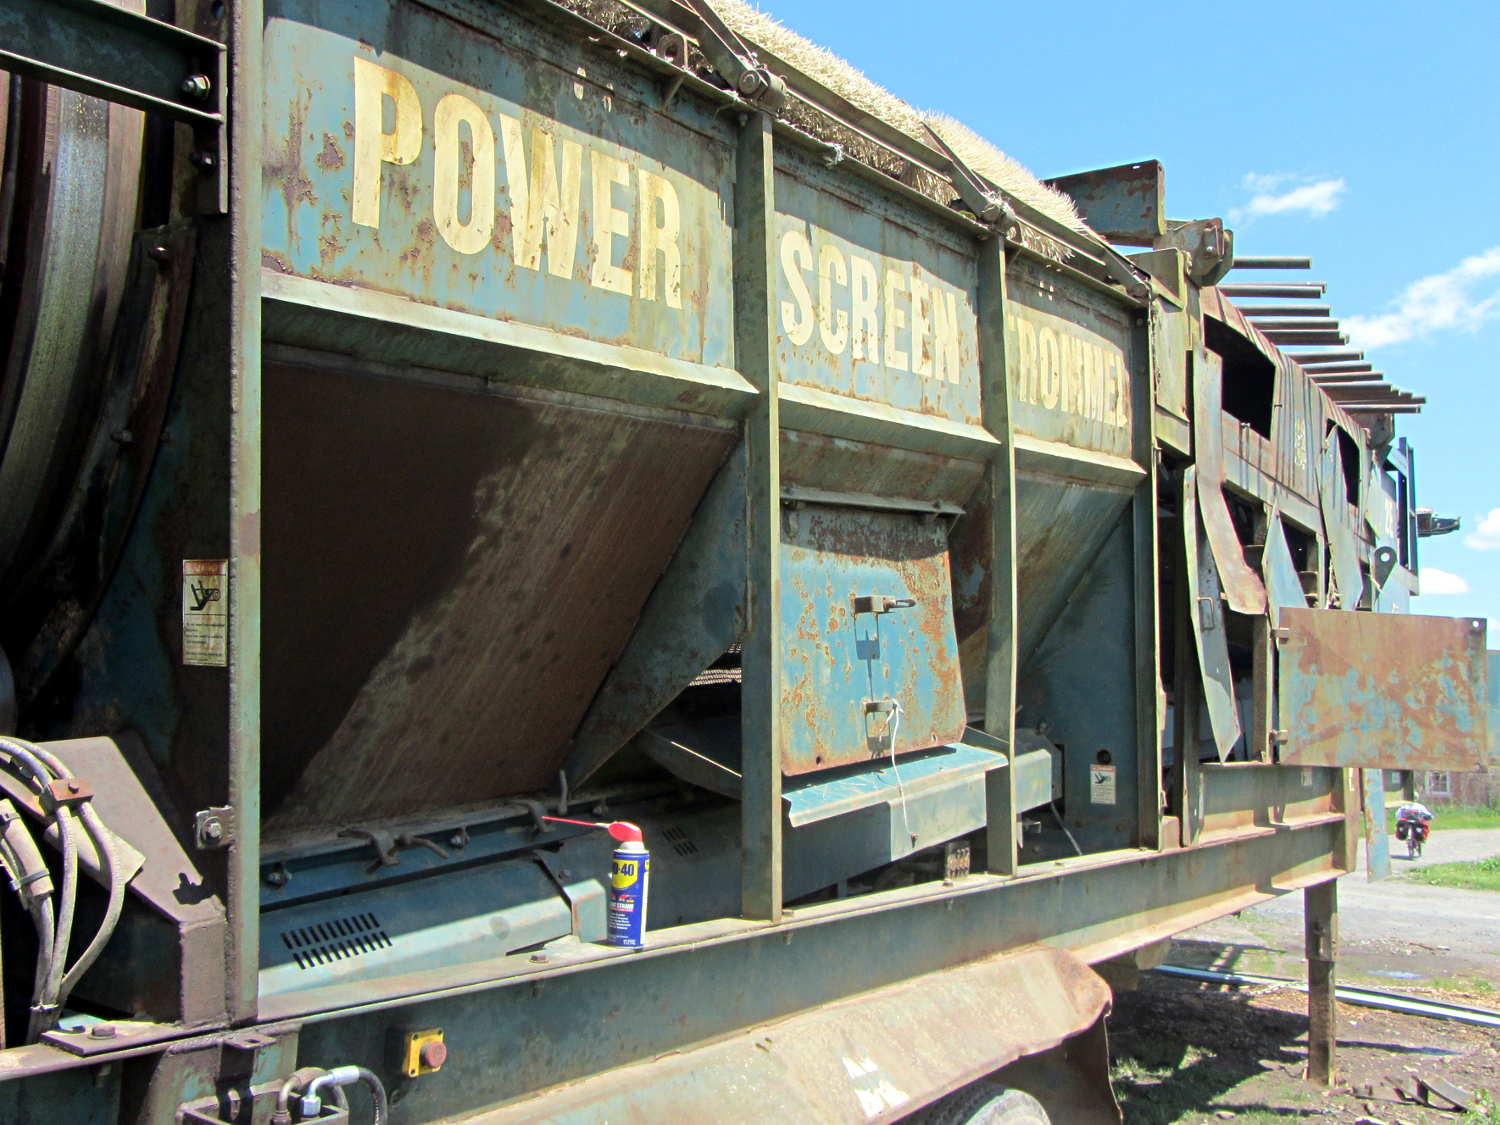
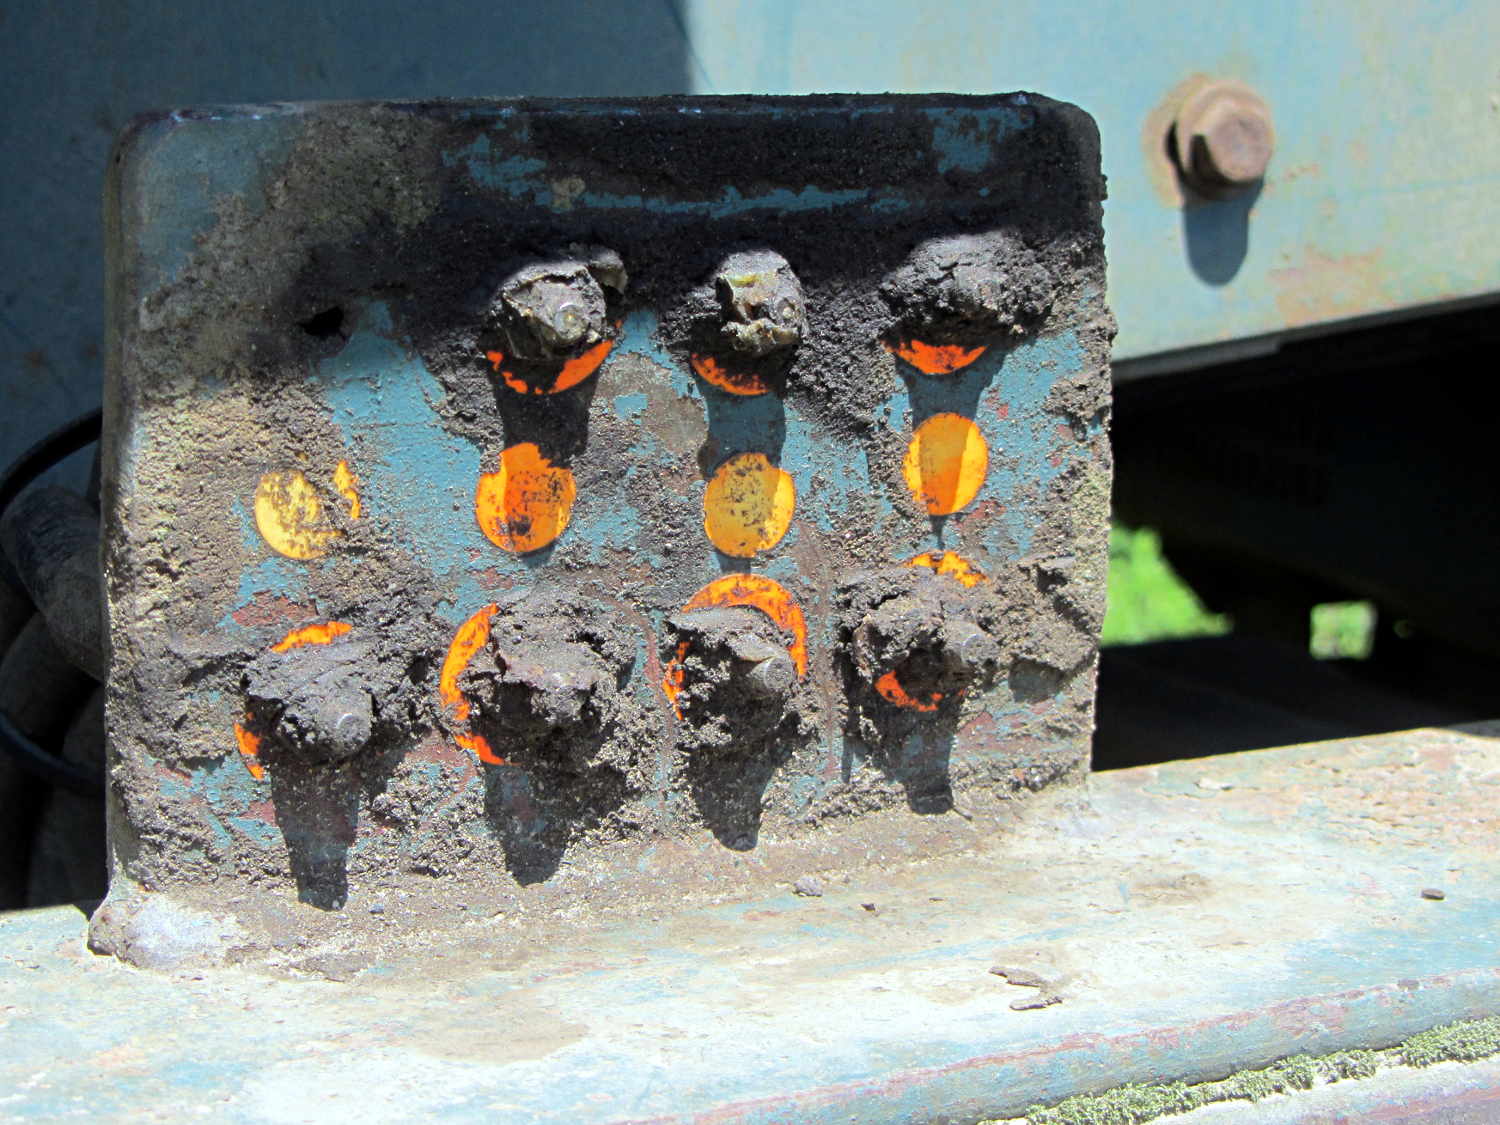
Apparently suffering a breakdown, it spent the next two weeks idle with all its covers open. The can of WD-40 makes a nice touch, but the condition of the central lubrication panel suggested the last grease went through those Zerk fittings quite a while ago:
Power Screen Trommel – lube panel
The manufacturer’s information label, tucked in a protected position, remains pristine:
Power Screen Trommel – mfg plate
Scrawled notes near the control panel noted that someone installed new oil and fuel filters in late 2004, with 4103 hours on the running time meter:
Power Screen Trommel – controls
Then, one day, it vanished, perhaps back into the mysterious universe from whence it came …
Mary (not the spammer) uses a stirrup hoe for most of what little weeding she does, so it spends much of its life outdoors in the Vassar Farms plot. The bottom of the handle disintegrated and she brought the business end home for repair:
Stirrup hoe – replacement handle
That was easy: a suitable handle lay on the top of the rods-and-tubes rack; I’d harvested it from a defunct rake a while back. Although the wood is weathered, we think of it as well-seasoned. The errant hole marks came from a first pass, before I realized there was no point in having the handle extend beyond the outward-bending part of the brackets.
The bolts and locking nuts are original!
Ya gotta have stuff…
(And not a trace of 3D printing anywhere to be seen. Imagine that!)
Mary heard a faint sound from the back of her bike that neither she nor I could track down. Standing in the garage, we decided it was slightly louder when the wheel turned backwards, but the sound didn’t correlate with anything.
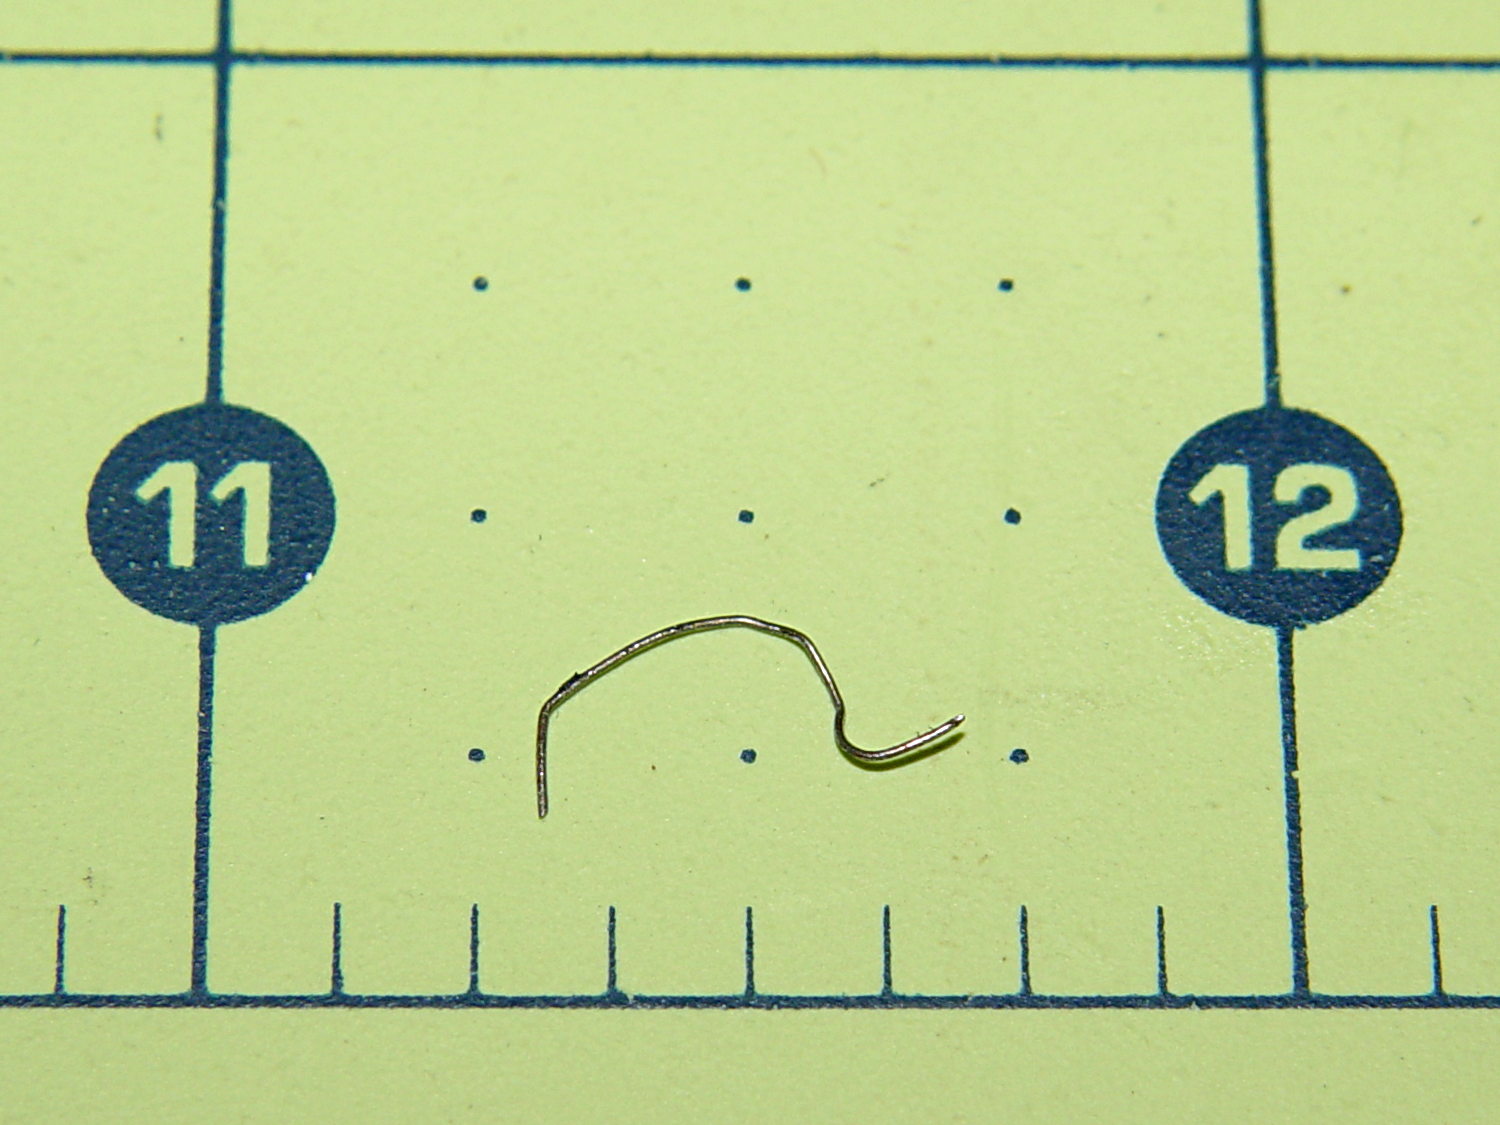
Eventually, I held my hand over the wheel while turning it, whereupon the problem made itself obvious:
The short hook on the right side embedded itself the in the tread, with the rest sticking out. Turning the wheel backwards dragged the longer arc on the fender, making a slightly louder sound. Of course, the tightest fender-to-tire clearance occurs just behind the seat, where it isn’t easily visible.