The motivation for stripping our cast iron pans:

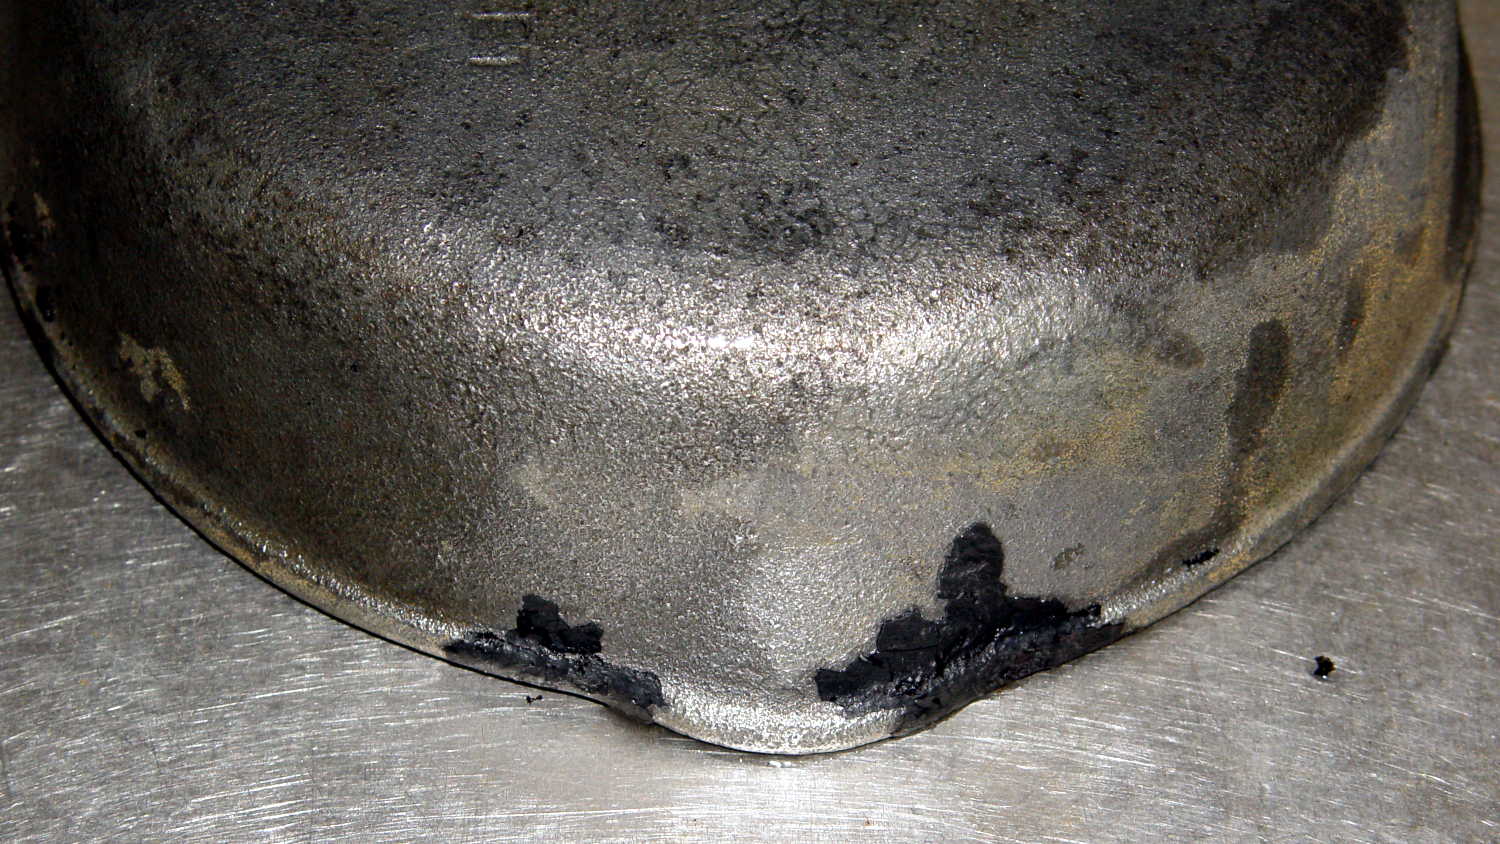
The bottom, of course, carried a heavier layer of crust:

The wet areas came from the usual after-breakfast washing.
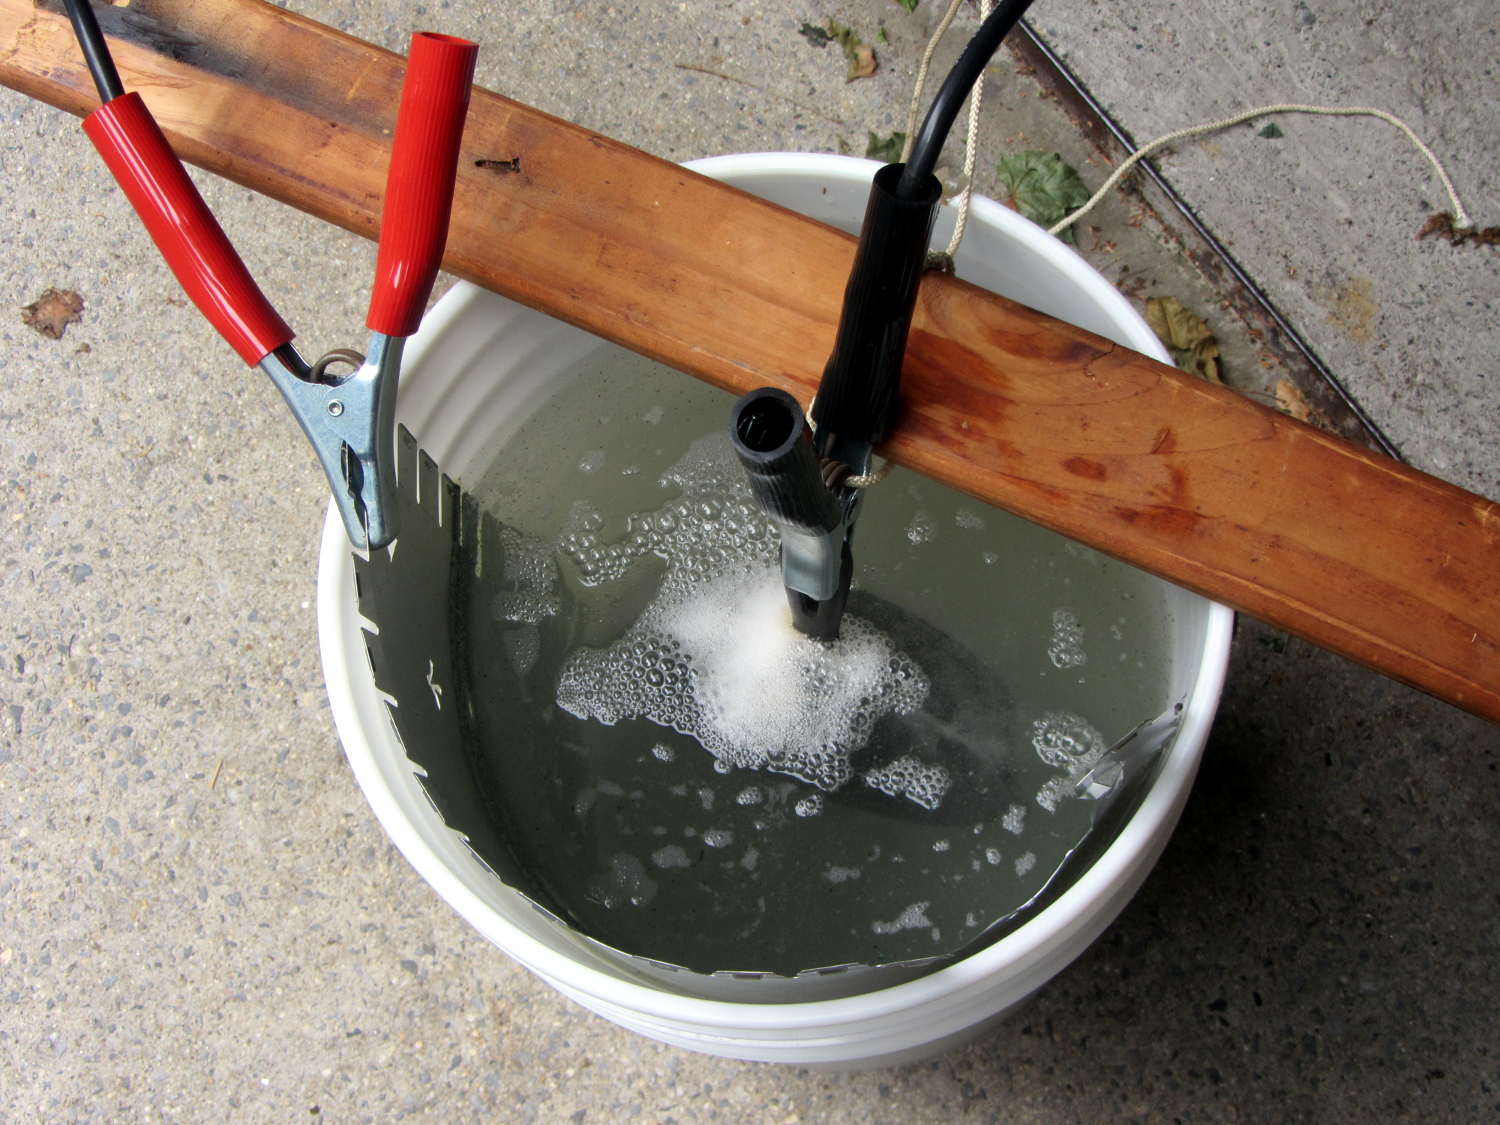
Looking down into the electrolytic stripping bath, with bubbles forming on exposed metal areas around the crust on the bottom of the pan:

After a day of electrolysis, all the crust was gone. Low labor, low danger, no fuss, not much muss.
Given three stripped pans, the seasoning process involved wiping them with flaxseed oil, baking at 500 °F for an hour, cooling for two hours, and repeating. Six iterations occupied a long day, uncomfortably warmed the kitchen during a long hot summer day, and turned out to be just fussy enough to fit around some short-attention-span projects.
Fast forward one day.
The outside of the seasoned pans looks lovely:

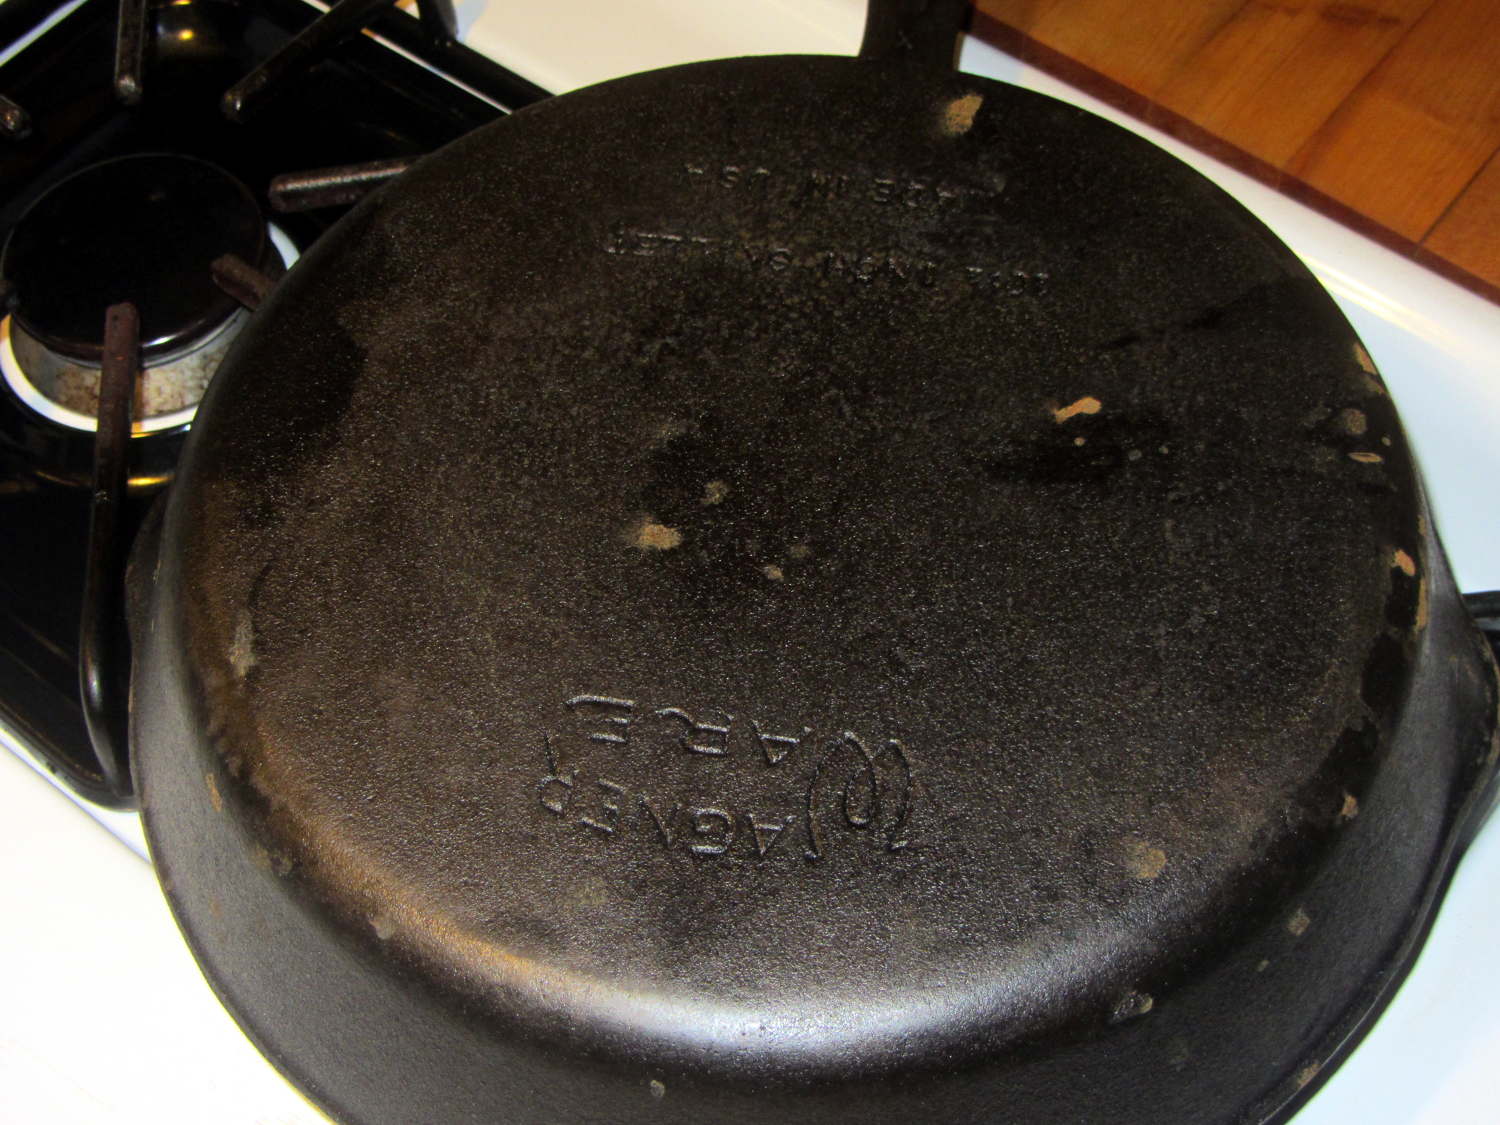
I’d have been hard-pressed to pick out the “Wagner Ware” before stripping the pan.
The inside of all three pans had a peculiar mottled appearance:

The medium pan:

The small pan:

The dark spots might suggest I used too much oil and it puddled / collected / whatever while baking, except that I’d slathered the oil on using a scrap from a cotton towel (actually, many scraps, one per iteration), then wiped it off with more towel scraps before baking the pans.
Protip: You’ll eventually have a pile of cotton rags soaked in a drying oil similar to linseed oil. Woodworkers will tell you to wet oily rags with water before sealing them in a plastic bag, because the “drying” process is exothermic: oil-soaked rags can get hot enough for spontaneous combustion. Make it so.
Breakfast proceeded pretty much as usual and the giant omelet (5 eggs, lots of chopped chard, two finely chopped bacon rashers, cheddar cheese, plenty of oil, stuff like that) seemed to stick somewhat less than usual: it’s not a Teflon-coated pan, but worked pretty well.
I did the usual post-breakfast KP, which involves washing the pan with ordinary dish soap, scuffing the recalcitrant bits, and dropping the pan in the dish drainer. I don’t scour the pans, but I don’t treat them with fawning obeisance, either; they’re utensils, not sacred objects.
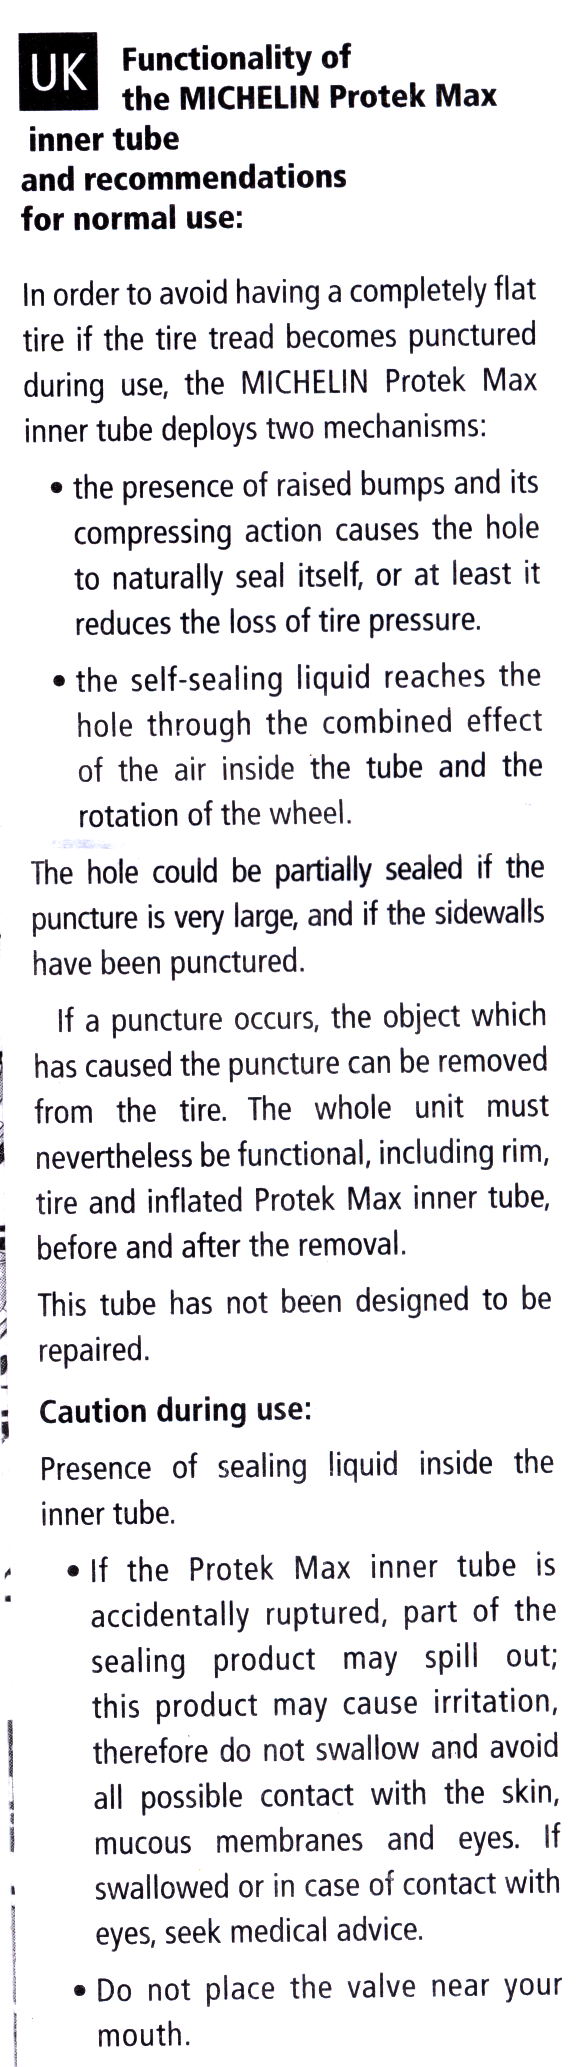
Just before lunch, this appeared:
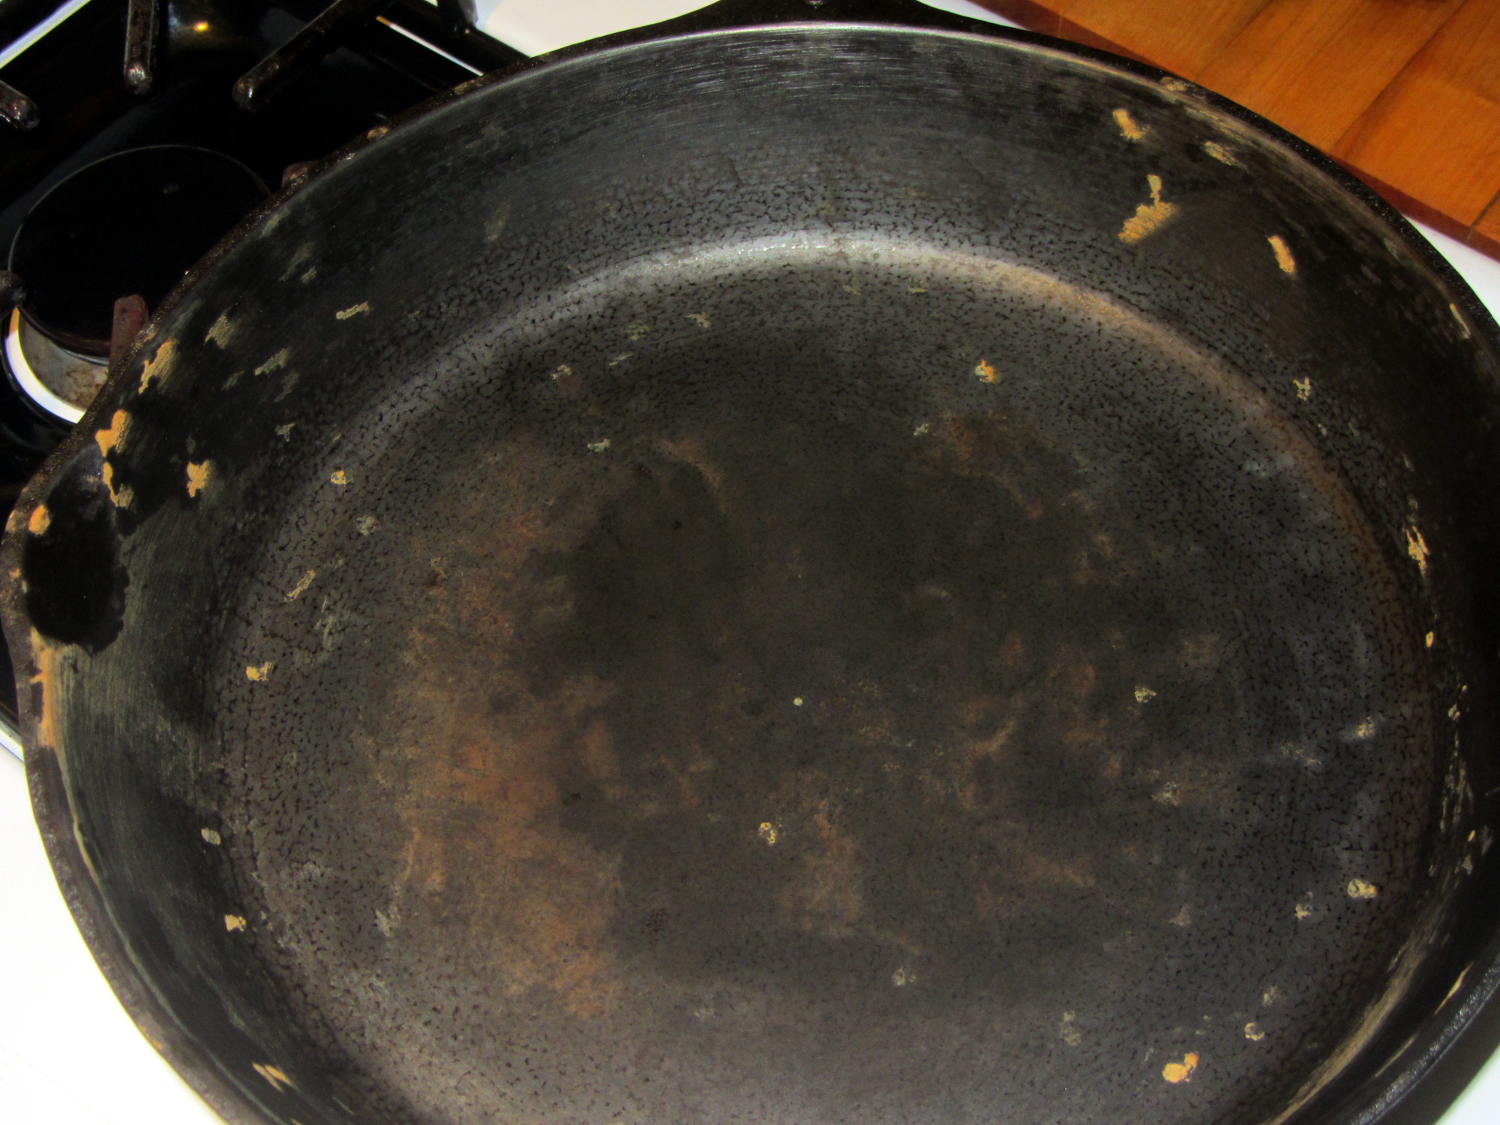
The bottom sported similar rust spots:
So that suggests I didn’t apply enough oil. Or scrubbed too hard. Or did something utterly wrong.
Haven’t a clue about what happened. If I didn’t follow the seasoning process, I don’t know what I’d change. Ditto for washing up; it’s not like we haven’t been using the pan for decades.
After supper, I washed & dried the pan, slathered on a generous oil coating, and let it sit, all in the hope the oil eventually forms a good crusty layer.
By and large, the pan works better than it did before and the seasoning not nearly as well as I expected.