Ed Nisley's Blog: Shop notes, electronics, firmware, machinery, 3D printing, laser cuttery, and curiosities. Contents: 100% human thinking, 0% AI slop.
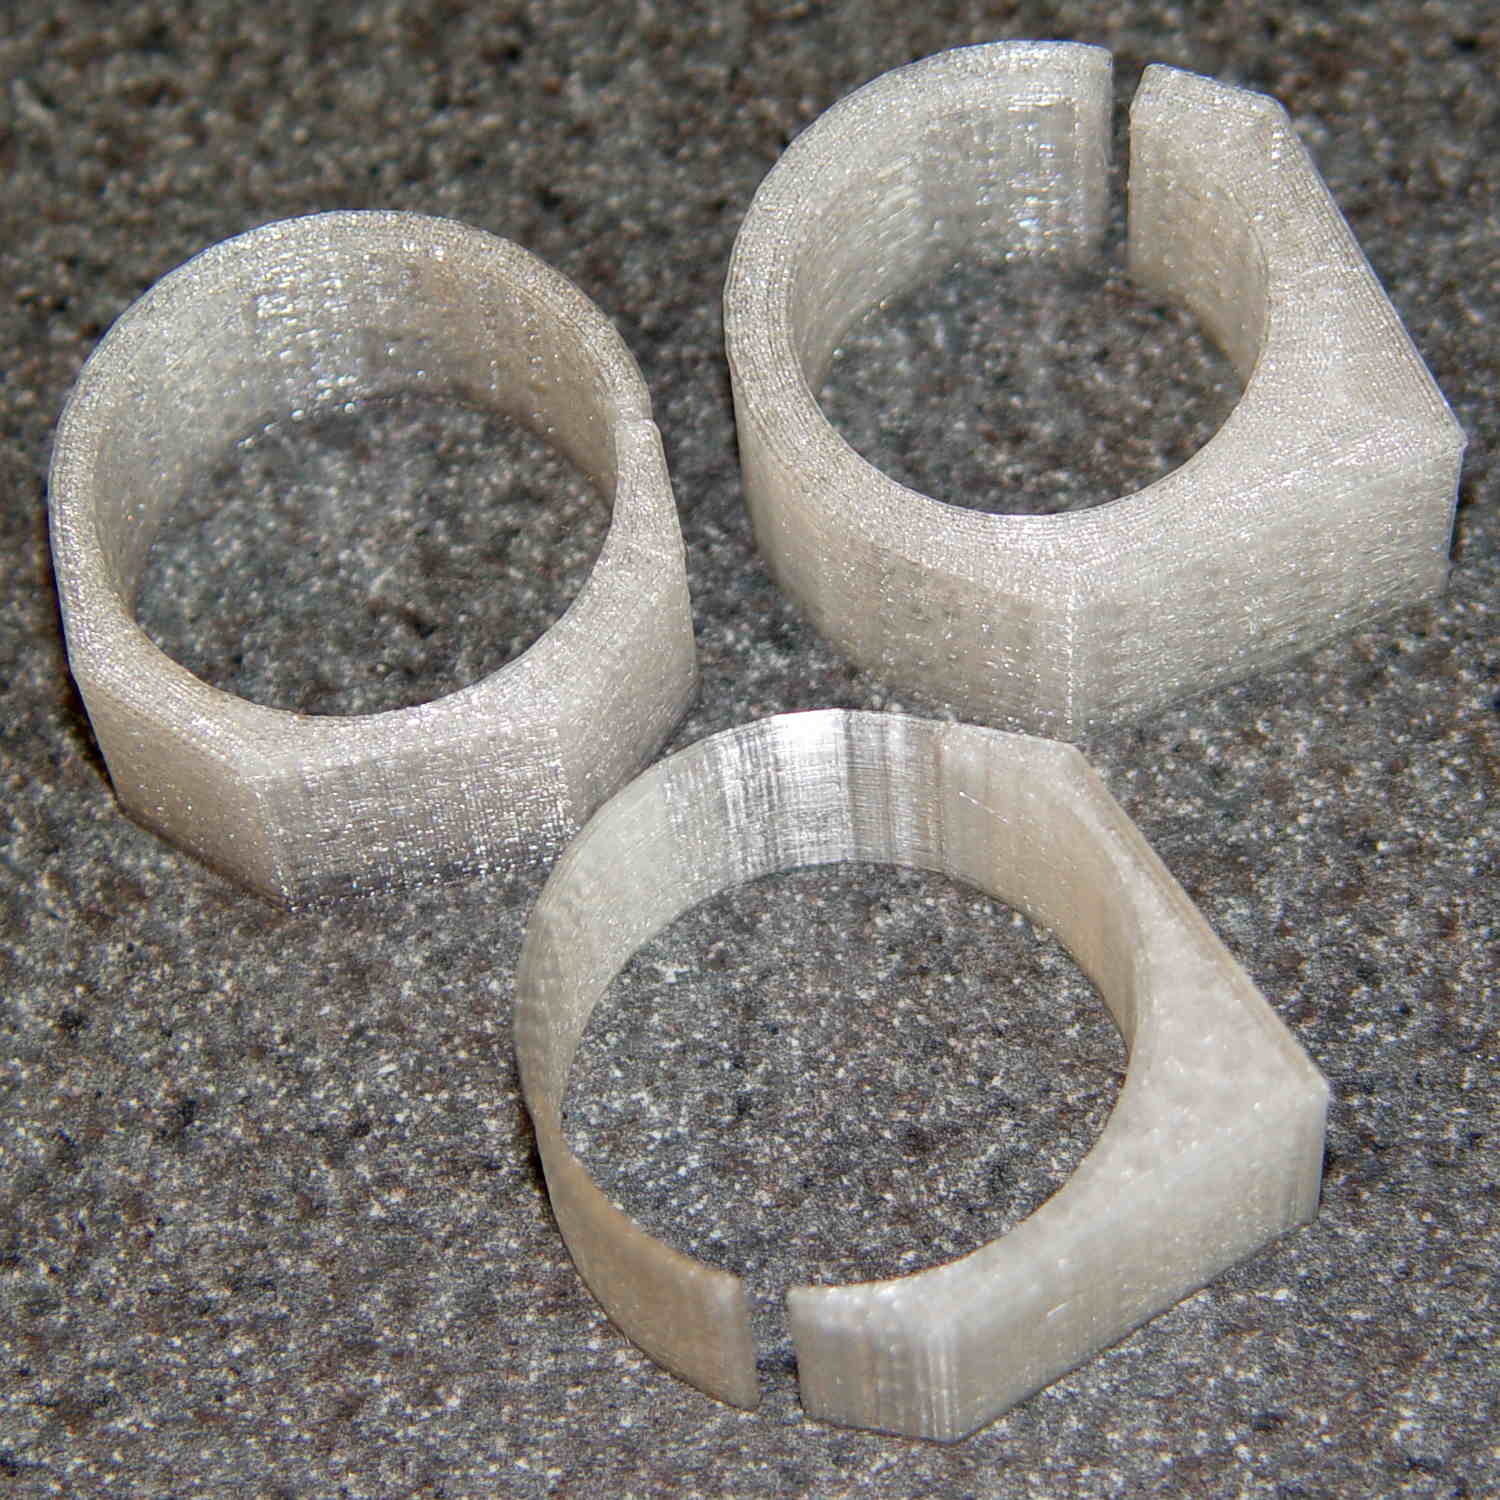
Having accumulated a set of octal tube base clamps, it’s now a matter of selecting the proper clamp for each tube:
Octal tube base V-block clamps
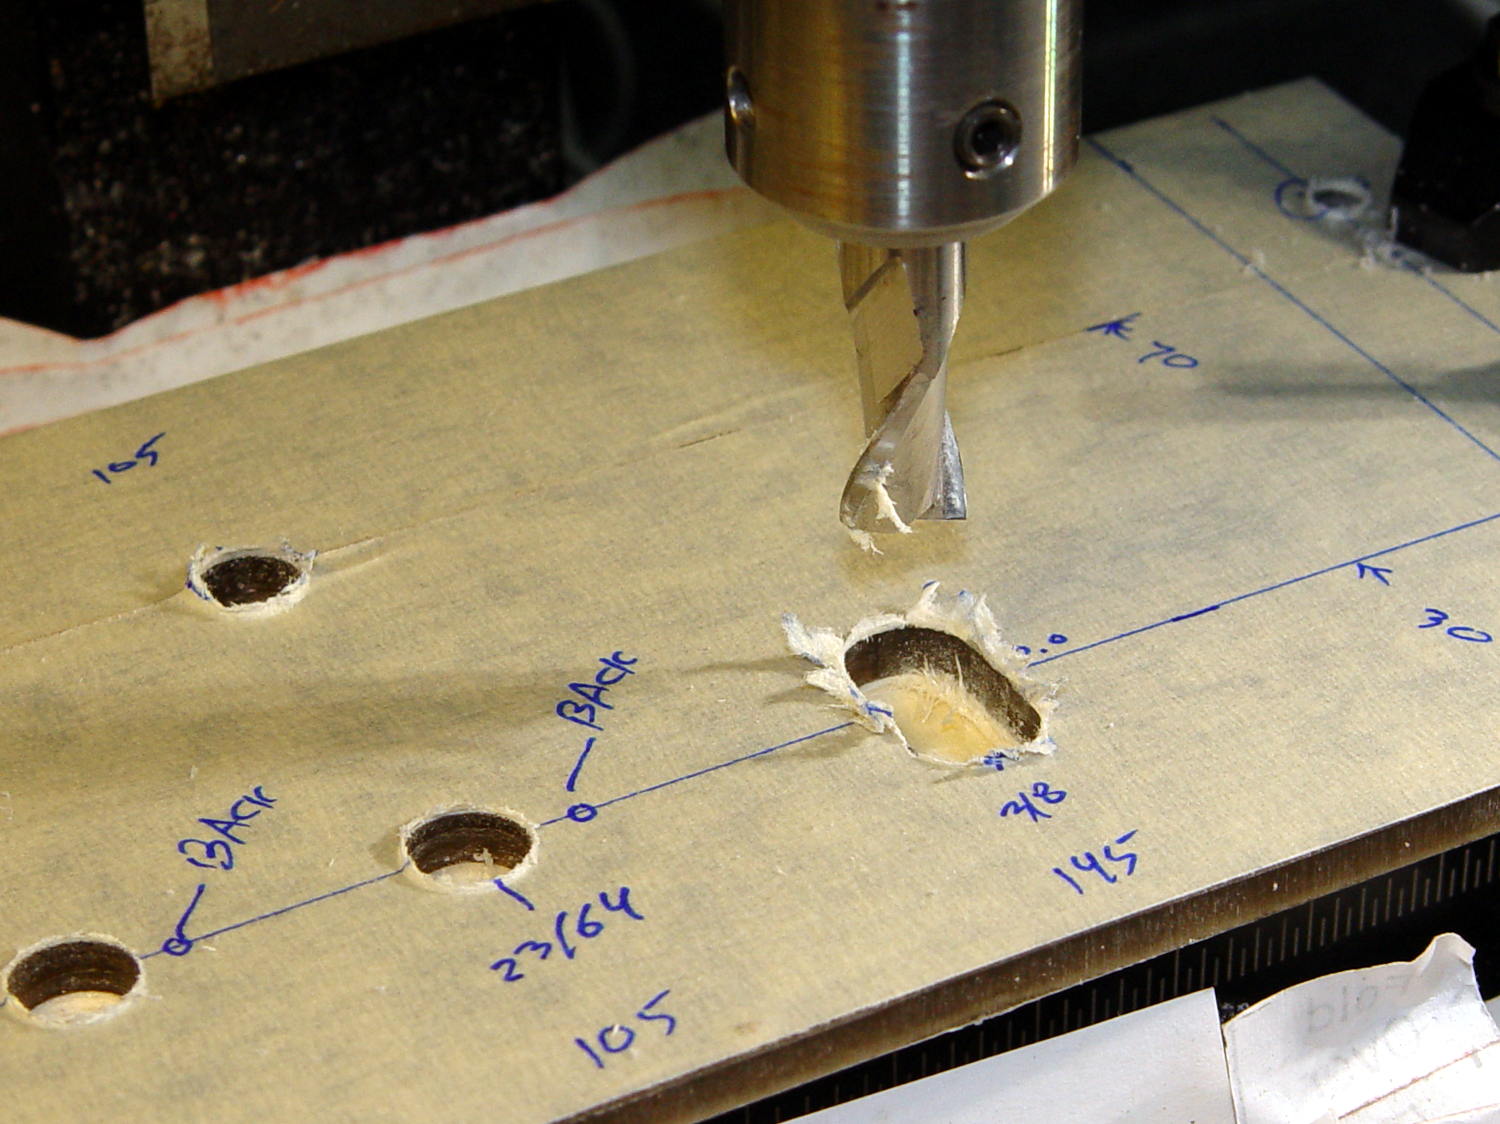
The process of shell-drilling the tube base, drilling the hard drive platter, printing a tube socket and case, wiring up the Arduino and base LED, then assembling the whole thing requires a bit of manual labor, assisted by some moderately exotic shop machinery.
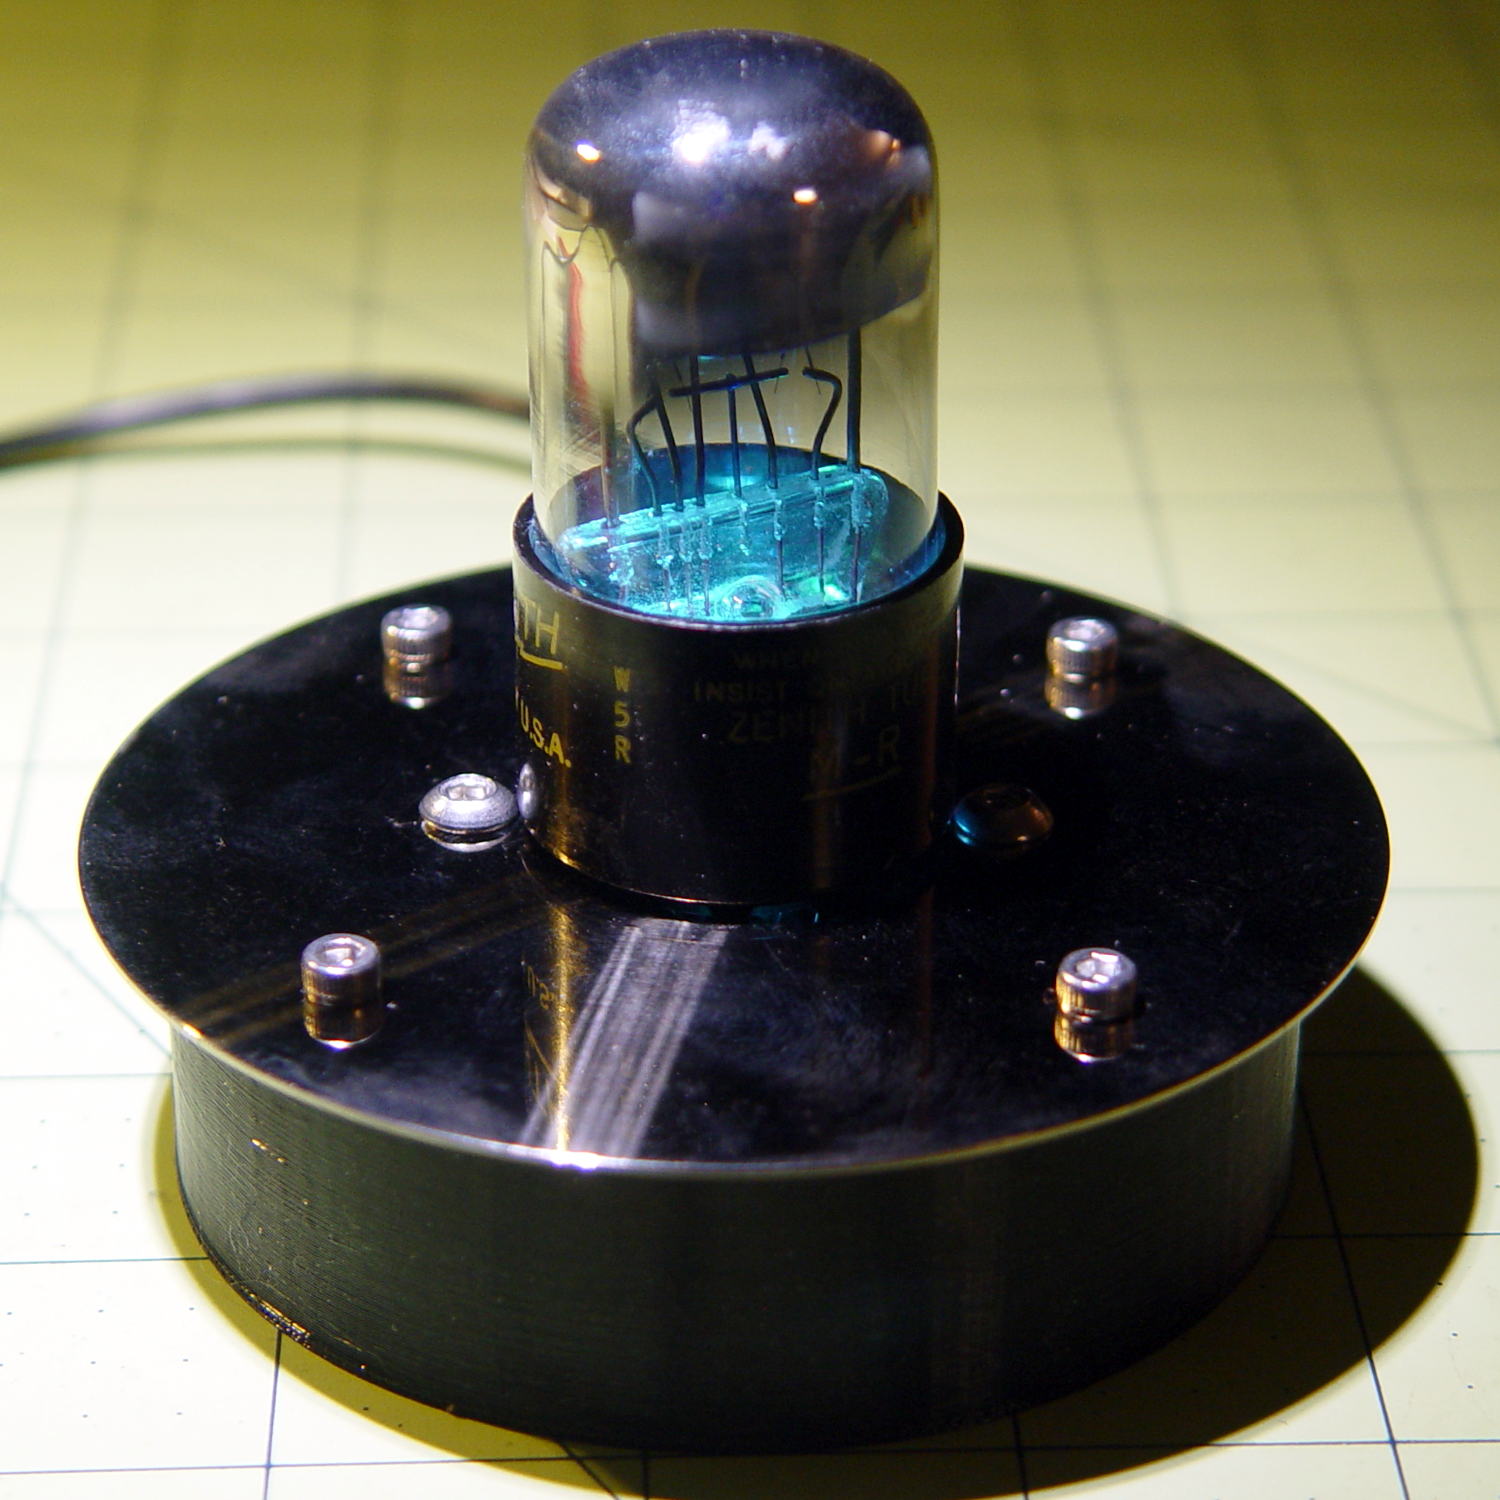
The getter flash atop this small 6H6GT dual diode tube rules out a cap and there’s not enough space for a side light:
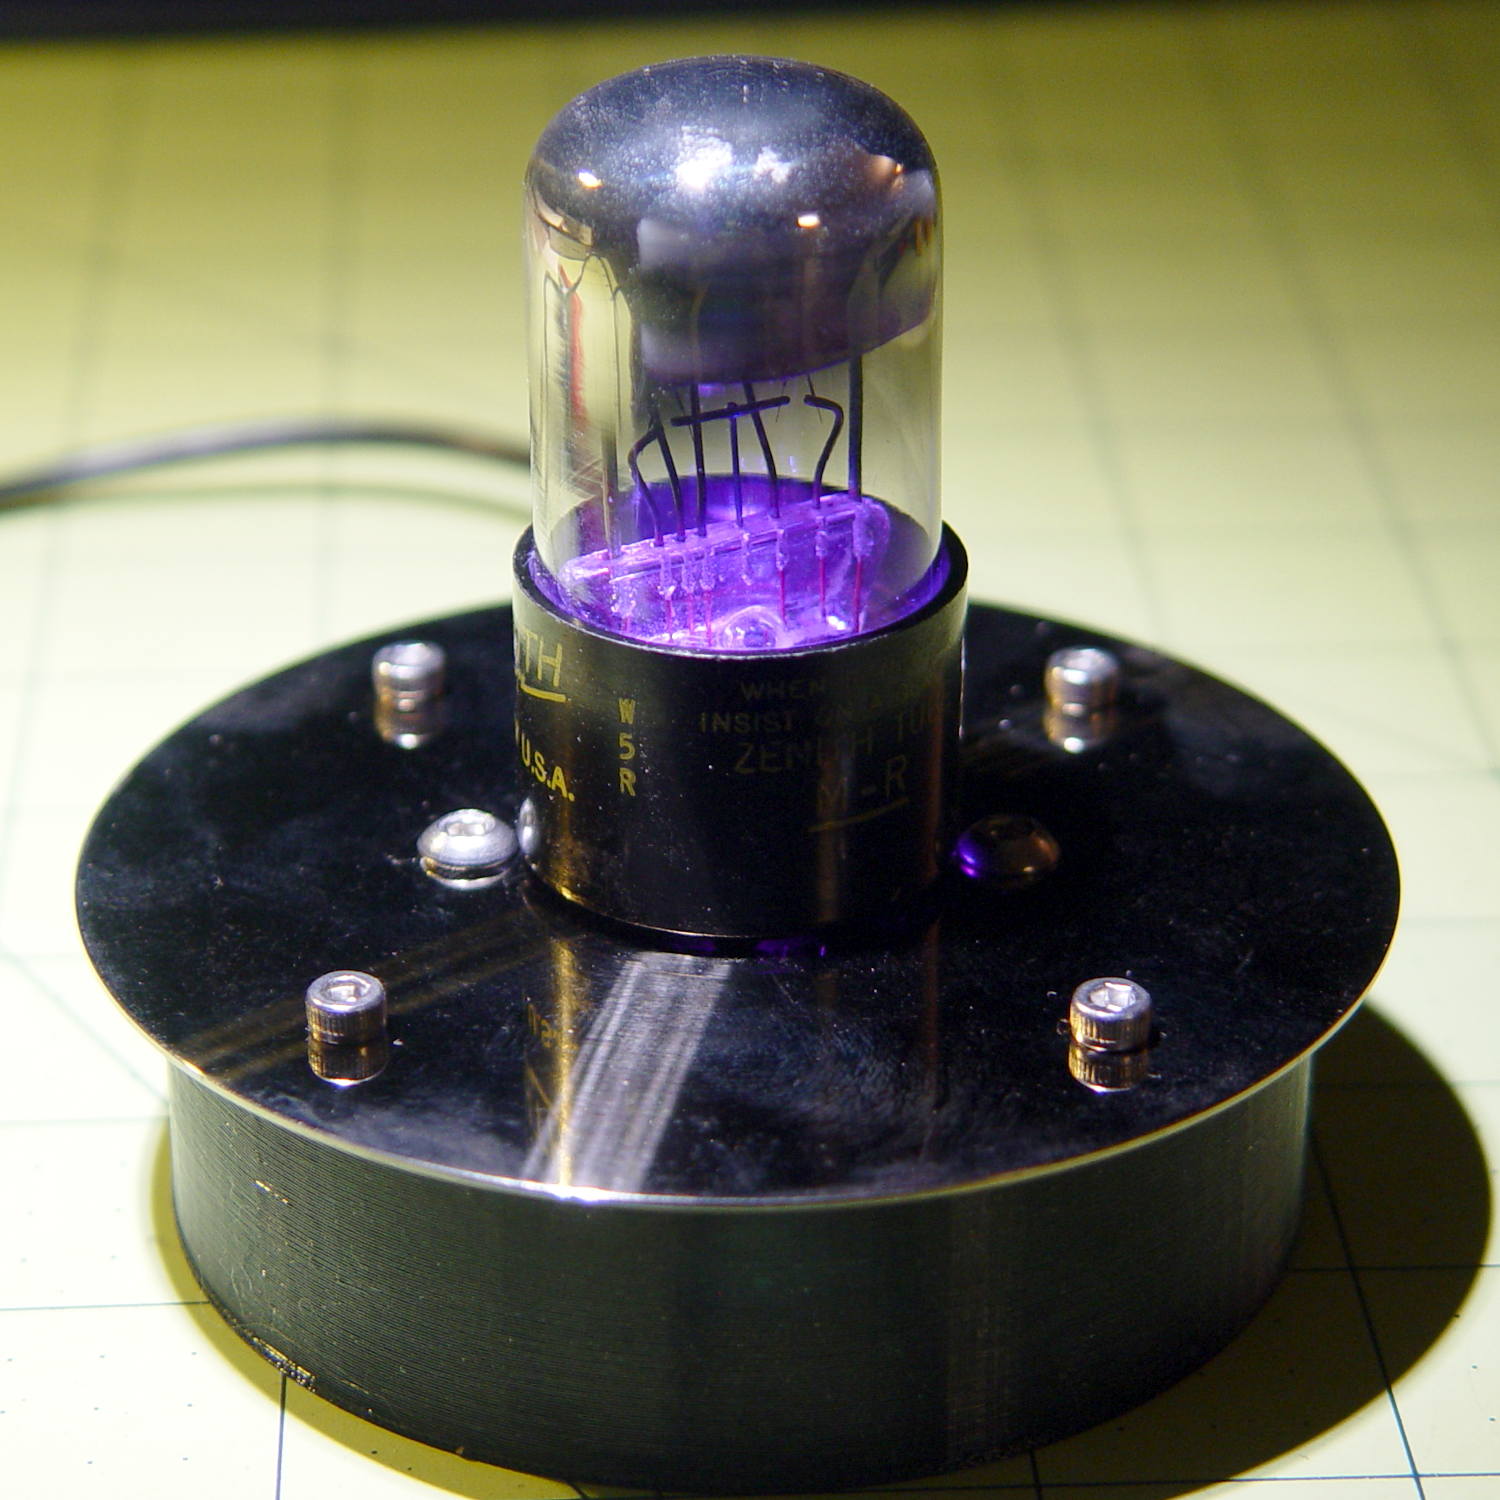
6H6GT – on platter
Fortunately, the base LED completely lights the internal glass:
6H6GT – purple phase
The slowly changing color would make a fine night light:
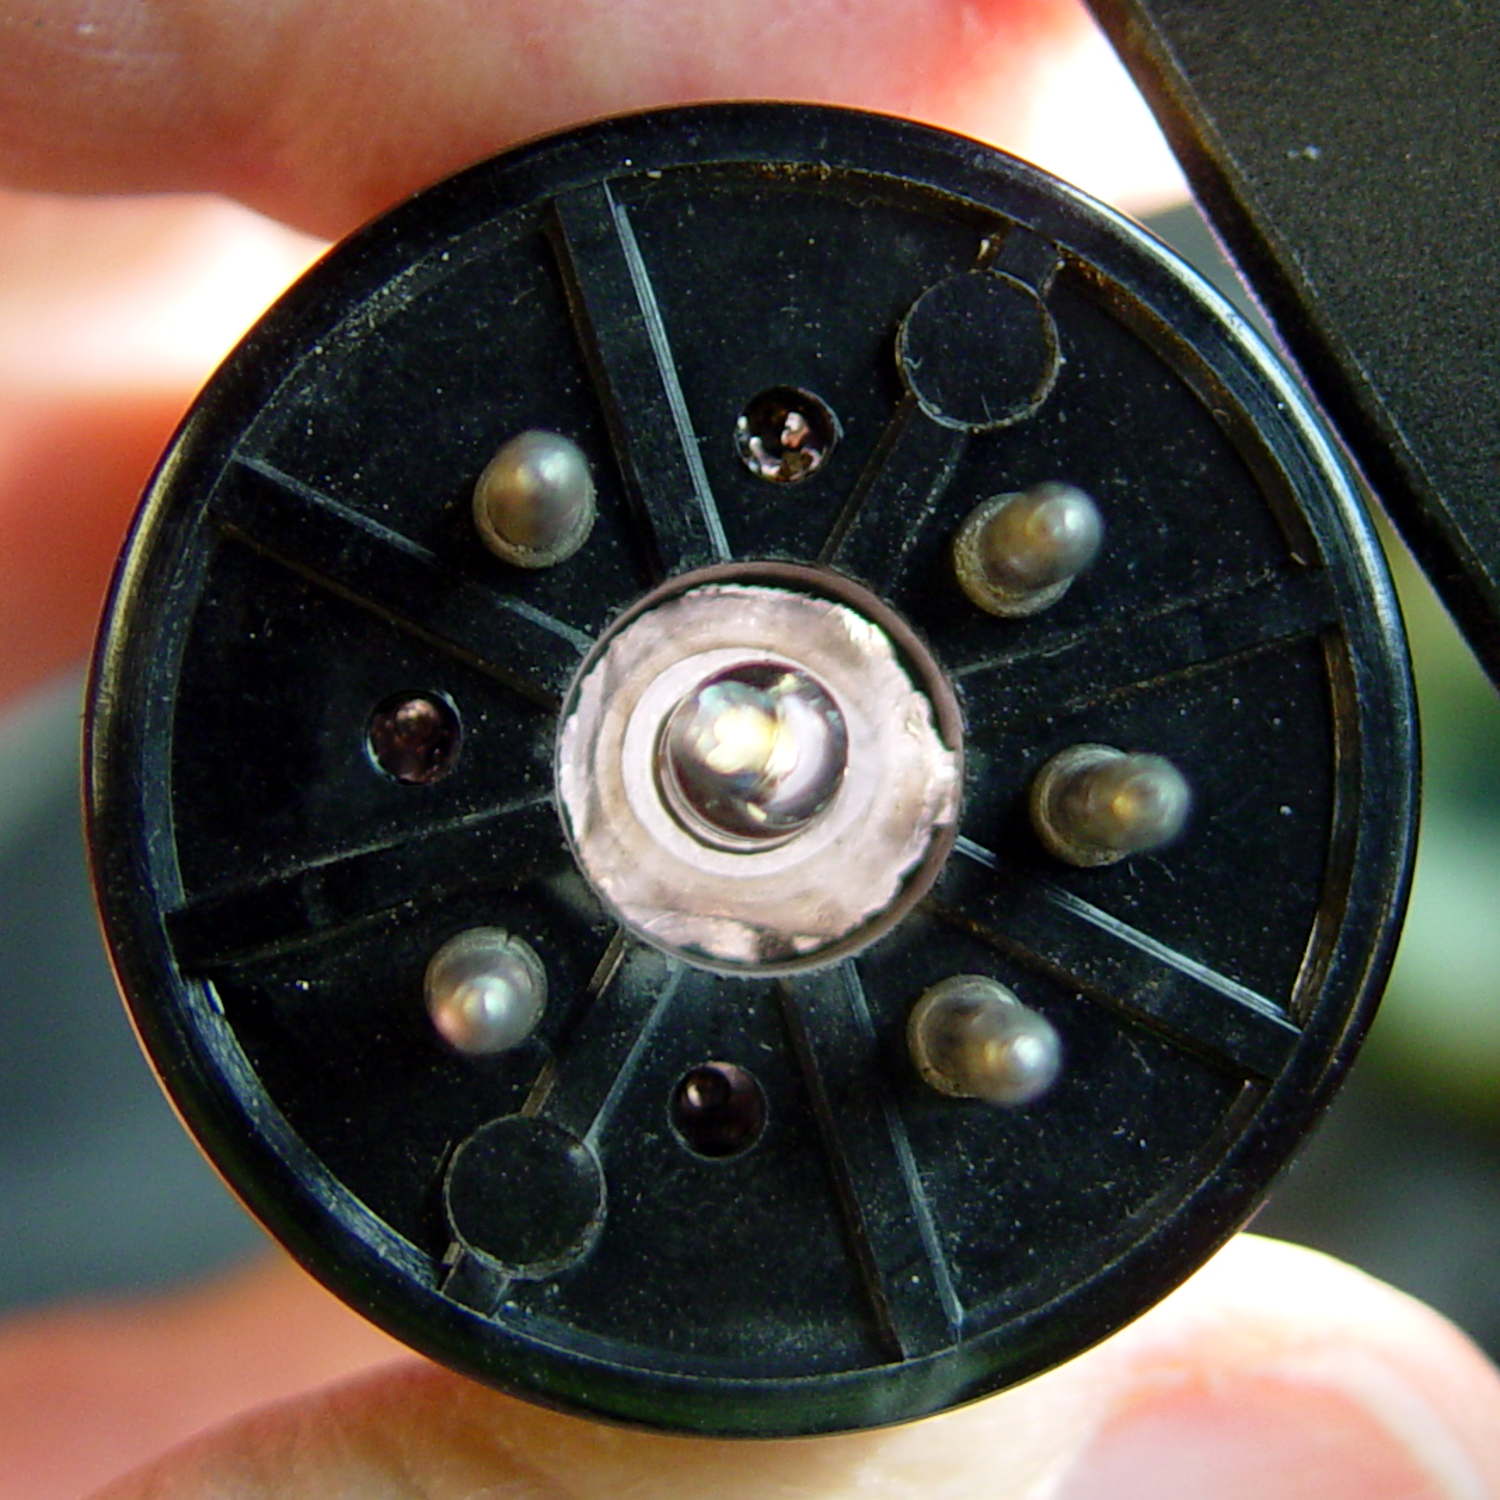
The evacuation tip nearly touched the inside end of the base spigot!
I had to cut the shaft and half the body off the shell drill in order to fit it into the space above the tube base and below the chuck:
5U4GB – base shell drilling
A slightly larger shell drill would still fit within the pin circle, but the maximum possible hole diameter in the base really isn’t all that much larger:
5U4GB – base opening
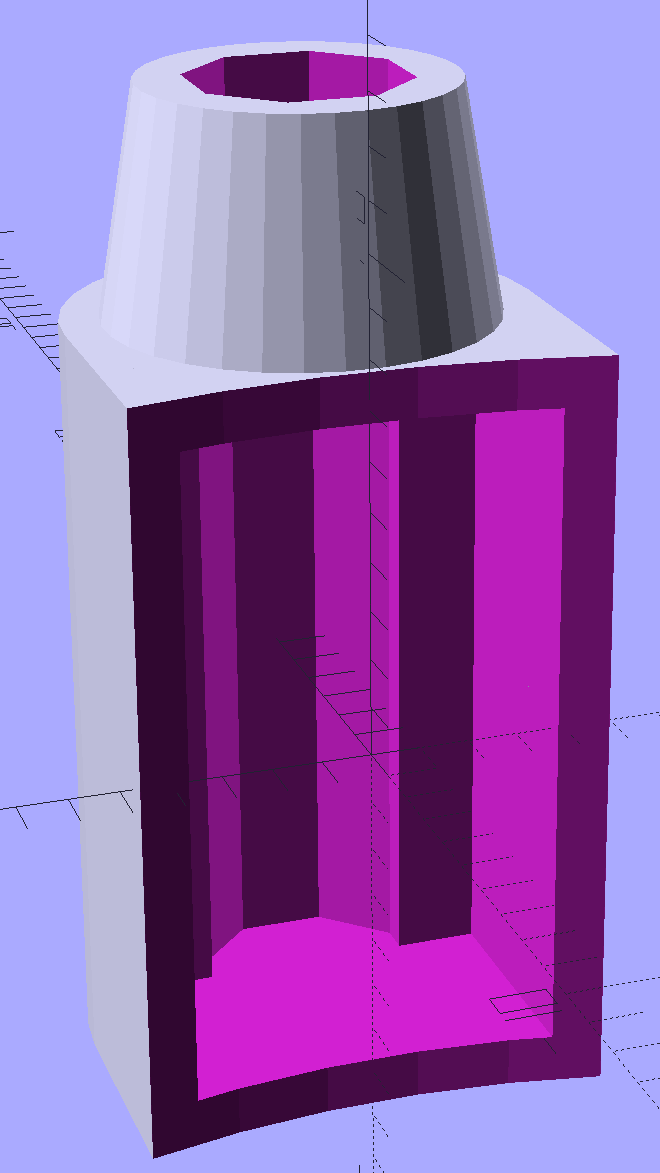
The getter flash covers the entire top of this tube, so I conjured a side light for a rectangular knockoff Neopixel:
Vacuum Tube Lights – side light – solid model
There’s no orientation that doesn’t require support:
Vacuum Tube Lights – side light support – Slic3r preview
A little prying with a small screwdriver and some pulling with a needlenose pliers extracted those blobs. All the visible surfaces remained undamaged and I cleaned up the curved side with a big rat-tail file.
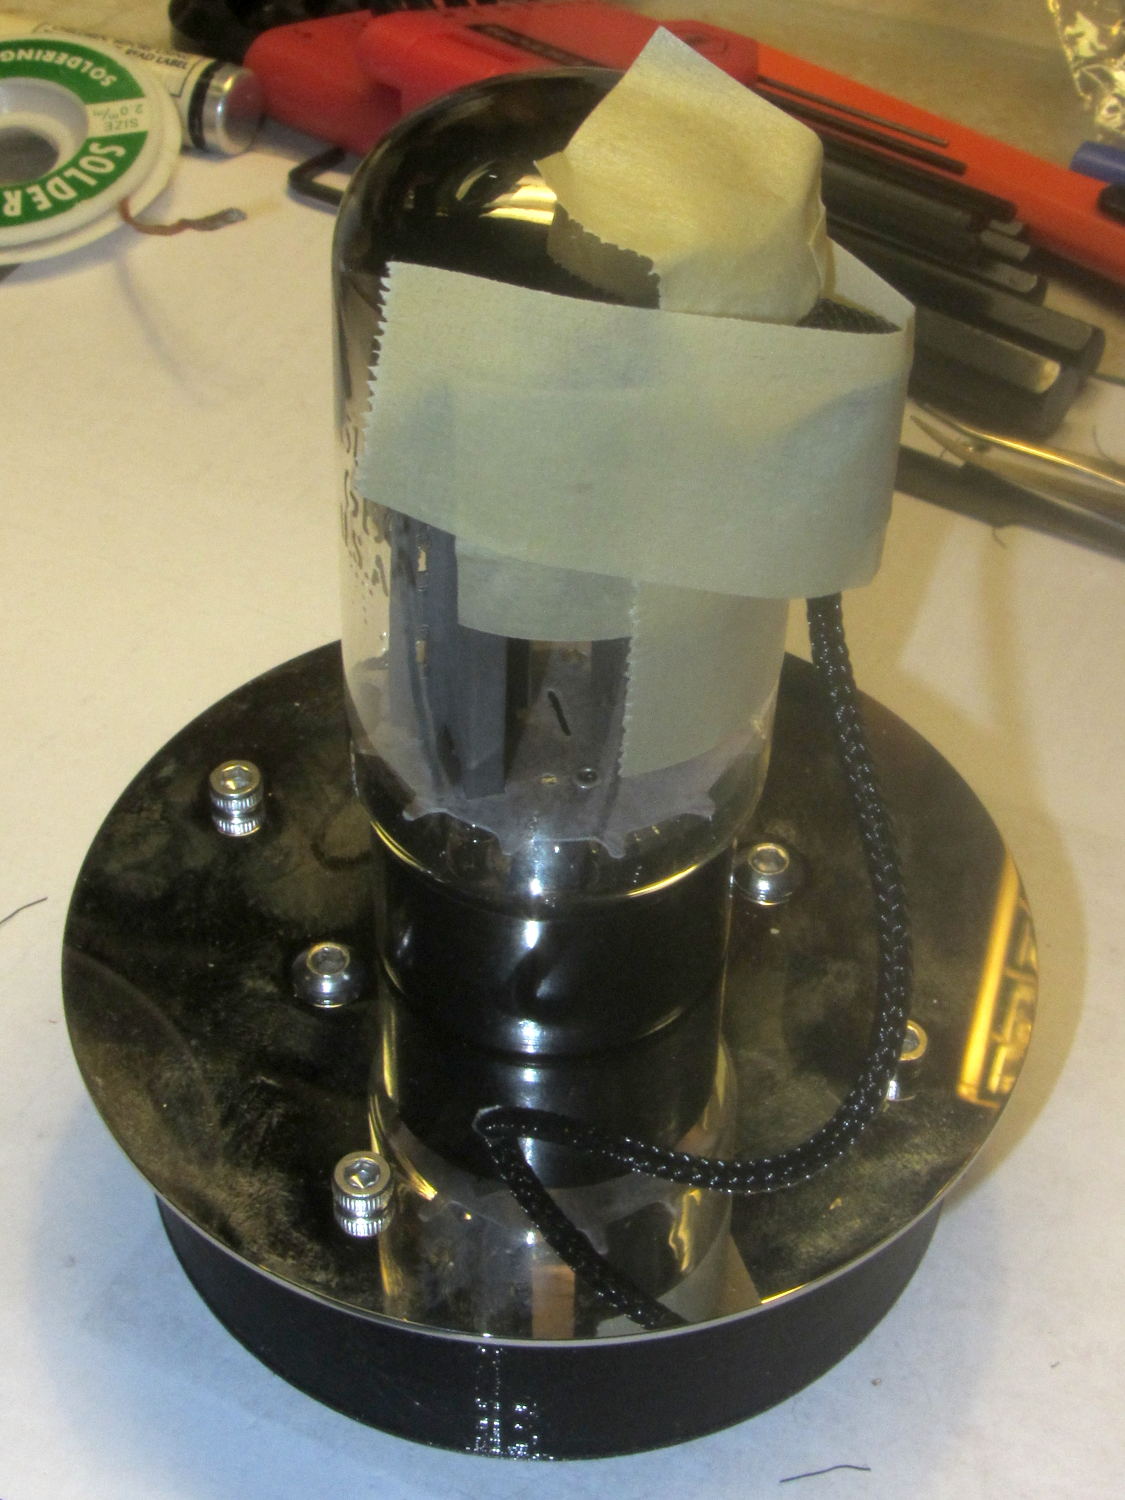
I wired the Arduino and Neopixels, masked a spot on the side of the tube (to improve both alignment and provide protection from slobbered epoxy), applied epoxy, and taped it in place until it cured:
5U4GB – sidelight epoxy curing
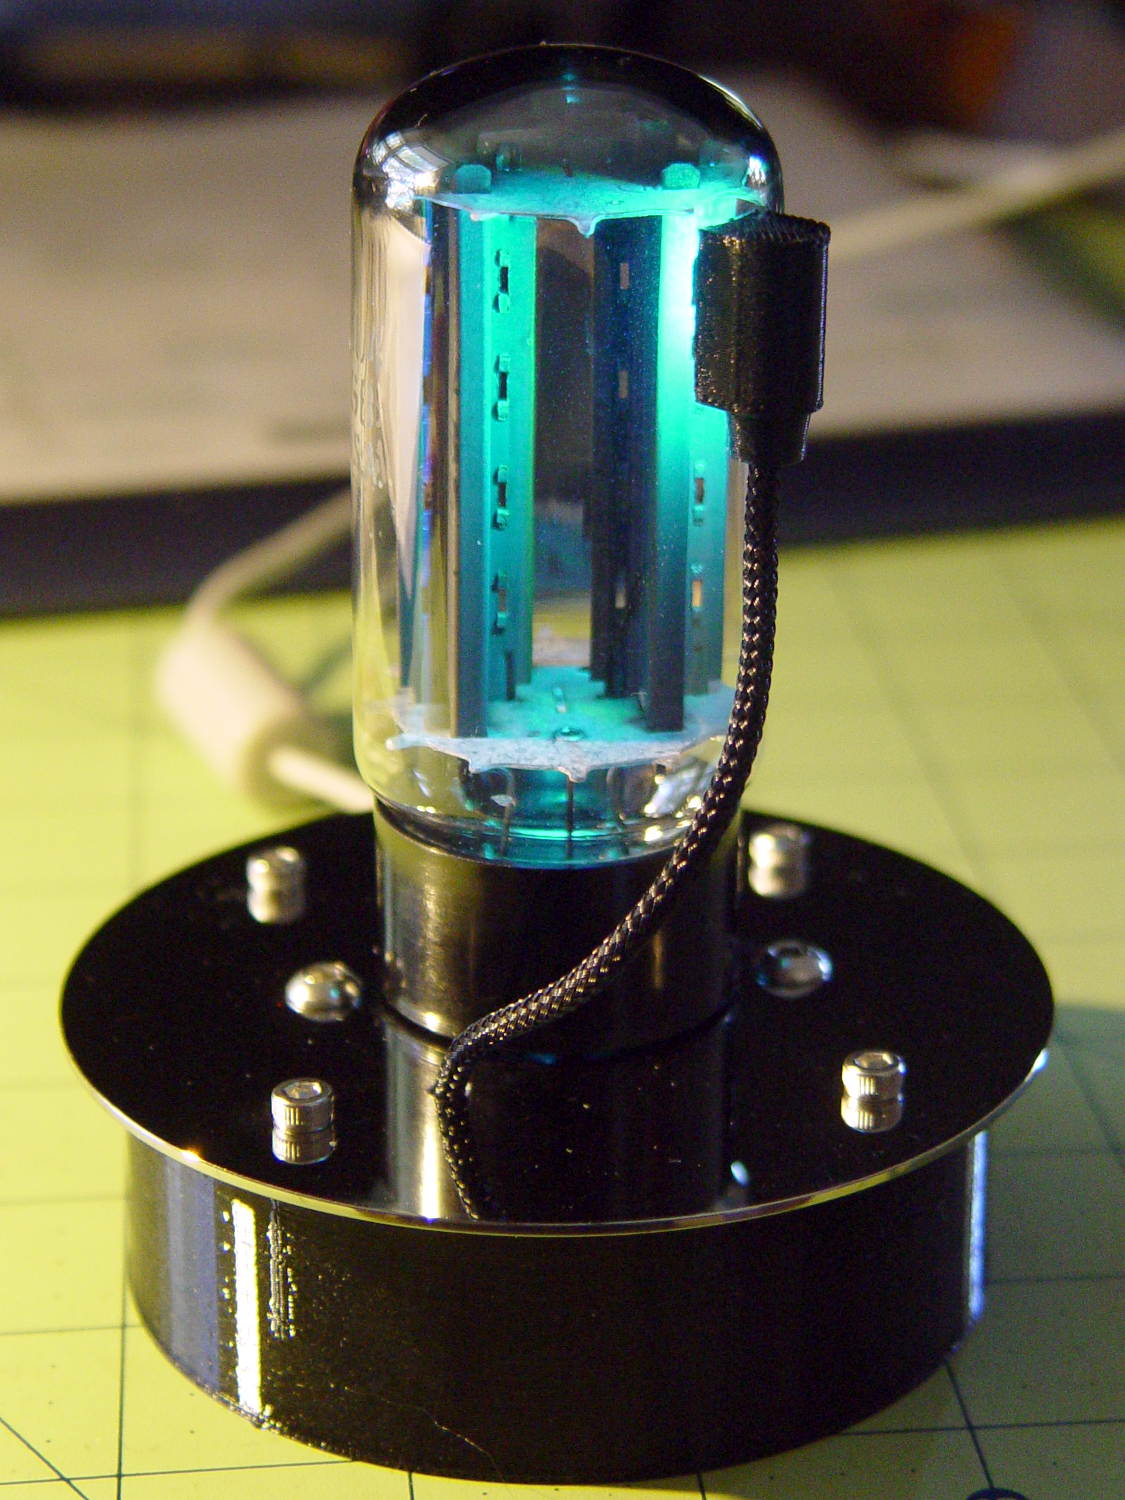
The end result looks great:
5U4GB Full-wave vacuum rectifier – side and base illumination
It currently sends Morse code through the base LED, but it’s much too stately for that.
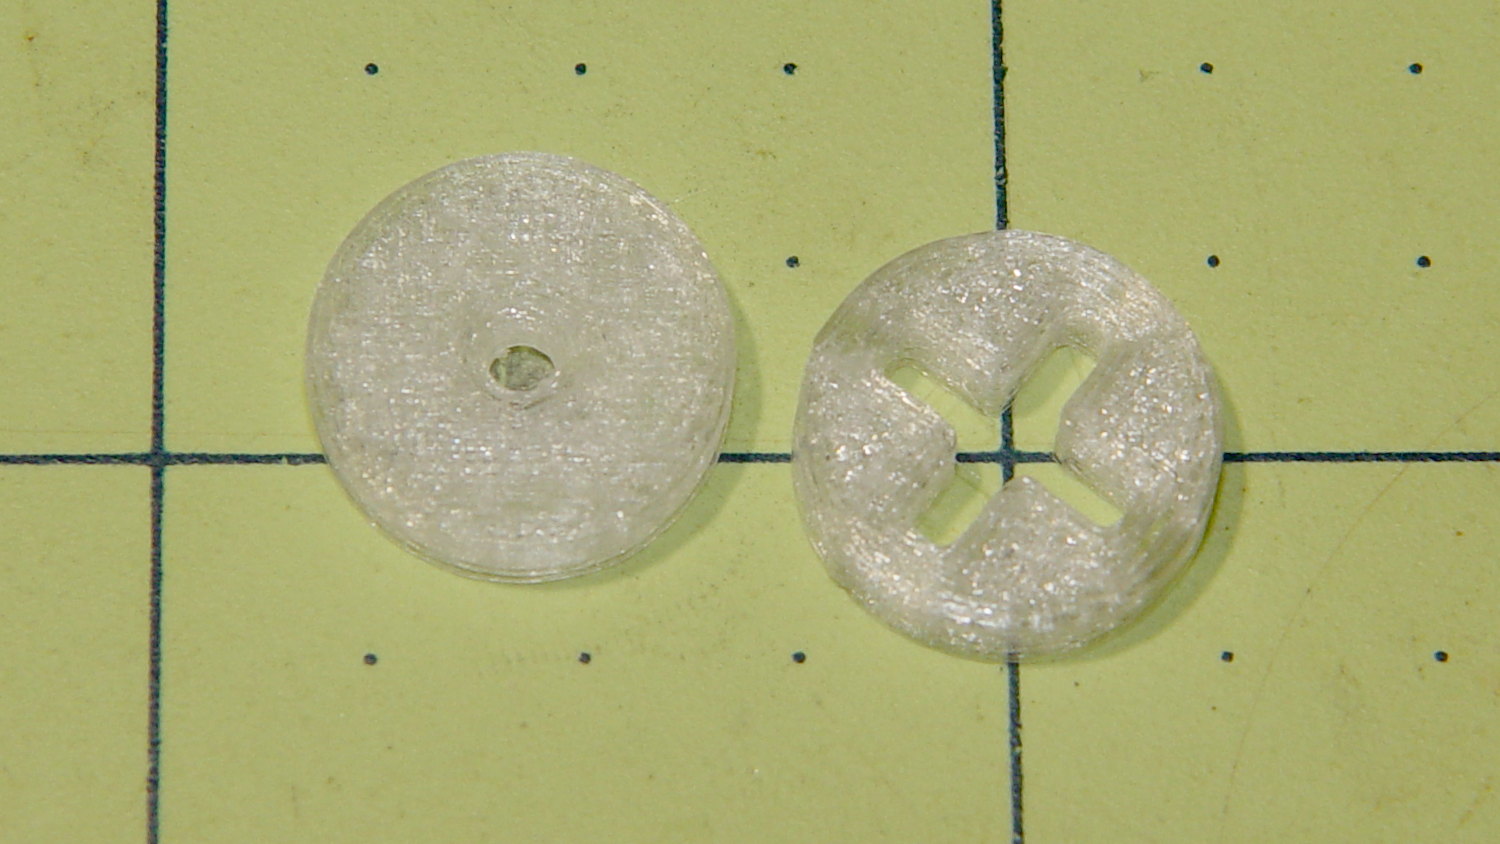
I made the pencil guides to help Mary design ruler quilting patterns, but sometimes she must line up the ruler with a feature on an existing pattern. To that end, we now have a reticle guide:
Ruler Adapters – pencil guide and reticle
The general idea is that it’s easier to see the pattern on paper through the crosshair than through a small hole. You put the button over a feature, align the reticle, put the ruler against the button, replace it with pencil guide, and away you go.
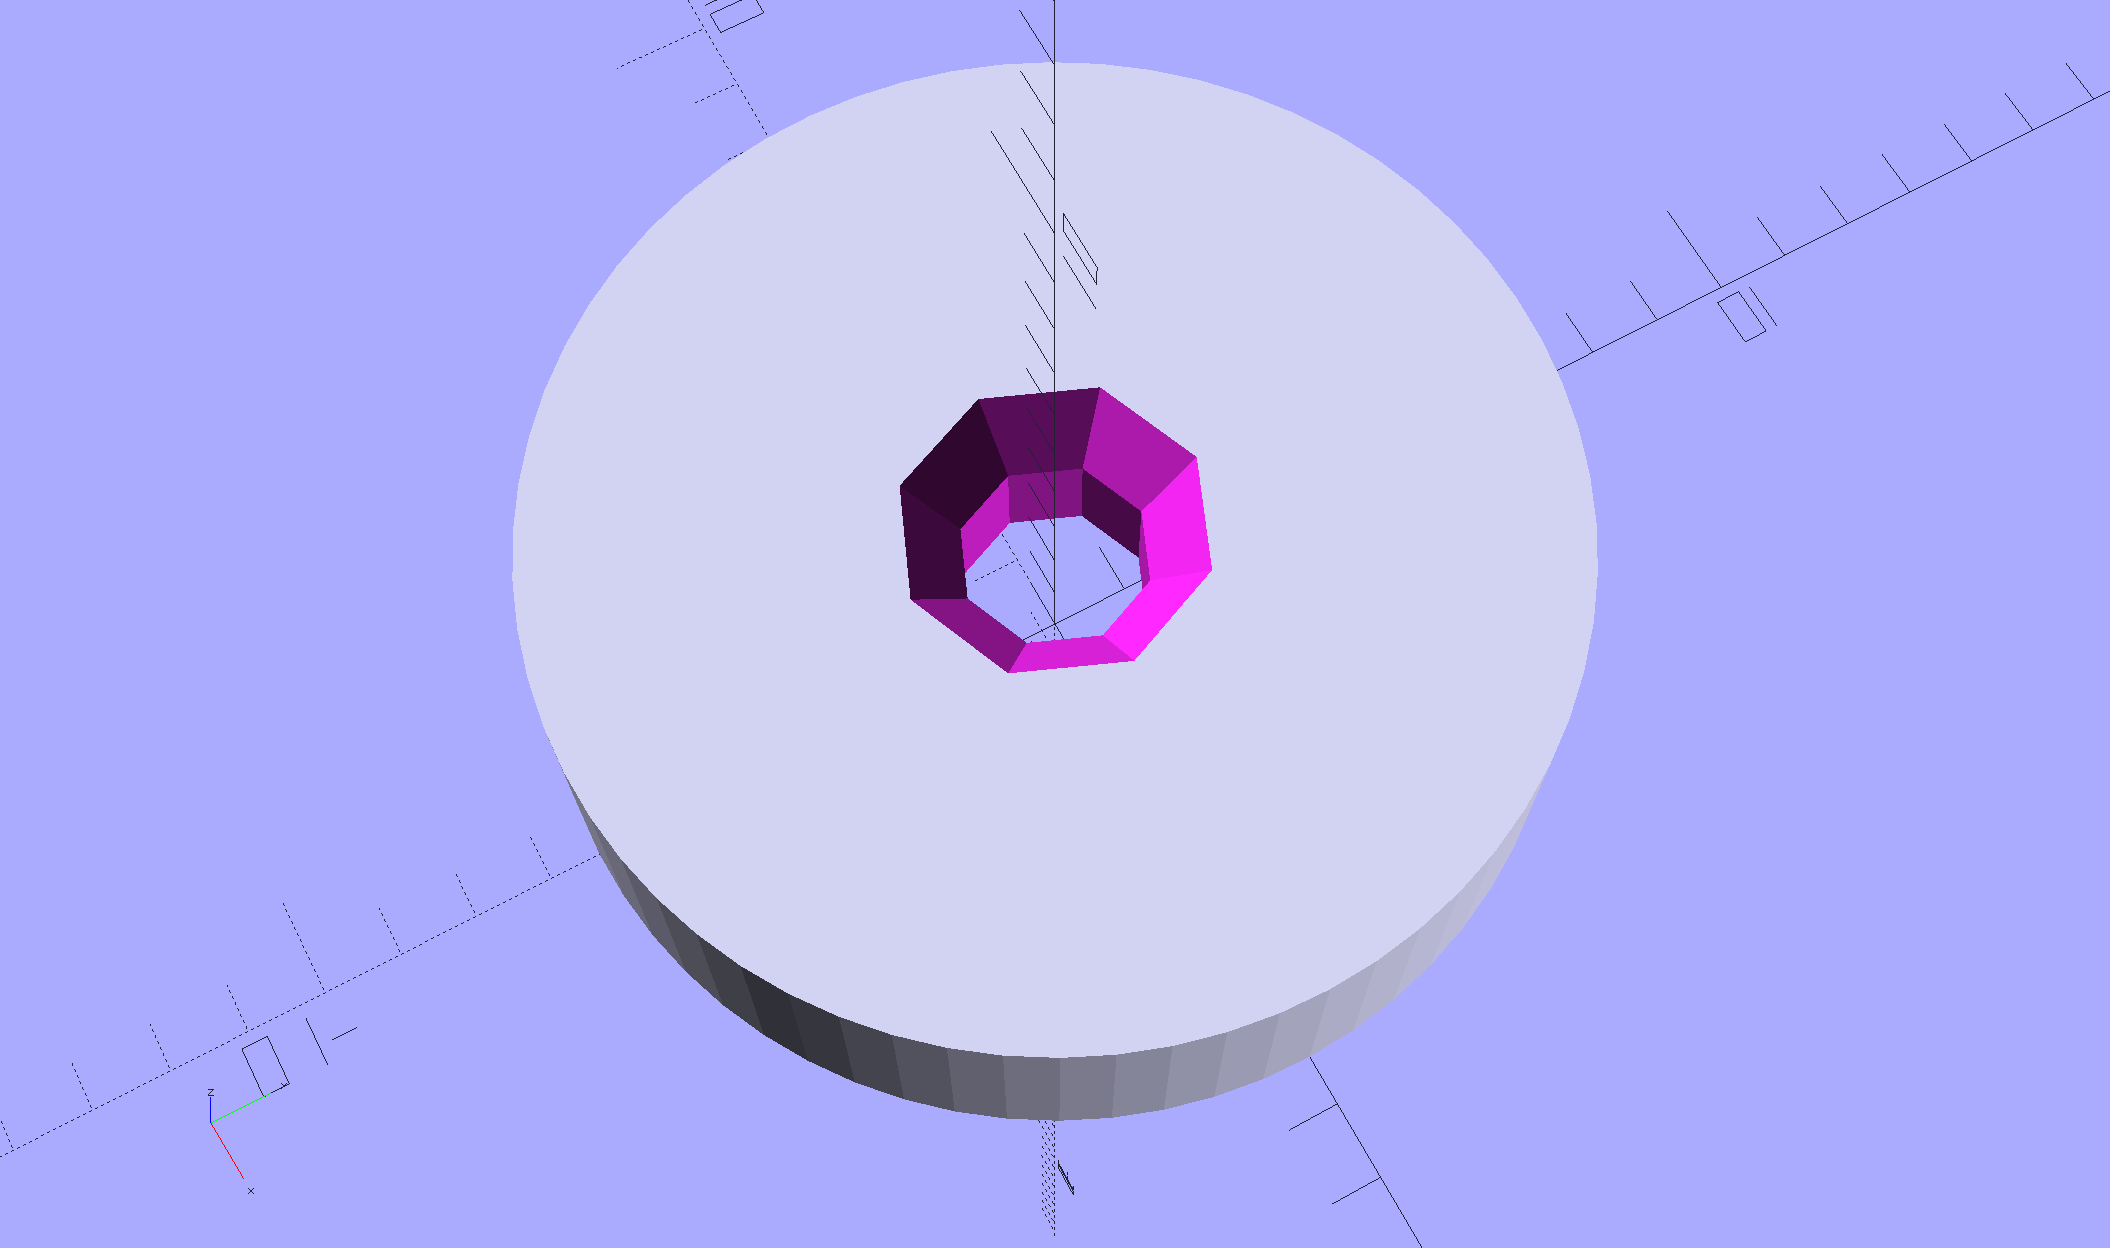
The solid model looks much more lively than you’d expect:
Ruler Adapter – reticle – Slic3r preview
Printing up a pair of each button produces the same surface finish as before; life is good!
This file contains hidden or bidirectional Unicode text that may be interpreted or compiled differently than what appears below. To review, open the file in an editor that reveals hidden Unicode characters.
Learn more about bidirectional Unicode characters
Mary has been doing Ruler Quilting and wanted a pencil guide (similar to the machine’s ruler foot) to let her sketch layouts before committing stitches to fabric. The general idea is to offset the pencil by 1/4 inch from the edge of the ruler:
Ruler Adapter – solid model
That was easy.
Print three to provide a bit of cooling time and let her pass ’em around at her next quilting bee:
Ruler Adapter – Slic3r preview
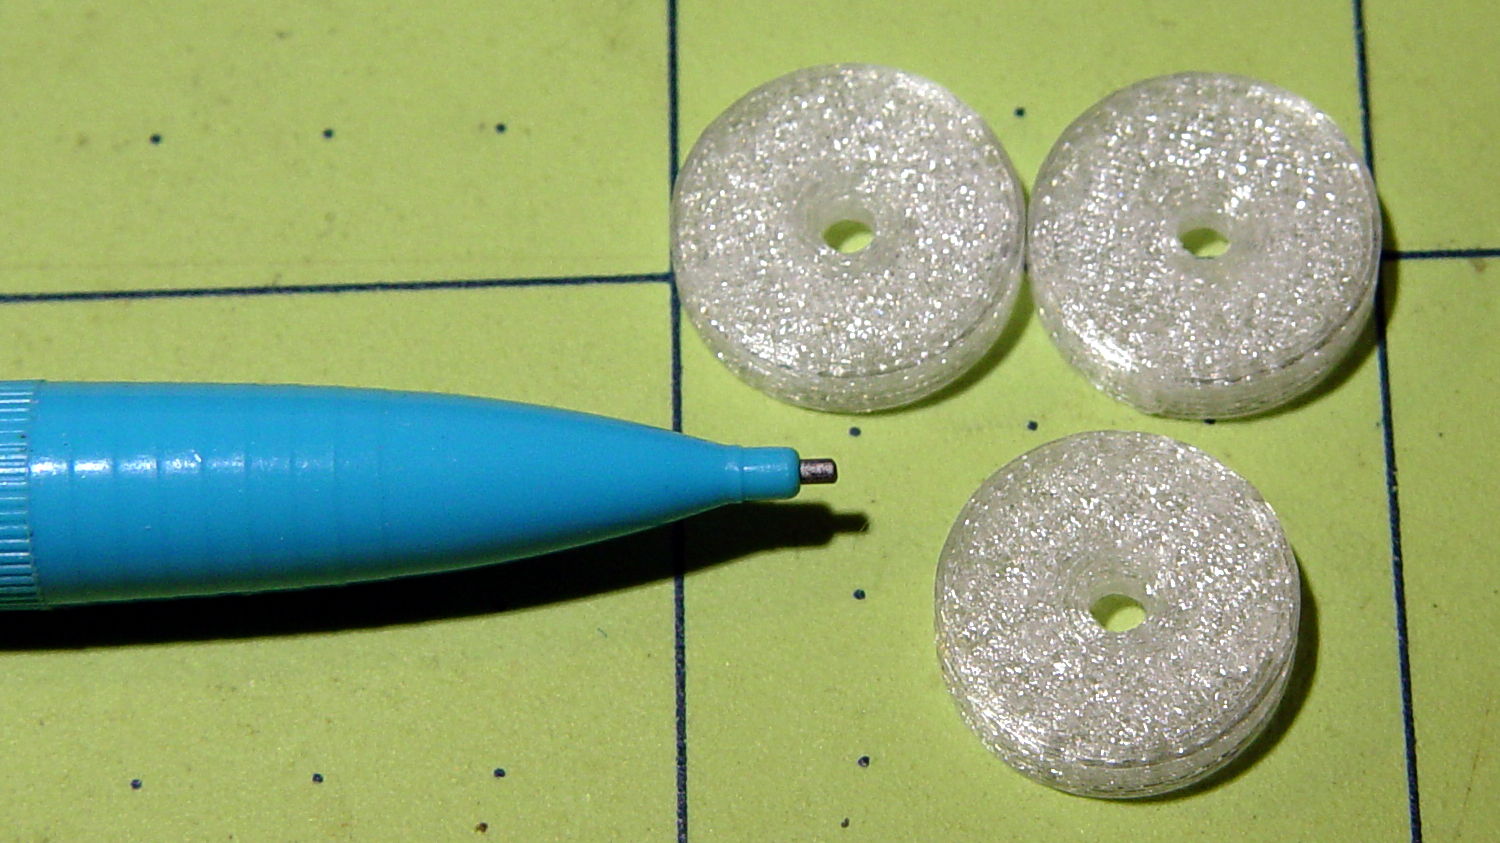
Her favorite doodling pencil shoves a 0.9 mm lead through a 2 mm ferrule, so ream the center hole with a #44 drill (86 mil = 2.1 mm) to suit:
Ruler quilting pencil guides
The outer perimeters have 64 facets, an unusually high number for my models, so they’re nice & smooth on the ruler. Even though I didn’t build them sequentially, they had zero perimeter zits and the OD came out 0.500 inch on the dot.
The chamfers guide the pencil point into the hole and provide a bit of relief for the pencil’s snout.
If I had a laser cutter, I could make special rulers for her, too …
This file contains hidden or bidirectional Unicode text that may be interpreted or compiled differently than what appears below. To review, open the file in an editor that reveals hidden Unicode characters.
Learn more about bidirectional Unicode characters
When I installed the new fine-tooth filament drive gear (wheel, whatever) in the M2, I ran some numbers that suggested replacing the fixed-position screw with a (more-or-less-)constant-force spring. Some recent discussions on the M2 forum suggest, at least to me, that the drive gear is, indeed, less forgiving of filament diameter variations, drive housing wear, and suchlike than the chunkier old gear.
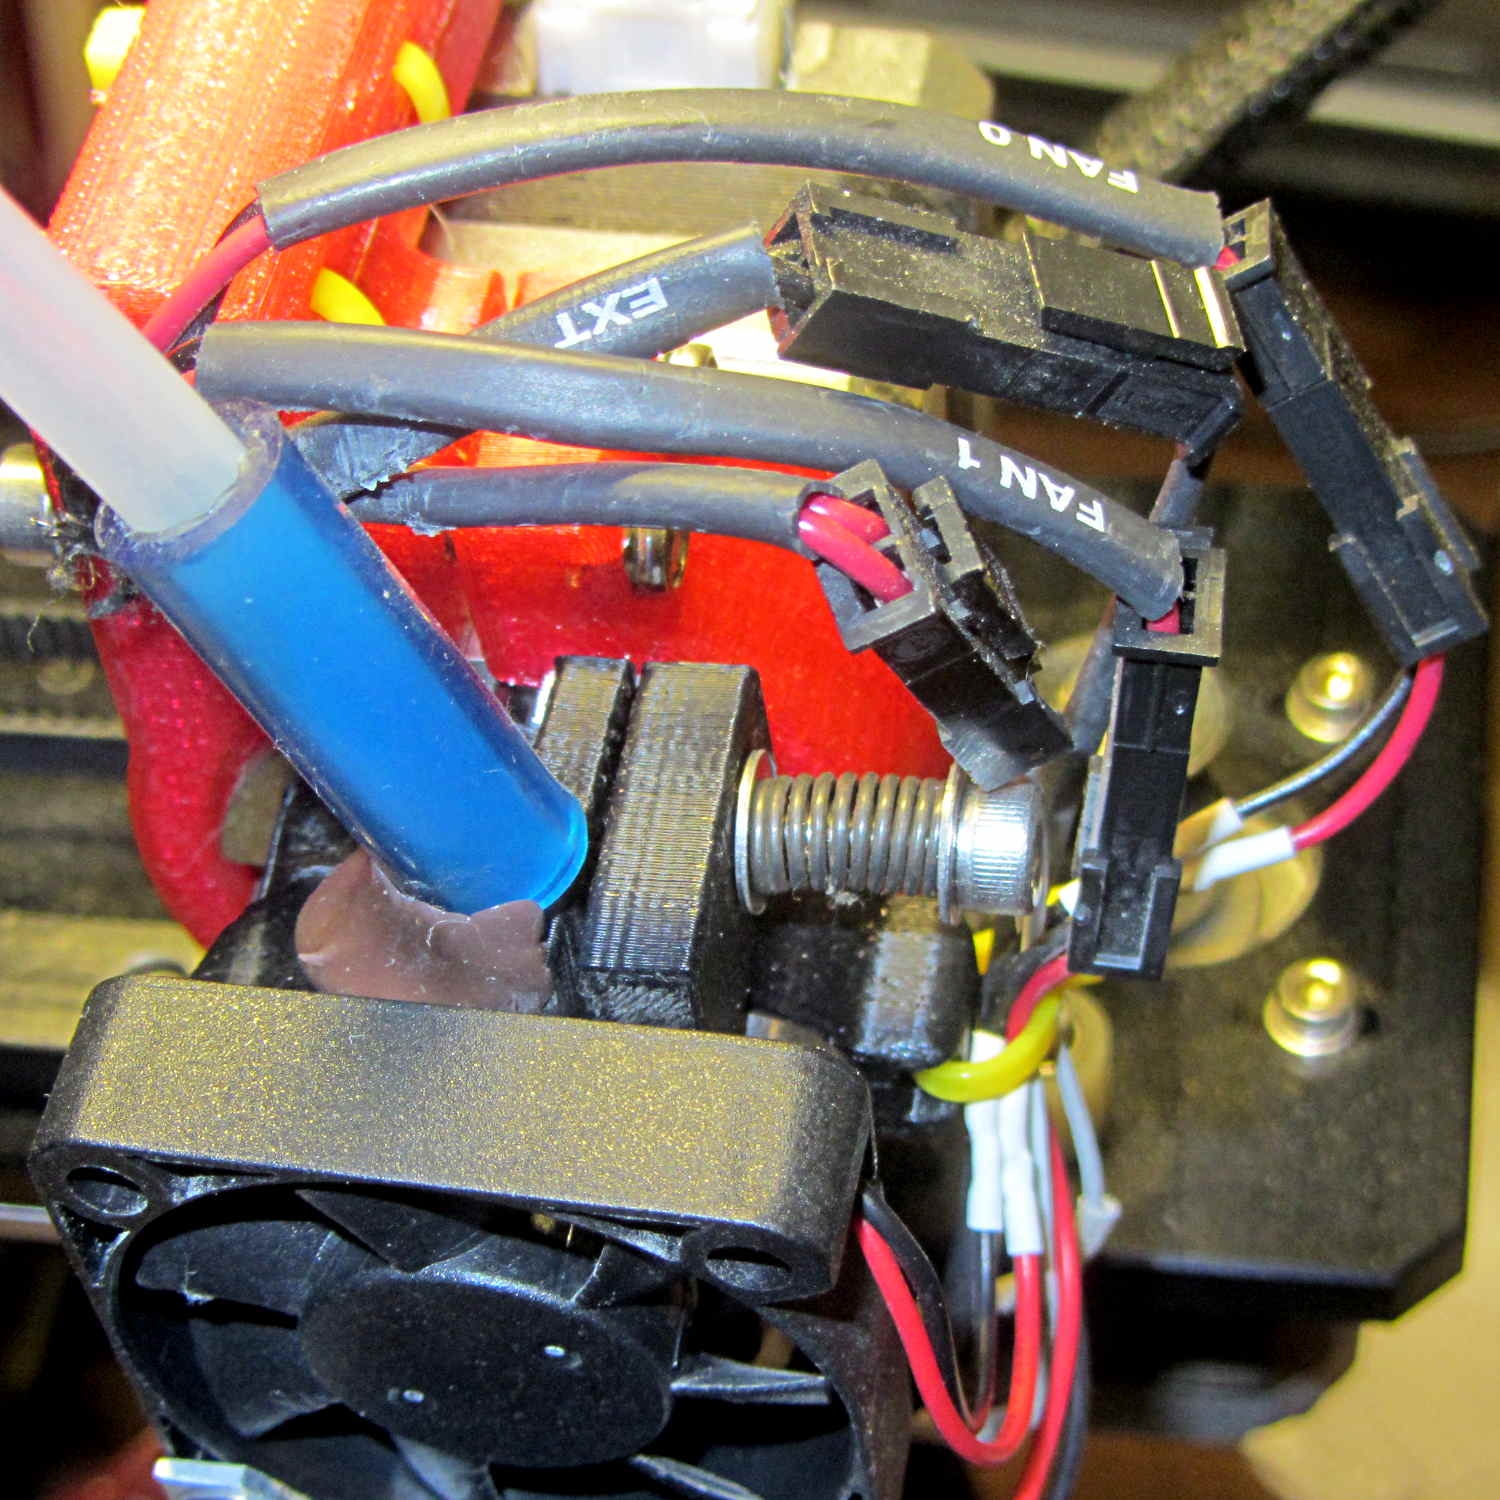
Having recently bought an assortment of longer M4 screws, I finally got around to installing an appropriate spring from the Big Box o’ Springs and another washer to capture it:
Makergear M2 – spring-loaded filament drive
Before doing anything, I measured the gap between the filament drive body (on the left) and the lever arm (on the right) holding the idler bearing: 21 mil = 0.53 mm.
I don’t have a number for the spring constant; it’s rather stiff.
After installing the spring, I cranked the screw to restore the same gap as before, which should mean the spring is exerting roughly the same force on the arm as the fixed-position screw.
The general idea: the spring allows the flexible arm to move as the filament diameter changes, while maintaining roughly the same pressure on the drive gear, thus producing nearly the same depth-of-engagement grooves in the filament. Maintaining “the same pressure” requires the motion to be relatively small compared to the spring preload distance, which seems reasonable with ±0.1 mm diameter variations and maybe 5 mm of preload.
The new filament drive gear hasn’t ever stripped out (after that initial finger fumble), so this will be more of a test to verify that the spring doesn’t make the situation worse.
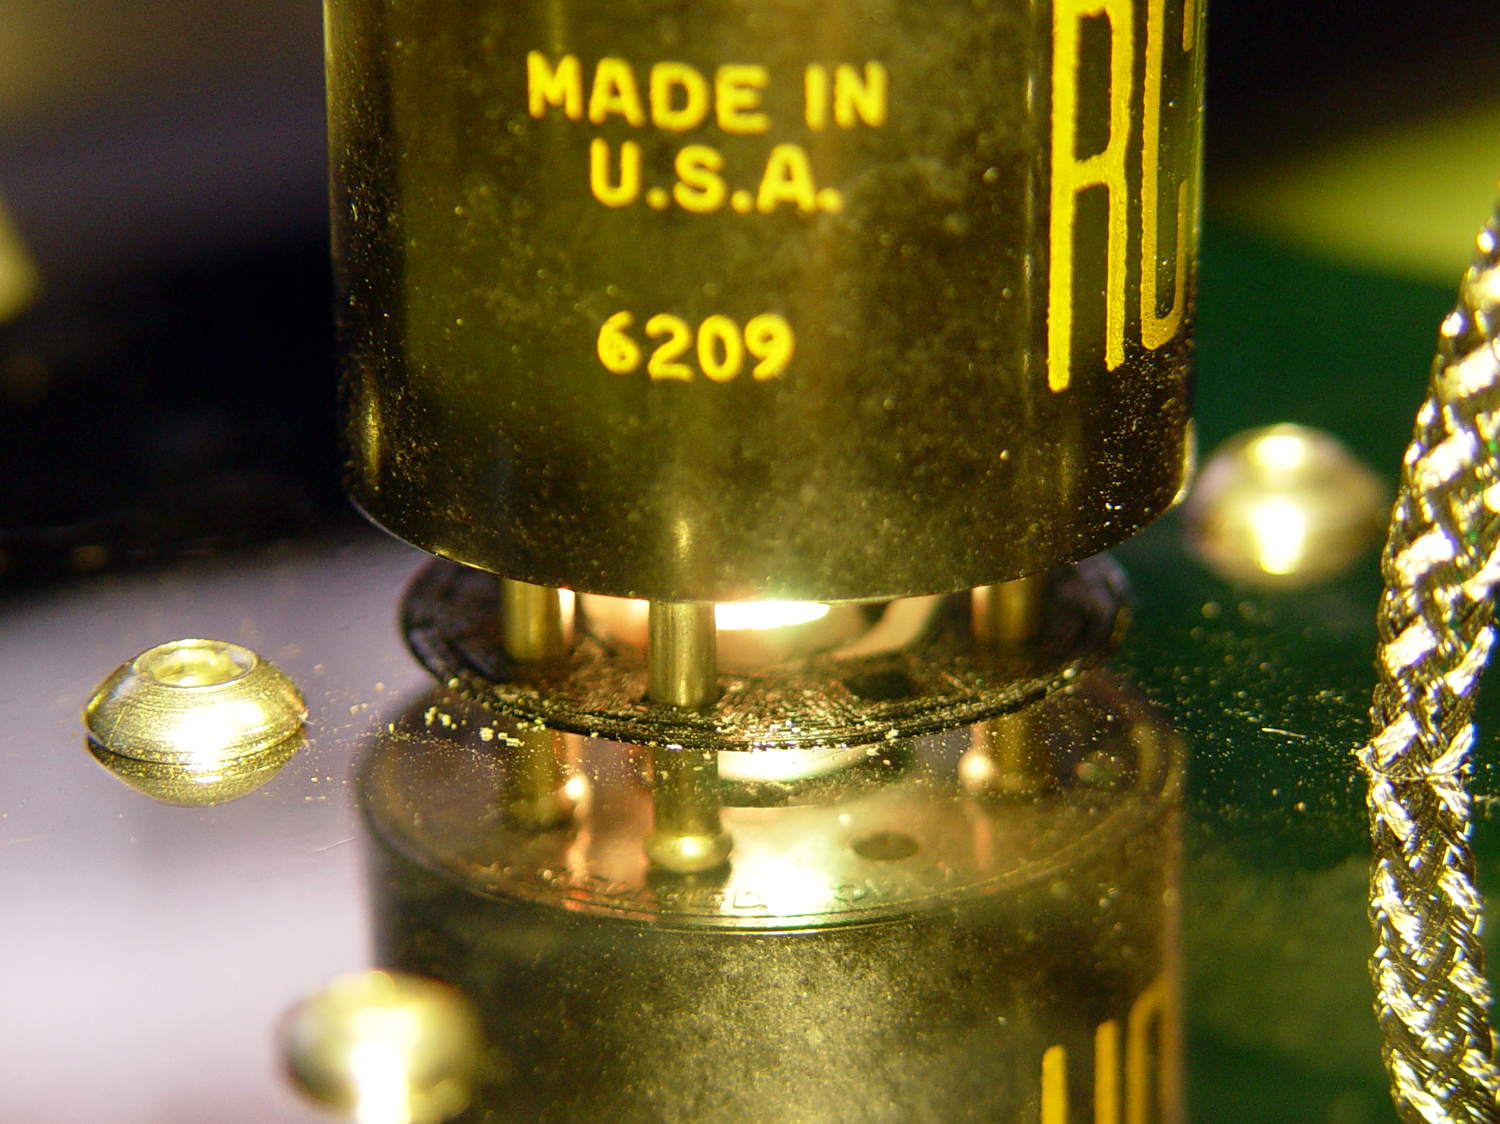
All the sockets now sport channels in the bottom to capture the braid to the plate cap (whether or not the tube has a plate cap) and the wiring from the Arduino:
The boss around the pins is now 25 mm OD and snaps neatly into the unpunched hub hole of a hard drive platter:
0D3 Octal – 25 mm socket OD in platter
I moved the mounting holes to 42 mm OC to give the button heads on those screws a bit more clearance from the base.
Moving the knockoff Neopixel up to the top of the pipe leading to the tube base dramatically increases the amount of light going into the tube envelope:
0D3 Octal – 25 mm socket – raised LED
You can just barely see a strip of foam tape holding the LED PCB (loosely) into the too-large hole.
The OpenSCAD source code also produces the improved base clamp; to get a socket, just set Layout = "Socket" and away you go. It doesn’t yet have the reduced-diameter hole down the middle; that’s in the nature of fine tuning.