Ed Nisley's Blog: Shop notes, electronics, firmware, machinery, 3D printing, laser cuttery, and curiosities. Contents: 100% human thinking, 0% AI slop.
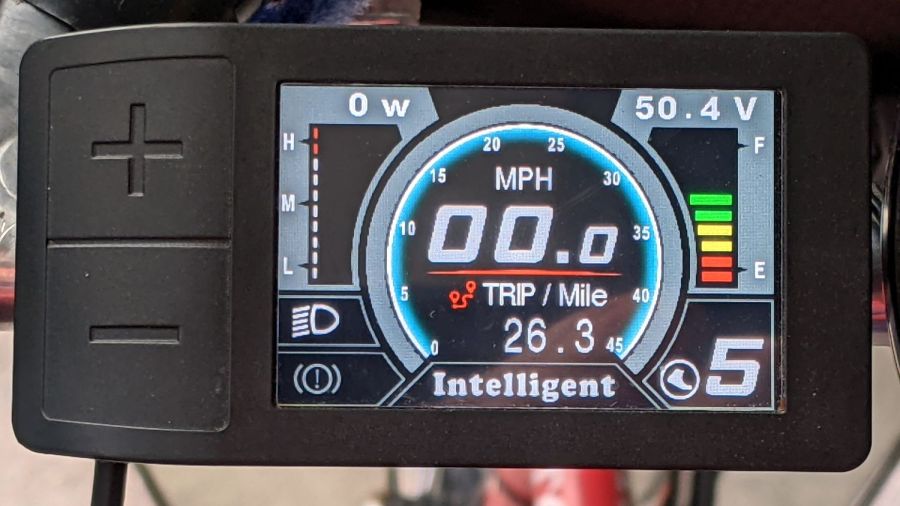
I got the Bafang DPC-18 display for my Tour Easy specifically to put the control buttons on the handgrip, rather than the buttons on the left of the 500C display on Mary’s bike:
Tour Easy Bafang – display 26 mi
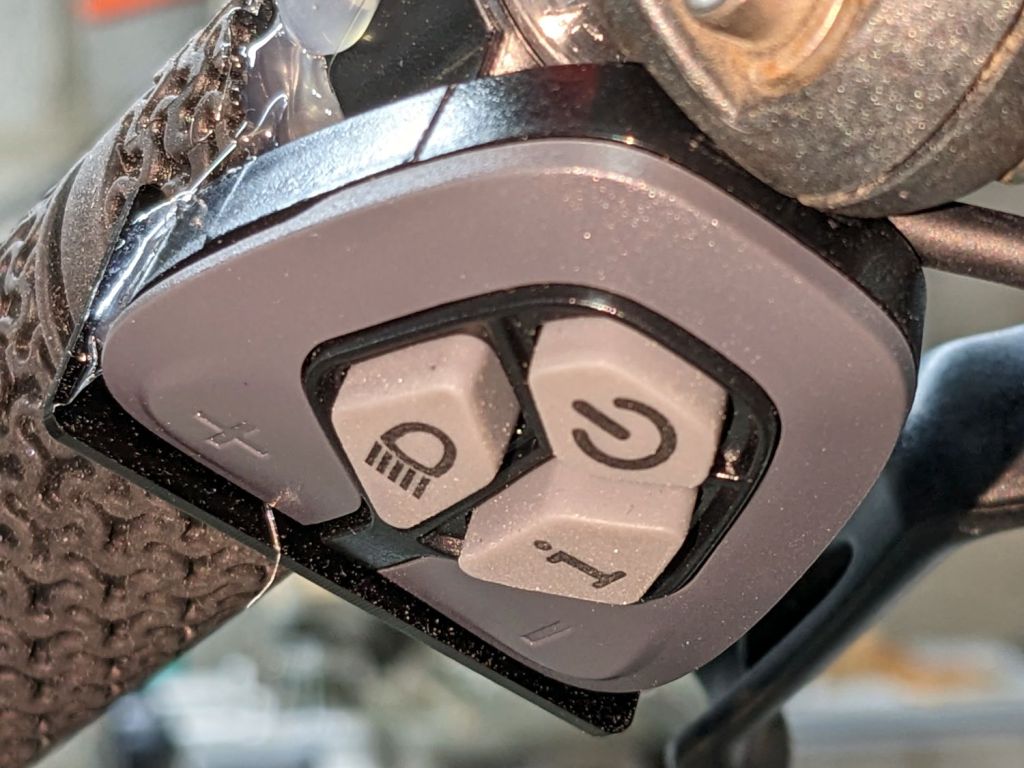
The first pass put them on the left handgrip, just behind the thumb throttle:
Bafang DPC-18 control buttons – initial mount
This turned out to be a catastrophically bad position, because the “buttons” extend all the way to the edge of the mount and trigger when pressed a fraction of a millimeter: the dark line visible under the light gray top is the entire range of motion.
My resting hand position on the grip put the edge of my gloved index finger along the buttons, where it would inexorably nudge the + button until I was riding in assist level 9 (Rocket Sled) mode.
One ride was enough to convince me those buttons needed a Mollyguard:
It is, of course, a laser-cut piece of 1.5 mil black acrylic, held in place with hot-melt glue. Because the button housing isn’t mounted symmetrically on the handlebar, I cut a few paper templates before getting the position and size right.
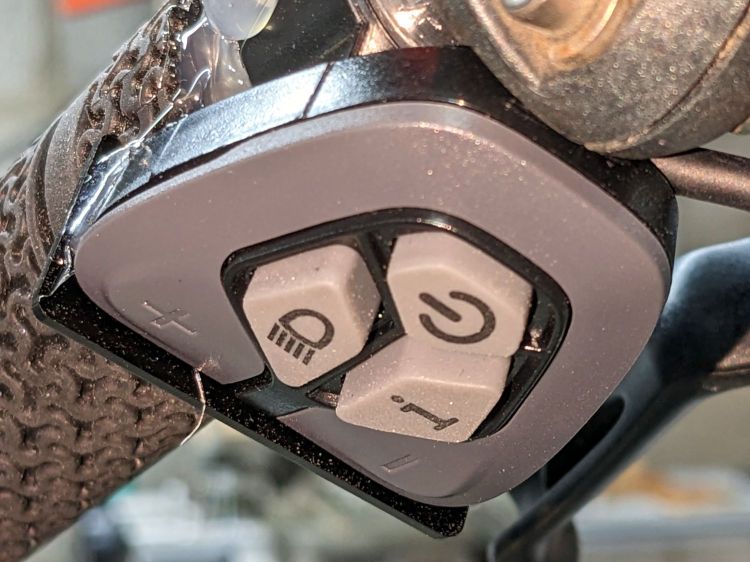
A view from the front shows the lip sticking up over the buttons:
Bafang DPC-18 button Mollyguard – front view
FWIW, the asymmetric mount put the buttons on the rider’s side of the flat handlebars found on contemporary upright city-rider style bikes. It makes perfect sense in that context, but didn’t help me in the least.
With the Mollyguard in place, I rotated the whole button assembly around the handgrip to allow pushing the buttons with my thumb in its natural position.
Now the assist level changes only when I want it to!
The “live hinge” on my overnight eyeglass case shattered when it hit the floor (these things happen), which prompted me to finish a longstanding project of replacing the inadequate / worn out padding in my most-used cases to reduce rattles while in my pocket.
I’d long ago cut craft foam sheets to fit some of the cases, so I started by scanning a sample:
Zenni case pad
Admittedly, black foam on a white background isn’t much to look at, but it did fit one of the cases pretty well.
Rotate the image to make things simple, convert it into a monochrome bitmask, import it into LightBurn, fair some Bezier curves around it, duplicate and tweak for the other not-quite half of the case:
Zenni eyeglass case pads – LB Layout
I ended up with several different versions for various cases, but you get the general idea:
Zenni eyeglass case pads – installed
They’re all cut from 2 mm EVAfoam sheets which, despite the “vinyl” in their name, do not contain chlorine and are suitable for laser cuttery.
Some of the deeper case halves required strips of adhesive sheet to secure the foam, but most sheets dry-fit in place.
The health plan I use pays $100 toward the year’s over-the-counter healthcare stuff, although with a caveat: you can only buy the stuff from a specific website. As you might expect, what’s available consists of no-name generic products with absurdly high sticker prices and, just to rub it in, the hundred bucks gets paid in quarterly use-it-or-lose it installments.
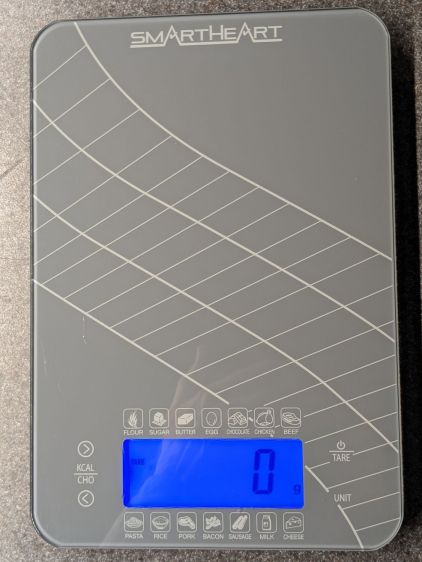
Seeing as how it was free, I got a kitchen scale:
SmartHeart 19-106 Kitchen Scale – top view
It has two catastrophically bad design features:
Terrible battery life
Overly sensitive controls
It runs from a pair of series-connected CR2032 non-rechargeable lithium coin cells. Which would be fine, except that the blue LED backlight stays on for 30 seconds after each button touch and draws about 10 mA.
The battery lifetime is best measured in days.
The four control “buttons” on either side of the backlit LCD are touchless sensors using copper foil stickers:
SmartHeart 19-106 Kitchen Scale – NP-BX1 retrofit
The alert reader will spot those the empty CR2032 coin cell contacts over on the left and a pair of NP-BX1 batteries in the middle.
I figured there was no need to keep feeding it coin cells while I played with it, so I conjured a holder from the vasty digital deep. Normally, that would be an OpenSCAD solid model suited for 3D printing, but in this case the lithium cells exactly filled the space between the PCB and the bottom of the case, so it became a 2D design neatly suited for laser cuttery.
Kitchen scale – NP-BX1 holder – LB layout
I planned to stick the orange cutout (in 1.5 mm acrylic) as a stabilizer around the pogo pins making contact with the cell terminals from the red cutout (in 3 mm acrylic), but just melting the pins into the acrylic seemed sufficient for the purpose. Strips of adhesive sheet saved from the margins of previous projects affix the holder (not the cells!) to the scale’s upper glass layer.
As far as I can tell, the scale is perfectly happy running on 7.4 V, rather than 6.0 V. The PCB has two terminals marked +3V and +6V, so it probably depends on which LEDs they use for backlights:
SmartHeart 19-106 Kitchen Scale – PCB detail
The alert reader will notice a peculiarity concerning the sensor pad connections along the top edge.
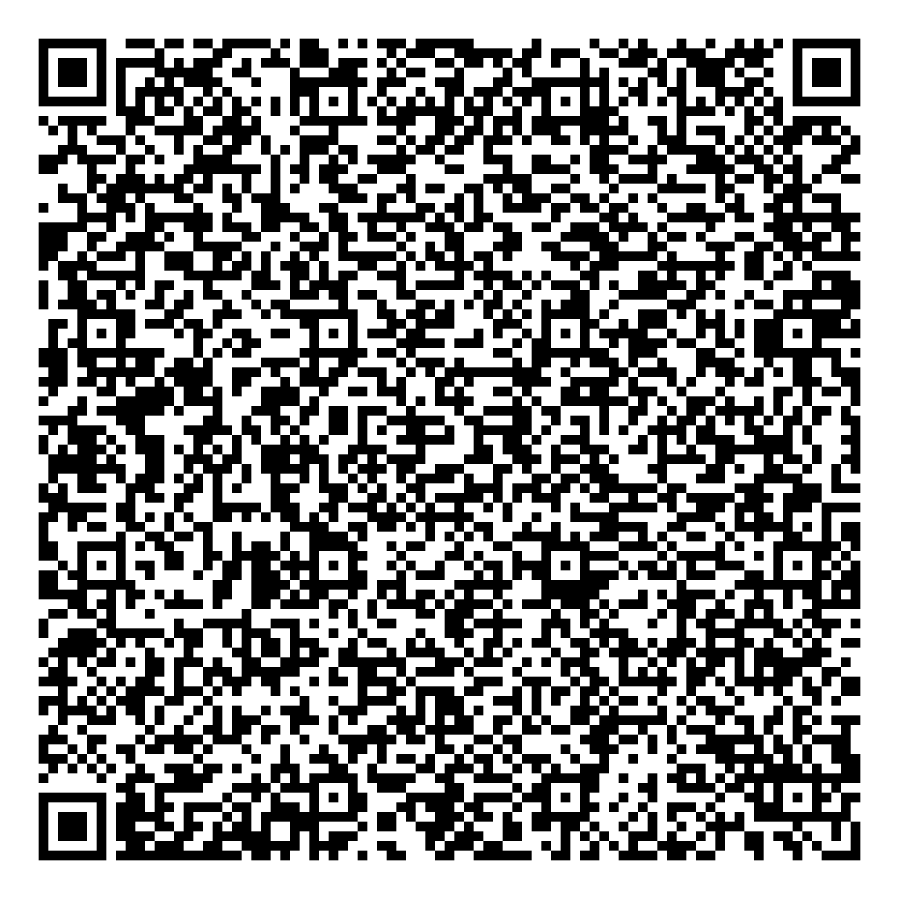
This was really a thinly veiled excuse for a deeper look at the QR code generator encoding the myriad parameters required to create the box and see what happens when you try to burn such a complex thing into chipboard.
Spoiler: chipboard has very low contrast and really does not work well with high-density QR codes.
Although the festi.info box generator can produce QR codes, I used qrencode (available in your Linux distro) on the command line to generate QR code image files with specific settings:
--size → size of the smallest square (“module”) in pixels
--dpi → DPI of the output image file
The default file type is PNG. The unusual 254 DPI makes each pixel exactly 0.1 mm wide and a peculiar 169.33 DPI = 0.15 mm came in handy for the first pattern.
The final parameter is the character string to encode, which you should definitely quote to prevent the shell from wrecking things while trying to help you.
A pattern with 4×4 pixel modules didn’t scan at all:
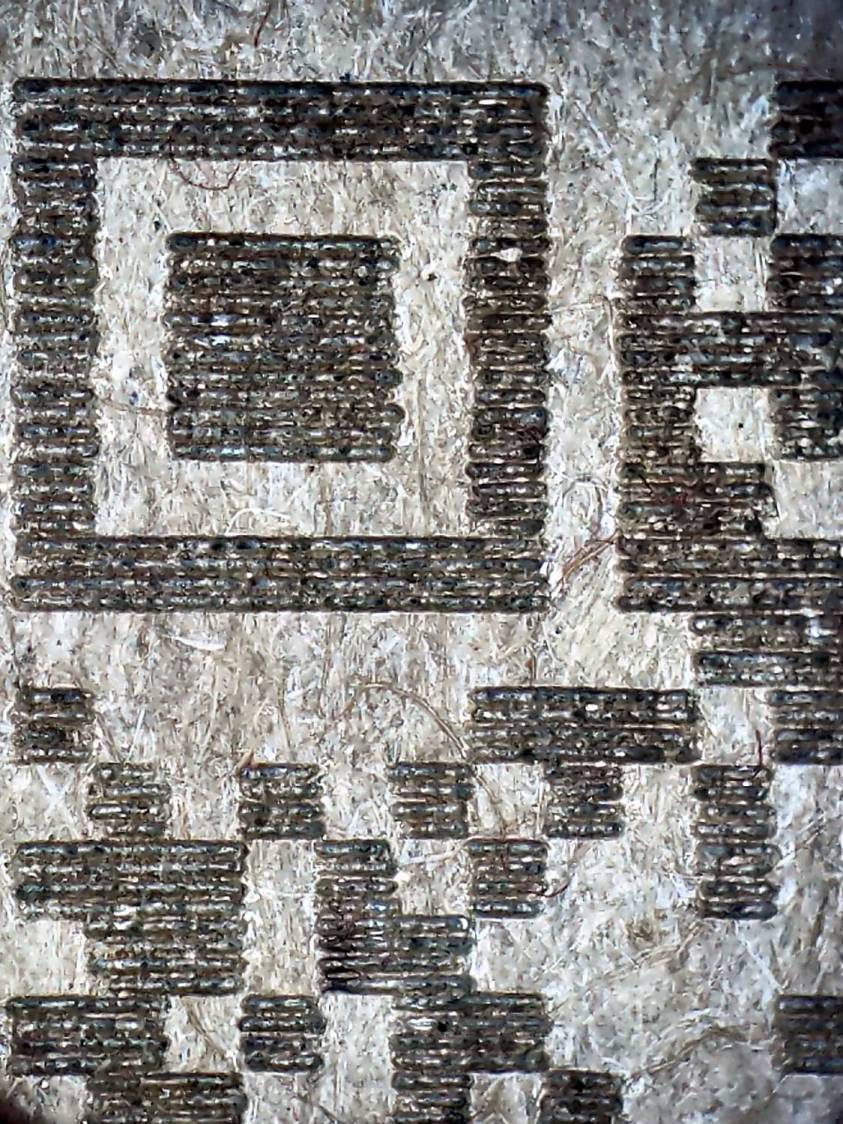
Chipboard QR code – 15pct 0.15mm 4×4 – overview
A closer look shows the modules have ragged edges due to laser timing variations during the engraving scans and gaps between successive scans because the spot size is less than the 0.15 mm scan interval:
Chipboard QR code – 15pct 0.15mm 4×4 – detail
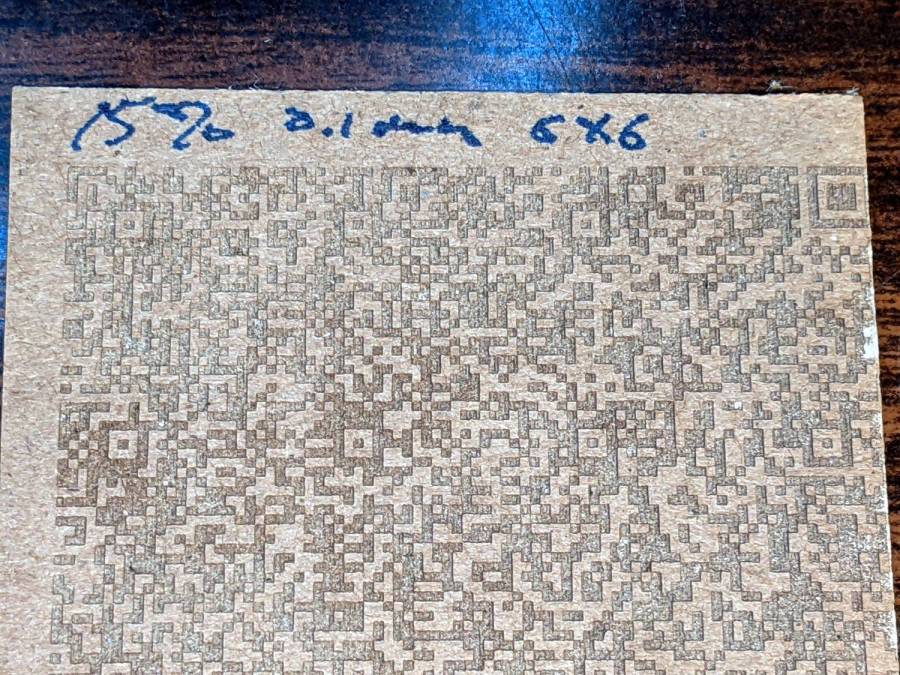
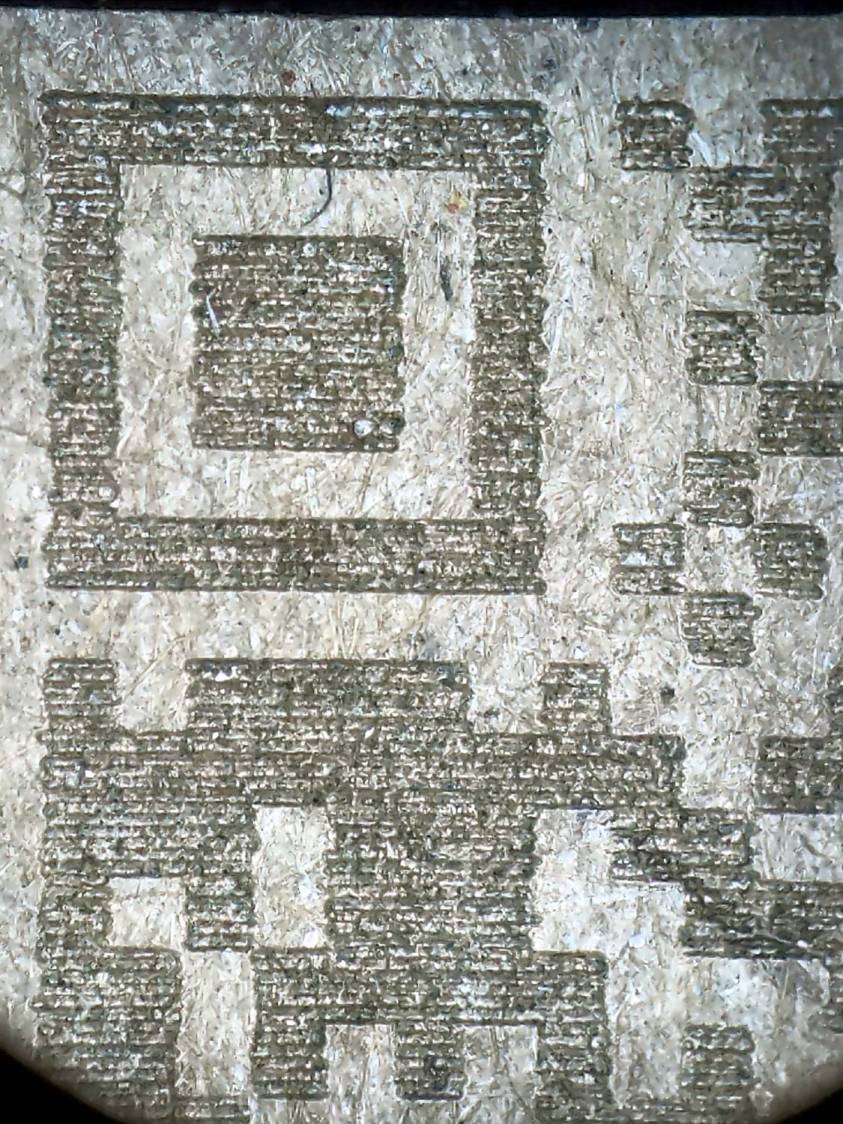
Increasing the module to 6×6 pixels at a 0.1 mm scan interval :
Chipboard QR code – 15pct 0.10mm 6×6 – overview
A closer look shows the larger module reduces the relative size of the timing errors, while the decreased line spacing tidies up the blocks:
Chipboard QR code – 15pct 0.10mm 6×6 – detail
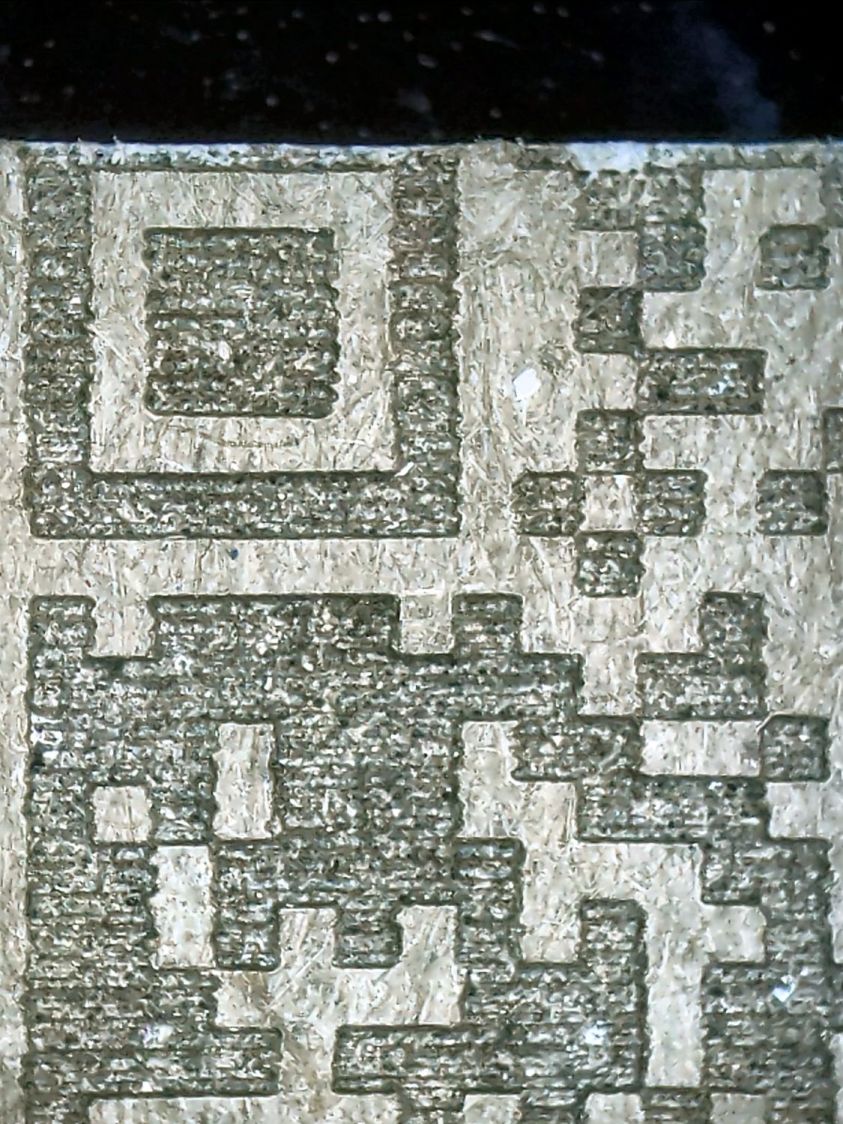
Reducing the power from 15% to 10% reduced the contrast to the point of illegibility:
Chipboard QR code – 10pct 0.10mm 6×6 – overview
A closer look shows the engraving barely punches through the surface and has somewhat more ragged edges due to the tube’s pulsating startup current at very low power:
Chipboard QR code – 10pct 0.10mm 6×6 – detail
I also tried 5×5 modules with similar results.
The laser spot size sets the engraving scan interval, which then determines the DPI value for the QR code image. With all that matched up, you can send the images directly to the laser in Passthrough mode, without having LightBurn resample the pixels and change the module’s shape.
Looked at from a different angle: given the laser spot size and the module size, the QR code image size is not under your control.
From another angle: given a QR code image size in, say, millimeters, and the engraving scan interval, the module size is not under your control.
All this is moot if you print QR codes on a high-resolution / high-contrast printer. It’s just the gritty nature of laser cuttery that limits what you can accomplish.
And, of course, using a material less awful than chipboard will definitely improve the results.
If you want a similar box of your own, here ya go:
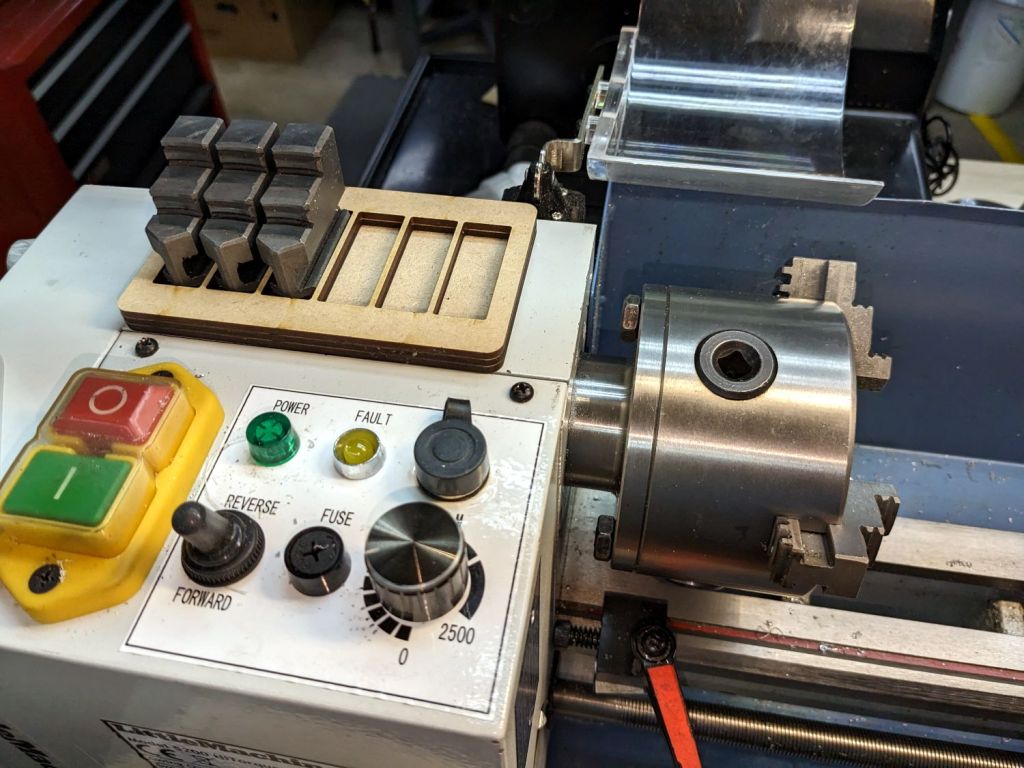
While swapping chuck jaws I realized I didn’t have to pile them on a shop rag atop the lathe headstock, no matter how neatly cut those rags might be:
Lathe chuck jaw holder – installed
It’s three layers of MDF cut to hold all six jaws from the 4 inch 3 jaw chuck, stuck together with wood glue.
You really need only four sockets: one empty for the jaw you just removed, then work your way around the chuck. But, hey, MDF is cheap and I usually remove all three at once anyway.
When it starts walking away, it’ll sprout silicone feet.
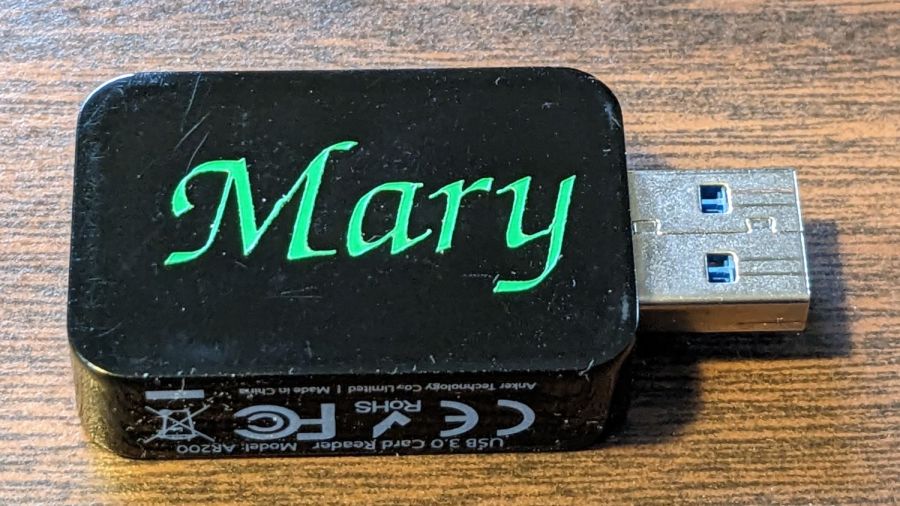
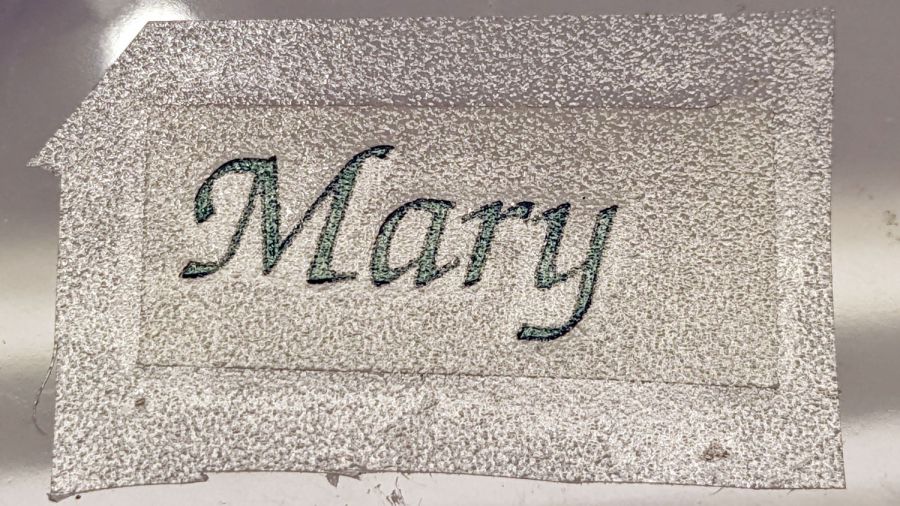
Mary’s ResMed AirSense 11 saves the data from every overnight breath she takes on an SD card, which she uploads to OSCAR once a week. I figured she needed an SD card to USB adapter / card reader of her very own:
The LightBurn layout is pretty much what you’d expect, with the letter inside the outline of the USB dingus on a tool layer to get the size right:
PU PSA Vinyl test – LB layout
The red layer is a “kiss cut” through the vinyl (remember: polyurethane) that leaves the backing paper mostly undamaged:
PU PSA Vinyl test – dot mode cut detail
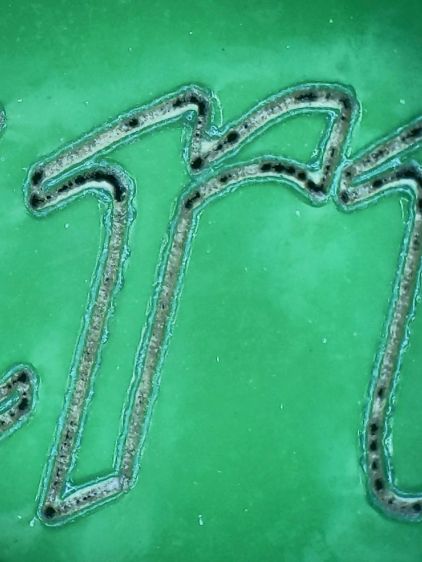
The cut uses Dot Mode, with the laser firing at 10% power for 2 ms, spaced every 0.1 mm along the cut. I found 0.1 mm spacing produced a more-or-less continuous cut in the PETG sheet for the Tek Circuit Computer cursor hairline, but this picture shows it’s definitely running in pulsed mode. In any event, Dot Mode is the only way a 60 W CO₂ laser can make a kiss cut, as a normal vector cut can’t run fast enough to prevent cutting all the way through the backing paper, even at 10% power, around those letters.
The edges of the letters are slightly melted with a raised border, although they look pretty good if you’re not peering at them through a microscope.
I cut the rectangular outline with scissors, peeled the waste vinyl away, and weeded the ‘a’ with tweezers:
PU PSA Vinyl test – weeded
Stick a snippet of transfer tape on top:
PU PSA Vinyl test – transfer tape
In theory, the transfer tape sticks more firmly to the cut letters than the letters adhere to their backing paper, so peeling off the tape also peels the letters off the backing paper.
Which did not go well:
PU PSA Vinyl test – transfer tape – peeling
The two adhesions obviously require a delicate balance to work properly and I would be unsurprised to learn different transfer tapes behave differently on each type of vinyl sheet, with no way to know the results without trying every possible combination.
A few retries got the “r” back in position on the transfer tape, but a bit of kink remains in the “M”.
A third adhesion balance occurs between the transfer tape and the USB card reader, where the tape must stick to the letters slightly less than the letters stick to the reader. Burnishing the tape + letters to the reader encouraged the letters to stick and the tape pulled off without dislodging them.
We deemed the result good enough for the purpose and the process taught me a few lessons along the way. Next time, maybe it’ll work out better.
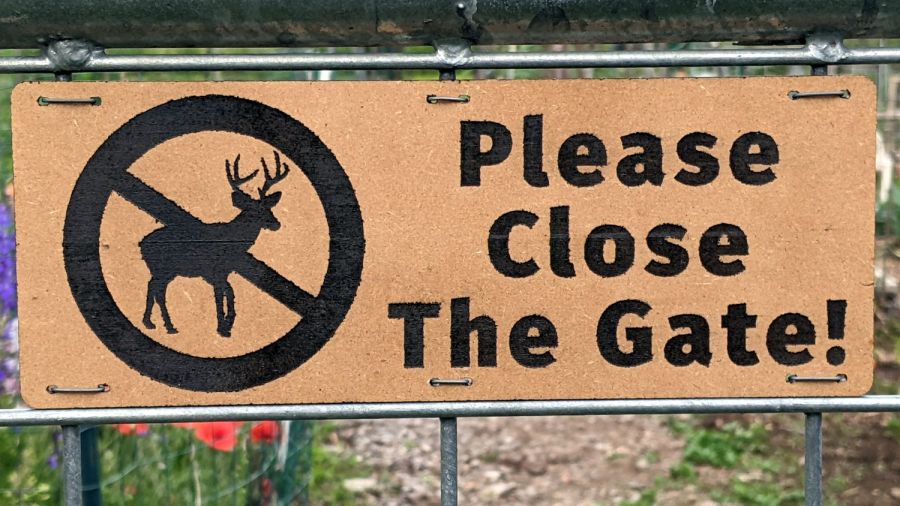
That’s eight months of weathering on MDF covered with indoor urethane sealant and it’s not as awful as I expected: the MDF didn’t actually disintegrate, it just collected some mold / mildew / crud.
A closer look:
Please Close The Gate – weathered MDF – detail
The black paint survived surprisingly well.
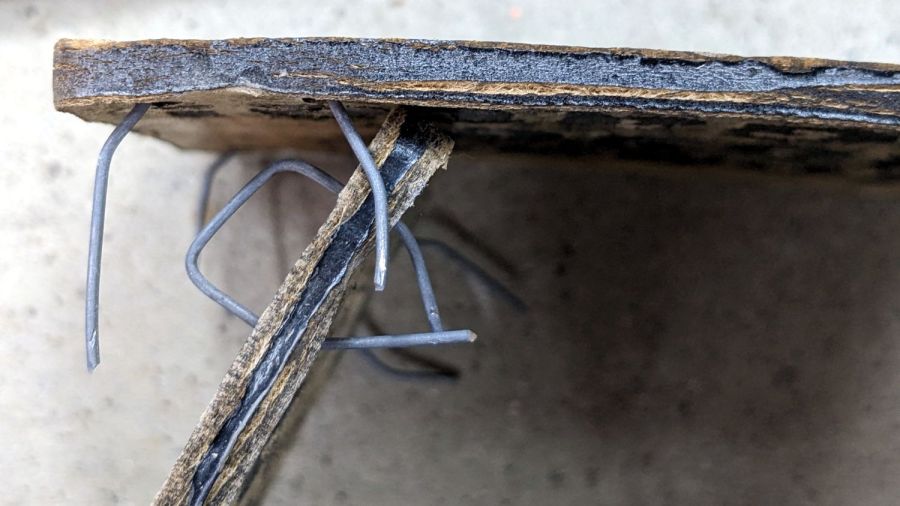
I hadn’t paid much any attention to the edges, so they got covered with random amounts of black paint and urethane. It seems that’s where the disintegration starts:
Please Close The Gate – weathered MDF – side view
MDF definitely isn’t the right material for an outdoor sign and I knew that going in, but it’s cheap and readily available, which makes up for a lot.
For comparison, they looked nice right after installation: