The Smell of Molten Projects in the Morning

Ed Nisley's Blog: Shop notes, electronics, firmware, machinery, 3D printing, laser cuttery, and curiosities. Contents: 100% human thinking, 0% AI slop.

Tag: Laser Cutter

  • Ed’s Fireball Cocoa: Magnetic Stirring

    Ed’s Fireball Cocoa: Magnetic Stirring

    An addition to my morning cocoa makes it mmmm turn out better:

    Cocoa magnetic stirring - magnet
    Cocoa magnetic stirring – magnet

    Start with an ounce of milk, dump in the rest of the ingredients, spin up the stirrer, and slowly add the 8 oz of milk that just reached the end of its 70 seconds in the microwave:

    Cocoa magnetic stirring - vortex
    Cocoa magnetic stirring – vortex

    The green LED to the left of the speed knob runs from the PWM signal driving the motor, so it flickers visibly and interacts with the camera shutter.

    Let it whir for a few minutes until all the cocoa bombs vanish and it’s ready for another 33 seconds in the microwave.

    The most recent batch of cocoa arrived in an exceedingly vacuum-packed mylar bag, to the extent the bag resembled a brick and the solid cocoa within fractured into big chunks. Bashing the chunks with a fork got tedious enough to remind me of the stirrer I got to mix titanium dioxide for the yet-to-be-tried glass engraving.

    Back in the day, the teflon shell molded on the magnet had a rib around its middle to make it pivot neatly on a point contact. This one is flat and dislikes spinning on the slightly concave cup bottom.

    Protip: fish the stirrer out before sipping the cocoa, lest it become a tiny cow magnet.

  • Lip Balm Holder, Laser Cut Edition

    Lip Balm Holder, Laser Cut Edition

    Loading the bike batteries into the Rolltop Cupcake Box reminded me I hadn’t updated the Lip Balm Holder around the latest tube of sunscreen. My excuse was I didn’t quite know how to model the not-quite-elliptical shape of the Coppertone sunscreeen tube in OpenSCAD, but now I can bypass that whole problem:

    Lip Balm Holder - installed
    Lip Balm Holder – installed

    The trick is to scan the bottom of the cap to get a high-contrast image:

    Coppertone Sport Tube - lid scan
    Coppertone Sport Tube – lid scan

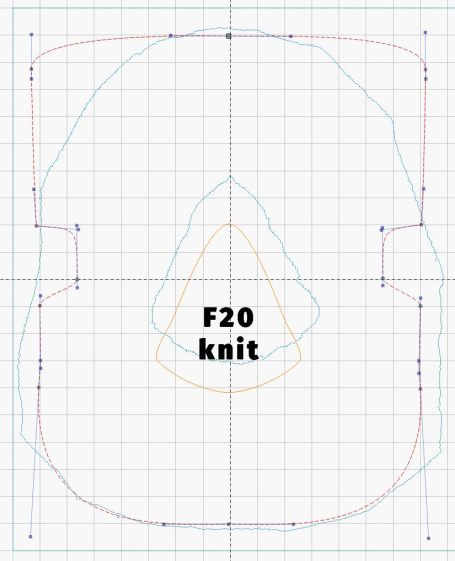
    Import the image into LightBurn, draw a circle tangent to the outside of the cap’s smaller diameter, turn the circle into a path, drag the nodes and twiddle the control points to create a symmetric shape just outside the cap, then outset the result by 1.5 mm for clearance around the tube:

    Coppertone Sport Tube - LB splines
    Coppertone Sport Tube – LB splines

    That 3 mm of wiggle room lets us drop the tube into its socket without careful alignment.

    The lip balm tubes all fit into 18 mm circles requiring no special design skillz:

    Lip Balm Holder - LB layout
    Lip Balm Holder – LB layout

    The mid-left oval goes around the Coppertone tube.

    The top-mid drawing shows the 3 mm outset around each of the pieces, with the smaller tubes arranged to put their midlines tangent to each other and the oval tube. LightBurn does not, as far as I can tell, have a direct way to align a shape tangent to two other shapes at the same time, but iterating at increasingly absurd zoom levels gets the job done fairly quickly.

    Welding those shapes together produces the top-right drawing, which serves as the template for the lower set of layers.

    Deleting the inner details produces the mid-right blob for the bottom layer.

    Most of the layers come from 3 mm plywood, with edge-lit acrylic on the top and bottom surfaces:

    Lip Balm Holder - side view
    Lip Balm Holder – side view

    Mary pronounced it better looking than the 3D printed version, which I agree clears a rather low bar, but it suffices for the job.

    The LightBurn layout as a GitHub Gist:

    Loading
    Sorry, something went wrong. Reload?
    Sorry, we cannot display this file.
    Sorry, this file is invalid so it cannot be displayed.

  • Laser Cutter vs. Mirrorshades: Rear

    Laser Cutter vs. Mirrorshades: Rear

    Continuing with the same battered sunglass lens:

    Laser vs sunglasses - beam front overview
    Laser vs sunglasses – beam front overview

    It’s now oriented with the back side of the lens toward the unfocused beam going into the laser head.

    The front surface remains undamaged after two pulses at 500 ms 50% power:

    Laser vs sunglasses - beam rear - front overview
    Laser vs sunglasses – beam rear – front overview

    The red disk in the middle of both wounds is new this time.

    As seen from the rear, the first pulse shattered the rear glass layer:

    Laser vs sunglasses - beam rear - A
    Laser vs sunglasses – beam rear – A

    The image is about 7 mm from side to side.

    A chip of glass popped out of the upper part of the fracture, but the other pieces remained in place.

    The distinct blue ring is 3 mm OD and marks the inner boundary of a purple disk surrounding the central burn. The disk appears only in reflected light (which is impossible to photograph with any setup I can manage), suggesting it comes from diffraction in a surprisingly uniform air layer blown between the glass and the plastic polarizing sheet.

    Also seen from the rear, the second pulse produced a neater wound:

    Laser vs sunglasses - beam rear - B
    Laser vs sunglasses – beam rear – B

    The blue ring is again 3 mm OD and the image is 7 mm across.

    The central red spot probably comes from damage to the polarizing sheet.

    The most surprising things, at least to me, didn’t happen:

    • the glass lens didn’t disintegrate
    • the laser beam didn’t punch completely through

    Protip: Don’t depend on ordinary glasses, even fancy sunglasses, to protect your eyes from CO₂ laser beams.

  • Laser Cutter vs. Mirrorshades: Front

    Laser Cutter vs. Mirrorshades: Front

    Well, a shattered lens found beside the road on a walk:

    Laser vs sunglasses - focused overview
    Laser vs sunglasses – focused overview

    The battered frame has enough information to suggest they were once rather fancy. At this point, all that matters is they have two glass layers separated by a dark plastic polarizing film, with a gold-ish metallized front glass surface.

    I fired the two pulses (on the left side of the obvious crack) at the front of the lens, both at 100 ms / 70% power:

    Laser vs sunglasses - overview
    Laser vs sunglasses – overview

    Neither pulse penetrated the lens.

    The smaller zit was fired in the position shown in the first picture, with the focal point more-or-less at the top surface of the lens. As seen from the front:

    Laser vs sunglasses - focused front
    Laser vs sunglasses – focused front

    The outer part of the damaged area is about 0.5 mm in diameter. The heat around the damage seems to have cleared away all the schmutz on the lens; those things that look like scratches are oily smears and road dirt.

    Seen from the rear:

    Laser vs sunglasses - focused rear
    Laser vs sunglasses – focused rear

    The rear surface is blistered, but doesn’t have a hole, so I think the beam melted the glass and inflated a cavity along its path.

    I then perched the lens in the unfocused beam path, with paper taped over the laser head opening to keep any fragments off the mirror and focus lens:

    Laser vs sunglasses - beam front overview
    Laser vs sunglasses – beam front overview

    The beam produced the larger scar and also blasted off a ring of crud around the wound, as seen from the front surface:

    Laser vs sunglasses - beam front
    Laser vs sunglasses – beam front

    The beam seems to have shattered a thin layer under the metallization, but didn’t do any deeper damage. The rear surface is undamaged and the paper didn’t have a scorch mark.

    They’re not laser safety glasses, but at least they didn’t disintegrate.

    Protip: do not lie on the laser platform and stare upward into the laser head, even while wearing fancy polarized mirrorshades.

  • Bed Frame Feet

    Bed Frame Feet

    Quite some time ago I slipped felt pads under the feet holding the bed frame off the wood floor and recently noticed two of them perpetrating an escape. My first thought was a variation of the 3D printed Fuzzy Felt Feet holders under our power chairs, but the bed frame feet are much larger.

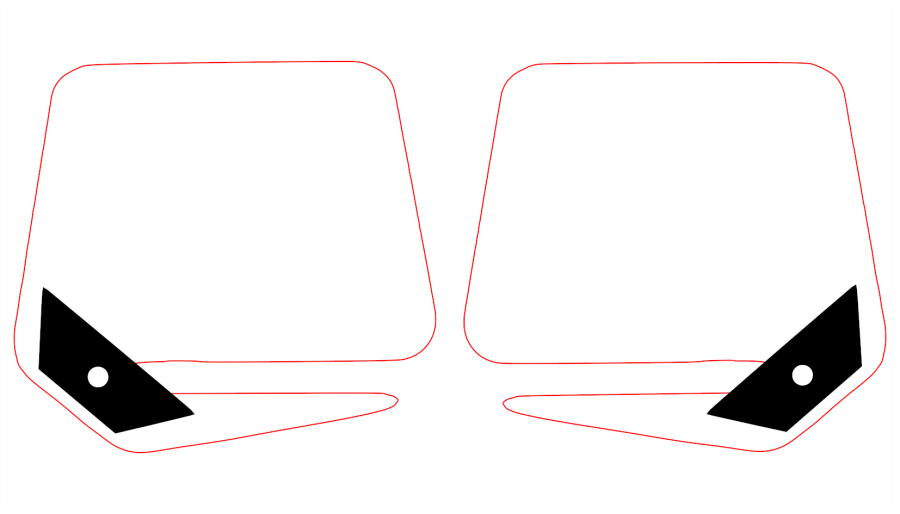
    The holders are basically rings surrounding the feet and felt, which LightBurn makes easy enough:

    Bed Frame Feet - LB layout
    Bed Frame Feet – LB layout

    The Foot Retainer is 6 mm plywood, the Plate and Felt Retainer are 3 mm.

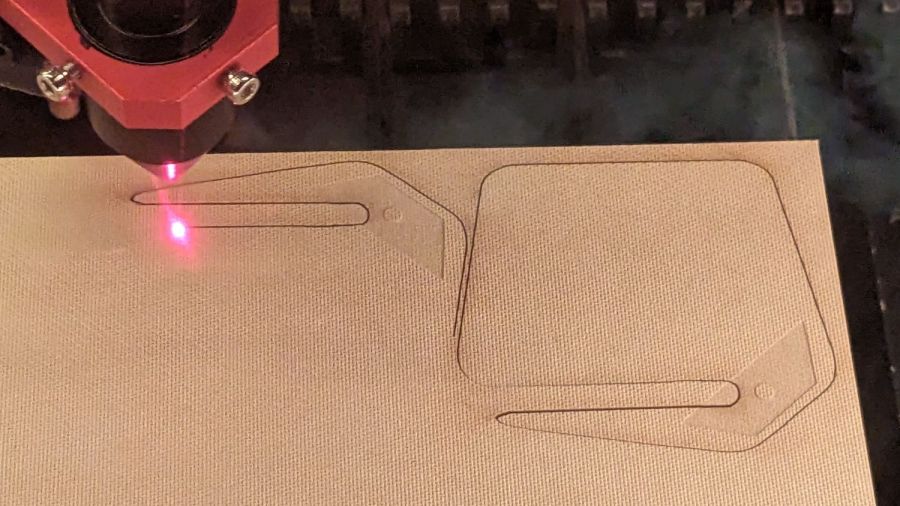
    I fired a ranging shot to verify the sizes:

    Bed Feet - clamping
    Bed Feet – clamping

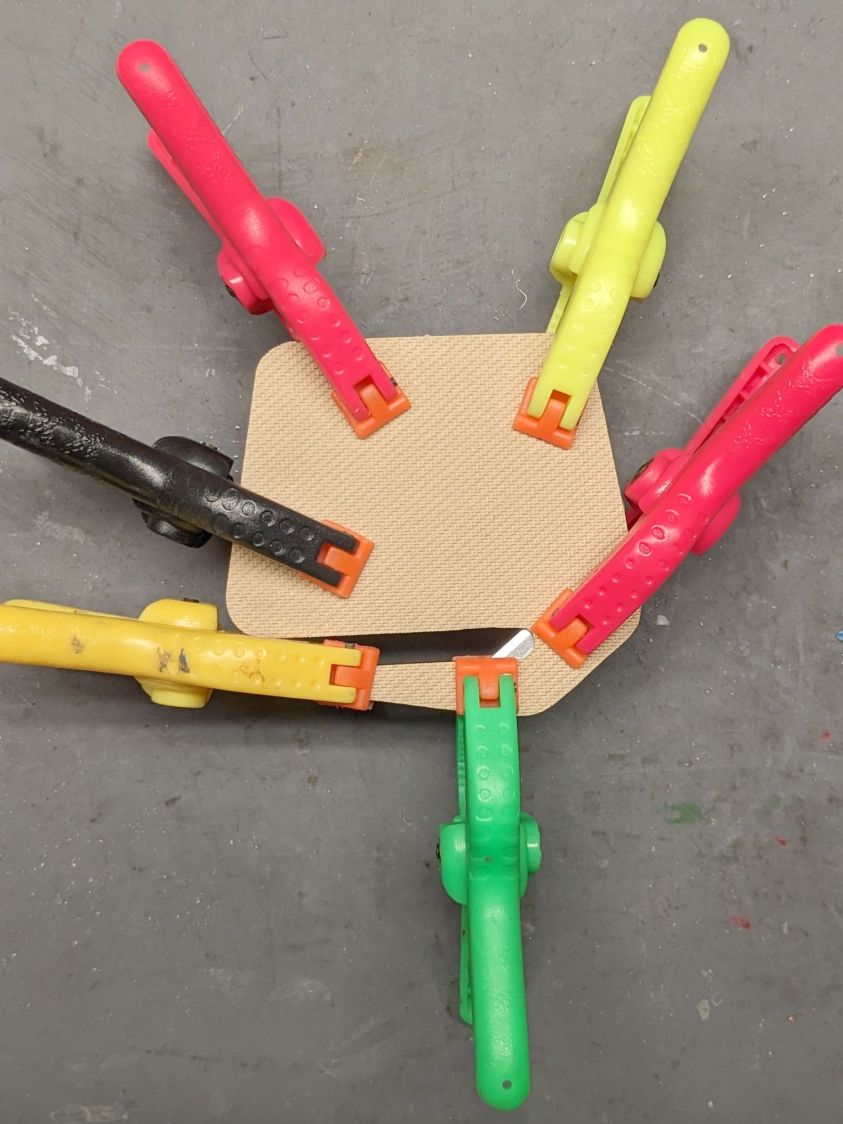
    Then do three more, apply wood glue, and deploy Too Many Clamps.

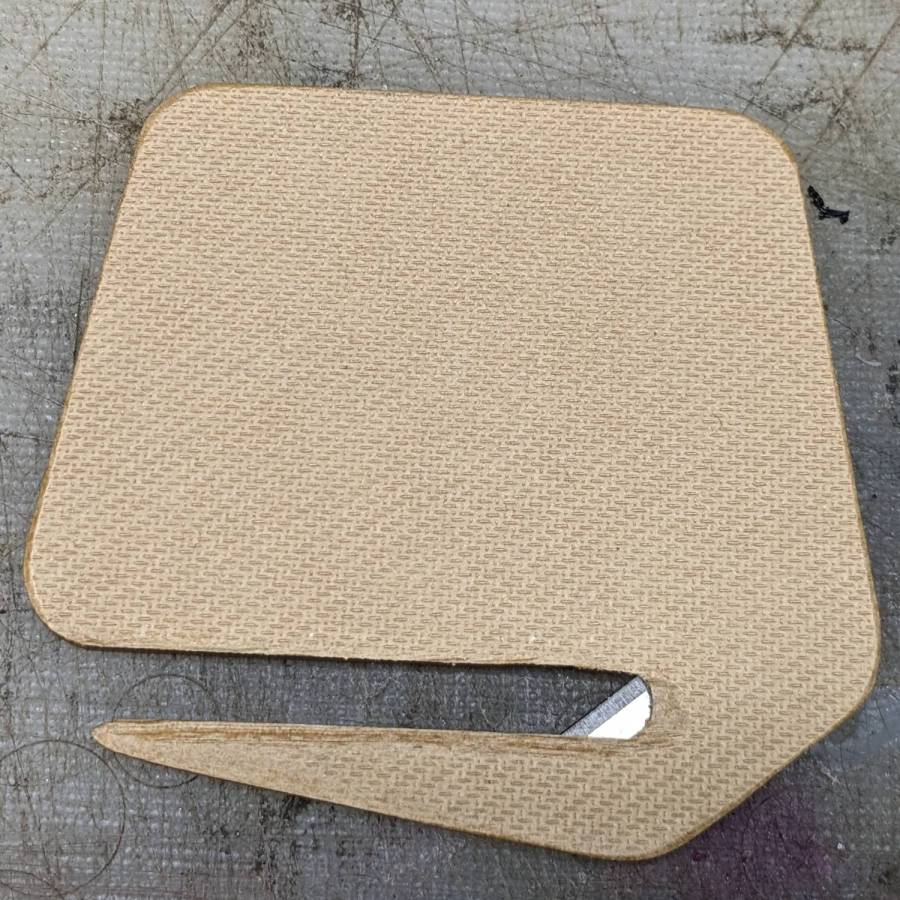
    The fuzzy felt feet are about 5 mm thick, so the 3 mm plywood shouldn’t quite touch the floor. Alas, the fuzz squishes more than I expected, so I added the chipboard Felt Spacers for a millimeter more clearance:

    Bed Feet - chipboard spacer
    Bed Feet – chipboard spacer

    They’re glued to the Plate with the felt adhesive side stuck to them:

    Bed Feet - fuzzy felt foot
    Bed Feet – fuzzy felt foot

    The felt and chipboard compress under load so now it behaves as it should:

    Bed Feet - installed
    Bed Feet – installed

    Gotta get better at gluing plywood together, though.

  • Laser Cutter: Fire Extinguisher Brackets

    Laser Cutter: Fire Extinguisher Brackets

    A Genuine Kidde Fyre Freez CO₂ extinguisher that Came With The House™ finally found its ideal location:

    Fyre Freez extinguisher - mounted
    Fyre Freez extinguisher – mounted

    It was last refilled 65 years ago:

    Fire Extinguisher Recharge Tag - 1957
    Fire Extinguisher Recharge Tag – 1957

    I know it’s still good, because the label has its 4 lb 7 oz refilled gross weight stamped into it, which is exactly what it weighs today.

    Walter Smith Welding Supplies may still be in business, perhaps in Poughkeepsie, but their former 18 Downs St location in Kingston has become Noble Gas Solutions:

    Noble Gas Solutions - 18 Downs St Kingston - 2019
    Noble Gas Solutions – 18 Downs St Kingston – 2019

    Back then, you could call Smith Welding at a four digit phone number in Kingston: 5061. Nowadays, you must call Noble Gas with three more digits: 338-5061. As Charles Stross observed, something like 70% of the future is already in place, because infrastructure is so tenacious.

    Heck, just look at that Quonset hut!

    Keep calm and extinguish on:

    Fyre Freez extinguisher - step 4
    Fyre Freez extinguisher – step 4

    Two thoughts spring to mind:

    • Most kitchen fires start waist-high (it’s the late 1950s: where else would she be?)
    • She’s gonna lose skin on that metal tank

    Seems to me a Fyre Freez will get cold enough to freeze skin while discharging, but I admit to not having actually tried it.

    Anyhow, given the overall basement decor, the brackets have the right general style:

    Fyre Freez extinguisher - bracket detail
    Fyre Freez extinguisher – bracket detail

    Here’s hoping its future will be as dull as its past …

  • Sears / Kenmore Progressive Vacuum Cleaner: Motor FAIL

    Sears / Kenmore Progressive Vacuum Cleaner: Motor FAIL

    After seven years, our Sears / Kenmore Progressive vacuum cleaner gave off a horrible screech and an intense smell of electrical death, prompting me to tear it apart.

    It’s easy to find the two front screws holding the top in place, although you’ll need either a bendy or offset screwdriver to remove them:

    Sears Progressive Vacuum - front case screws
    Sears Progressive Vacuum – front case screws

    Pull up hard on the cord retraction plunger to remove it, revealing the two rear screws:

    Sears Progressive Vacuum - rear case screws
    Sears Progressive Vacuum – rear case screws

    Extract the wires and motor control PCB from their niches:

    Sears Progressive Vacuum - motor assembly overview
    Sears Progressive Vacuum – motor assembly overview

    Prying the latch in the middle of the rear panel (over on the right) releases the motor assembly, which you can then wiggle-n-jiggle upward and out:

    Sears Progressive Vacuum - extracting motor assembly
    Sears Progressive Vacuum – extracting motor assembly

    Disconnect the wires, peel off various foam bits, and extract the motor from its carapace. Measure the blower diameter and cut a suitable plywood clamp for the bench vise:

    Sears Progressive Vacuum - custom motor clamp
    Sears Progressive Vacuum – custom motor clamp

    I loves me some good laser cutter action, even when the plywood crate the laser came in doesn’t have much to recommend it:

    Sears Progressive Vacuum - failed plywood clamp
    Sears Progressive Vacuum – failed plywood clamp

    I vaguely recall reading the purple tinge comes from the bromine vapor used to dis-insect the wood during manufacturing, before shipping it halfway around the planet.

    One area of the commutator looks like it’s in bad shape:

    Sears Progressive Vacuum - as-found commutator
    Sears Progressive Vacuum – as-found commutator

    Clean the commutator bars in the desperate hope it’s just random crud, even though that seems unlikely, then connect a widowmaker cord to the motor terminals:

    Sears Progressive Vacuum - widowmaker line cord
    Sears Progressive Vacuum – widowmaker line cord

    Use a Variac to spin the motor at a (relatively) low speed while watching the brushes and commutator:

    Sears Progressive Vacuum - commutator sparking
    Sears Progressive Vacuum – commutator sparking

    Now, that is not a nominal outcome.

    The cleaned commutator again shows signs of distress:

    Sears Progressive Vacuum - scarred commutator
    Sears Progressive Vacuum – scarred commutator

    Indeed, measuring the resistance across the line cord terminals shows a shorted winding: 0.0 Ω with the brushes aligned on the bars just antispinward of the scars.

    So the motor is definitely, irretrievably dead.

    Extracting the brushes shows the arcs have eroded their spinward edges:

    Sears Progressive Vacuum - eroded motor brushes
    Sears Progressive Vacuum – eroded motor brushes

    The dark smudge on the windings seems due to internal problems, rather than just the arcs, because the wiring crossing between the commutator and the smudge remains clean:

    Sears Progressive Vacuum - charred motor windings
    Sears Progressive Vacuum – charred motor windings

    One can buy a used motor assembly on eBay for about $40, with no assurance it doesn’t also have a shorted winding.

    Dang, now I gotta make more adapters for whatever vacuum comes next …