Ed Nisley's Blog: Shop notes, electronics, firmware, machinery, 3D printing, laser cuttery, and curiosities. Contents: 100% human thinking, 0% AI slop.
Tag: Improvements
Making the world a better place, one piece at a time
Work Sharp Precision Sharpener – Blade Clamp operation
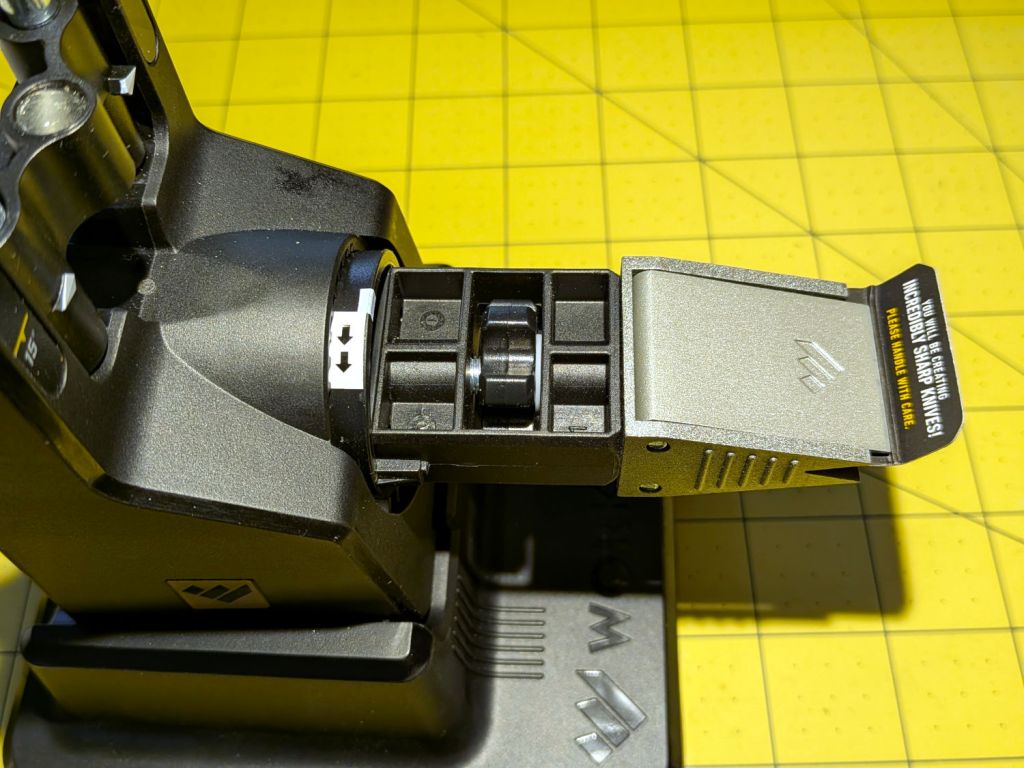
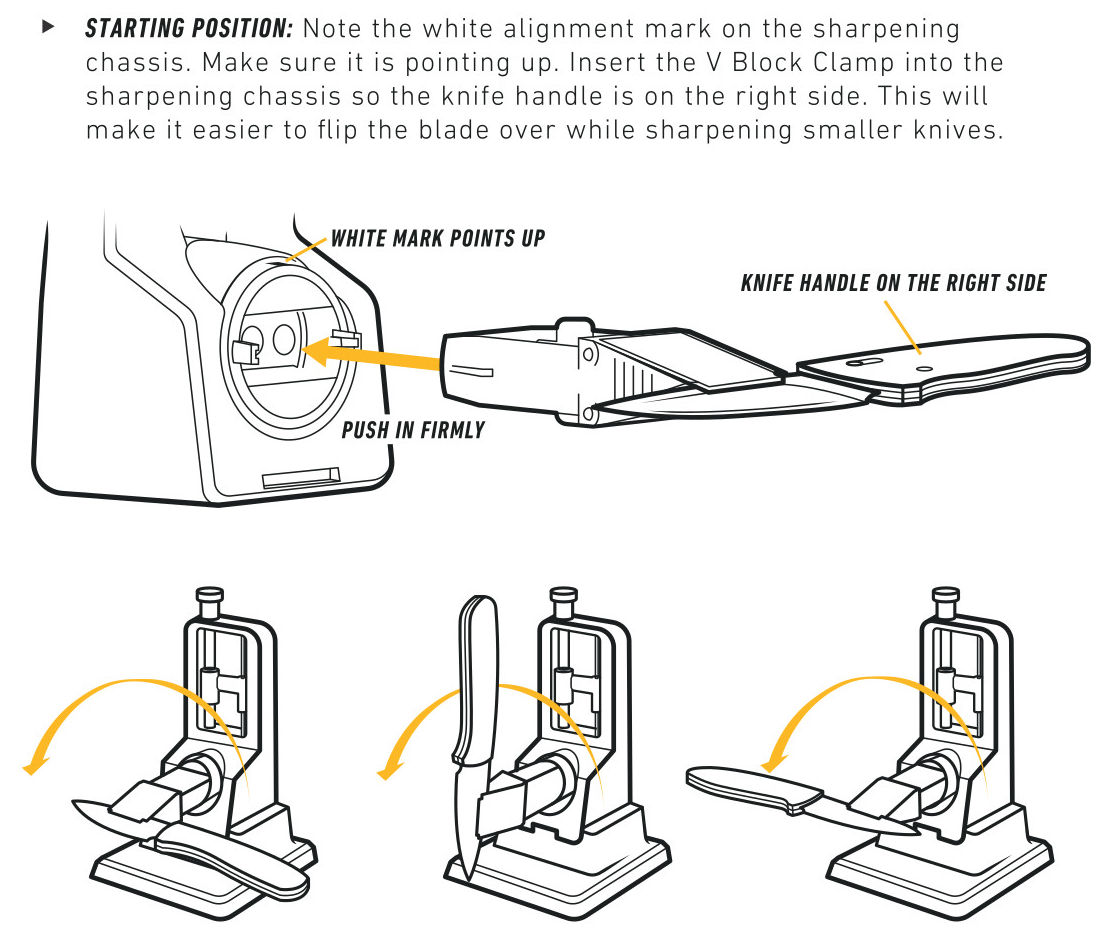
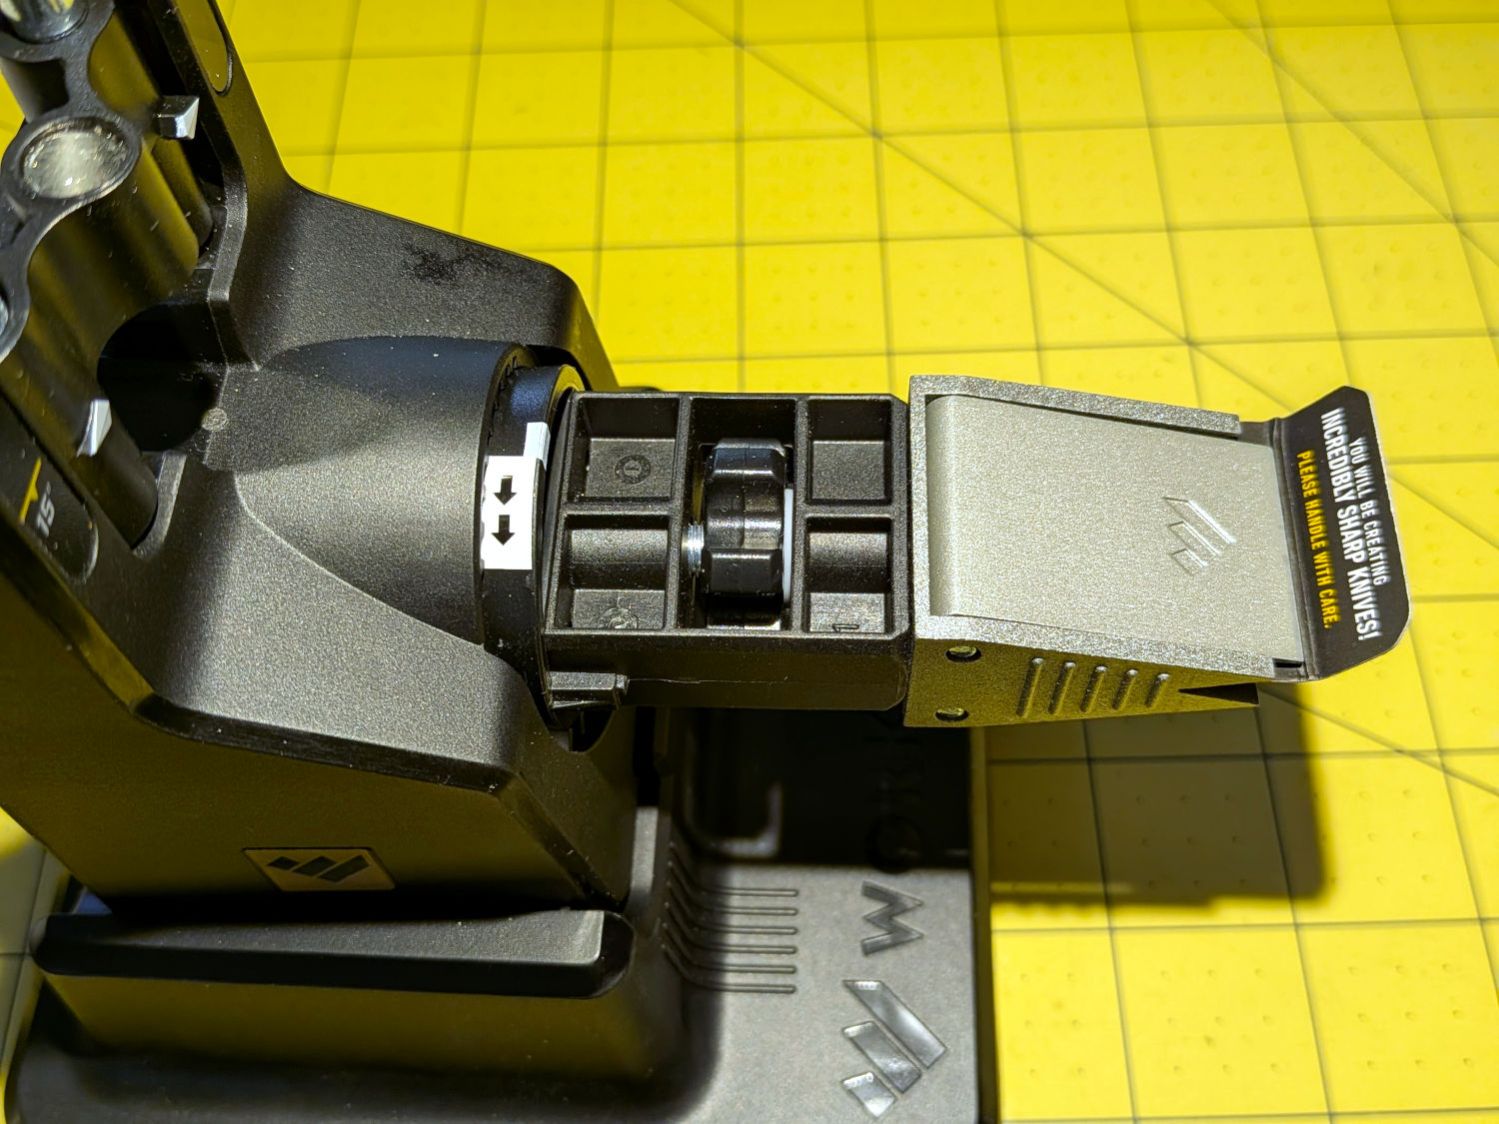
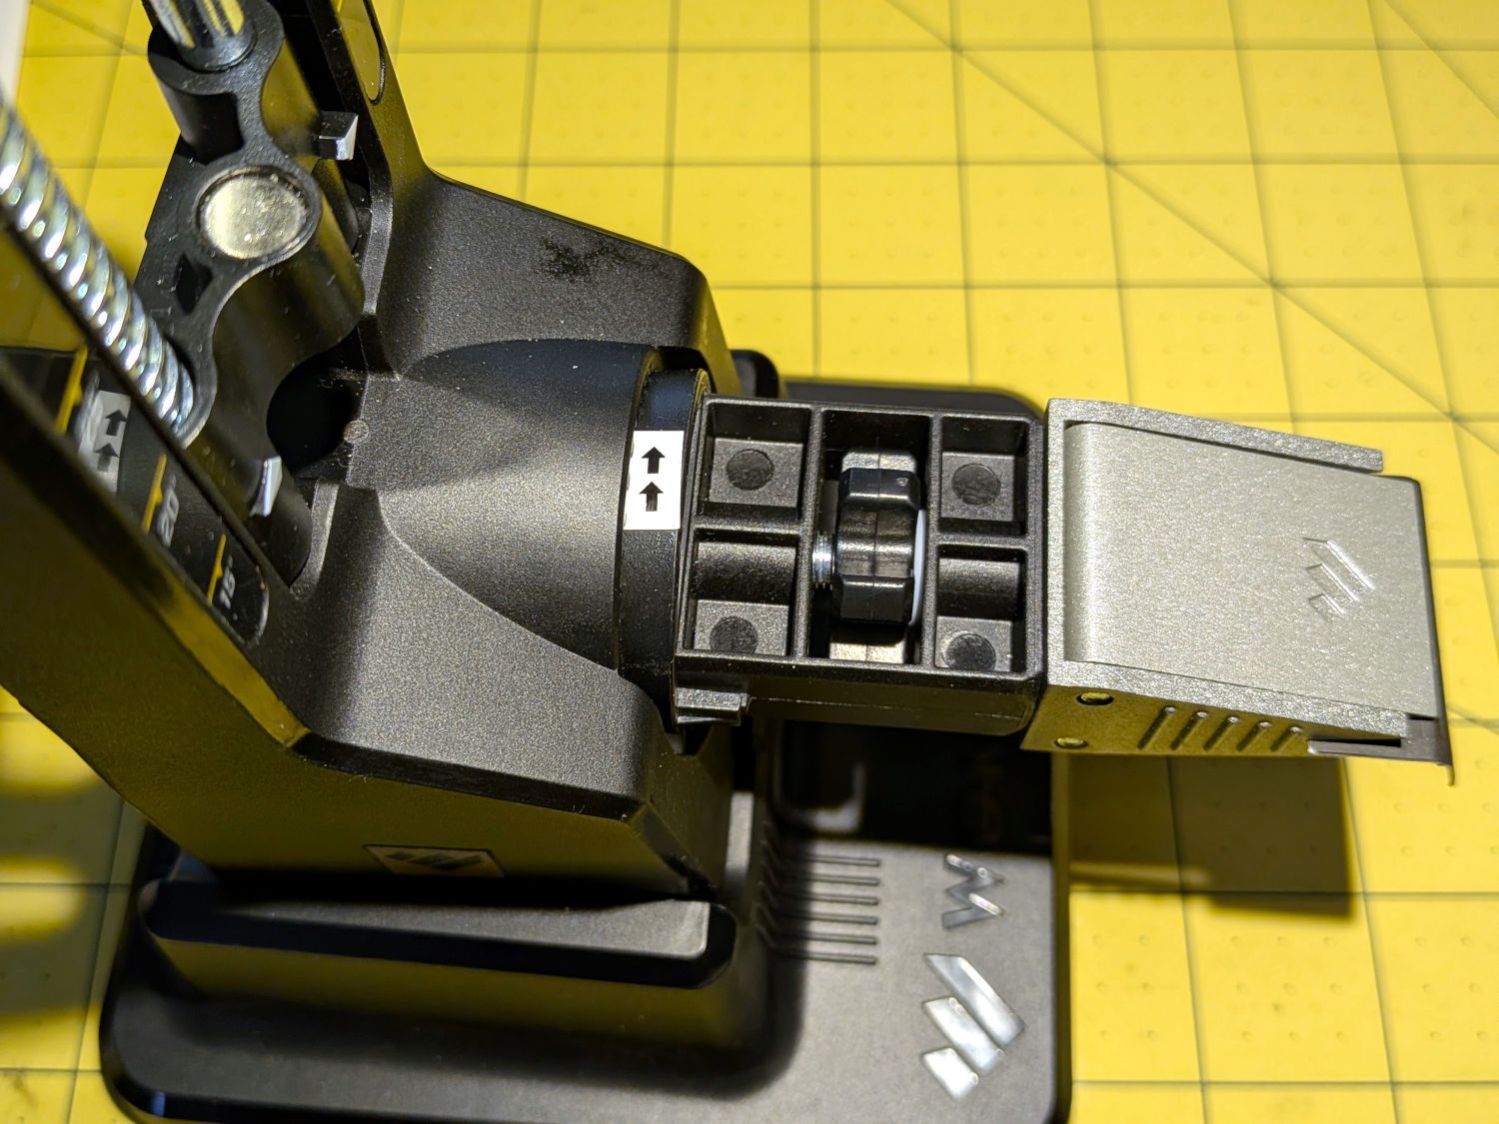
What’s not obvious is that the socket can rotate only 180°, which means you (well, I) must remember which way to turn it based on the presence or absence of the small white mark. I get it wrong somewhat more than half the time while sharpening a small symmetric blade, rather than a knife with a handle, so I added arrows to the socket.
With the white mark upward, turn 180° counterclockwise:
A correspondent (you know who you are: thanks!) pointed out the Thermal Cutoff can trip should the 240 V heater coil sag enough to contact the grounded steel air duct surrounding it. Think of a connection from the heater in the lower right corner of the wiring diagram to the neutral wire:
Whirlpool dryer – wiring diagram – detail
If the short is close to the middle of the heating element, the right half the heater will remain active even when all of the normal thermostats cut off the left half. The two half-elements will see about their usual 120 V and won’t burn out, but the right half will continue to heat the air until the Thermal Cutoff trips at 350 °F.
A short near either end of the heating element will subject that section to a higher voltage than usual and promptly burn it out, in which case the dryer will fail to heat due to the much lower power dissipated in the remaining section.
So I took the dryer apart after a (successful!) washing day to see if that had happened.
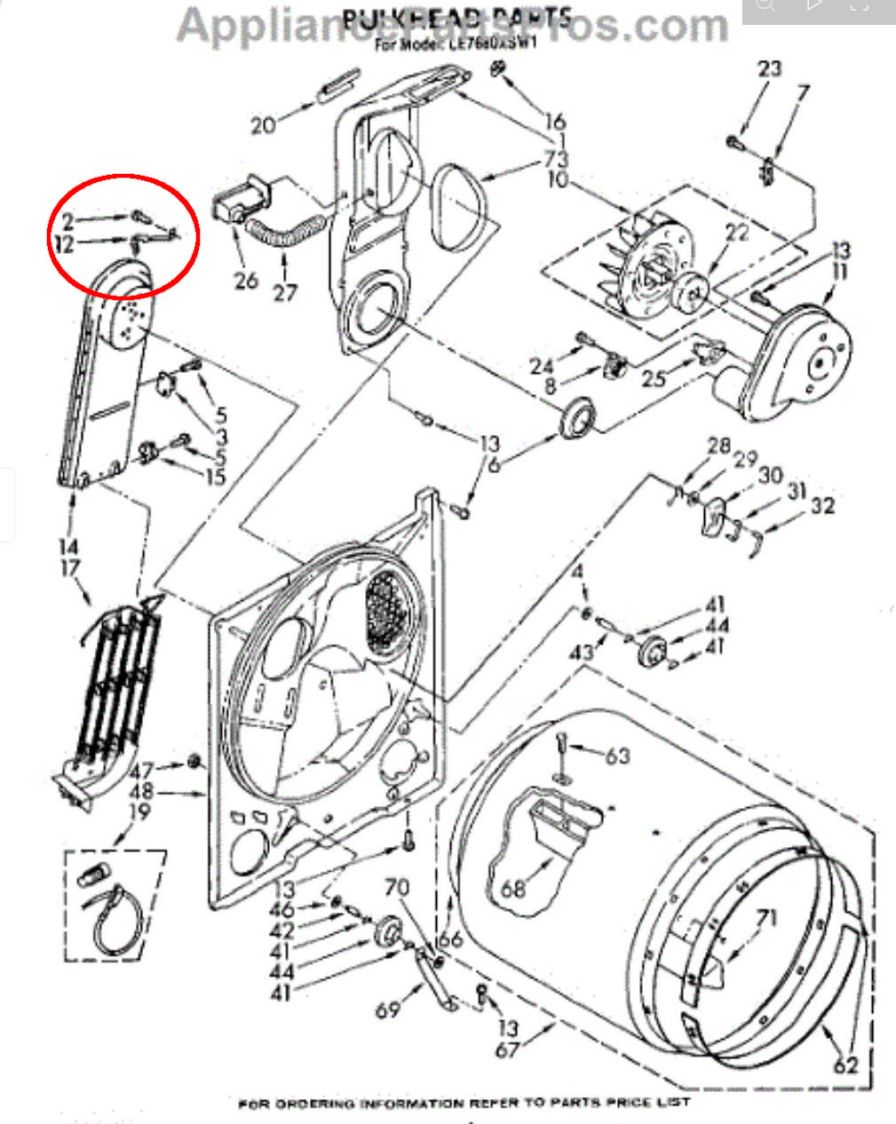
A spring clip holds the top of the heater duct in place:
Whirlpool Clothes Dryer – bulkhead parts – heater duct clip
AFAICT the clip cannot be disengaged from the duct in situ without removing the hex-head sheet metal screw holding it to the bulkhead, which requires inserting a 5/16 inch socket on the end of a 6 inch extension through a hole in the non-removable upper back cover. You (well, I) cannot see the screw from any position, so the process requires reaching up over the duct to position the socket by feel.
This view looking up inside the dryer with the duct removed shows the clip on the bulkhead:
Whirlpool Clothes Dryer – heater duct clip
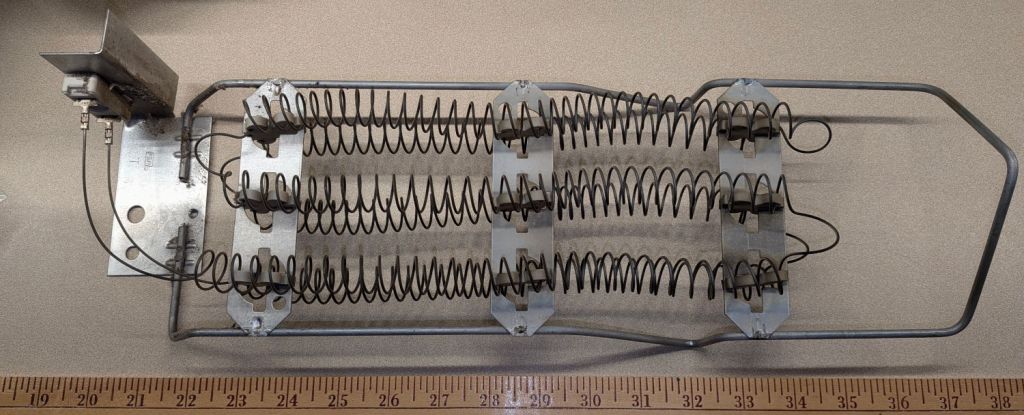
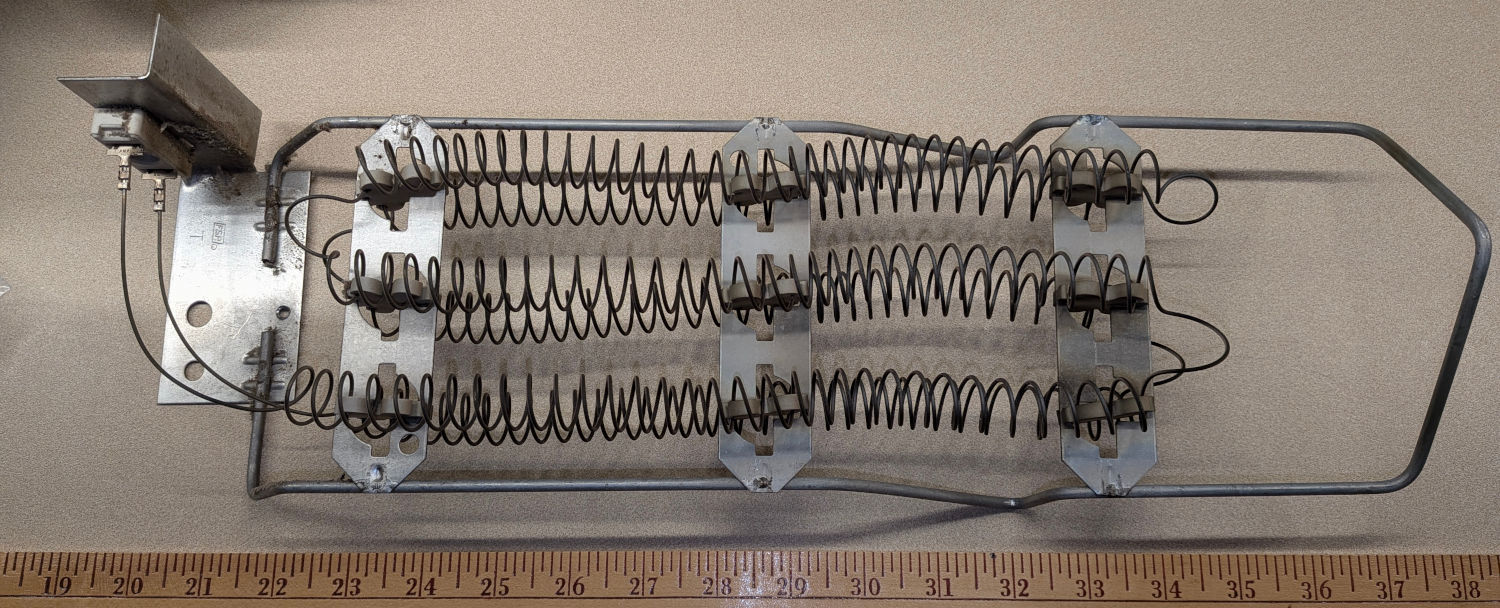
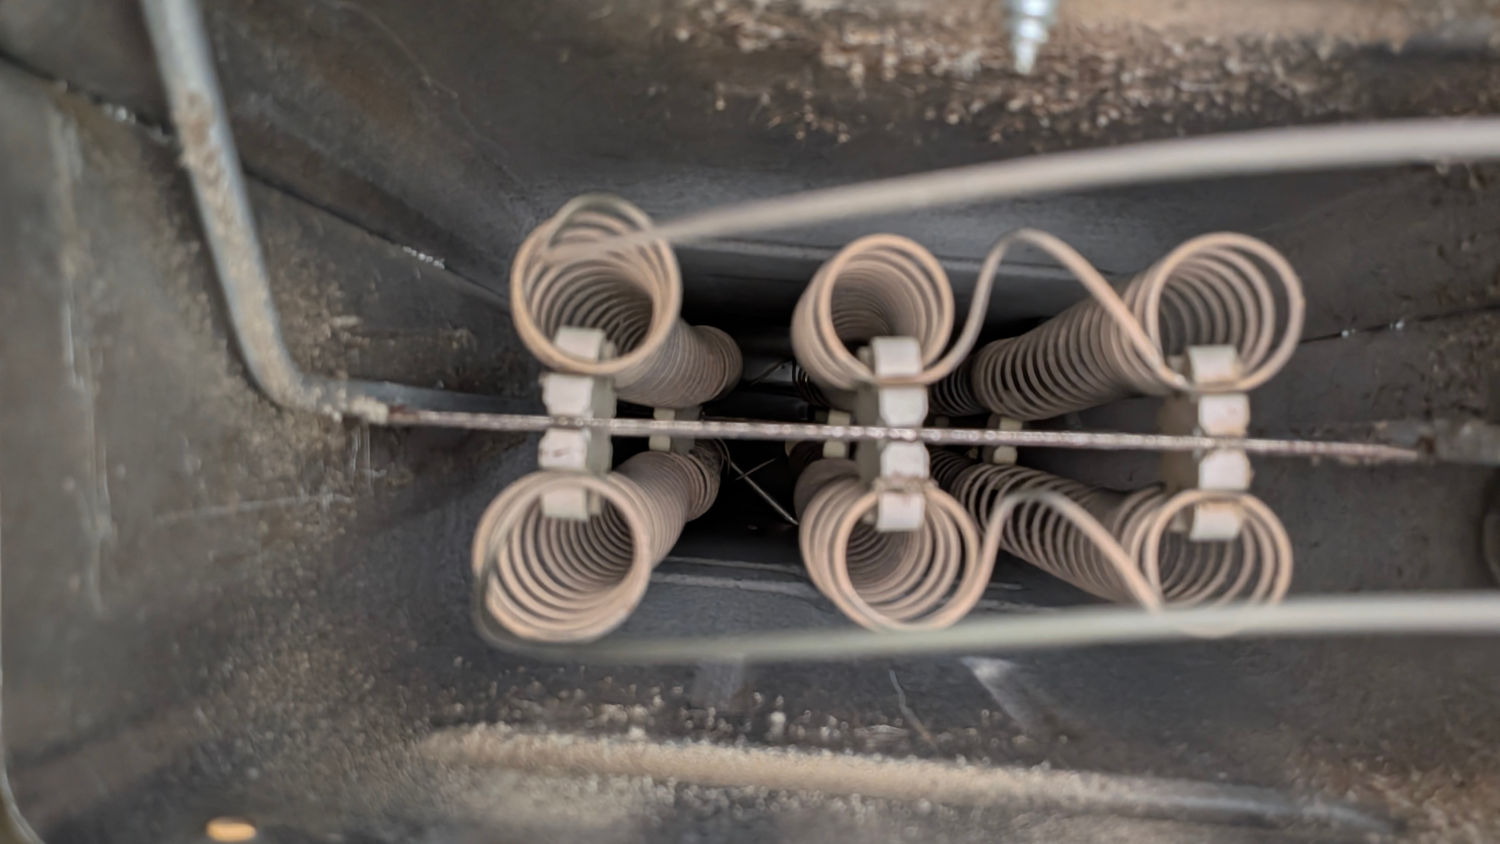
The heating element looked to be in fine shape, with no sags or distortions:
Whirlpool Clothes Dryer – heater top view
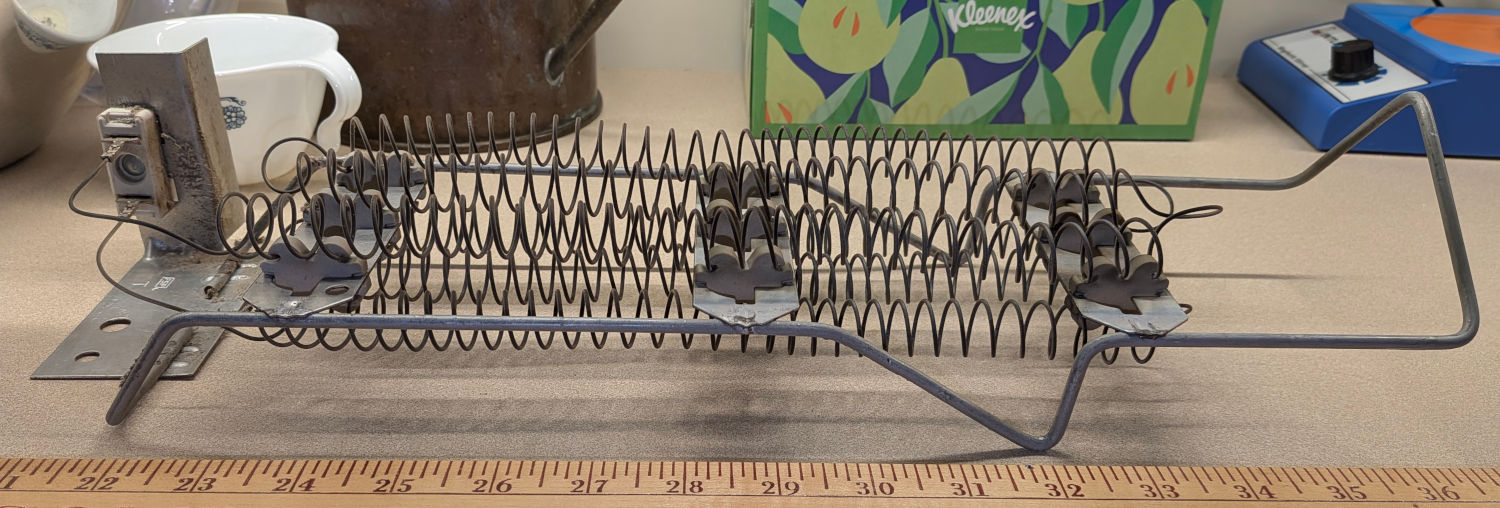
A side view:
Whirlpool Clothes Dryer – heater side view
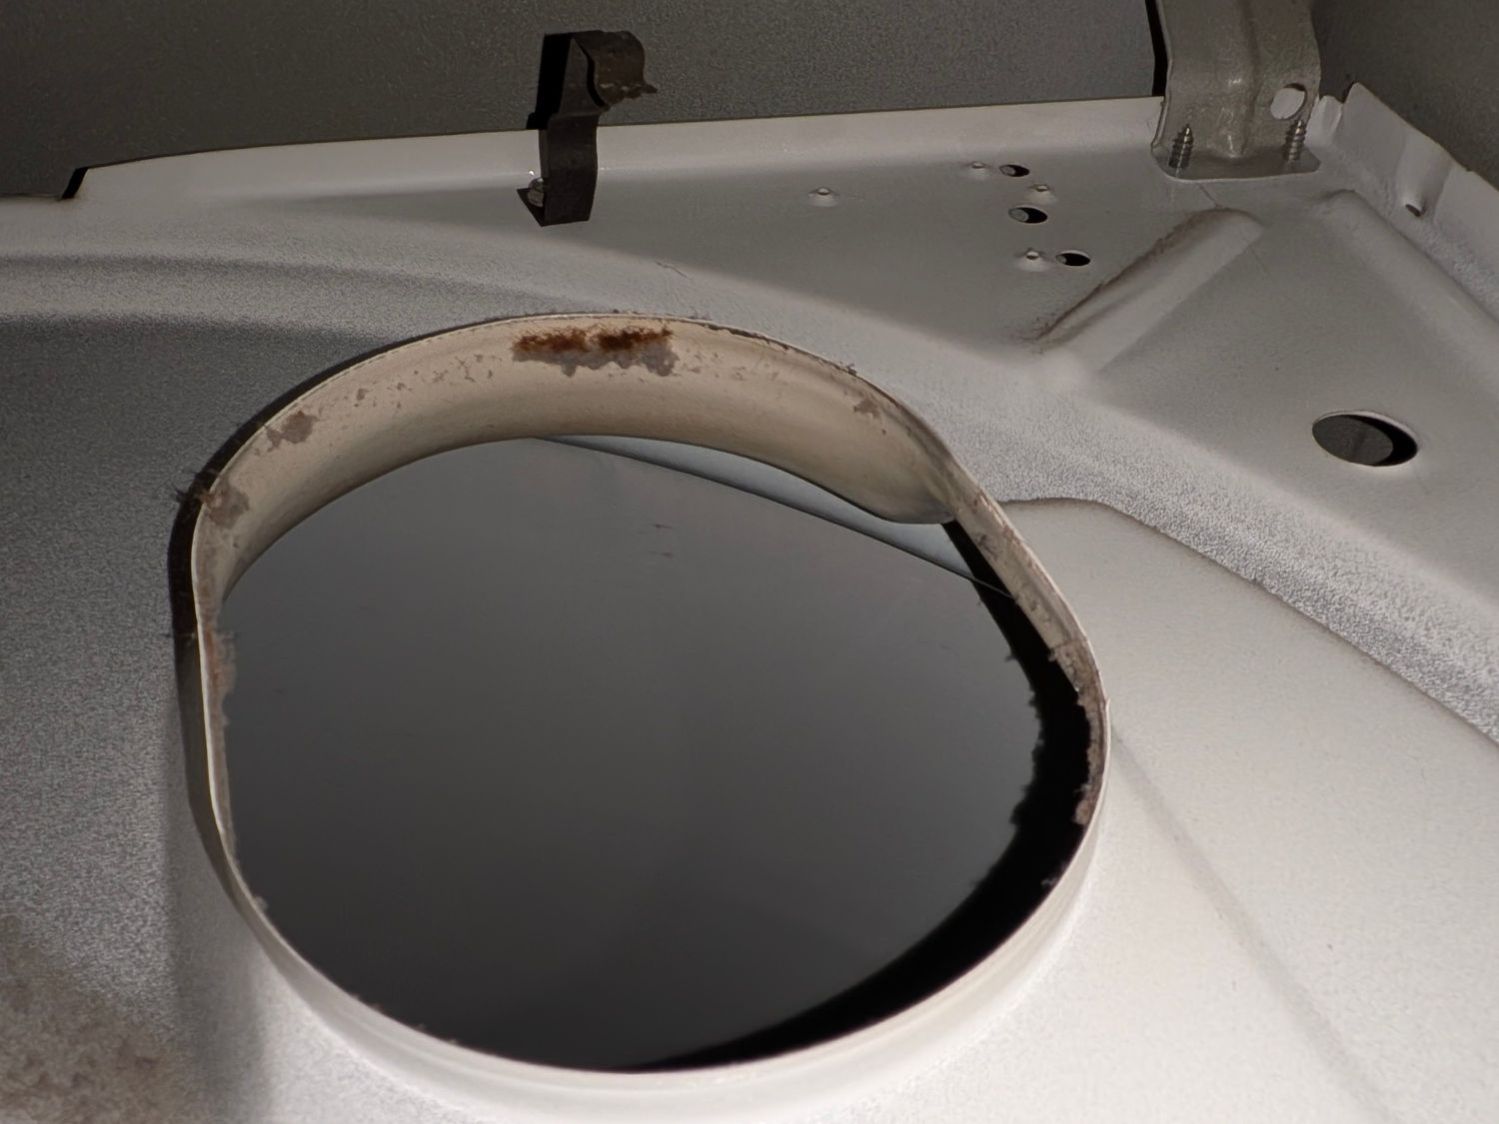
Taking a picture of the duct’s interior is impossible, but an eyeballometric inspection shows no burns / scorches / pits from contact with the coils:
Whirlpool Clothes Dryer – heater duct interior
So AFAICT the Thermal Cutoff tripped due to Inherent Defect, rather than an overly high temperature.
Reinstalling the duct requires fitting the spring clip into its slot in the duct, maneuvering the duct onto its lower bulkhead brackets without dropping the clip, persuading the top of the duct with the clip into position, getting the screw into the clip and the hole, then aligning the socket with the screw. If I were doing this for a living, I would definitely charge you extra; newer dryers have an easily removable heating element for well and good reason.
So the dryer is, once again, back together again and, once again, works as well as it ever did, with another set of thermostats / cutoffs in the box of dryer and washer parts against future need.
For reference, the heater seems to be a WP4391960.
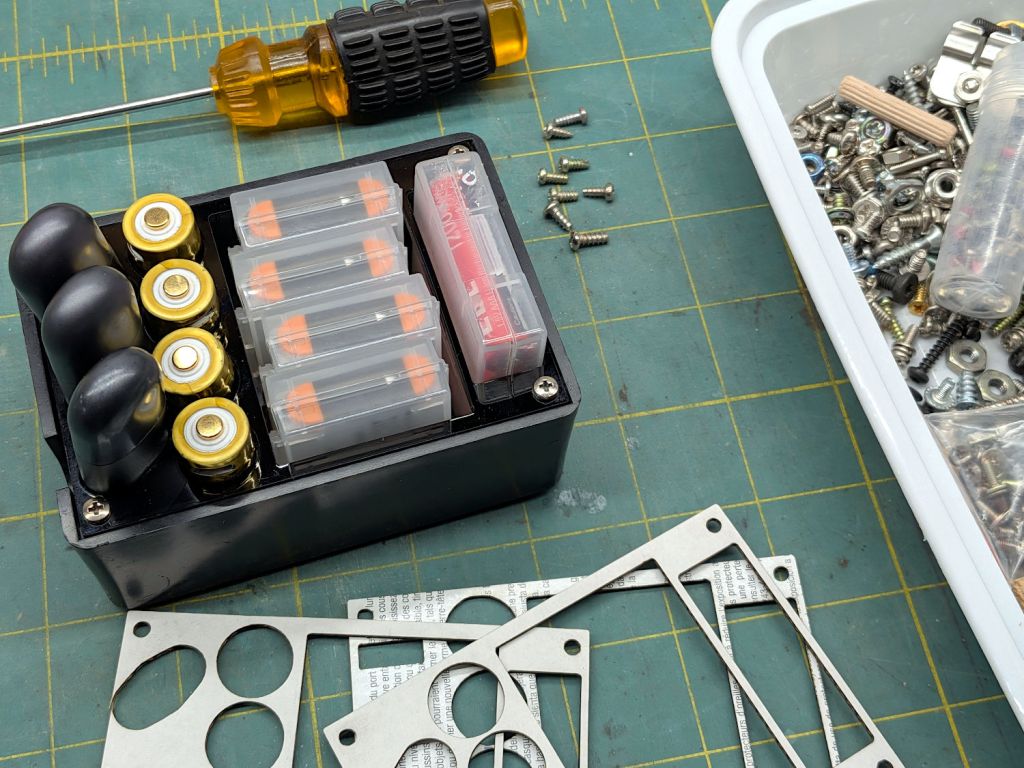
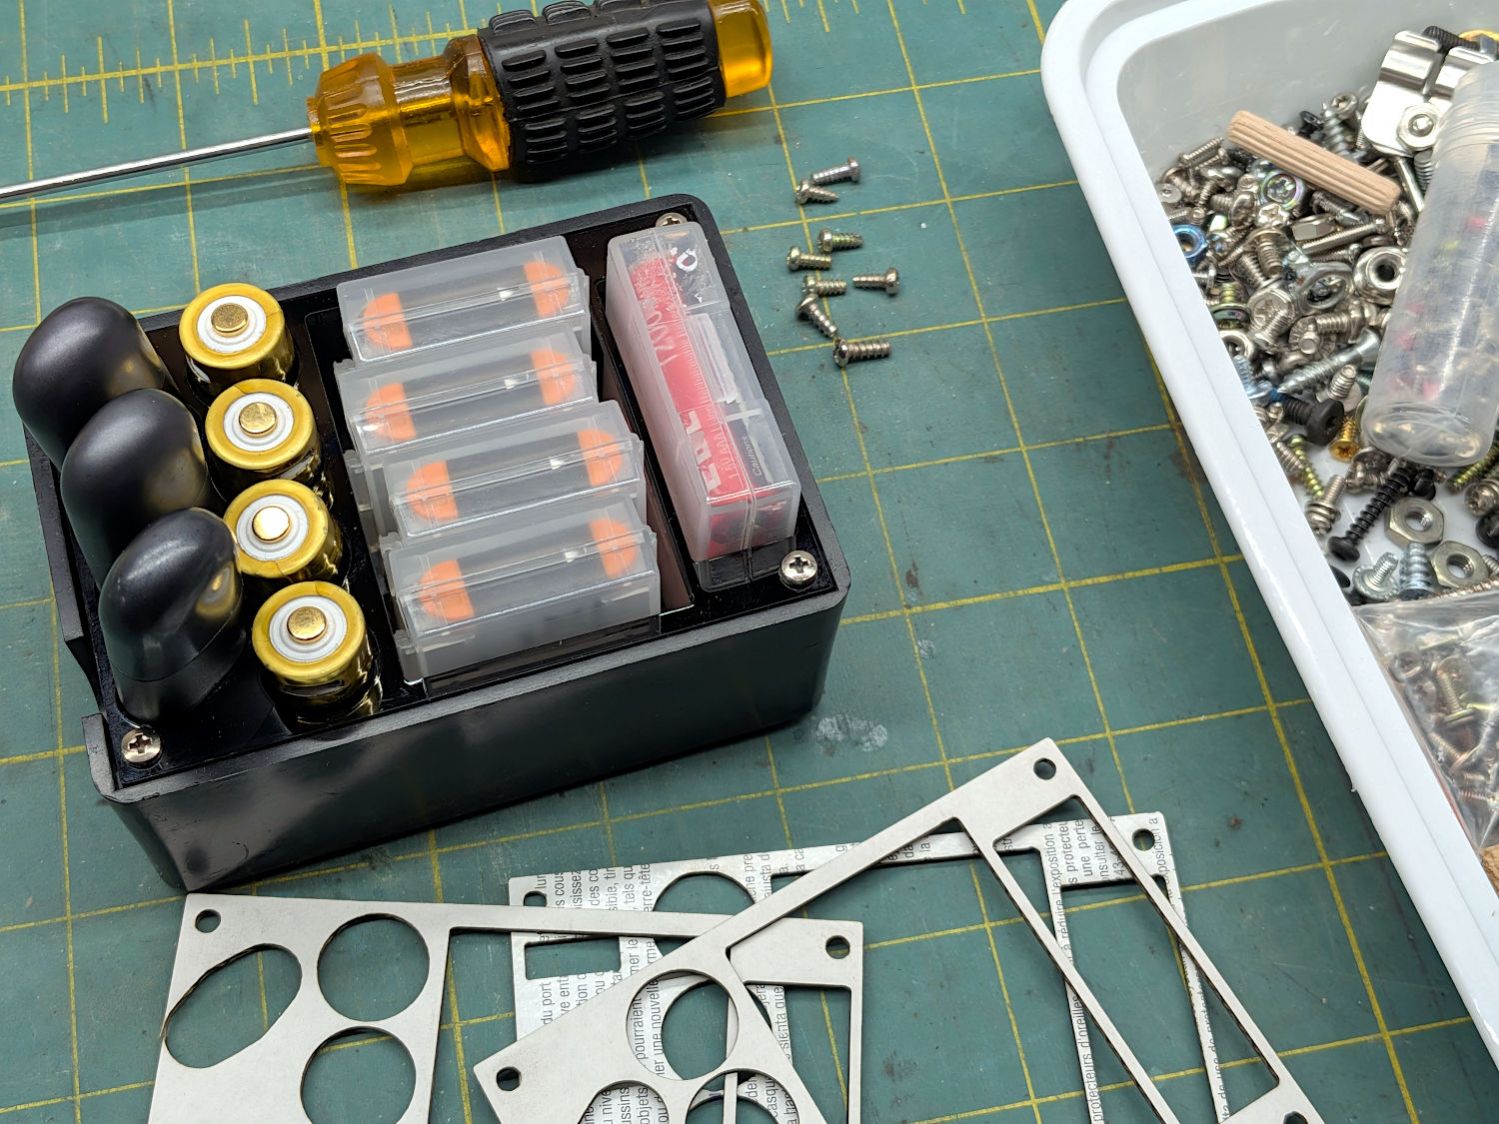
A small box has been holding an assortment of batteries during their out-of-service phase and I finally made a lid to keep the contents from flopping around:
Battery organizer
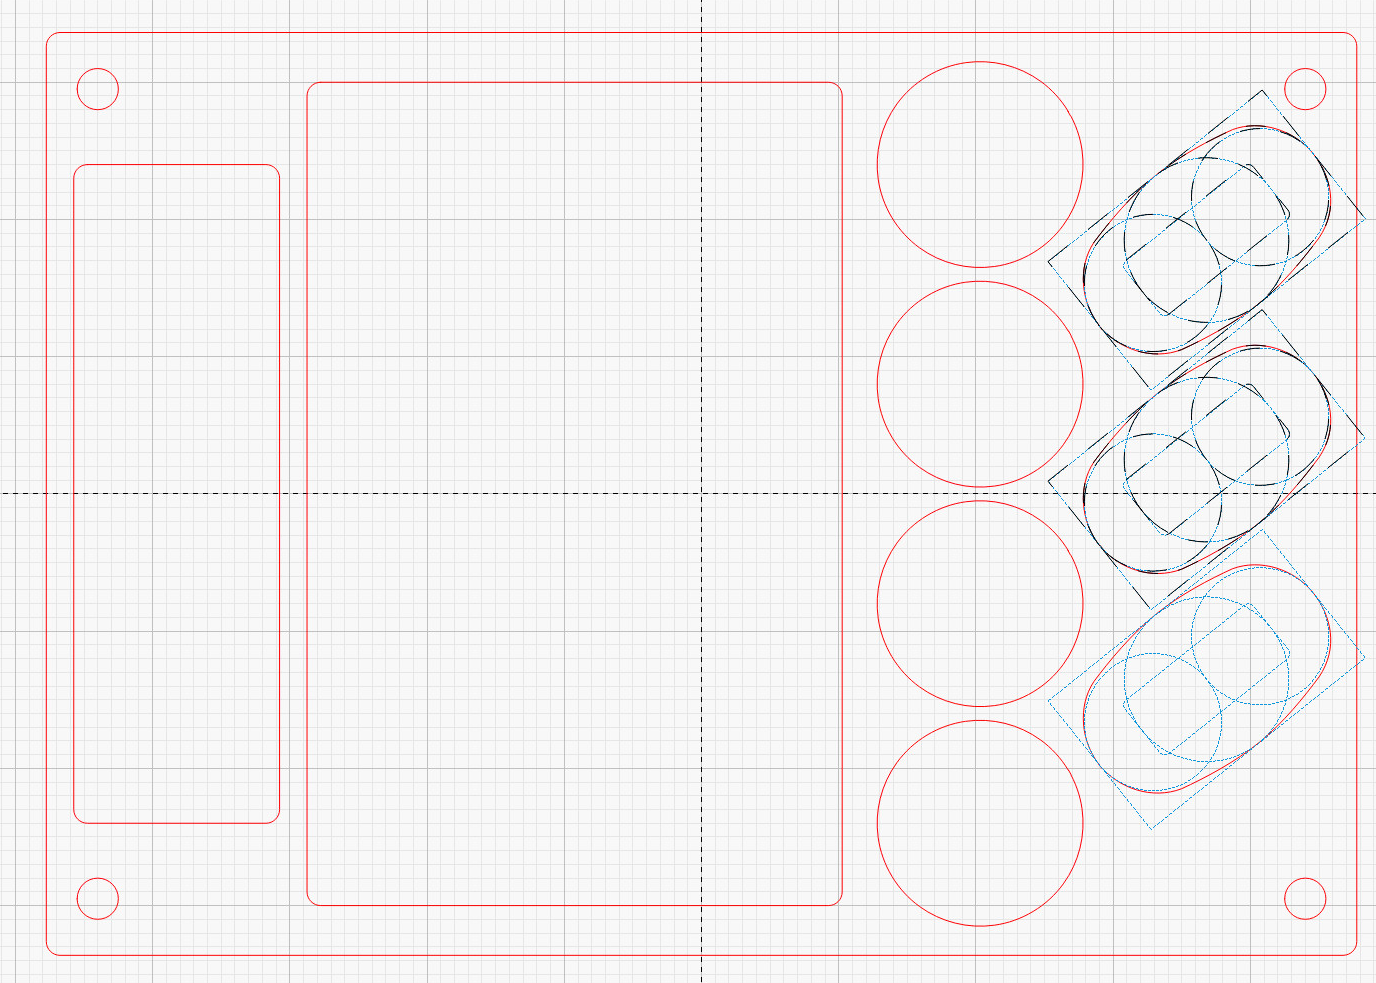
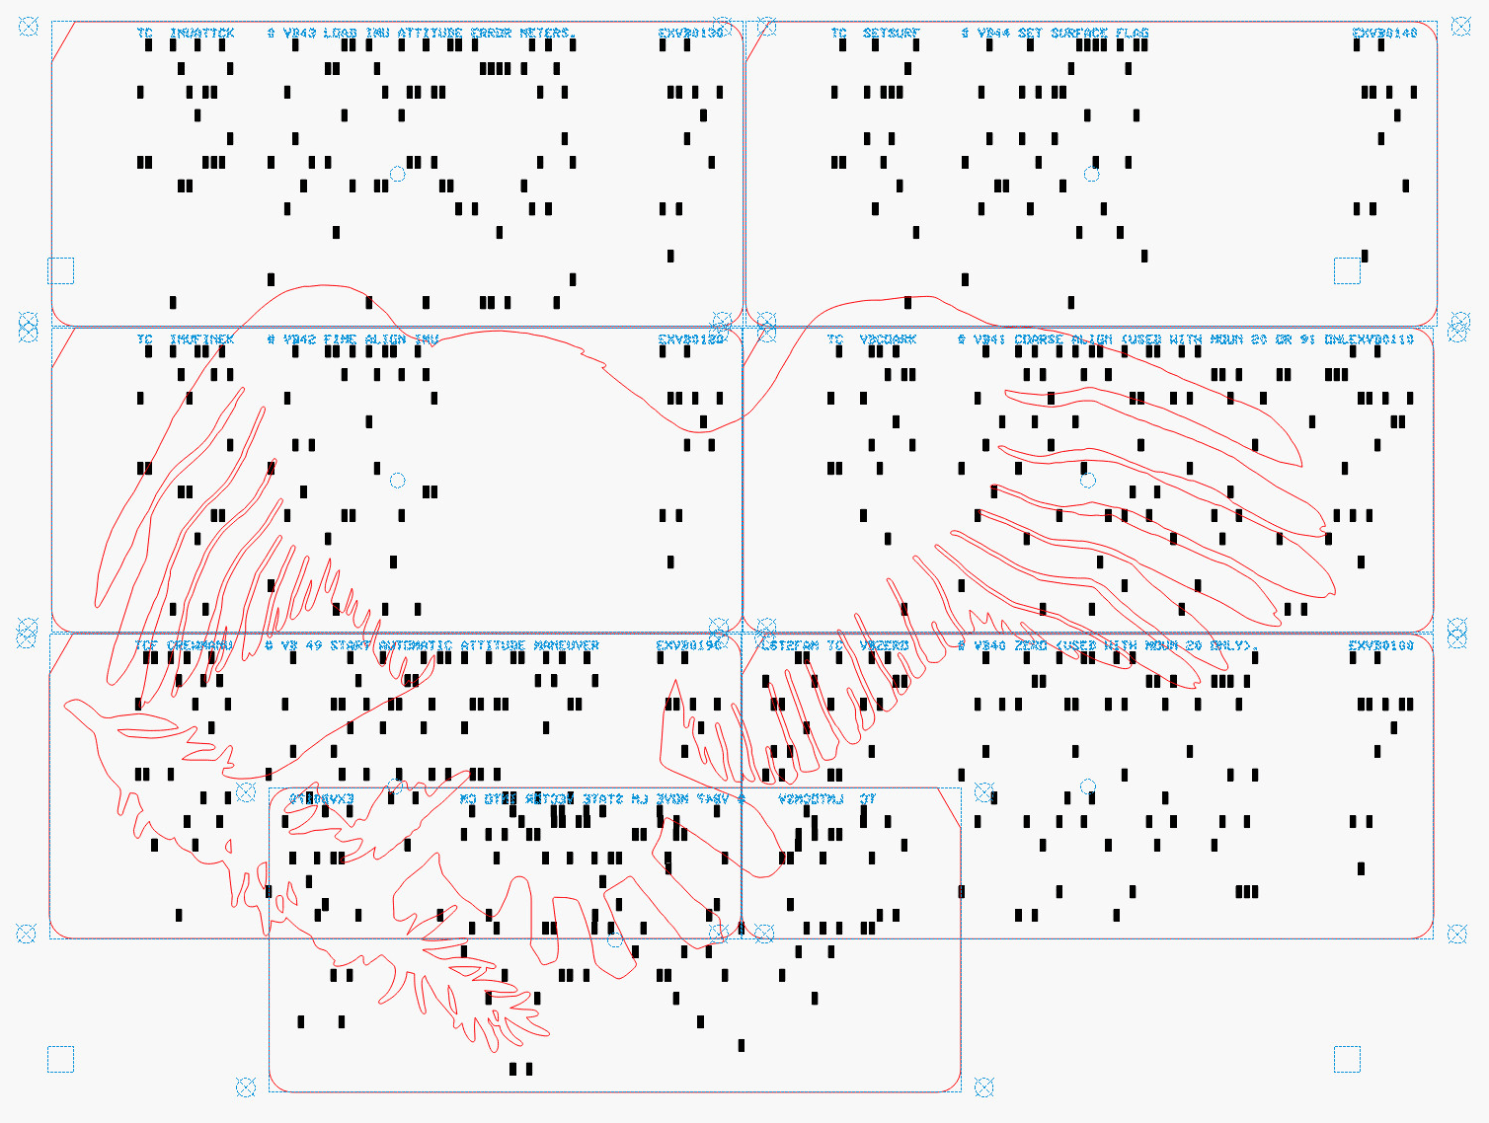
The cardboard prototypes record the journey toward the black acrylic lid. The final LightBurn layout:
The first four suitable & identical screws from the Tray o’ Tiny Screws hold the lid down. The ToTS contains screws and suchlike harvested from all the gadgetry headed for the recycling pile, making it a reliable source for any occasion.
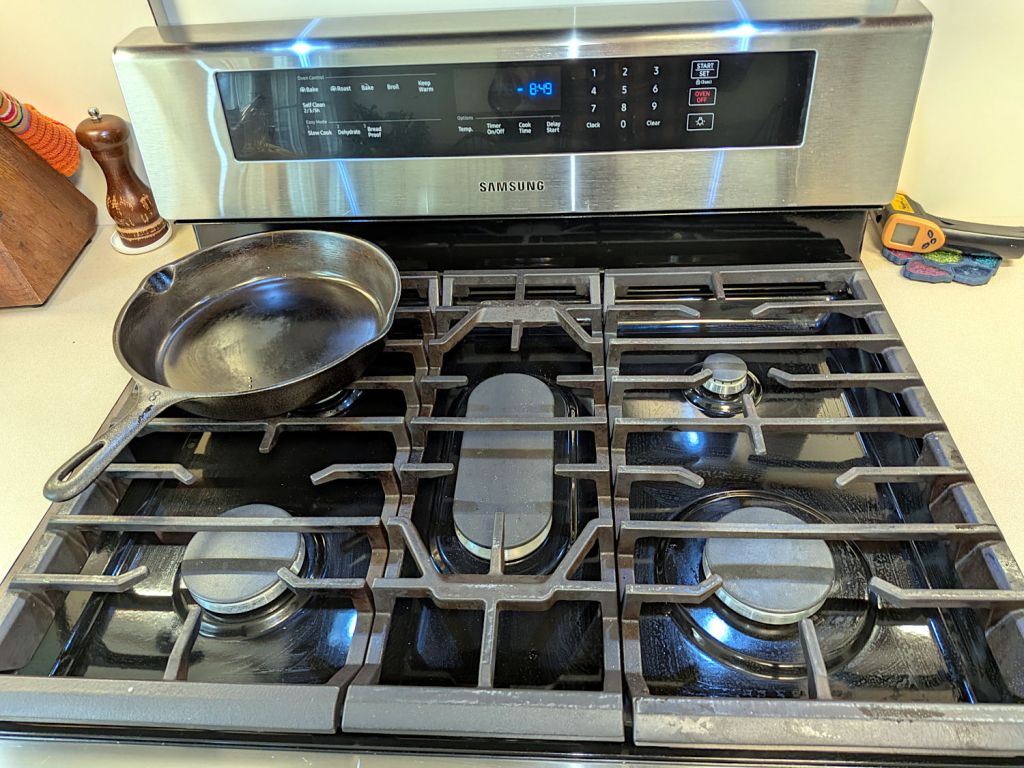
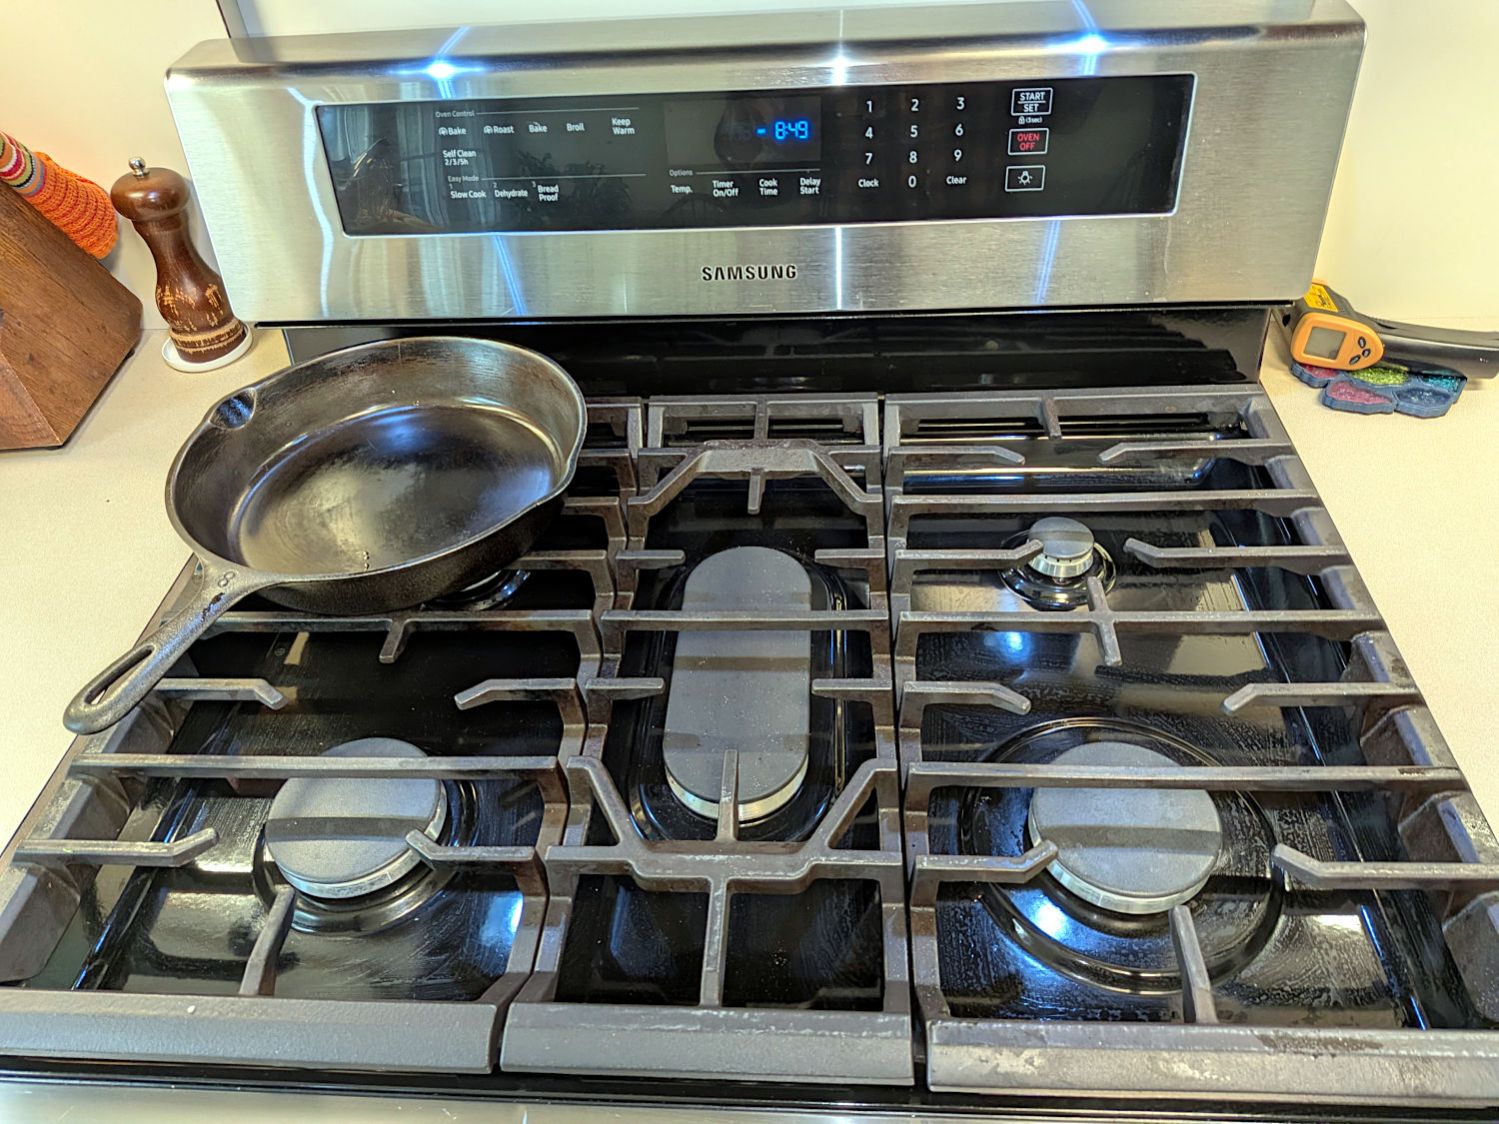
Be it hereby declared: laying the absurdly heavy cast-iron grates from the stove on sawhorses in the driveway and pressure-washing them produces a dramatic improvement:
Pressure-washed stove grates
They’re now devoid of the oil / grease / carbon accumulated during their decade of existence, little of which can be removed by hand; the shiny spots on the front right shrug off all solvents in my armory. The black finish still has plenty of scrapes & scuffs, but it’s no longer annoying.
You might think Samsung stove grates would fit in a Samsung dishwasher, but they’re too big and too heavy.
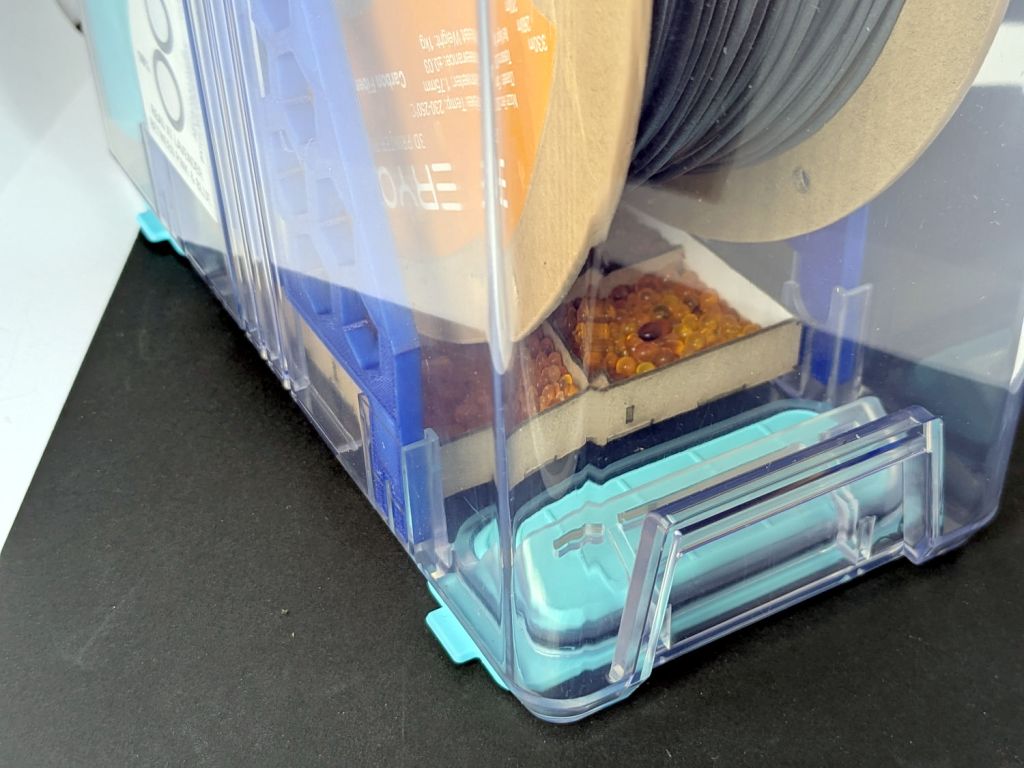
Most of the PolyDryer boxes had the same humidity as before, so I didn’t disturb them. When the humidity starts to rise, then we’ll see what’s going on in there.
The PETG Orange meter continues to misbehave and has been glitching from 22% to 30%. The indicator card shows the humidity is around 10% inside and the relatively low weight gain suggests there’s not much water to be adsorbed.
The PETG-CF Blue spool is new and, once again, shows filament does not arrive bone-dry in the factory wrapper.
Those two boxes now have alumina beads.
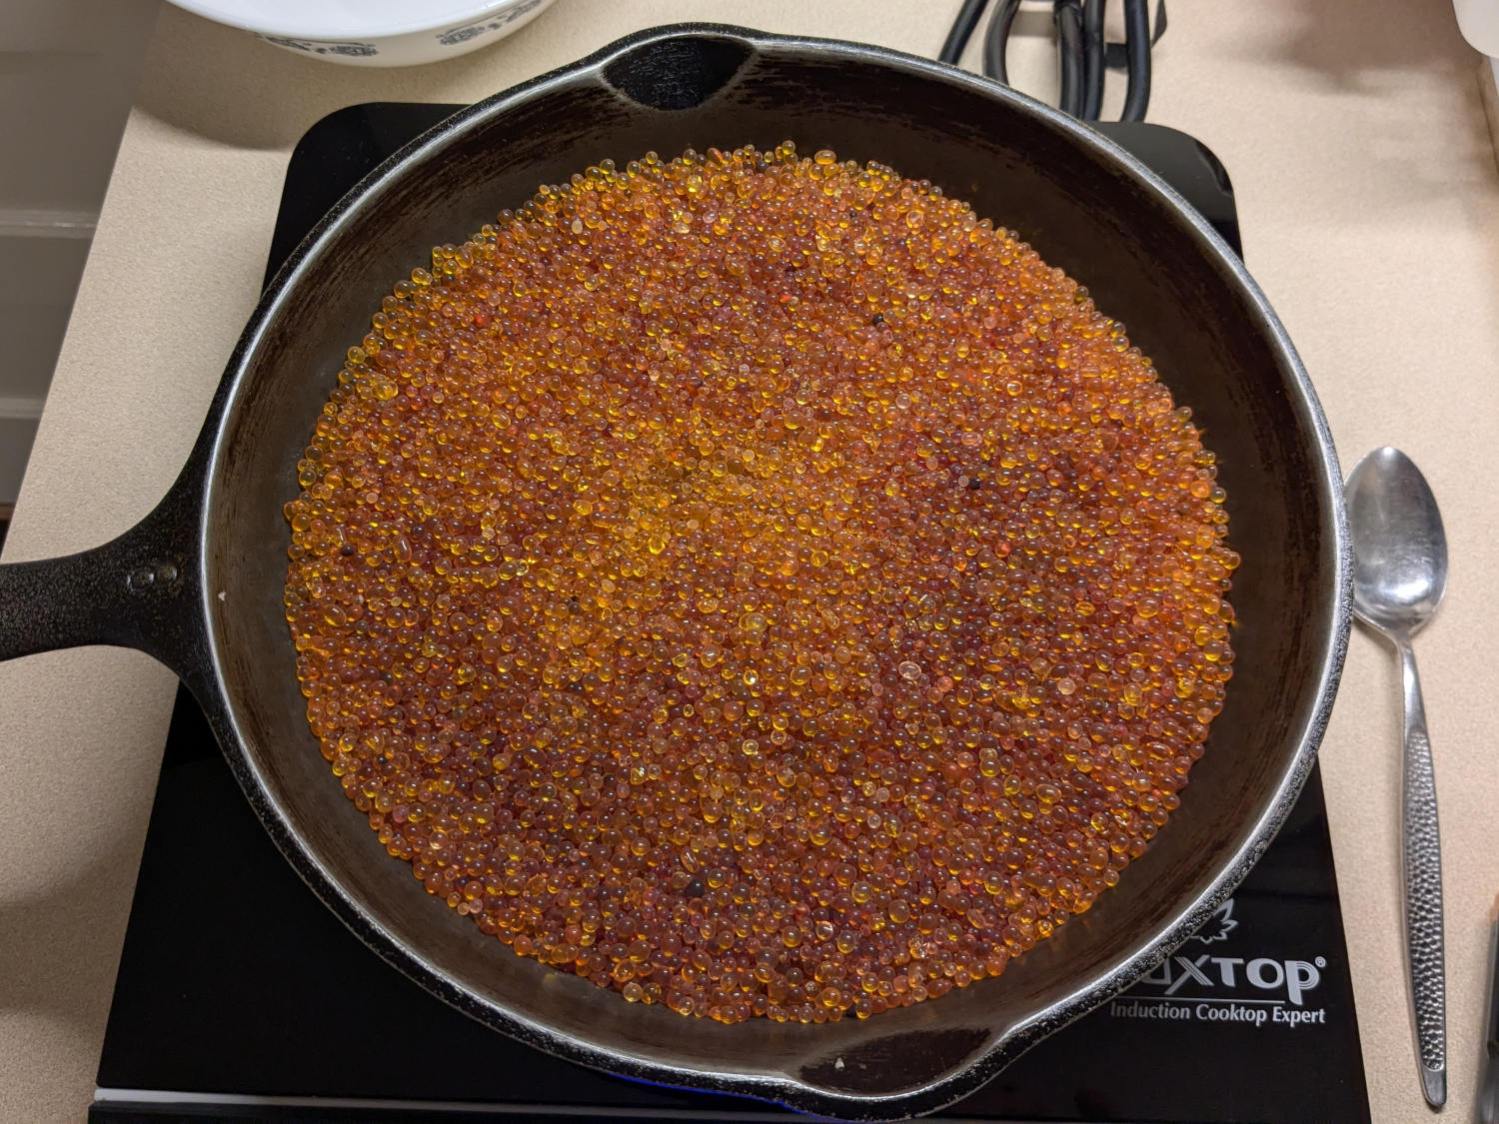
Dehydrating the jar of wet silica gel on the induction cooktop (set for 405 °F) sweated it down from 532 g to 503 g over the course of four hours, with nearly all of that change in the first two hours.
Obligatory photo from a while ago, because it looks pretty much the same now:
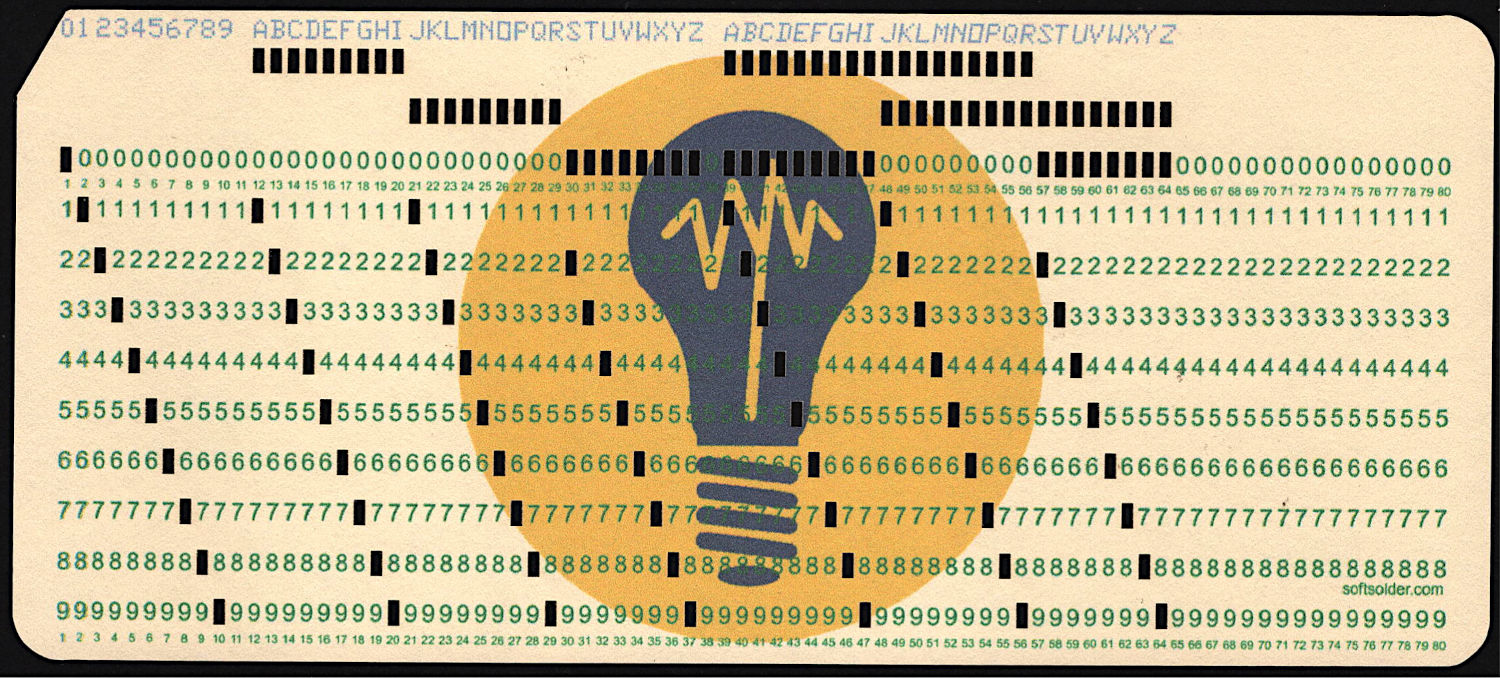
At last, I can make plausible-looking punched cards:
Test Card 3 – punched
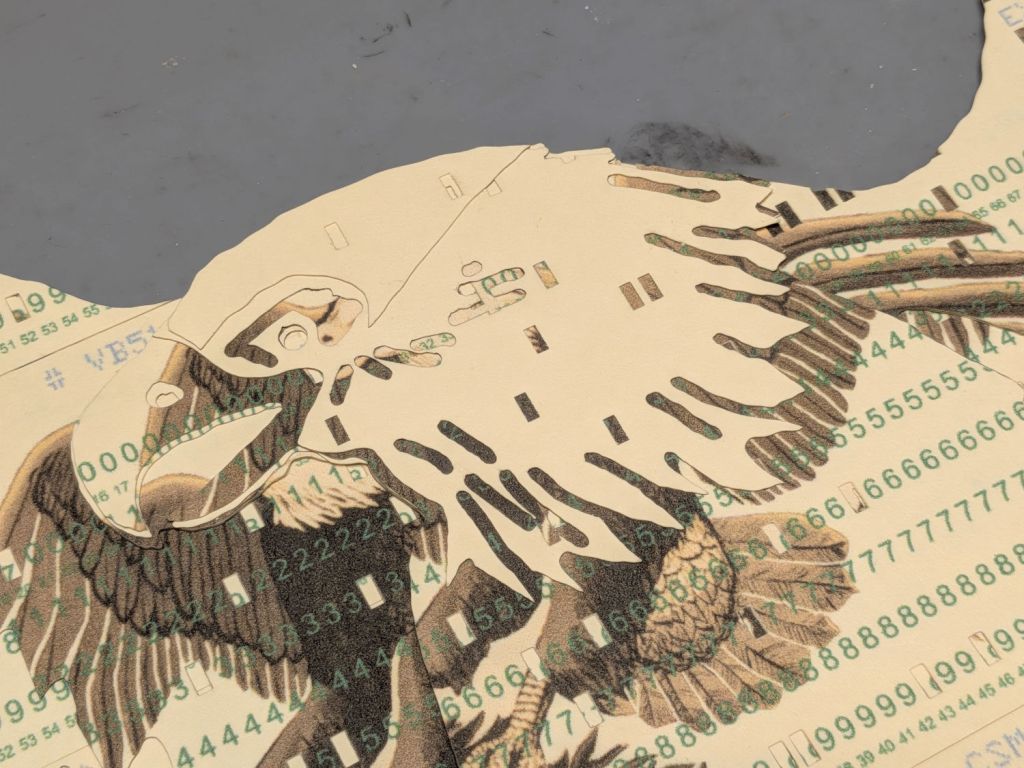
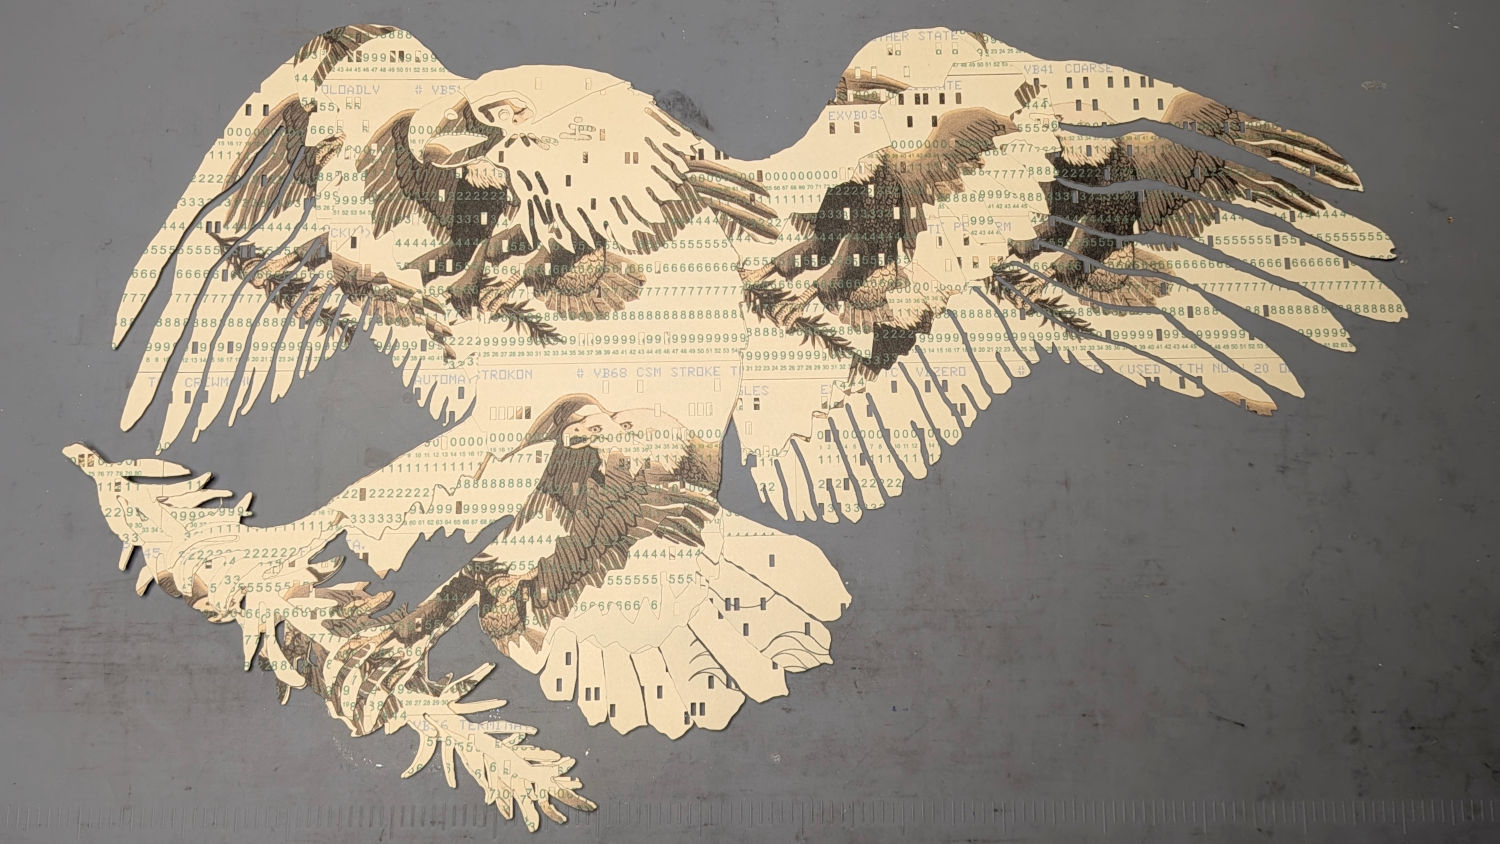
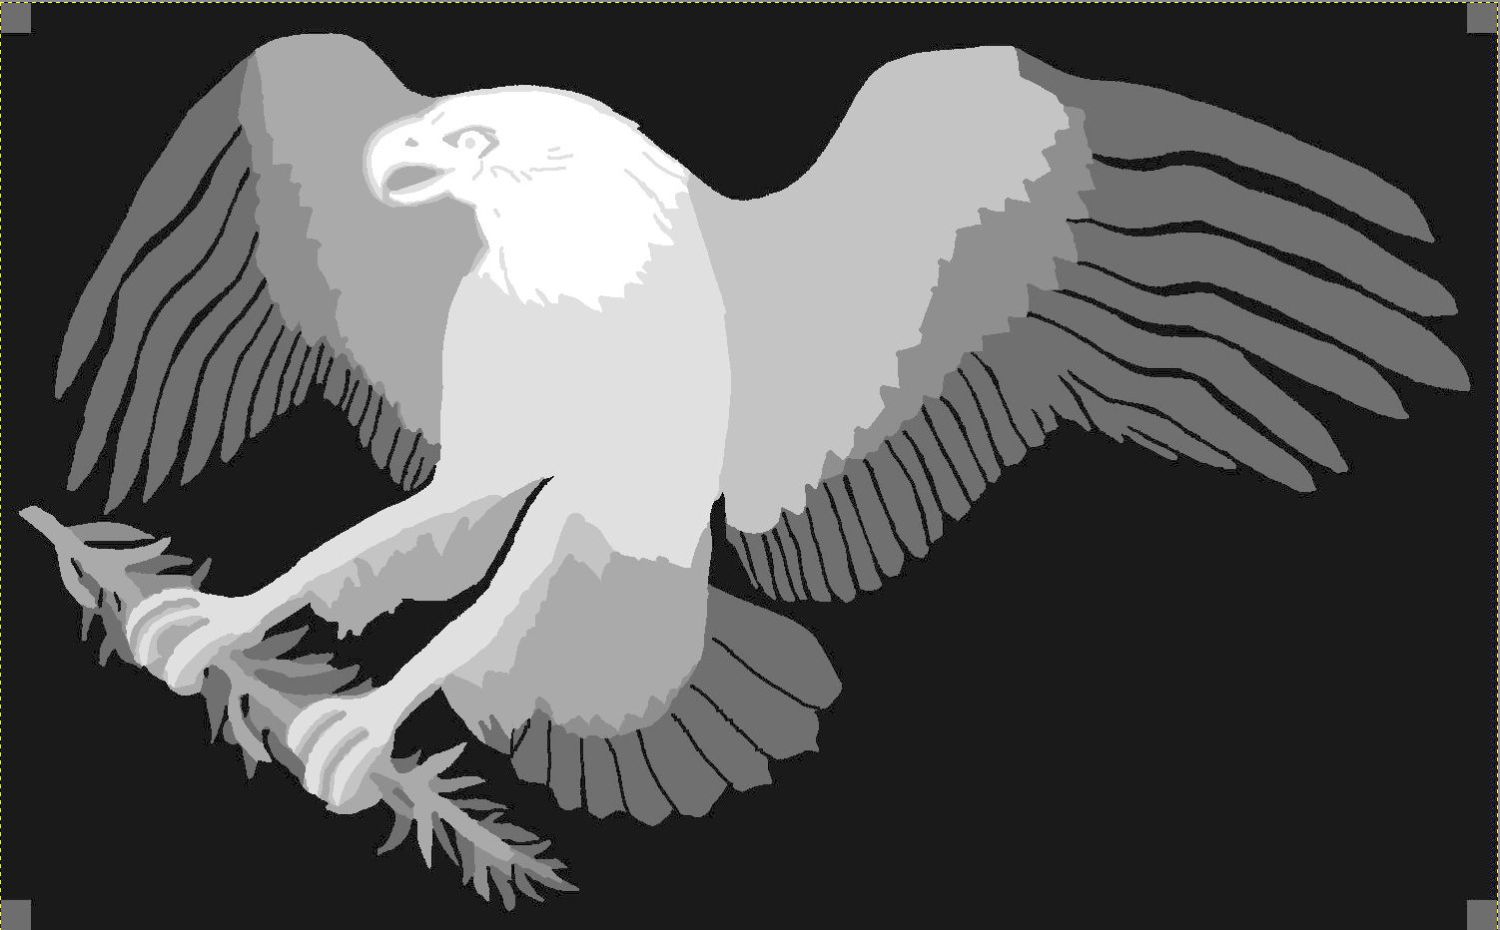
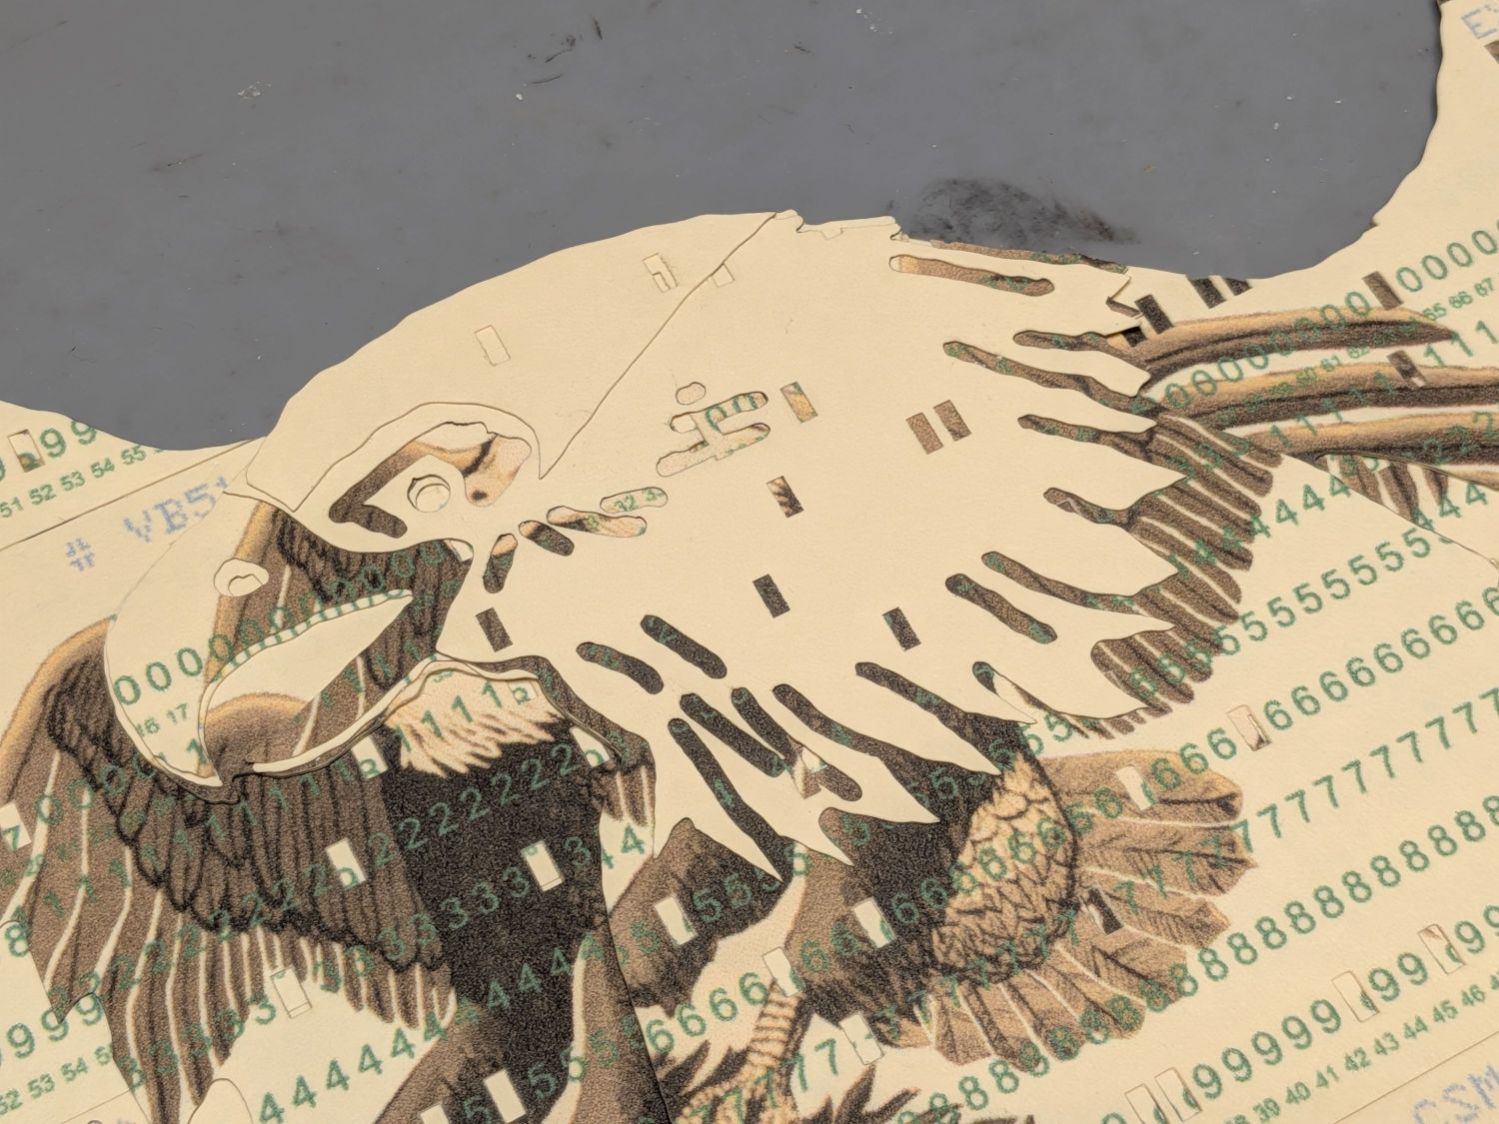
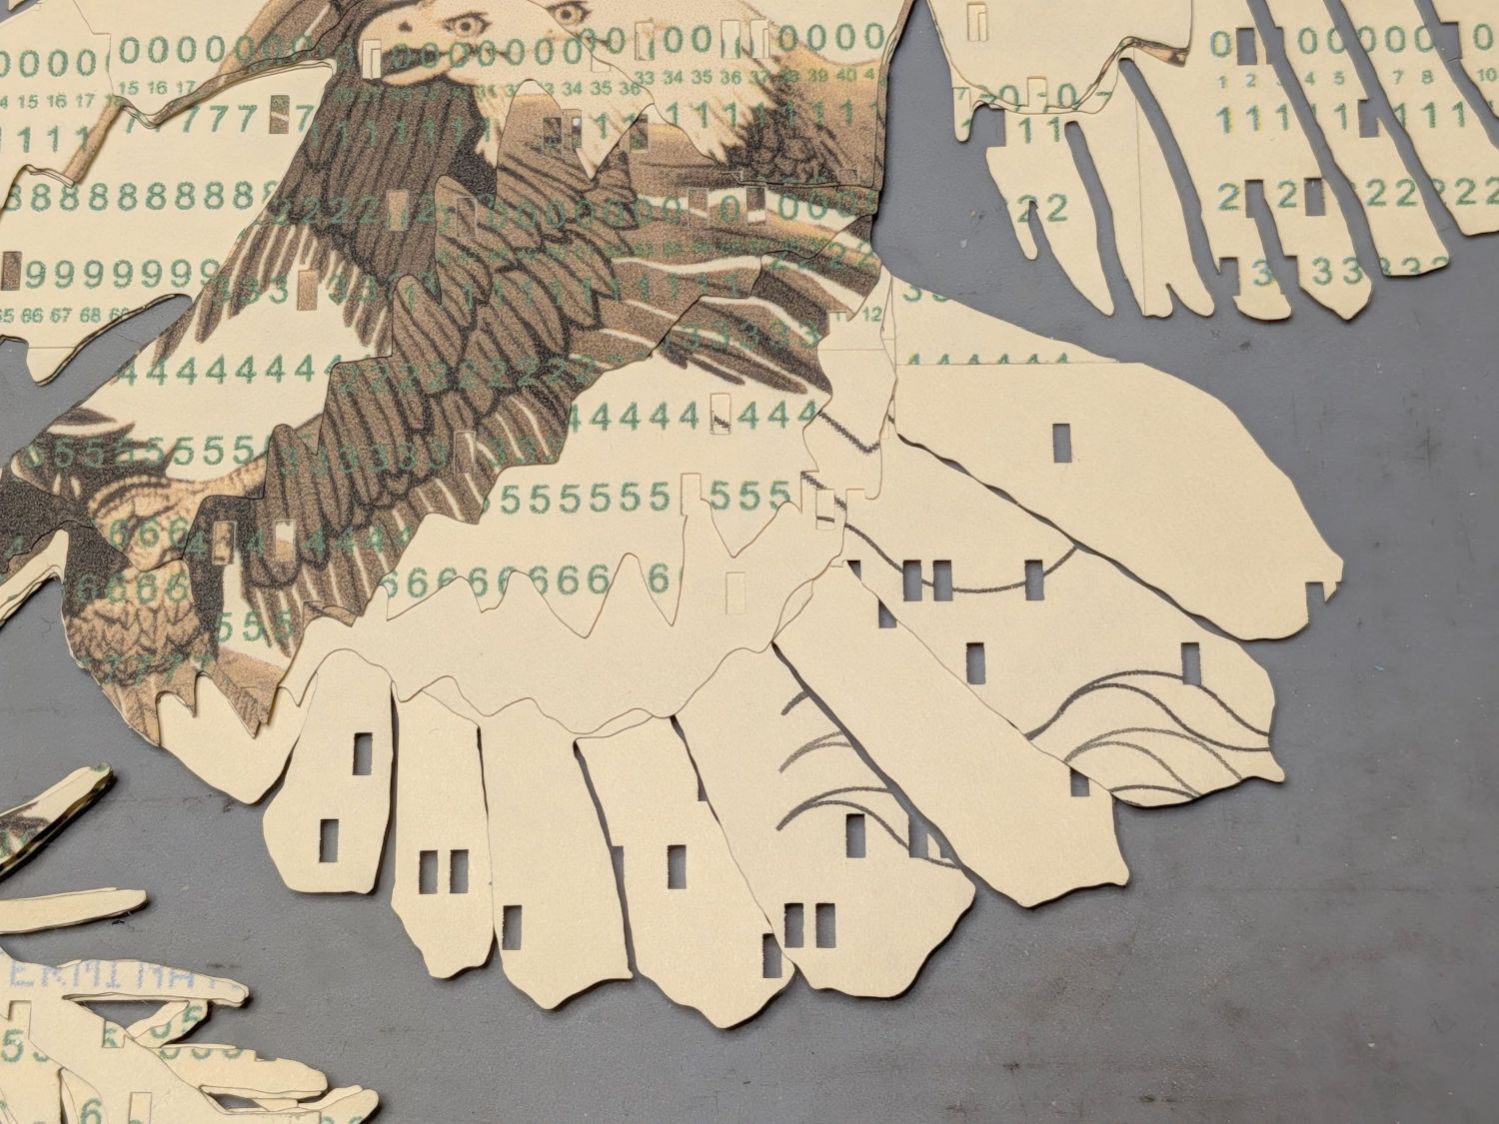
Then chop most of them up to make a layered eagle:
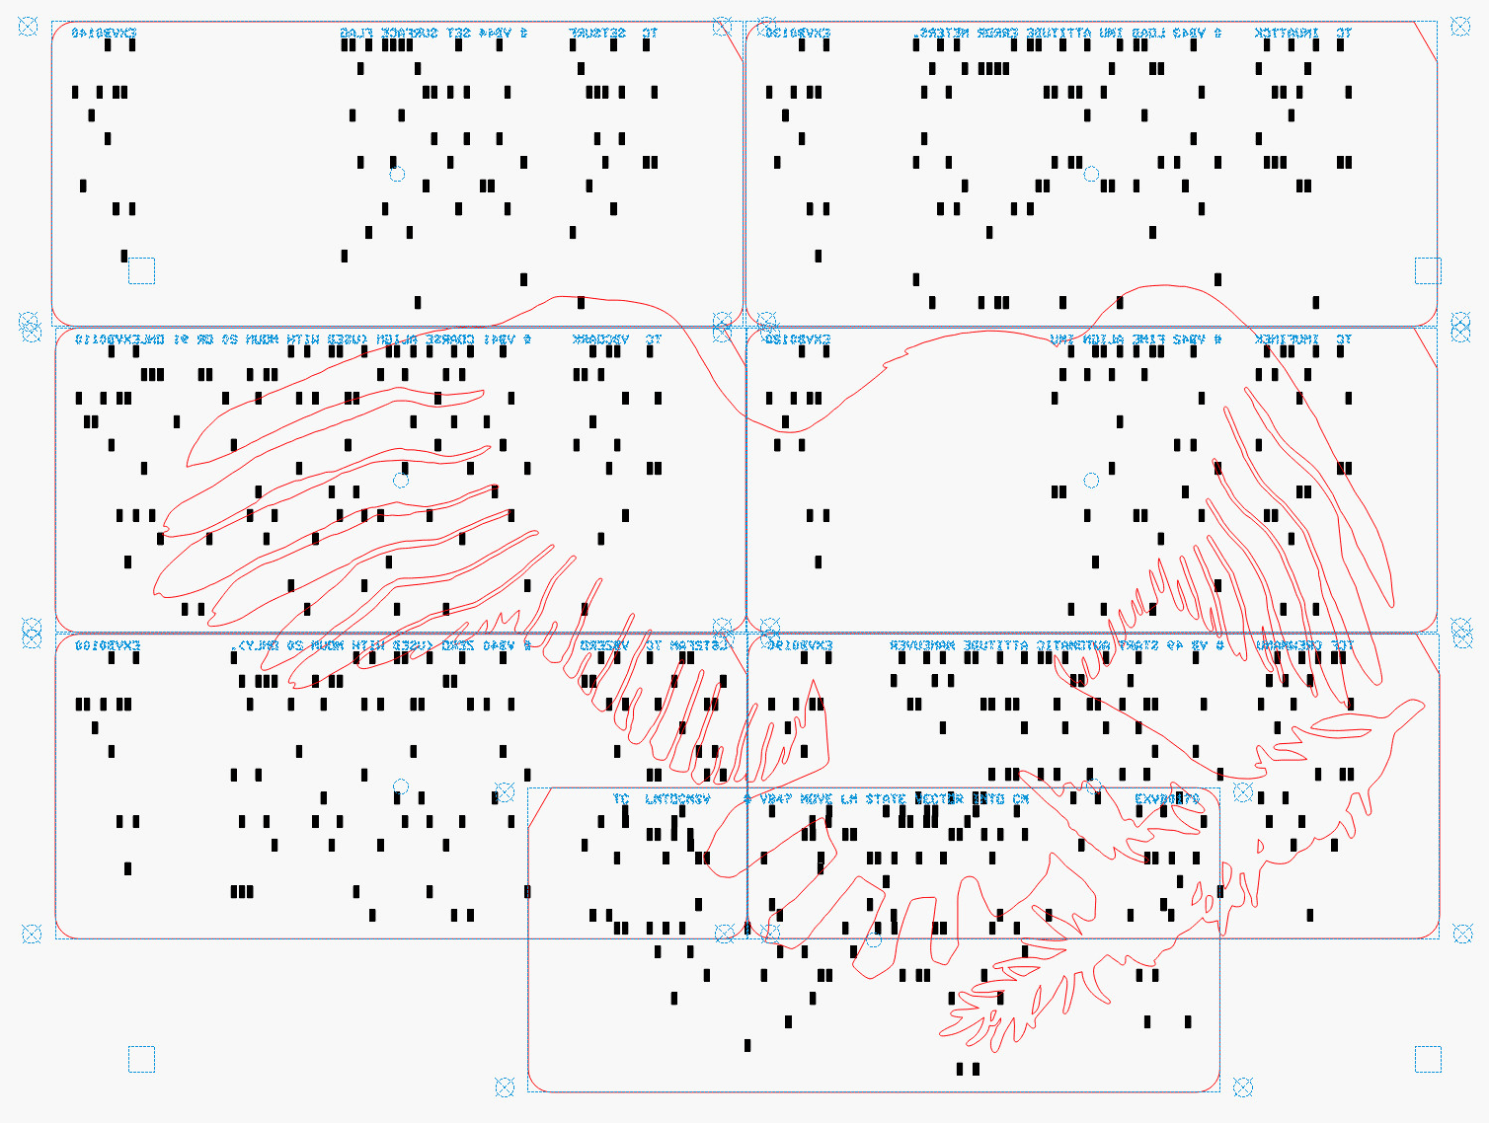
Apollo Eagle – V3 – overview
Back in the beginning, the grand overview explained the card production process, but now I can pull all the blog posts into a more coherent story.
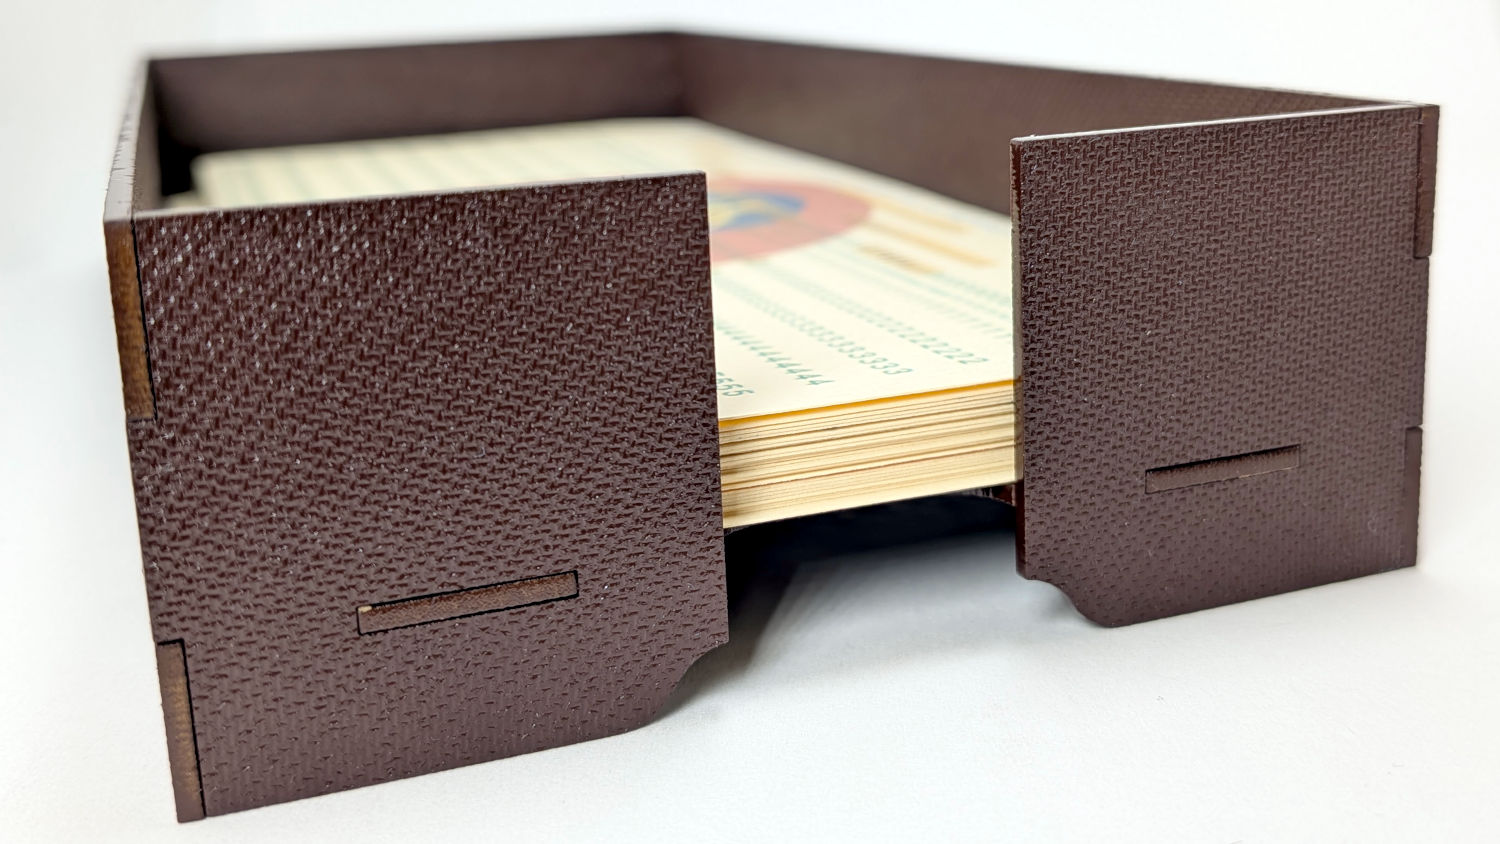
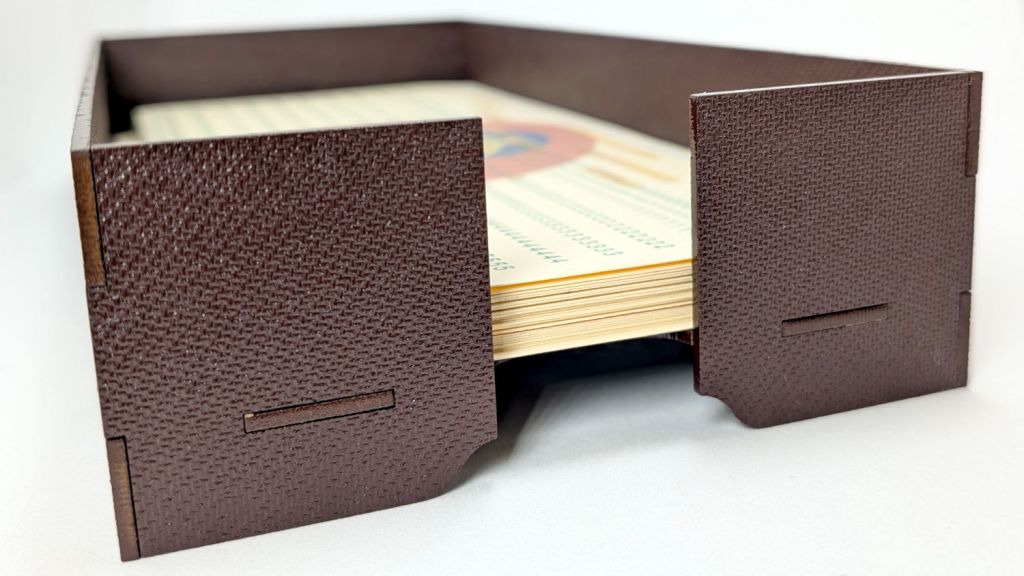
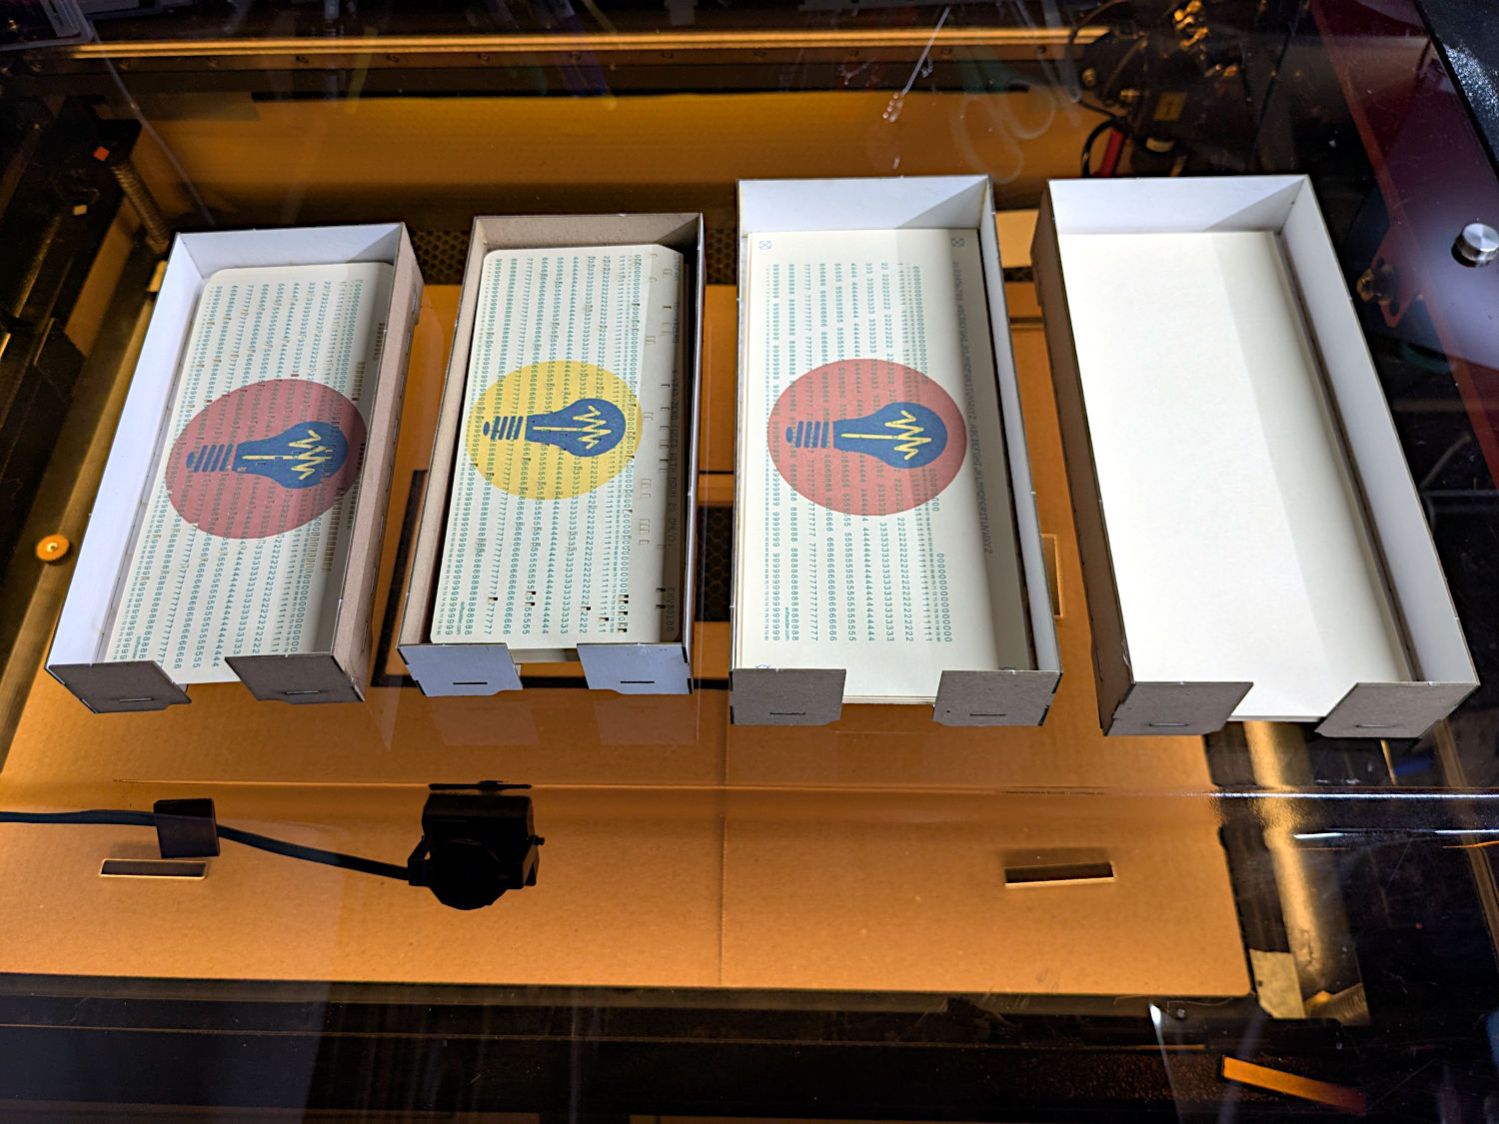
Start by making trays to hold the 1/3 Letter sized printed cards and the final cut cards. A coat of paint improves the result:
Card Storage Tray – front
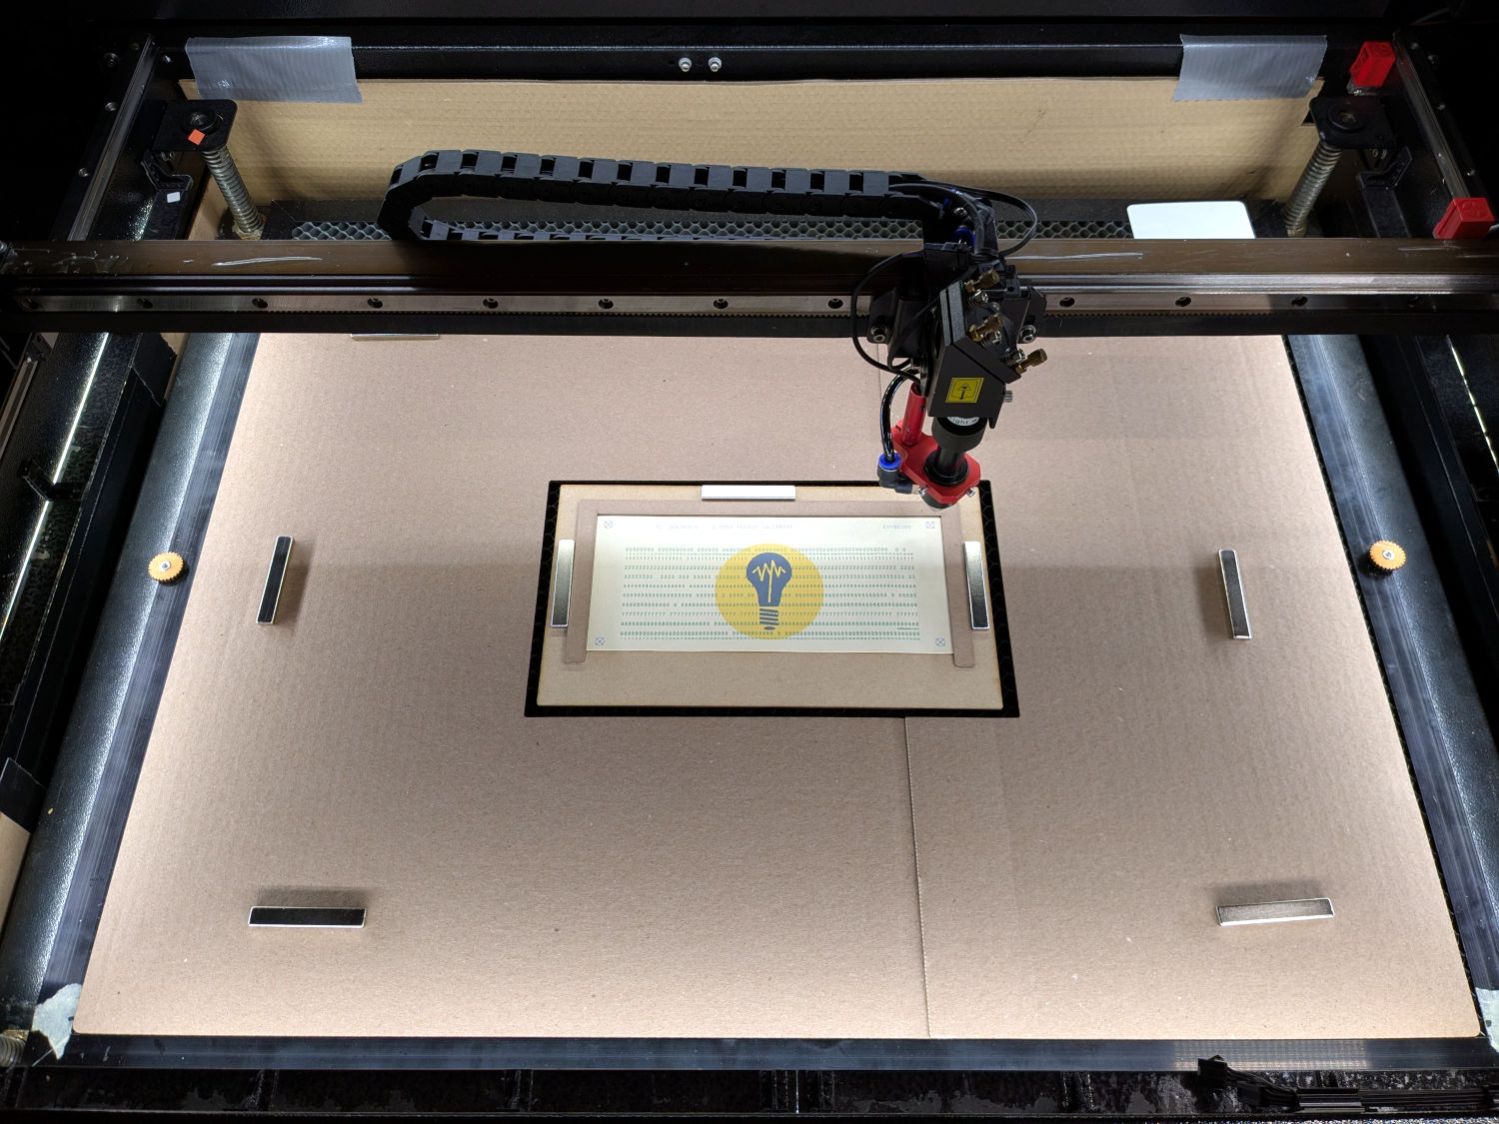
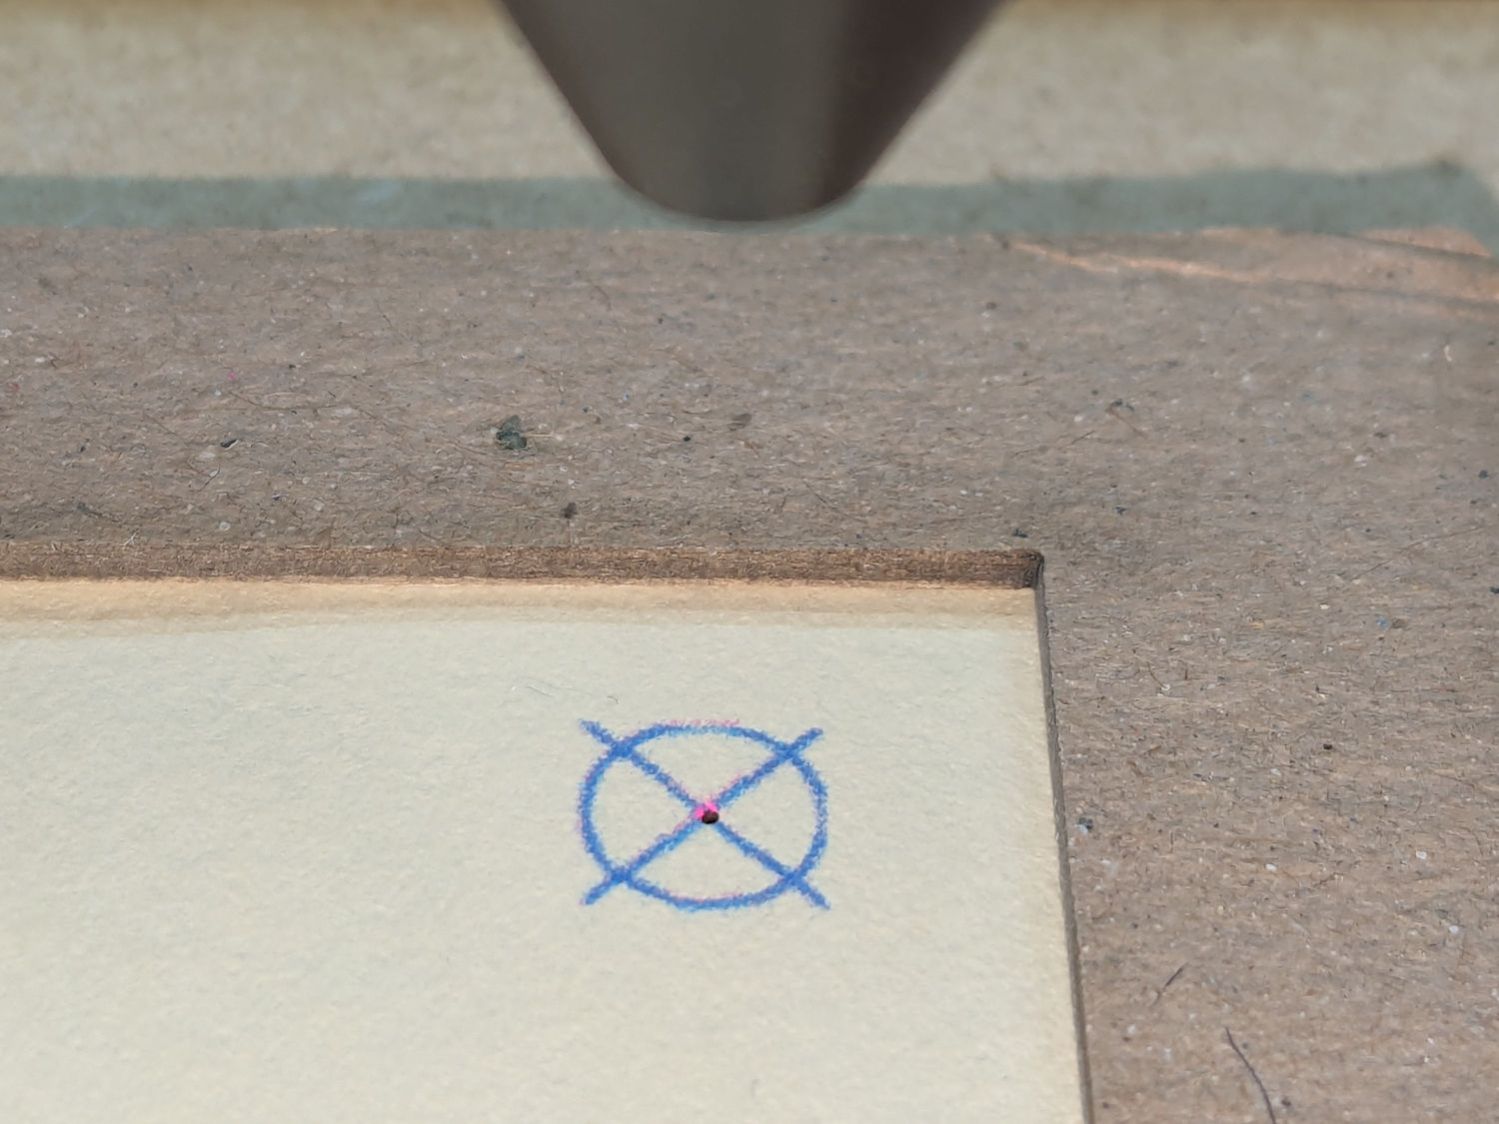
Then make a fixture to position the 1/3 Letter printed cards in the laser and a simple cover for the honeycomb to direct the air flow:
Punched cards – laser fixture overview
The current versions of the Python program to convert a line of text into the SVG images required to print and punch the cards, plus the Bash scripts handling all the command line parameters, are now in a single GitHub Gist . I used the source code from the Apollo 11 CSM AGC for historic reasons.
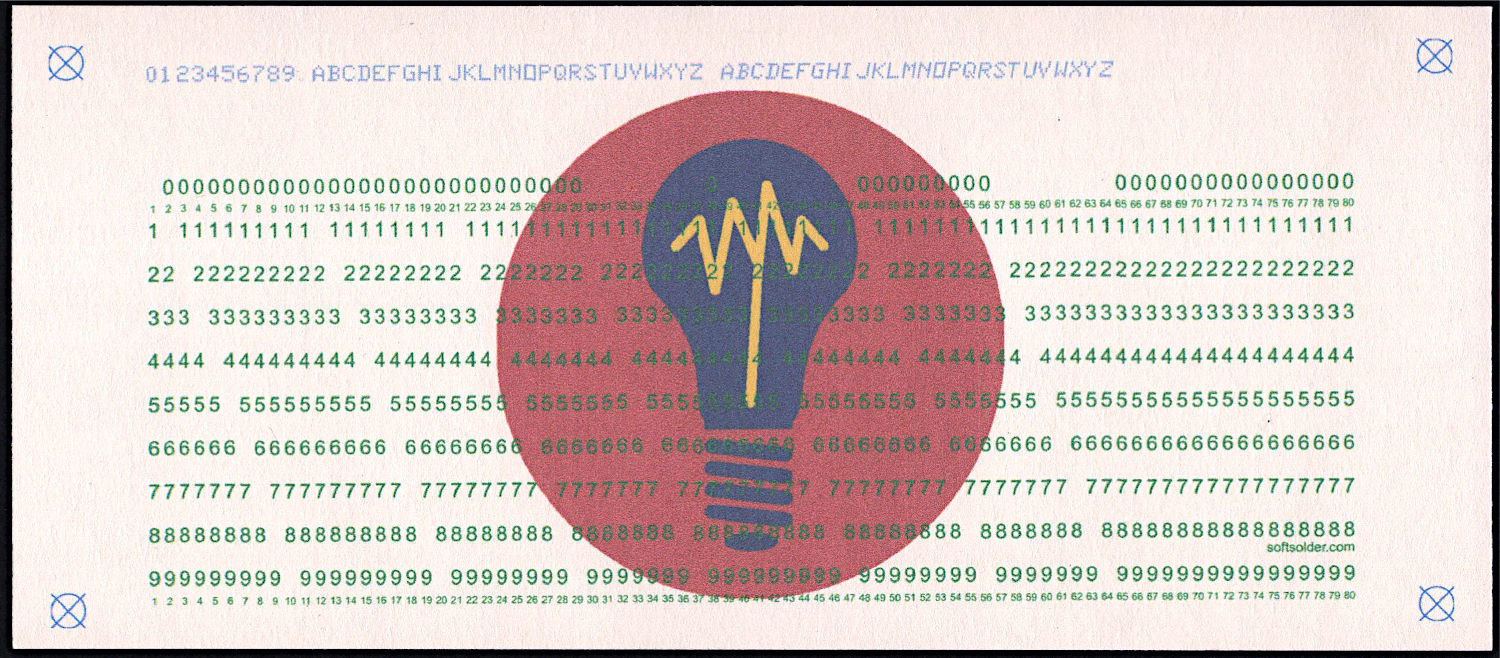
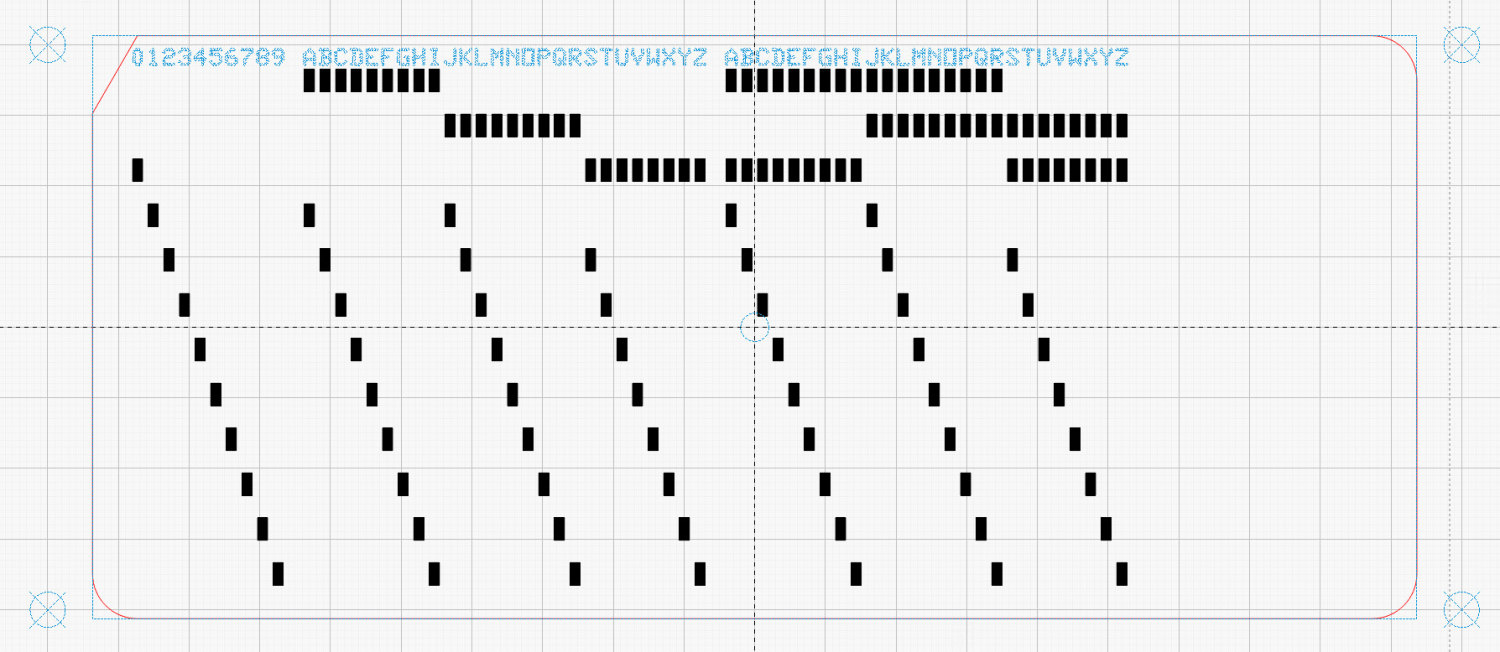
The Bash scripts invoke the Python program twice to produce both the printed layout:
Punched Cards – test card – printed
And “punched” holes surrounded by the perimeter cut for the laser:
Because my printer produces slightly off-size printed images, the script uses Inkscape to convert the SVG into a PNG, then downscales the image by a few percent (a different percent on each axis). It composites the card logo onto the PNG and slams the result onto a Letter page in the proper place to hit the 1/3 Letter sheets.
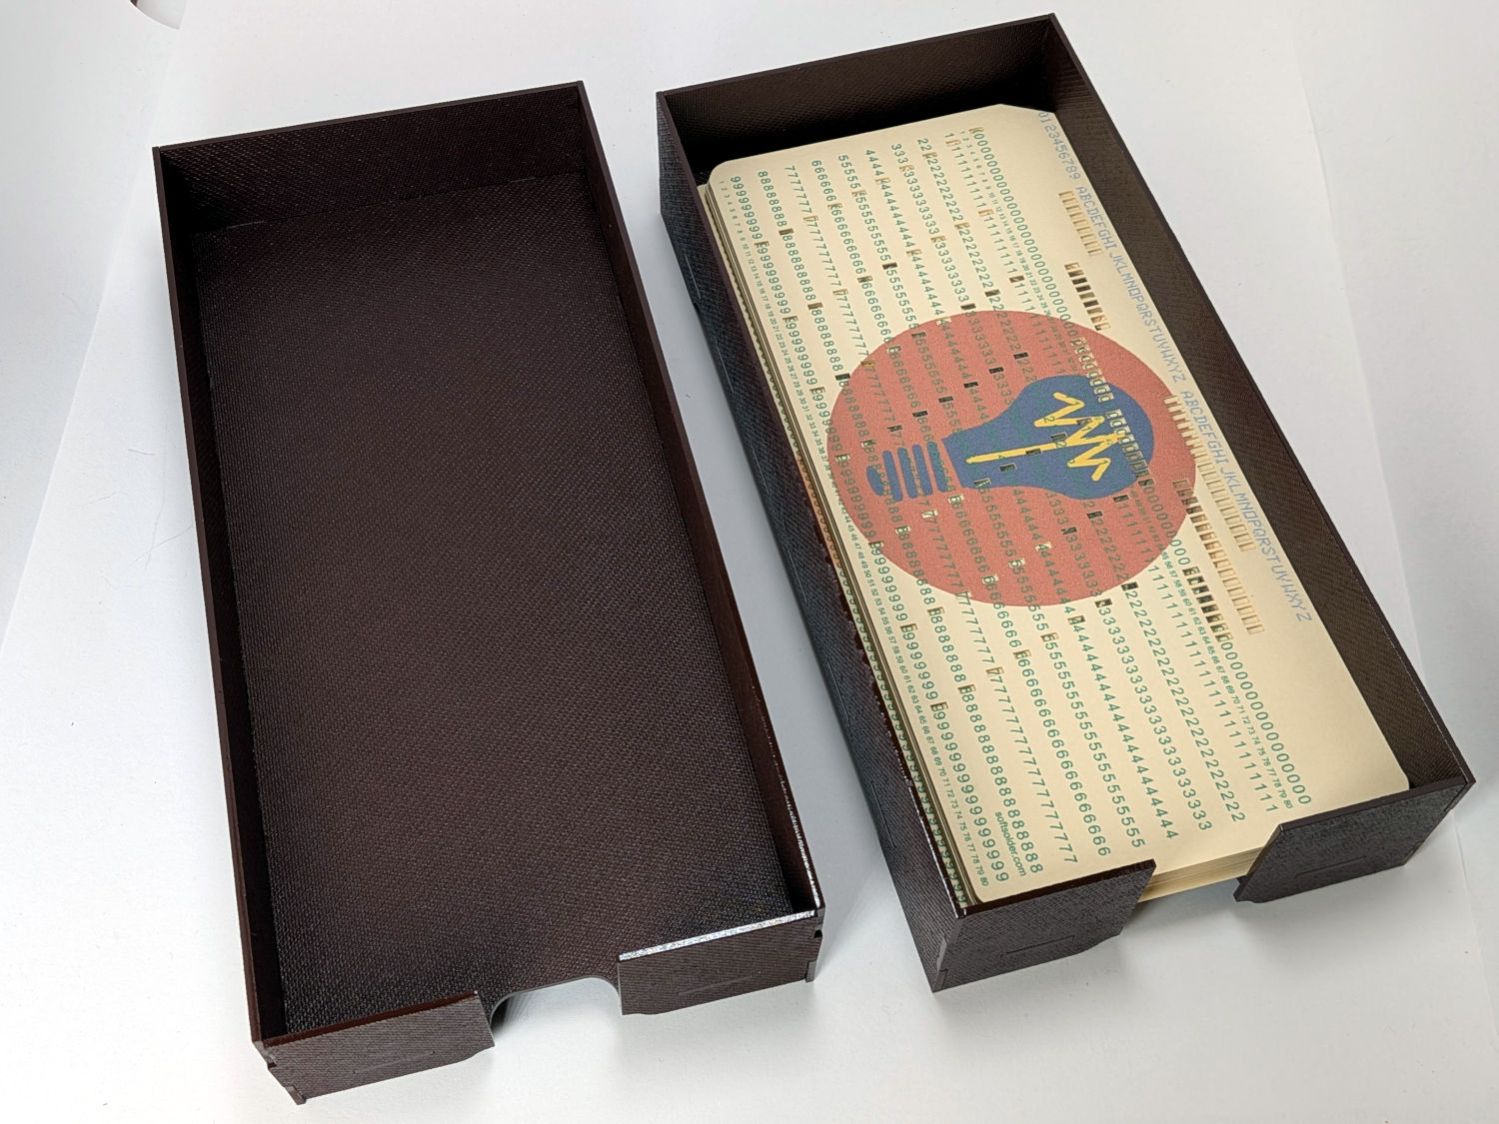
If you must have a stack of punched cards on your desk, a nice tray does wonders for the office decor:
Card Storage Tray – overview
That’s a coat of Rustoleum Painter’s Touch 2x [many more adjectives] Kona Brown Gloss rattlecan paint atop Trocraft Eco board. I sprayed the separate parts on a sheet of newspaper, waited 20 minutes, flipped them over, sprayed the other side, gave them another 20 minutes, and got them inside out of the wind for a day of curing.
They’re held together by cyanoacrylate adhesive dots between the tabs, with accelerator daubed on the other side of the joint to encourage prompt curing. In general I do not like cyanoacrylate, but sometimes it seems like the right hammer for the job.