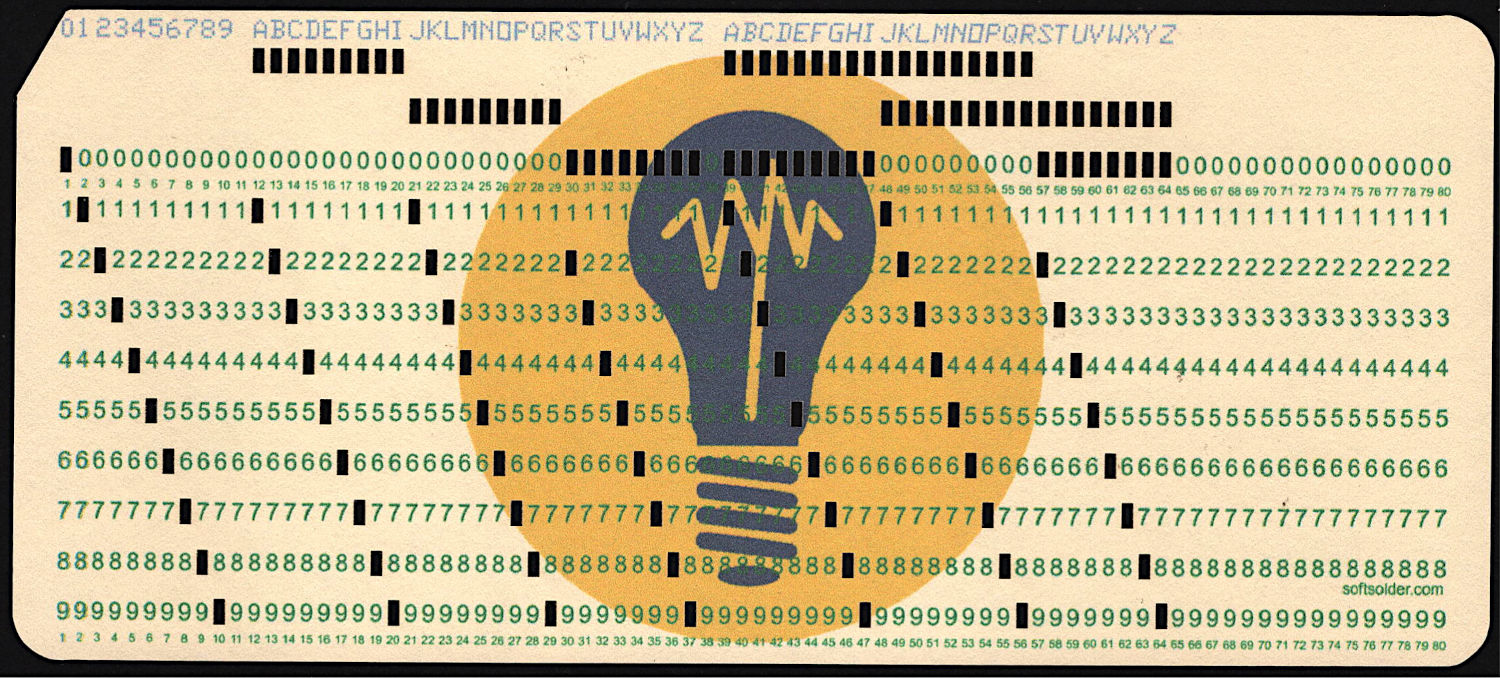
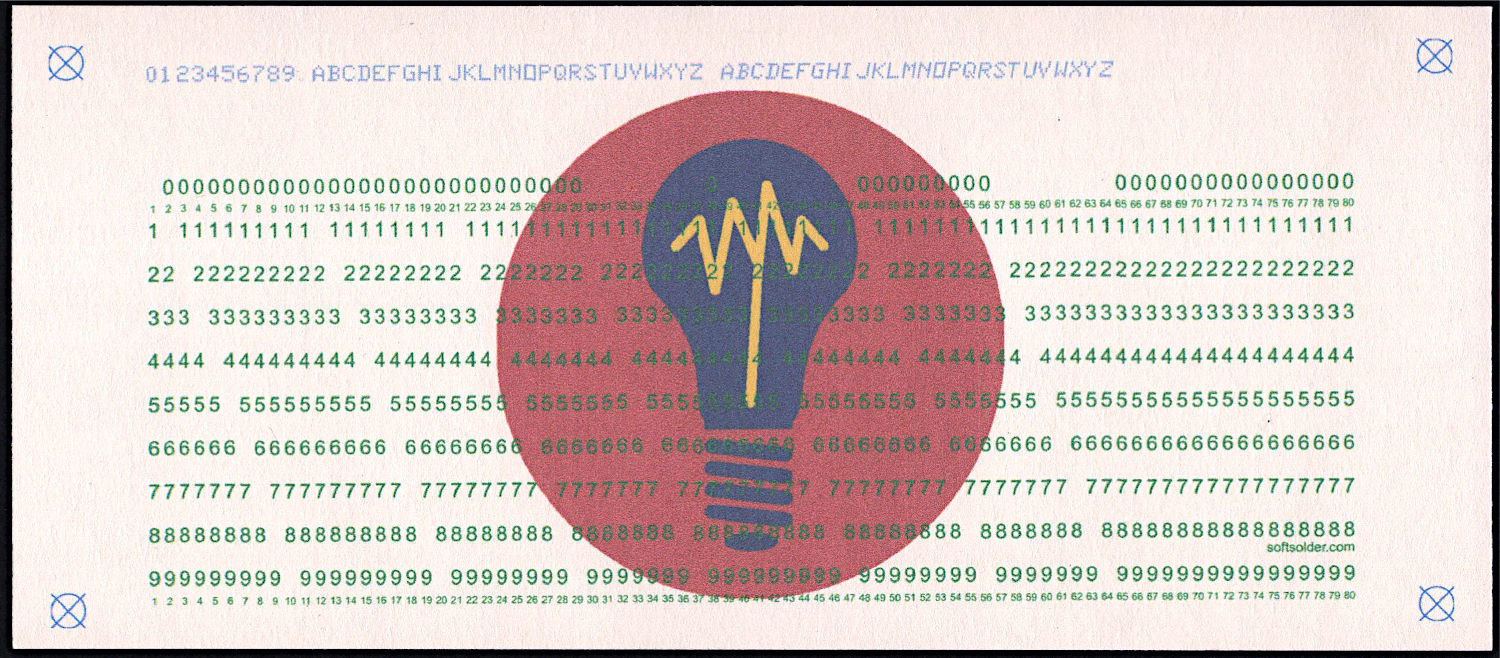
At last, I can make plausible-looking punched cards:
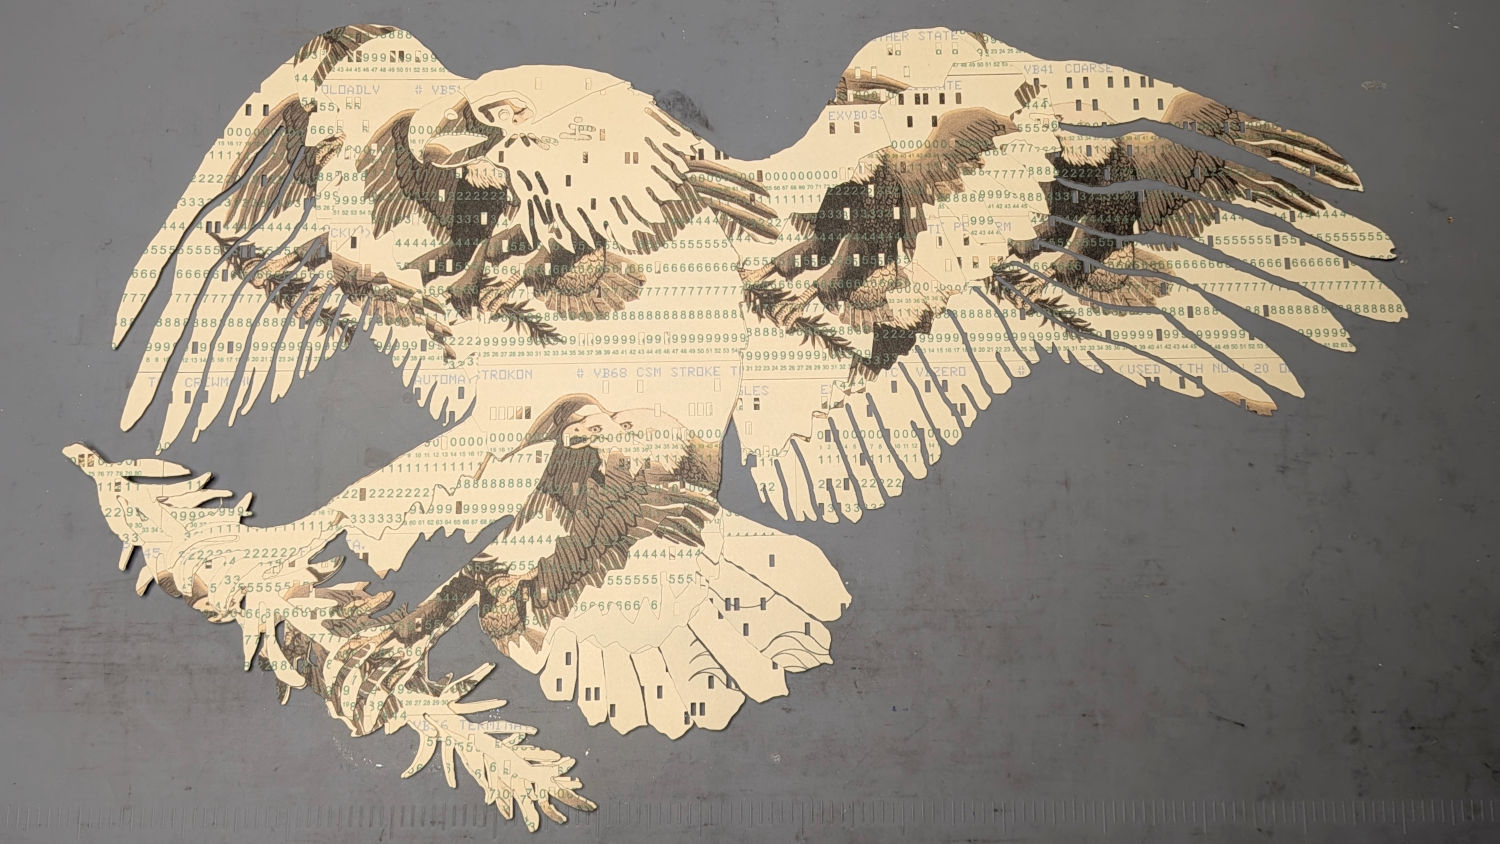
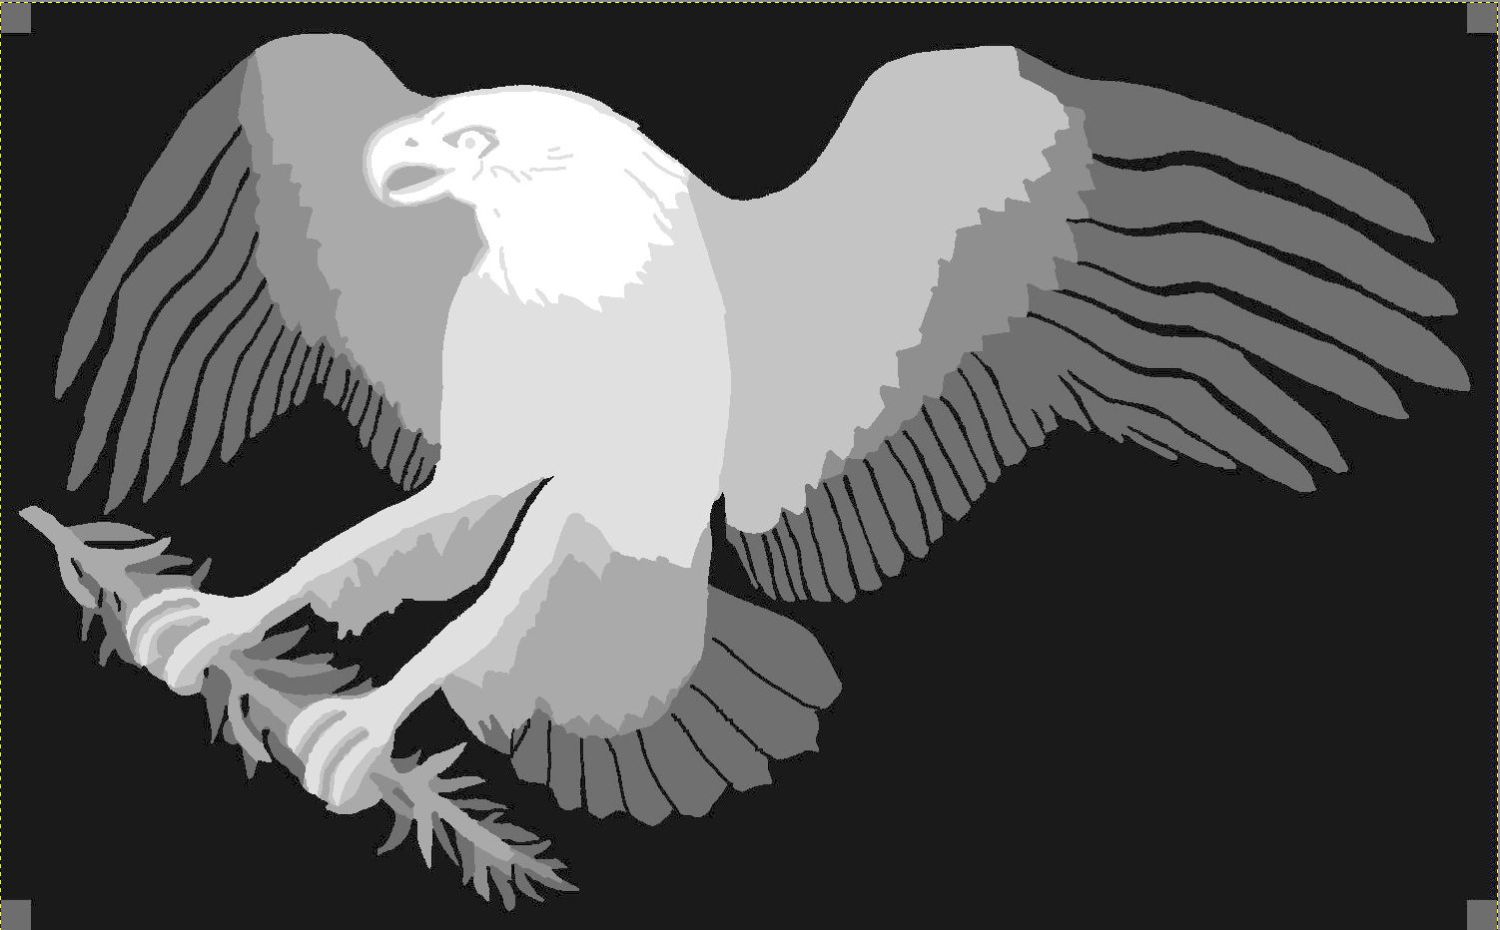
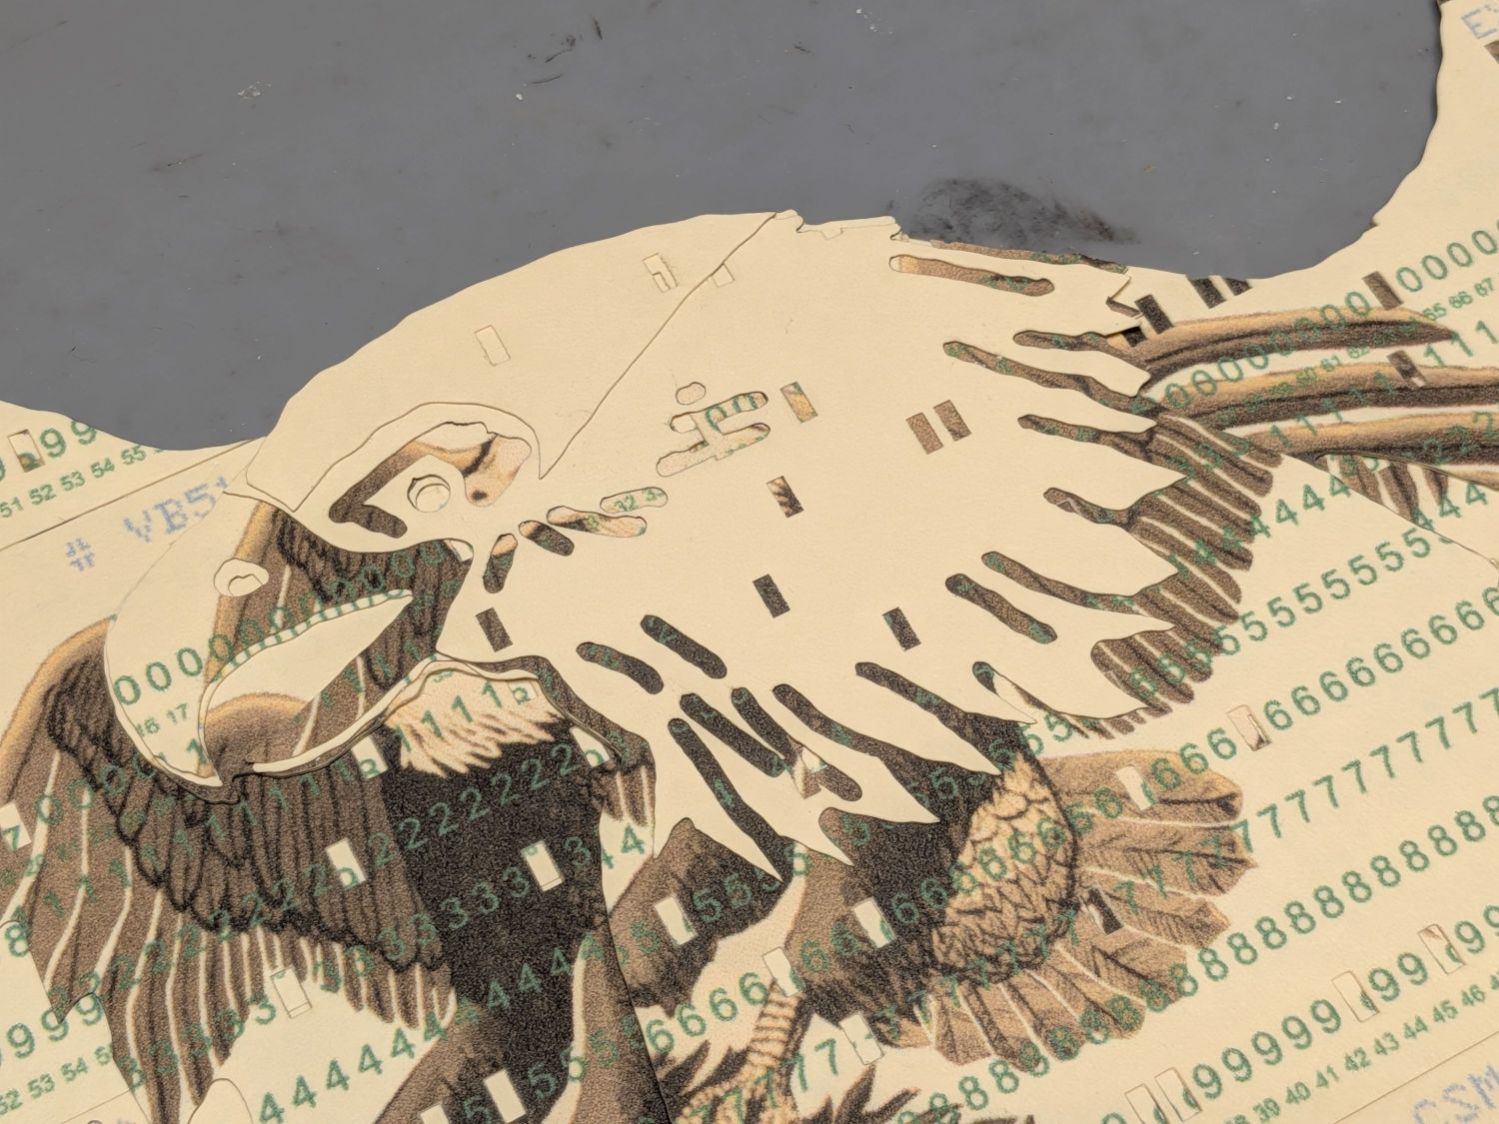
Then chop most of them up to make a layered eagle:
Back in the beginning, the grand overview explained the card production process, but now I can pull all the blog posts into a more coherent story.
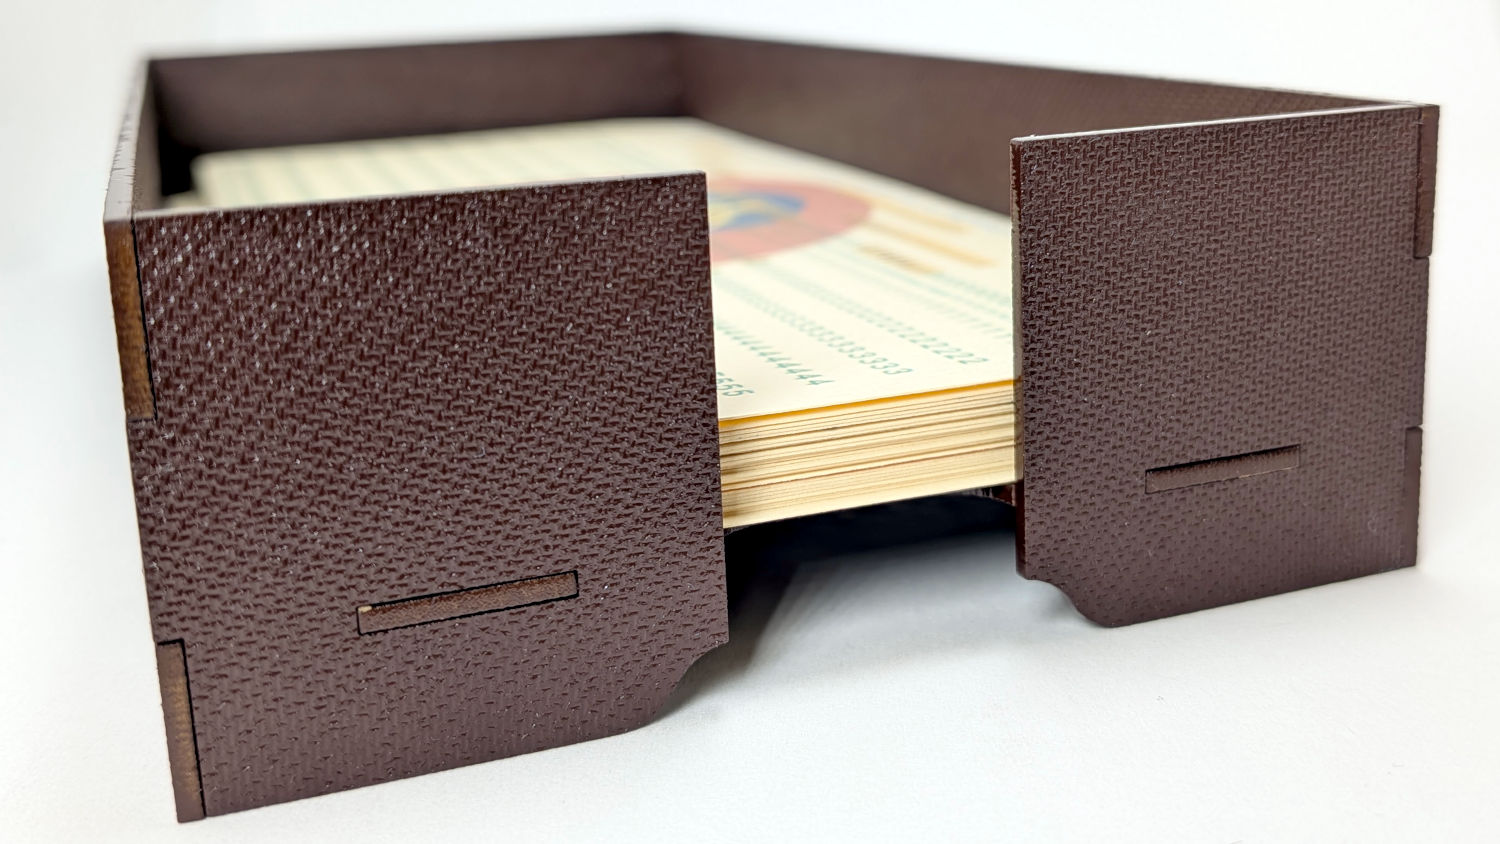
Start by making trays to hold the 1/3 Letter sized printed cards and the final cut cards. A coat of paint improves the result:
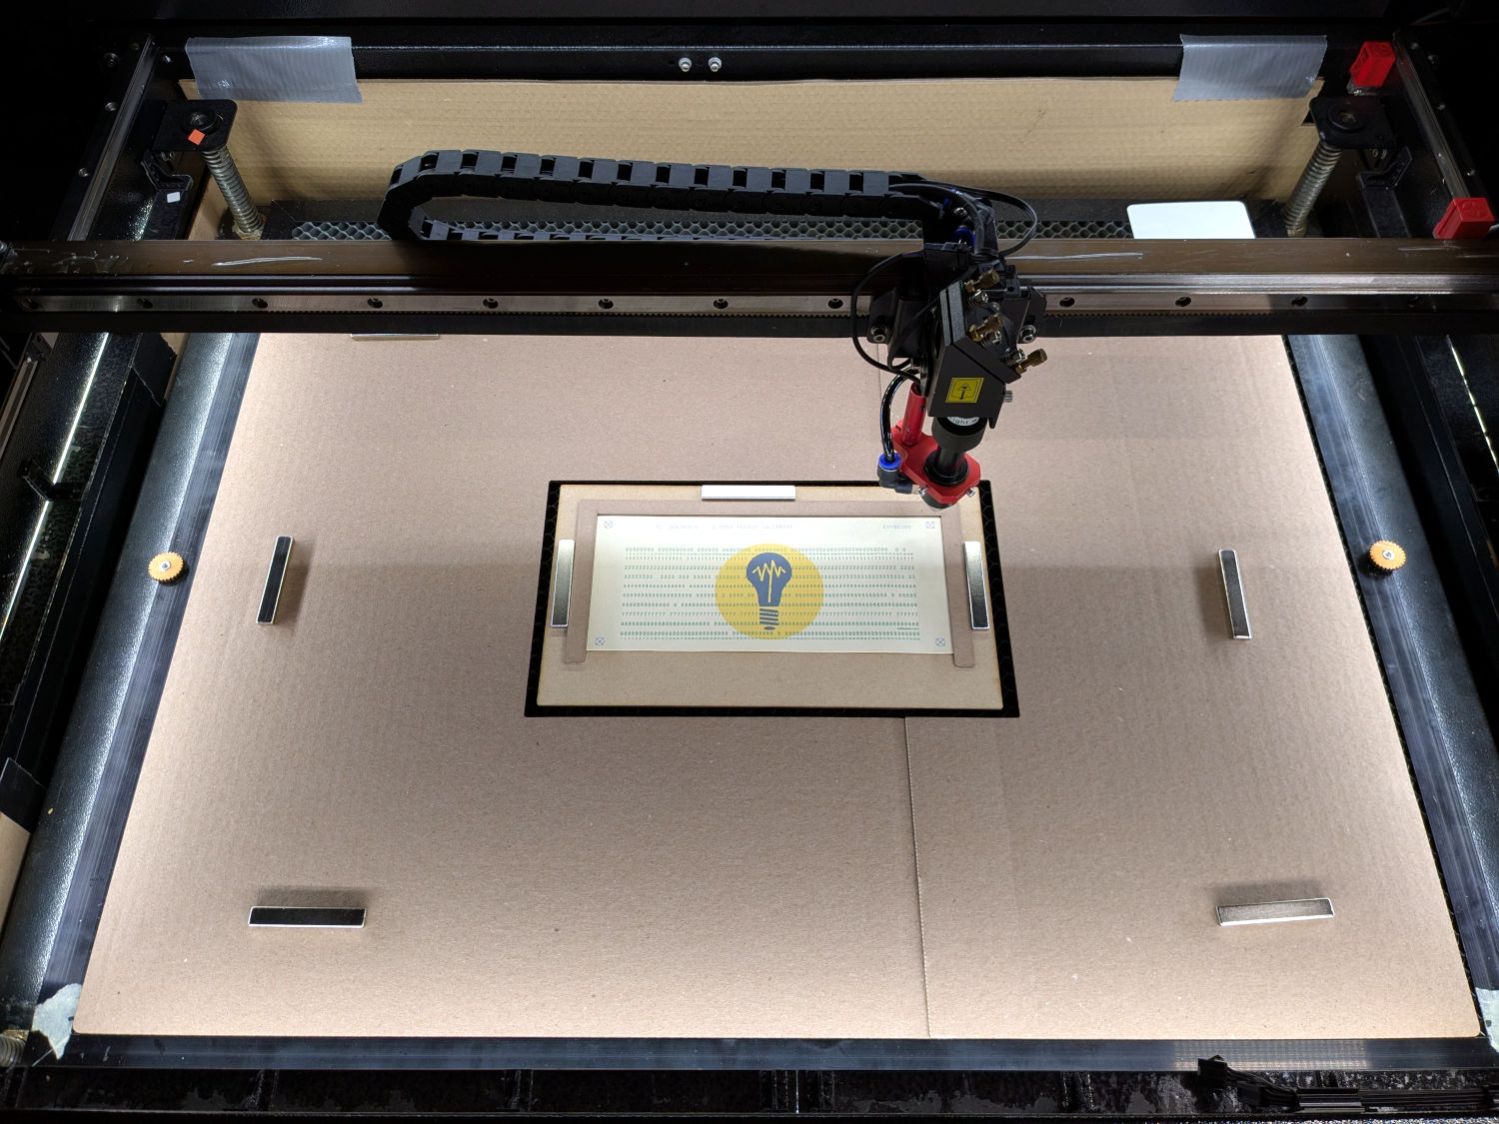
Then make a fixture to position the 1/3 Letter printed cards in the laser and a simple cover for the honeycomb to direct the air flow:
The current versions of the Python program to convert a line of text into the SVG images required to print and punch the cards, plus the Bash scripts handling all the command line parameters, are now in a single GitHub Gist . I used the source code from the Apollo 11 CSM AGC for historic reasons.
The Bash scripts invoke the Python program twice to produce both the printed layout:
And “punched” holes surrounded by the perimeter cut for the laser:
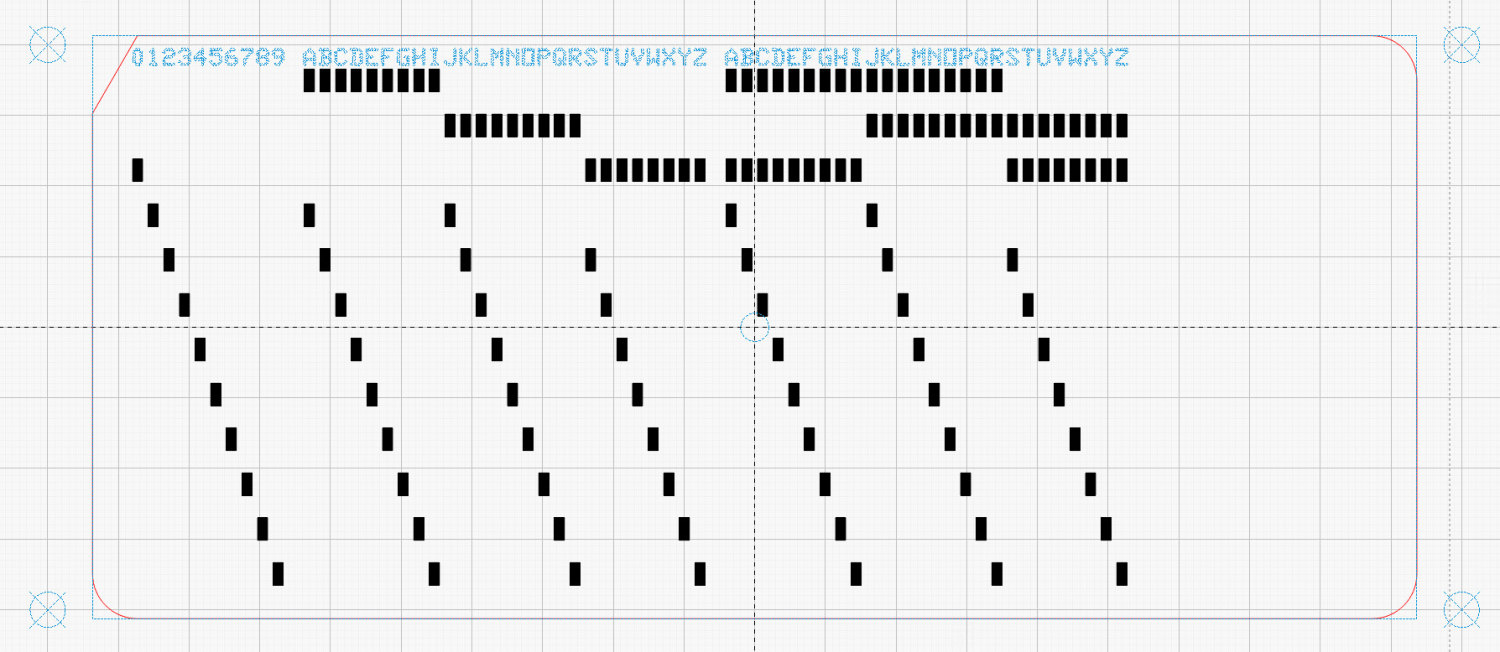
The Python program handles translation from the ASCII (really Unicode) character set into the EBCDIC punched hole layout. Because LightBurn and Inkscape handle SVG scaling differently, the script sorts that out.
Because my printer produces slightly off-size printed images, the script uses Inkscape to convert the SVG into a PNG, then downscales the image by a few percent (a different percent on each axis). It composites the card logo onto the PNG and slams the result onto a Letter page in the proper place to hit the 1/3 Letter sheets.
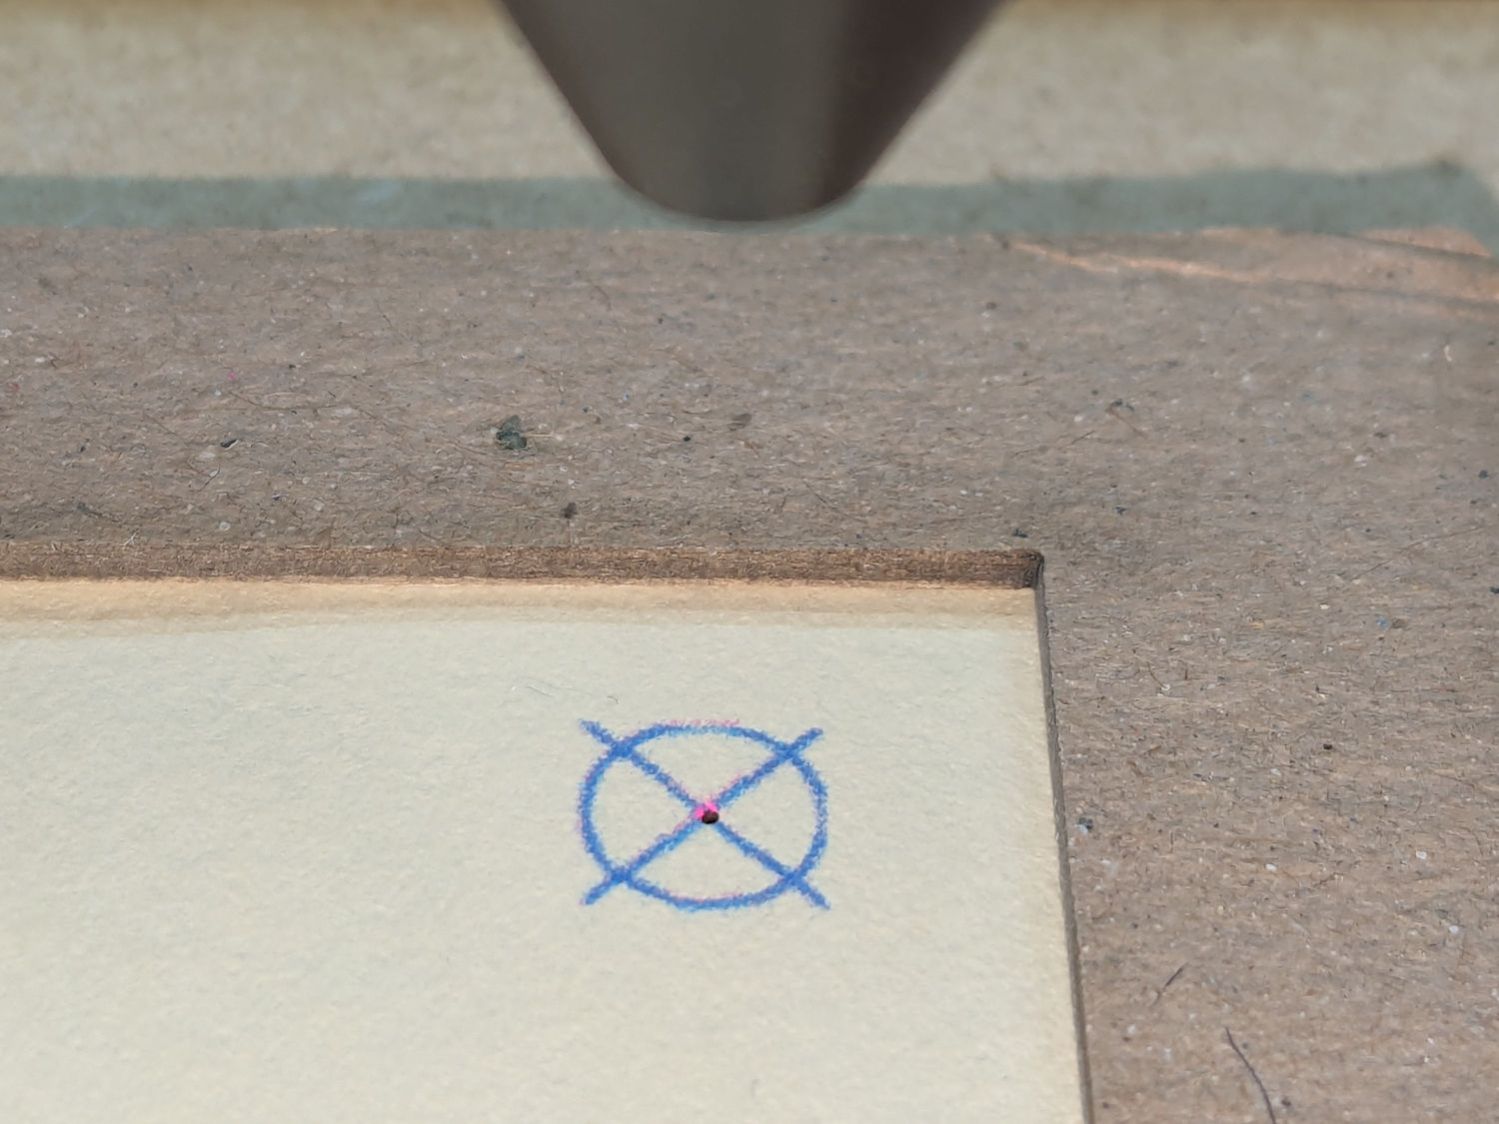
Aligning the targets printed on the cards with the corresponding target positions in the laser SVG requires careful fixture skootching:
A batch file feeds the laser SVGs into LightBurn, so the process boils down to a few mouse clicks per card.
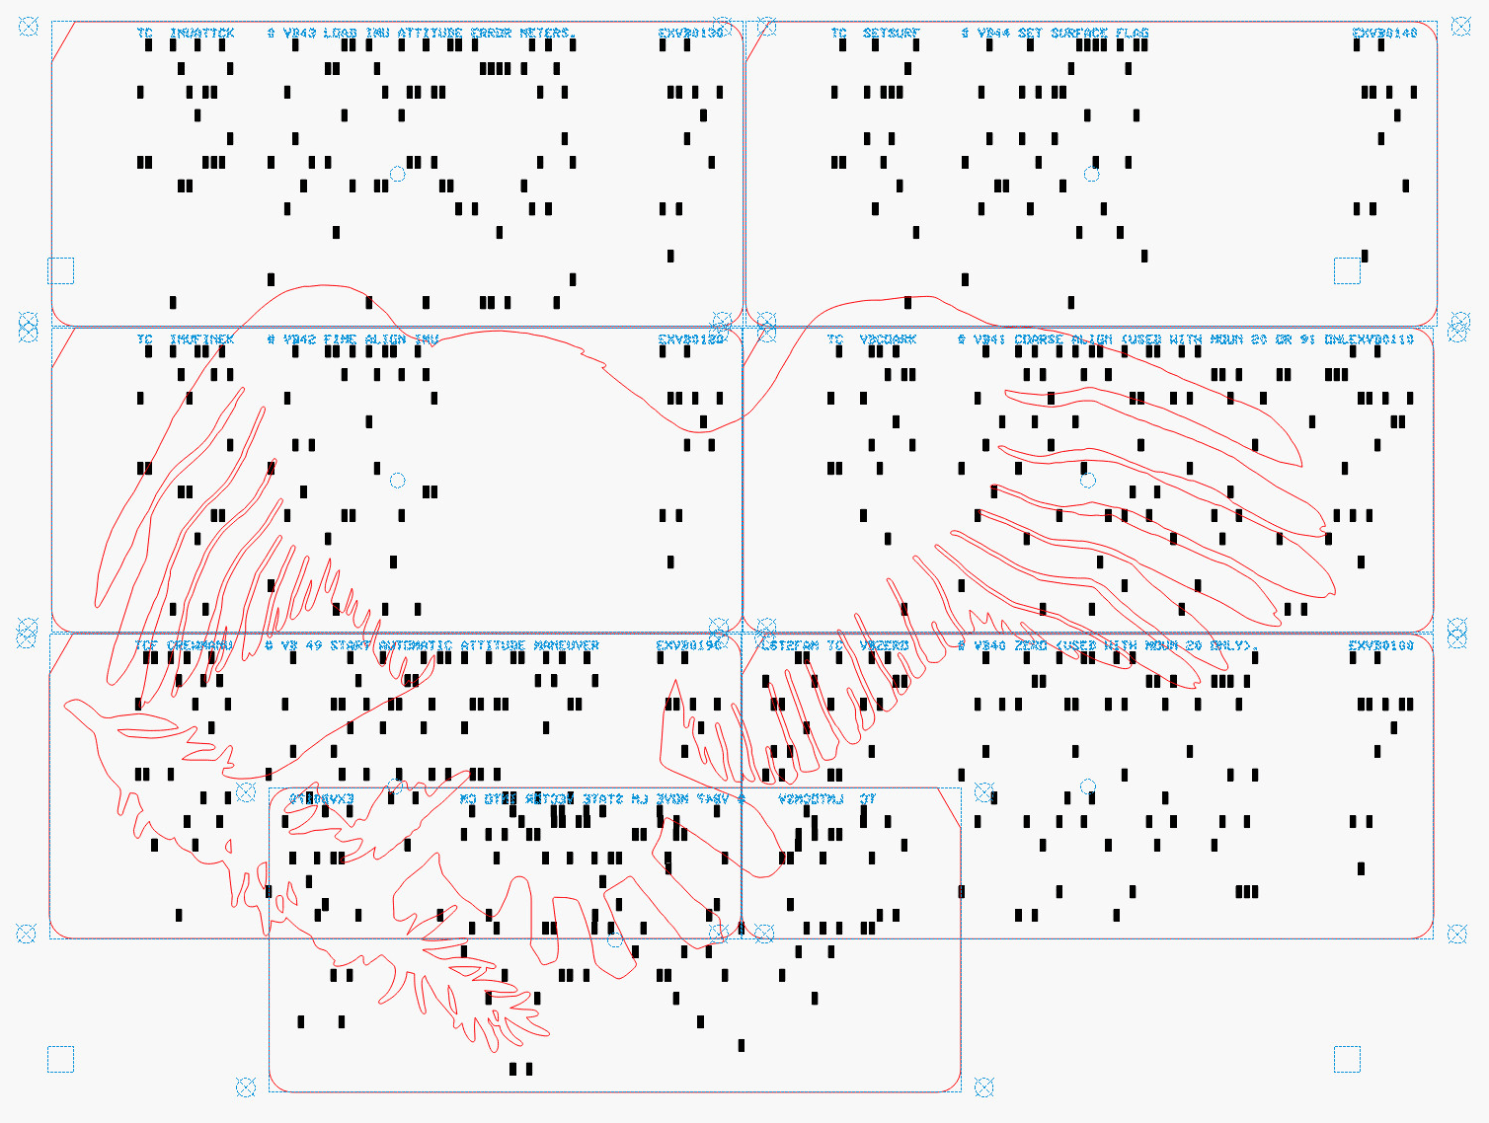
With a tray full of finished cards in hand, I converted the eagle from the Apollo 11 mission patch into a set of outlines:
Each of those outlines defines the shape of a layer cut from those printed cards:
Not gonna lie: it took serious effort to cut up those cards.
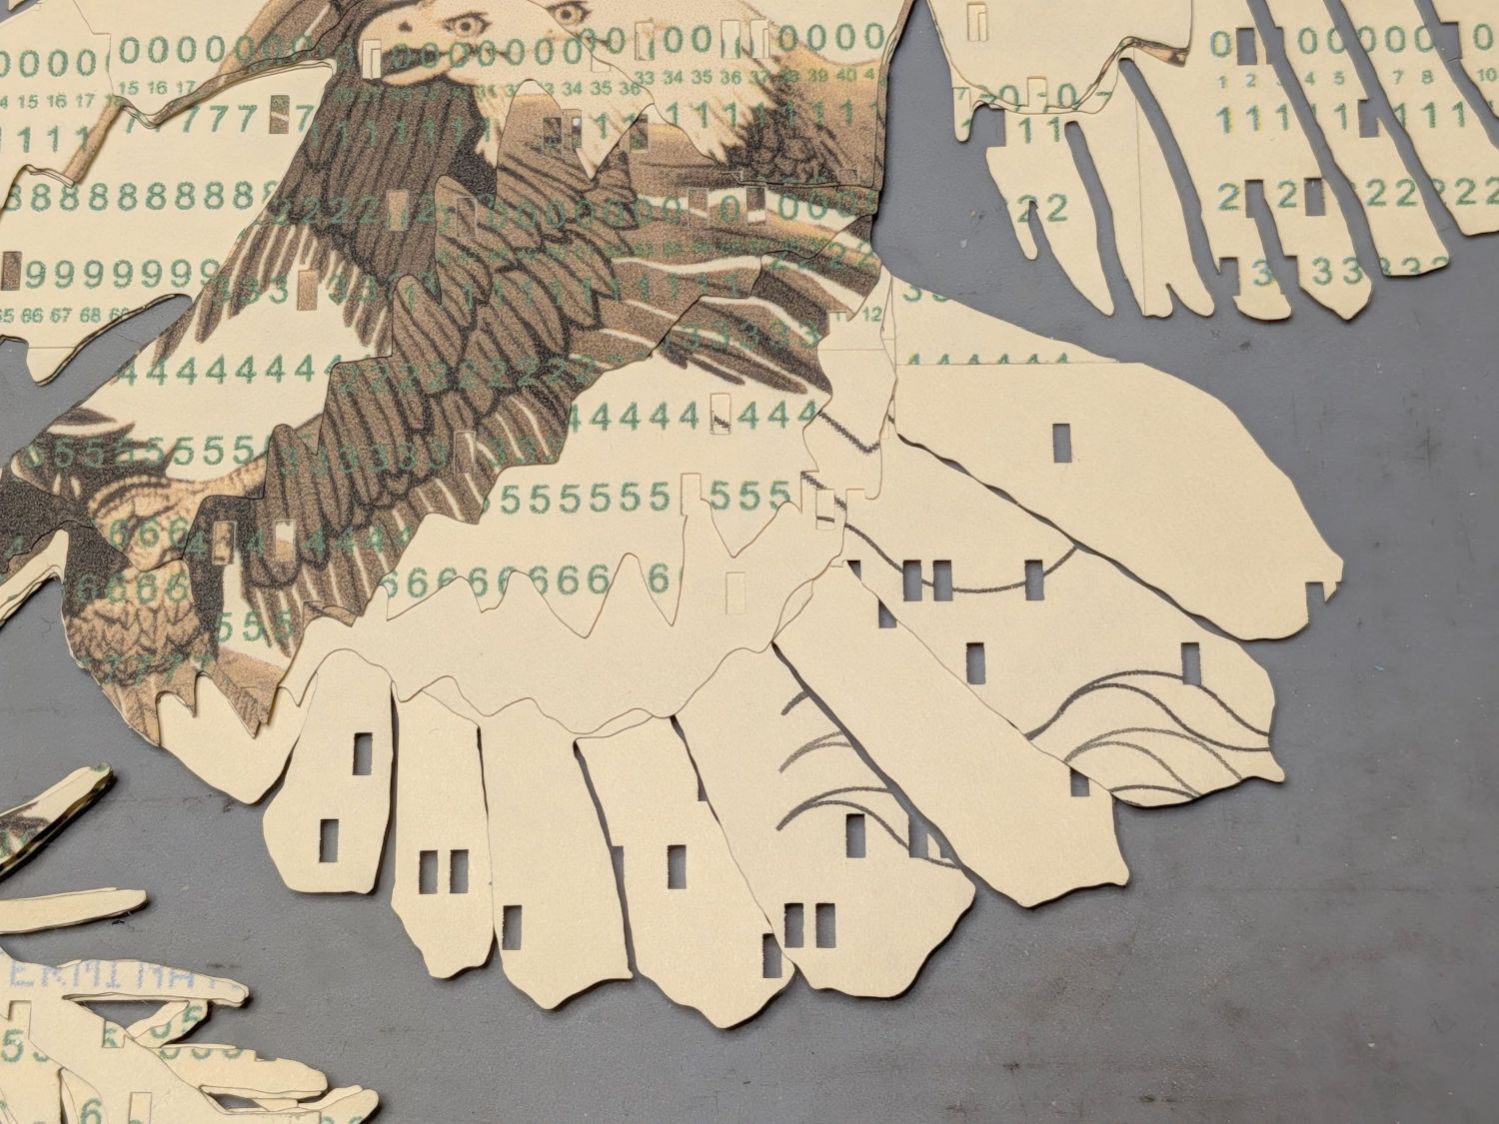
Each layer has a specific set of cards chosen to put the holes in the proper place while hiding the card joints:
Mirroring the layout helped me arrange the cards correctly while taping the back side of the joints with book repair tape:

Slap a sheet of cards on the laser platform, align it to the layer’s outline, Fire The Laser, and stack up the results:
I used Elmer’s All Purpose Glue Stick to hold the layers together, figuring if it’s good enough for kindergartners it’s good enough for me.
And that’s all there is to it …

Spam comments get trashed, so don’t bother. Comment moderation may cause a delay.