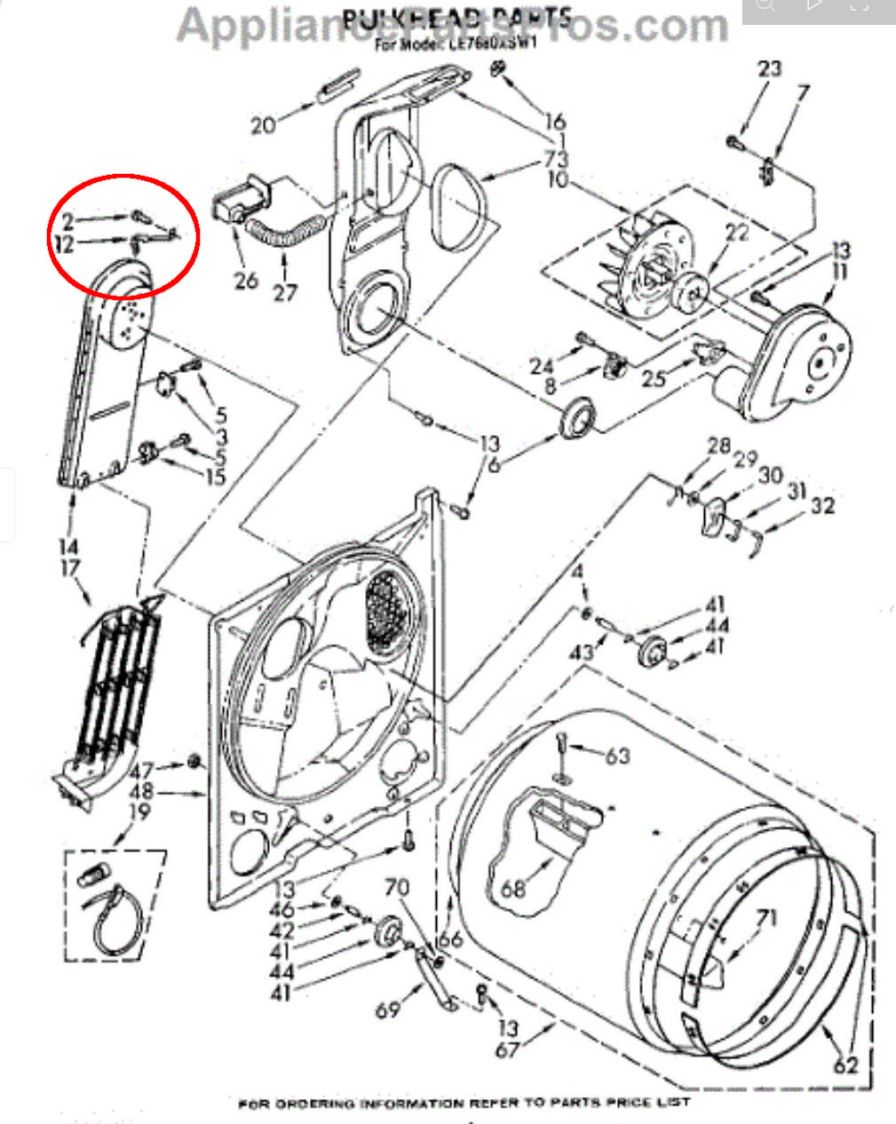
A correspondent (you know who you are: thanks!) pointed out the Thermal Cutoff can trip should the 240 V heater coil sag enough to contact the grounded steel air duct surrounding it. Think of a connection from the heater in the lower right corner of the wiring diagram to the neutral wire:

If the short is close to the middle of the heating element, the right half the heater will remain active even when all of the normal thermostats cut off the left half. The two half-elements will see about their usual 120 V and won’t burn out, but the right half will continue to heat the air until the Thermal Cutoff trips at 350 °F.
A short near either end of the heating element will subject that section to a higher voltage than usual and promptly burn it out, in which case the dryer will fail to heat due to the much lower power dissipated in the remaining section.
So I took the dryer apart after a (successful!) washing day to see if that had happened.
A spring clip holds the top of the heater duct in place:
AFAICT the clip cannot be disengaged from the duct in situ without removing the hex-head sheet metal screw holding it to the bulkhead, which requires inserting a 5/16 inch socket on the end of a 6 inch extension through a hole in the non-removable upper back cover. You (well, I) cannot see the screw from any position, so the process requires reaching up over the duct to position the socket by feel.
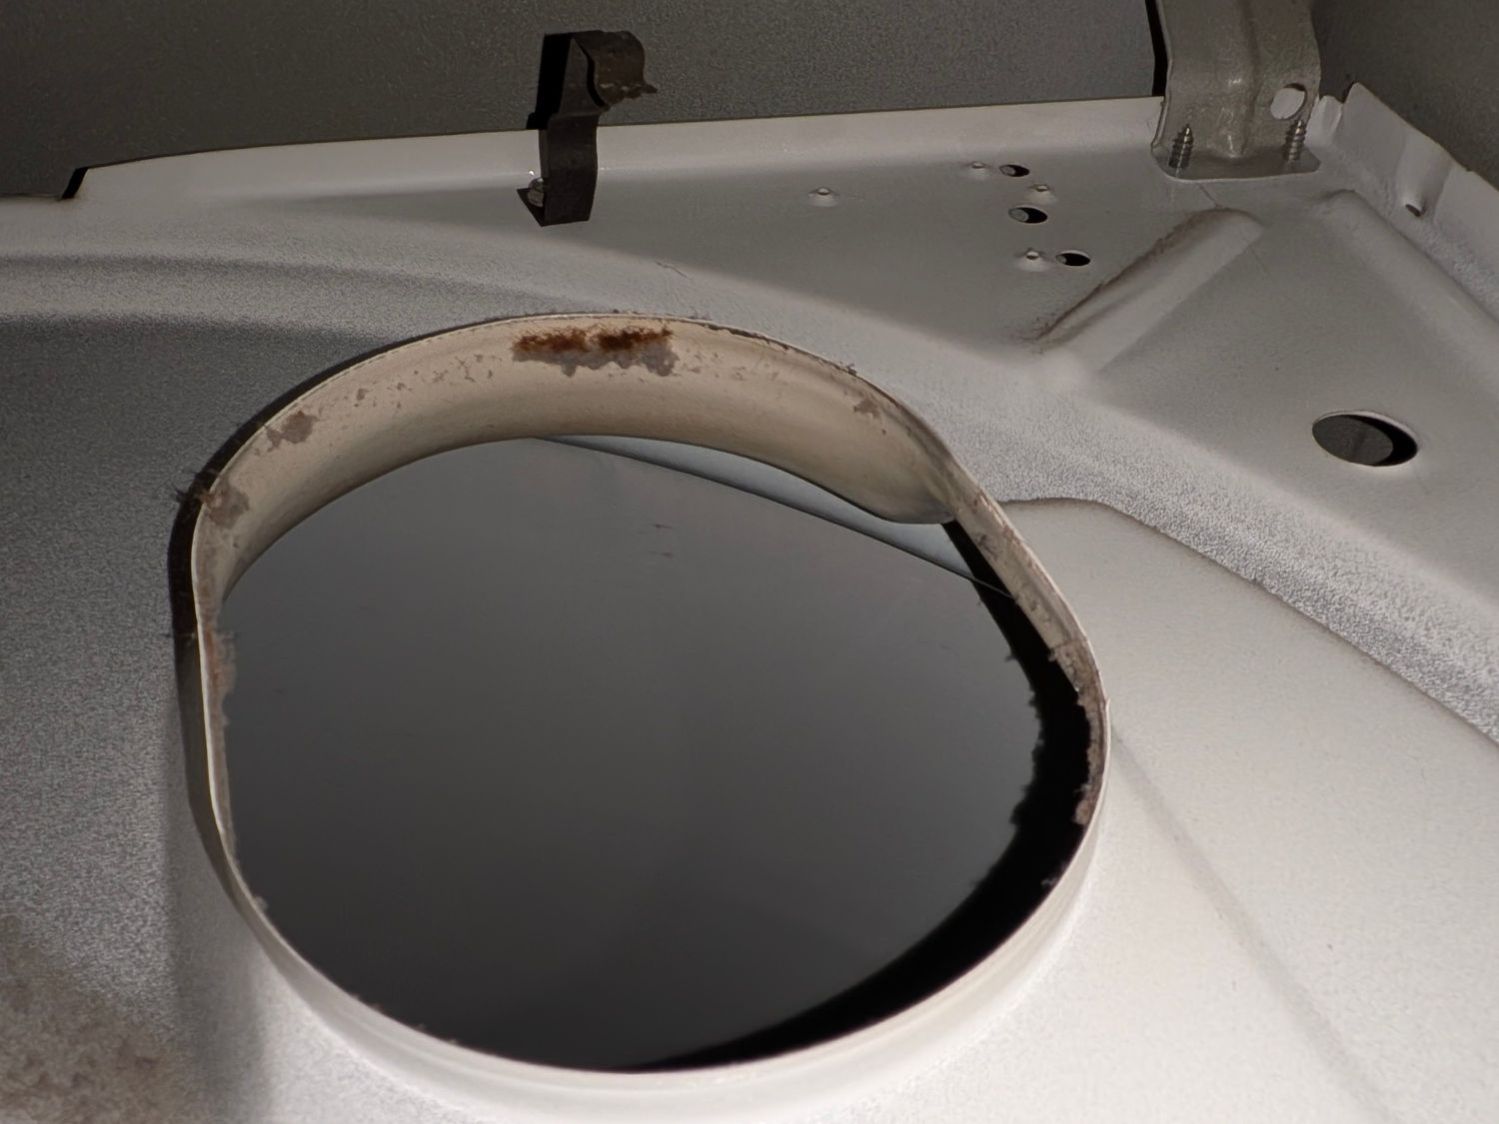
This view looking up inside the dryer with the duct removed shows the clip on the bulkhead:
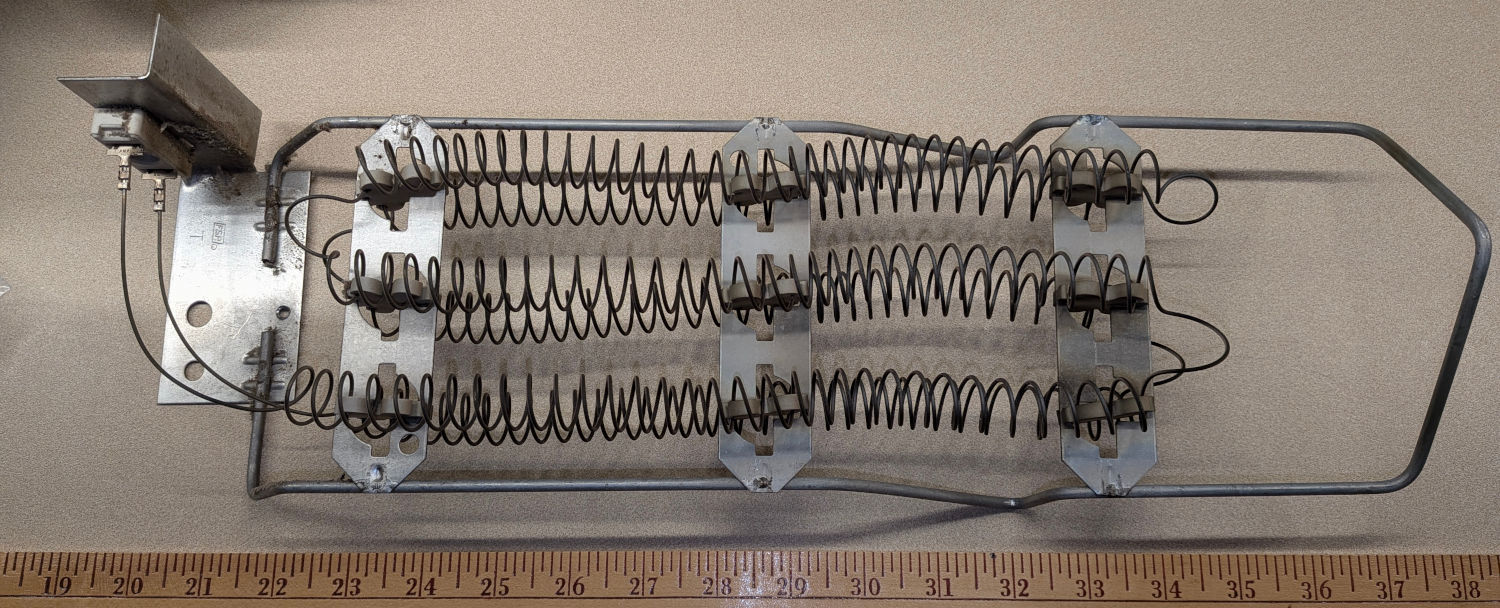
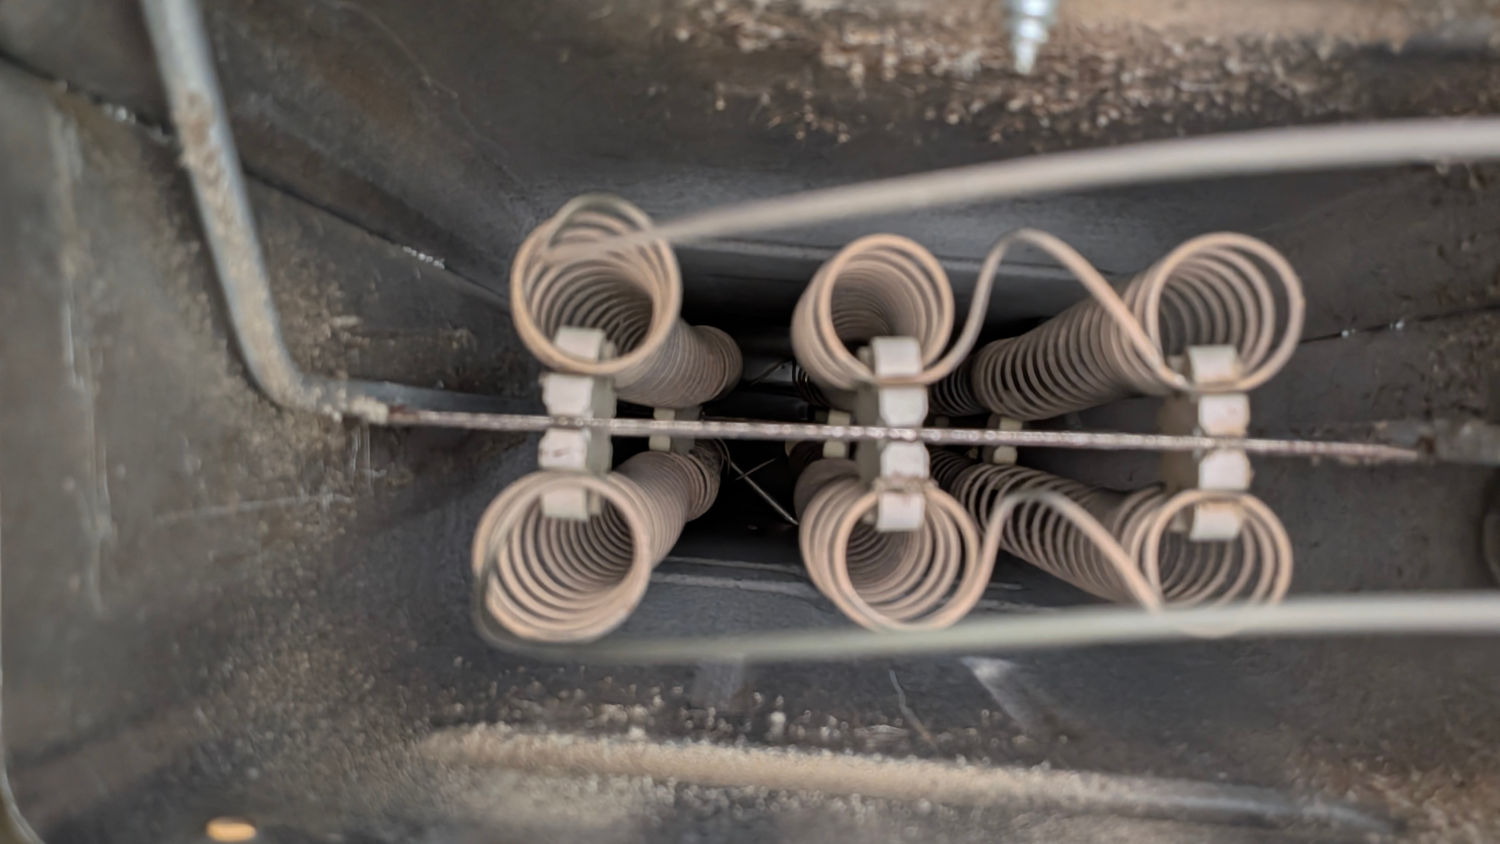
The heating element looked to be in fine shape, with no sags or distortions:
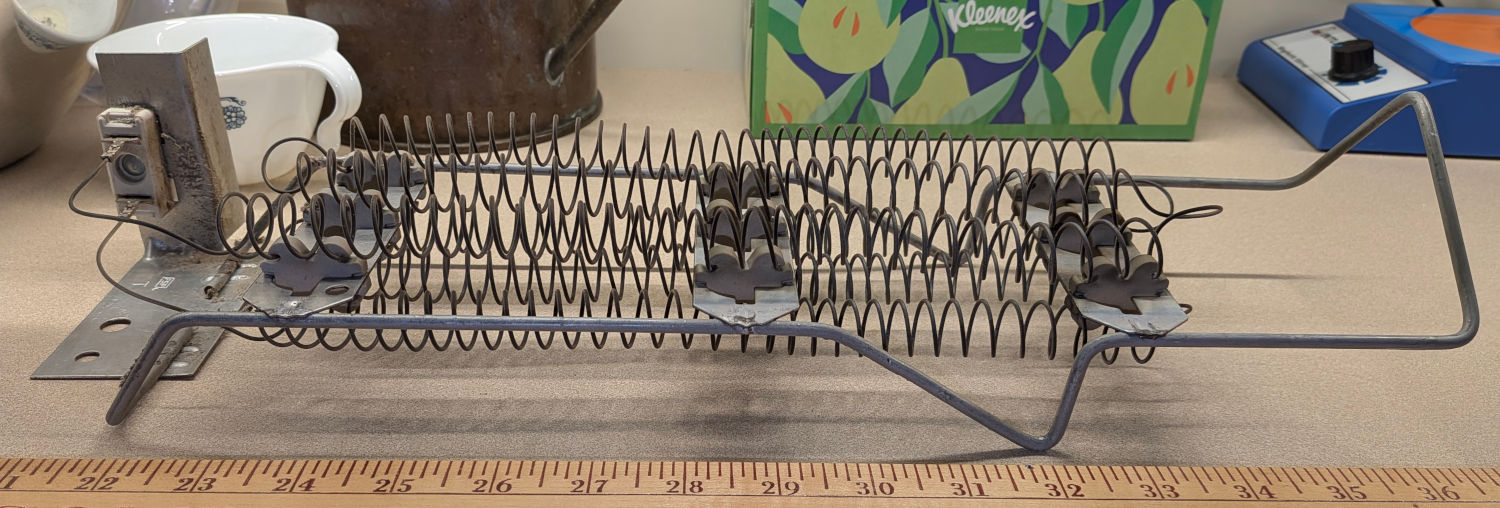
A side view:
Taking a picture of the duct’s interior is impossible, but an eyeballometric inspection shows no burns / scorches / pits from contact with the coils:
So AFAICT the Thermal Cutoff tripped due to Inherent Defect, rather than an overly high temperature.
Reinstalling the duct requires fitting the spring clip into its slot in the duct, maneuvering the duct onto its lower bulkhead brackets without dropping the clip, persuading the top of the duct with the clip into position, getting the screw into the clip and the hole, then aligning the socket with the screw. If I were doing this for a living, I would definitely charge you extra; newer dryers have an easily removable heating element for well and good reason.
So the dryer is, once again, back together again and, once again, works as well as it ever did, with another set of thermostats / cutoffs in the box of dryer and washer parts against future need.
For reference, the heater seems to be a WP4391960.

Spam comments get trashed, so don’t bother. Comment moderation may cause a delay.