Ed Nisley's Blog: Shop notes, electronics, firmware, machinery, 3D printing, laser cuttery, and curiosities. Contents: 100% human thinking, 0% AI slop.
Tag: Improvements
Making the world a better place, one piece at a time
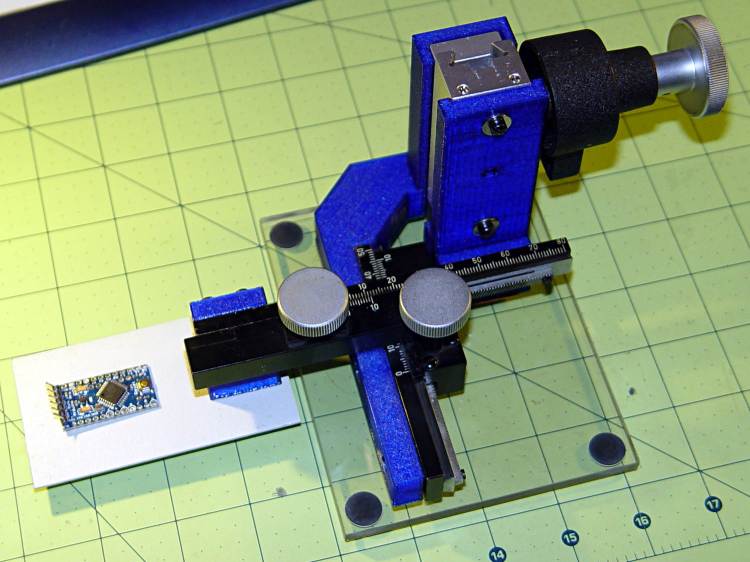
Protip: before dismantling a fitted slide, mark one end so you know how to put it back together. Bonus points for taking a picture:
Microscope Stage Positioner – slide marking
Double bonus points for writing a blog post.
Rather than fight with the existing fine-pitch USA-ian screws, I drilled out their threaded holes:
Microscope Stage Positioner – Y slide drilling
And epoxied 3 mm brass inserts in their place:
Microscope Stage Positioner – Y slide M3 inserts
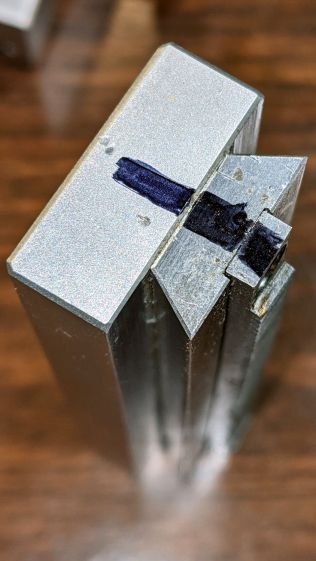
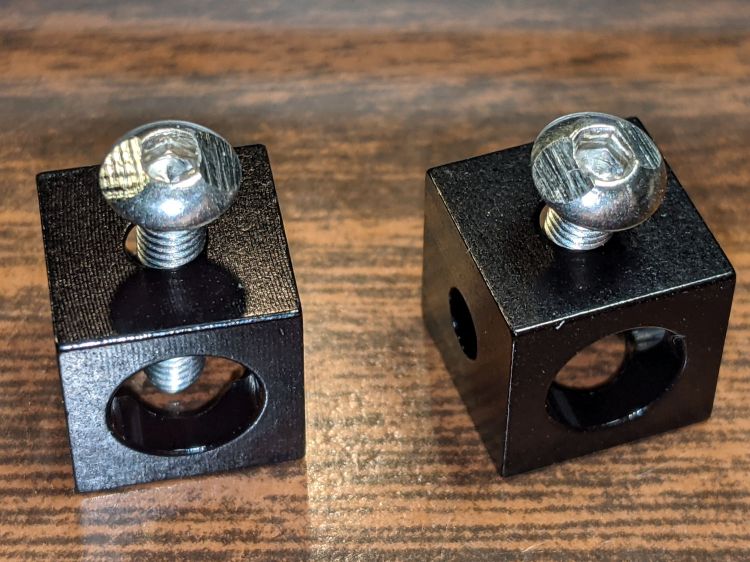
Those holes match up with a pair of corner cubes normally appearing on the end of the beams:
Microscope Stage Positioner – BHCS mods for Makerbeam
It turns out M3 button head cap screws will slide into the beams if you file the slightest angle on opposite sides of the button, although a small bag of tiny tee nuts should arrive in a while.
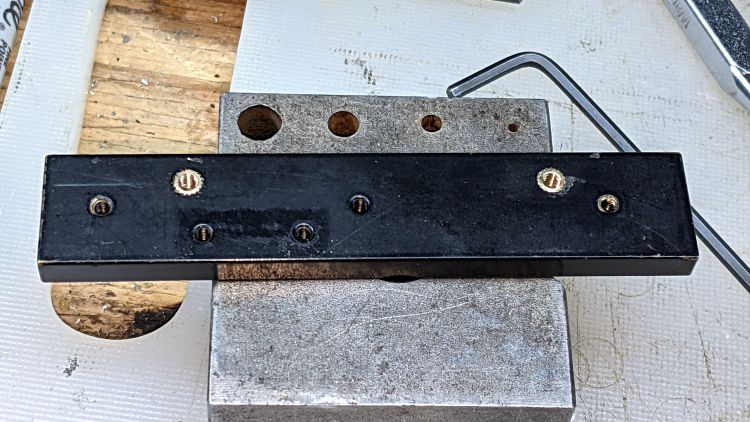
Then a variety of brackets spliced everything together:
Microscope Stage Positioner – Makerbeam detail
Although it looks strictly from industrial, it actually wasn’t much better than the plastic edition and, in fact, the beam supporting the XY slides sagged about the same 5 mm. The plastic upright post also contributed a bit of wobble.
It turns out that the extruded aluminum beams have plenty of longitudinal and torsional stiffness, but all those flat steel fittings don’t.
There’s a way to work with the beam strengths, rather than against them, but that’s a story for another day …
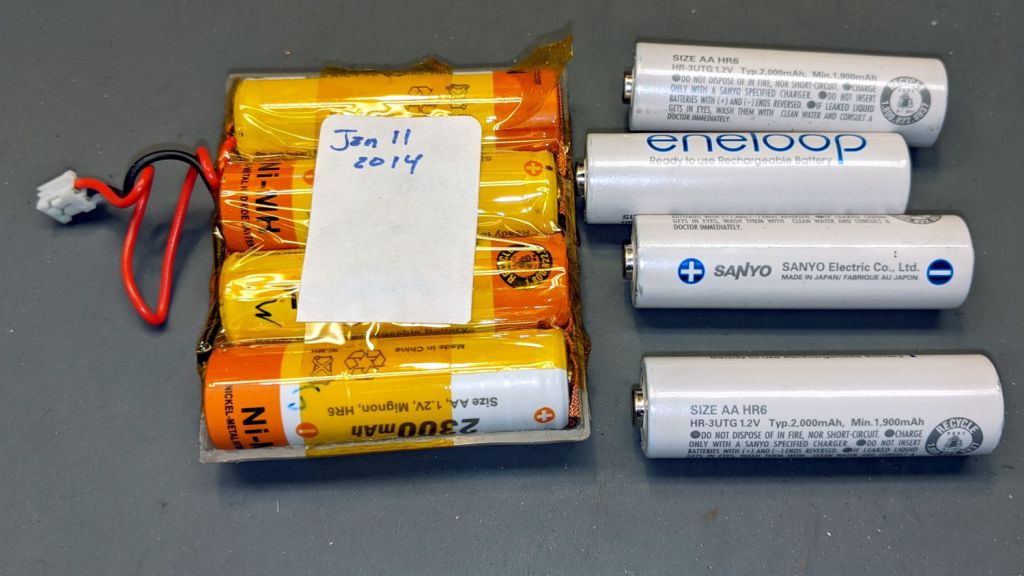
My old Aceco FC1002 frequency meter stopped working without being plugged into the charger. It runs from a quartet of NiMH cells taped into a tray I made seven years ago:
The faceplate bears the scars of its cracked acrylic (?) coating, so I pushed it out, traced the outline on a flat piece of polypropylene clamshell packaging, cut it out, and stuck it in place with tapeless sticky:
Aceco FC1002 – polypropylene faceplate
That removes the branding, but IMO improves the appearance.
It should continue working for another half decade or so!
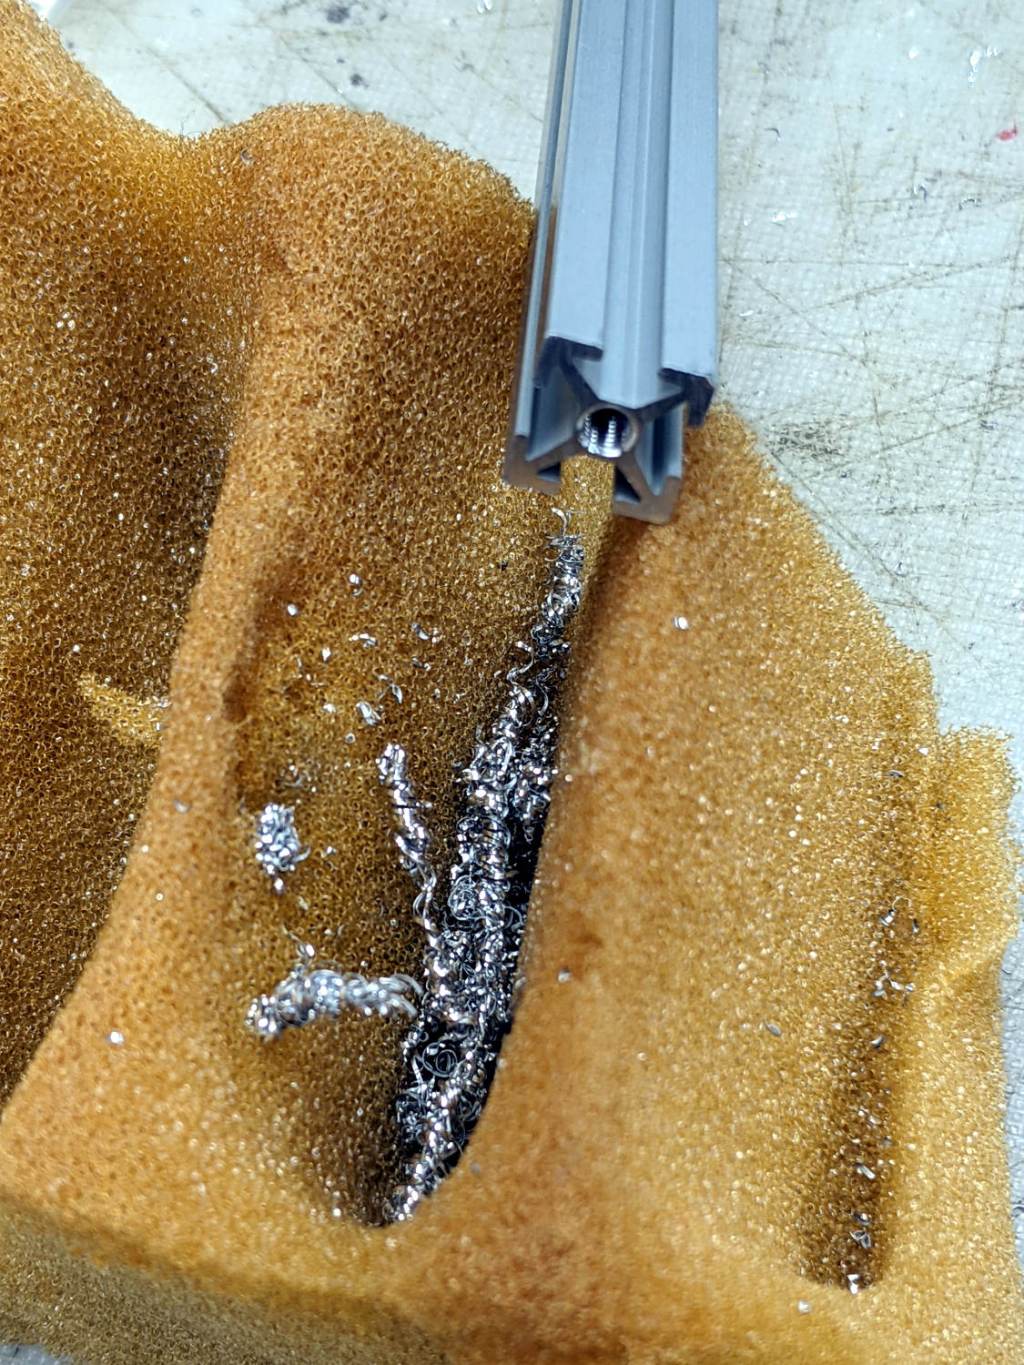
Playing with Evaluating a recently arrived MakerBeam Starter Kit revealed swarf snarls in the tapped end holes. After giving up on a needle-nose tweezer, a compressed air blow gun expelled the mess from a handful of short beams:
Makerbeam – internal swarf A
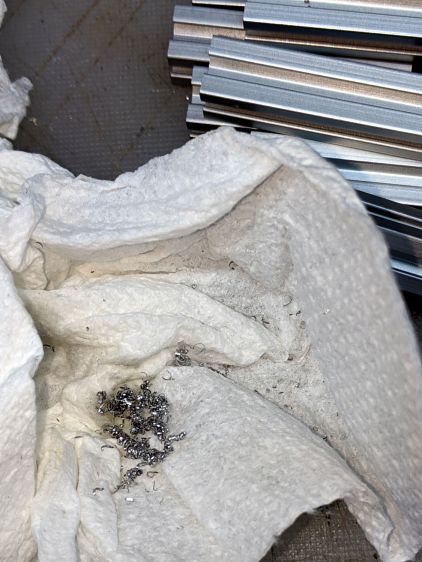
A scrap of acoustic foam backstopped the rest of the assortment:
Makerbeam – internal swarf B
Which doesn’t account for the scattering of swarf and oil blown elsewhere in the Basement Shop.
Perhaps a bad day in the MakerBeam factory?
Protip: wear eye protection when using compressed air!
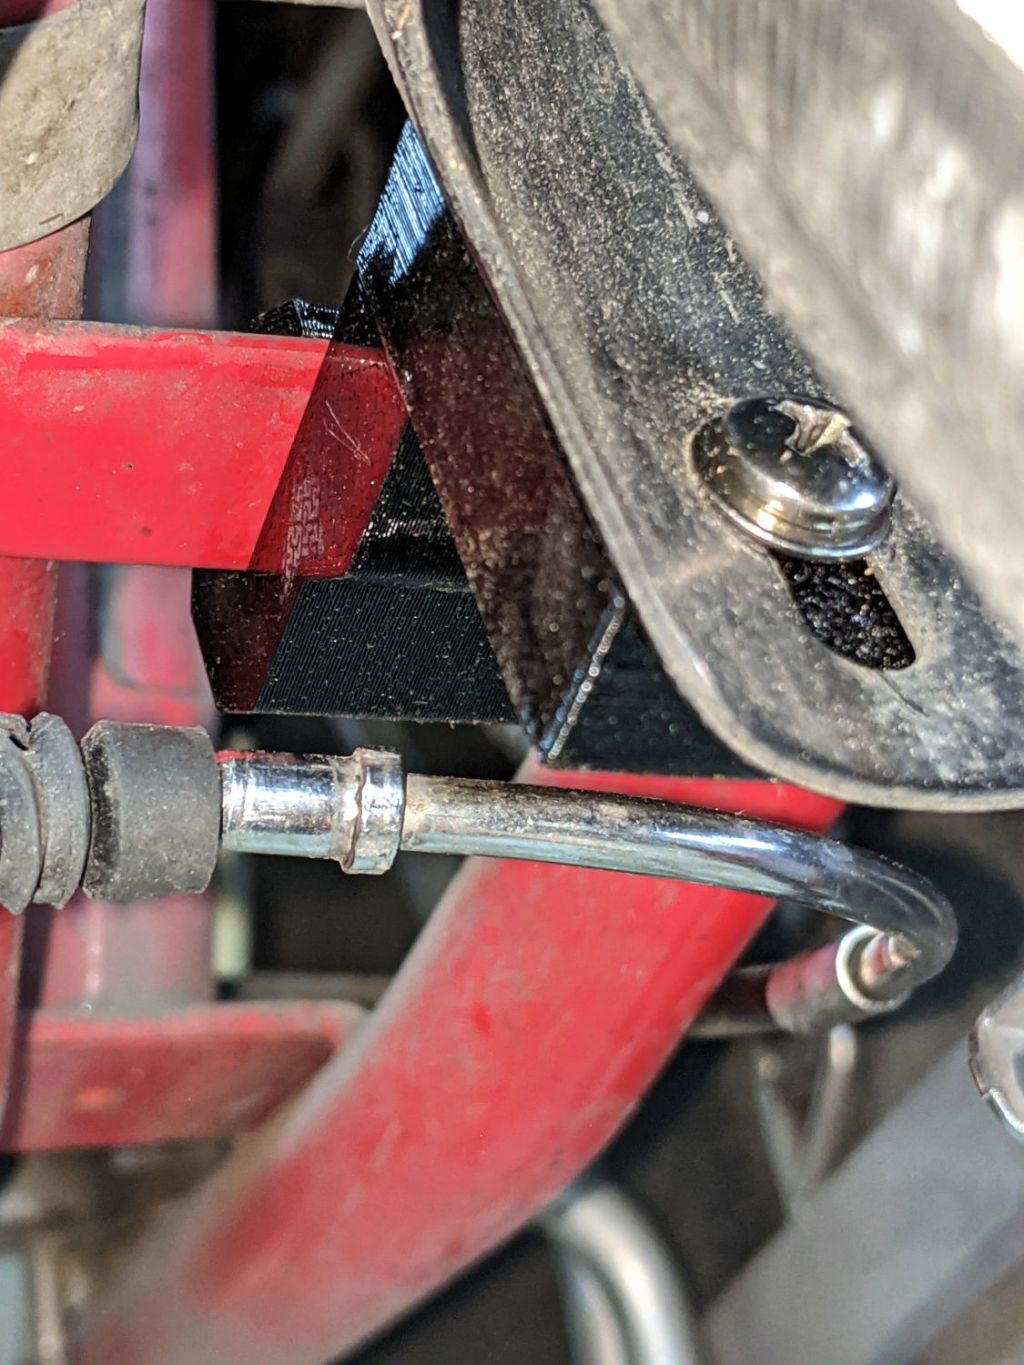
A rainy day finally produced an opportunity to install the rear fender bracket on my bike:
Tour Easy Rear Fender Bracket – improved
It’s actually another iteration, tweaked to hold the fender snugly against the bracket, because it’s tucked in a location where I can’t measure anything.
The brake noodle isn’t connected yet, but it has plenty of room in front of the fender block.
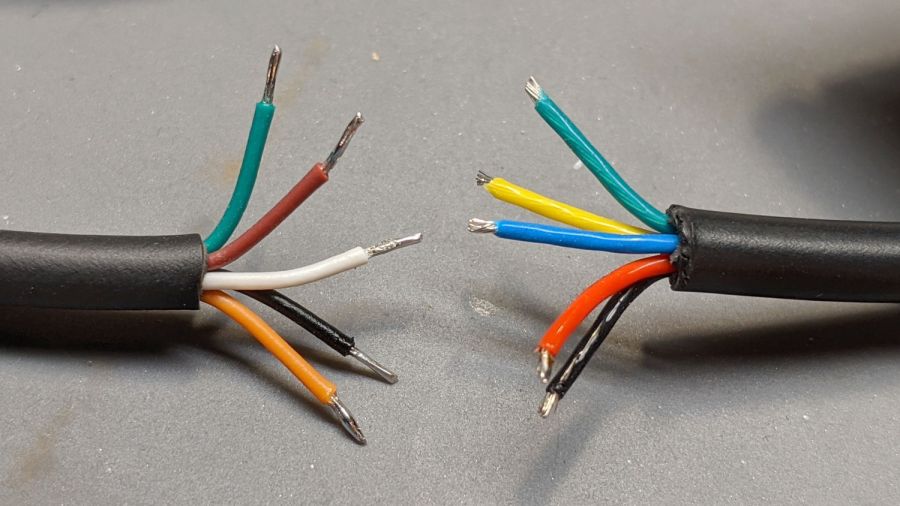
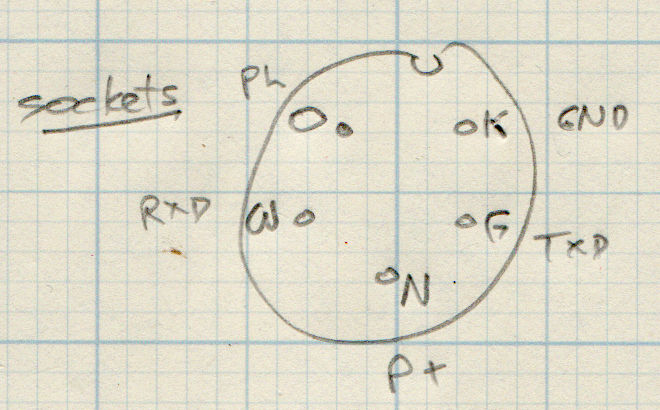
The new cable on the left seemed like it might match the canonical colors:
Bafang BBS02 display cable pinout
It comes heartbreakingly close:
Bafang Display Cable – extension colors
Brown and Orange connect as the naive user might expect, which does reduce the likelihood of incinerating the motor controller / USB adapter / laptop by connecting the 48 V battery directly to the logic-level electronics.
However, White wasn’t on the original menu, Green is now TXD, and Black has become, comfortingly, GND.
Verily, it is written: Hell hath no fury like that of an unjustified assumption.
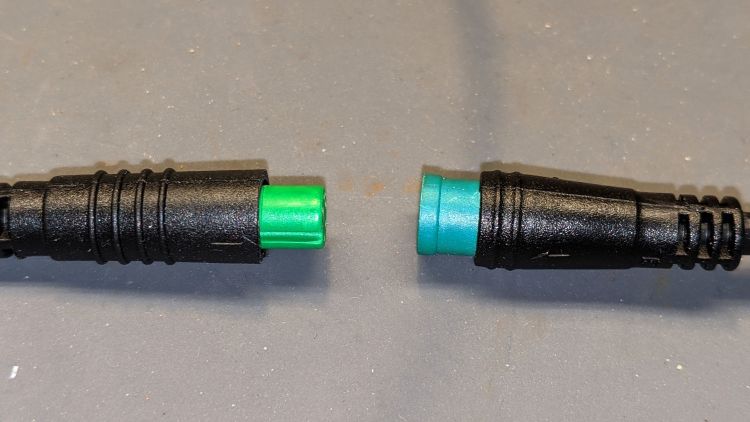
This socket connector has a watertight shell making it extremely difficult to mate and unmate with the pin connector on the bike. Watertightness being unnecessary, a little razor-knife action seems in order:
Bafang Display Extension Cable – shroud trimming
Visually, they’re both green-ish, but sometimes the Pixel camera accentuates any differences.
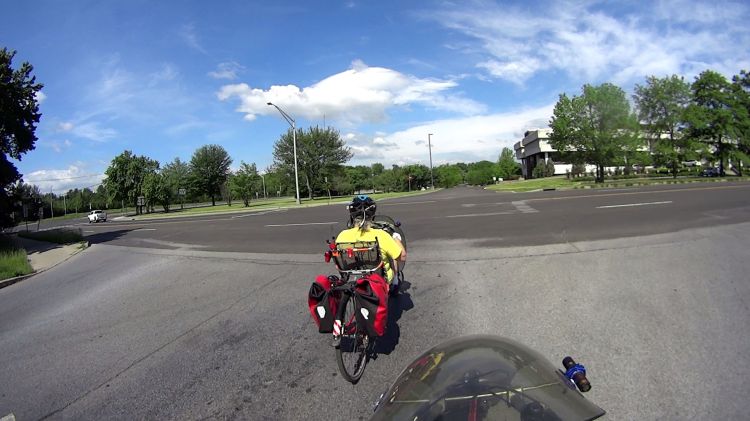
We have just started rolling from Overocker Road and the traffic signal on Burnett Blvd at Rt 55 (on the far left) has just turned green for the single car on the sensor loop:
Burnett Blvd Rt 55 – 2021-05-23 – 0 s
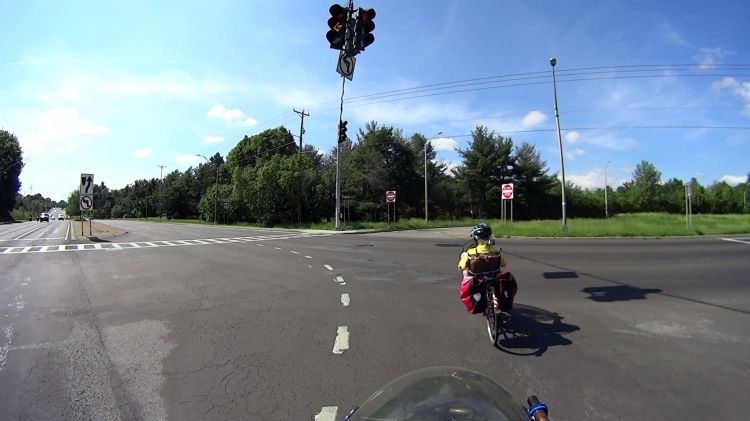
Much to our surprise, 17 s later the signal is still green:
Burnett Blvd Rt 55 – 2021-05-23 – 17 s
As usual, the unmarked sensor loop doesn’t detect bicycles and the control doesn’t take our clearing time into account, so the signal turns yellow 5 s later (after 22 s from turning green) while we’re still in the intersection:
After another 6 s, though, we’re through the intersection and lined up on the right side of Rt 55, just as the Rt 55 signal turns green:
Burnett Blvd Rt 55 – 2021-05-23 – 28 s
Note that the Burnett Blvd signal remained green for 22 s, much longer than in bygone years, and the green-to-green time is now 28 s. We got through the intersection without any difficulty, although the green-to-red clearance time remains scanty.
Mary recently discovered a reason why NYS DOT may have suddenly changed the signal timing at the Burnett intersection after all those years:
During the incident, a black Nissan Titan, driven by a 51-year-old male resident of Lagrangeville, collided with a bicycle, ridden by a 58-year-old male resident of Poughkeepsie, in the area of the crosswalk on the southeast portion of the intersection, said the Town of Poughkeepsie Police.
The bicyclist sustained serious injuries and was transported to MidHudson Regional Hospital.
The crosswalk mentioned in the article appears in the last picture.
The cyclist died of his injuries shortly after that article went live.
Mary knew him. He was one of the gardeners near her plot in the Vassar Community Garden who lived in the apartments a few hundred yards from that intersection, didn’t own a car, and, for years, rode through that intersection to the grocery store at the far end of Burnett Blvd (across another of DOT’s intersections). Everyone knew him as a nice, considerate guy.
Death is the only thing that will convince NYS DOT’s engineers to change the signal timing at an intersection.
As far as I can tell, all of the other intersections along our usual routes still have the same inadequate clearance times. Evidently, the bicyclist death toll isn’t high enough to get their attention and evidence here doesn’t matter there, because motor vehicle traffic cannot be delayed, even for a few seconds, merely to protect the most vulnerable “users” of their facilities.
We’ve been bicycling all our adult lives and haven’t been killed yet, despite NYS DOT’s complete lack of attention. Our experiences justify my cynicism and bitterness.
I eventually figured out why no NYS DOT staffer will accompany me on bike trips along their “safe for all users” roads. If they did, they’d be unable to deny knowing how hazardous their engineering designs & maintenance practices are in real life, should the question come up in a court of law.
If you think that’s not the case, then let’s go riding together …
Road design, build quality, and attention to details matter, even though drivers and, yes, cyclists share some of the blame.
The objective being to reduce the number of onion maggots in Mary’s Vassar Farm plot without chemical agents, I conjured sticky trap screen frames from the vasty digital deep:
Sticky Trap – first production run
Each one contains half a sheet of yellow sticky plastic, which is easy enough to cut before peeling off the protective covering sheets. The cage is half-inch galvanized hardware cloth snipped with hardened diagonal cutters. A bead of acrylic adhesive around the base holds the cage in place
Although you can deploy sticky sheets without cages, they tend to attract and affix beneficial critters: butterflies, small birds, furry critters, toads, gardeners, and the like. We don’t know how effective the cages will be, but they seemed better than nothing.
They mount on ski poles cut in half:
Sticky Trap – ski pole installed
And on fence posts around the perimeter:
Sticky Trap – angle bracket installed
To my untrained eye, some of those doomed critters are, indeed, onion maggot flies. The rest seem to be gnats and other nuisances, so IMO we’re applying population pressure in the right direction.
Each base-and-cap frame takes about three hours to print, so I did them one at a time over the course of a few days while applying continuous product improvement.
The sheets rest on small V blocks intended to keep them centered within the cage:
Sticky Sheet Cage – angle bracket – solid model
The ski pole attachment must build with the cap on top, but it bridges well enough for the purpose:
Sticky Sheet Cage – ski pole – solid model
The overhanging hooks on the blocks (just barely) engage the grid to keep the lid in place, while remaining short enough to not droop too badly. You could probably delete the hooks from the bottom plate, but they align the cage while the adhesive cures.
The sheets tend to bend in the middle, so I’ll stick a thin slat or two vertically to keep them straight.
This file contains hidden or bidirectional Unicode text that may be interpreted or compiled differently than what appears below. To review, open the file in an editor that reveals hidden Unicode characters.
Learn more about bidirectional Unicode characters