Ed Nisley's Blog: Shop notes, electronics, firmware, machinery, 3D printing, laser cuttery, and curiosities. Contents: 100% human thinking, 0% AI slop.
Tag: Improvements
Making the world a better place, one piece at a time
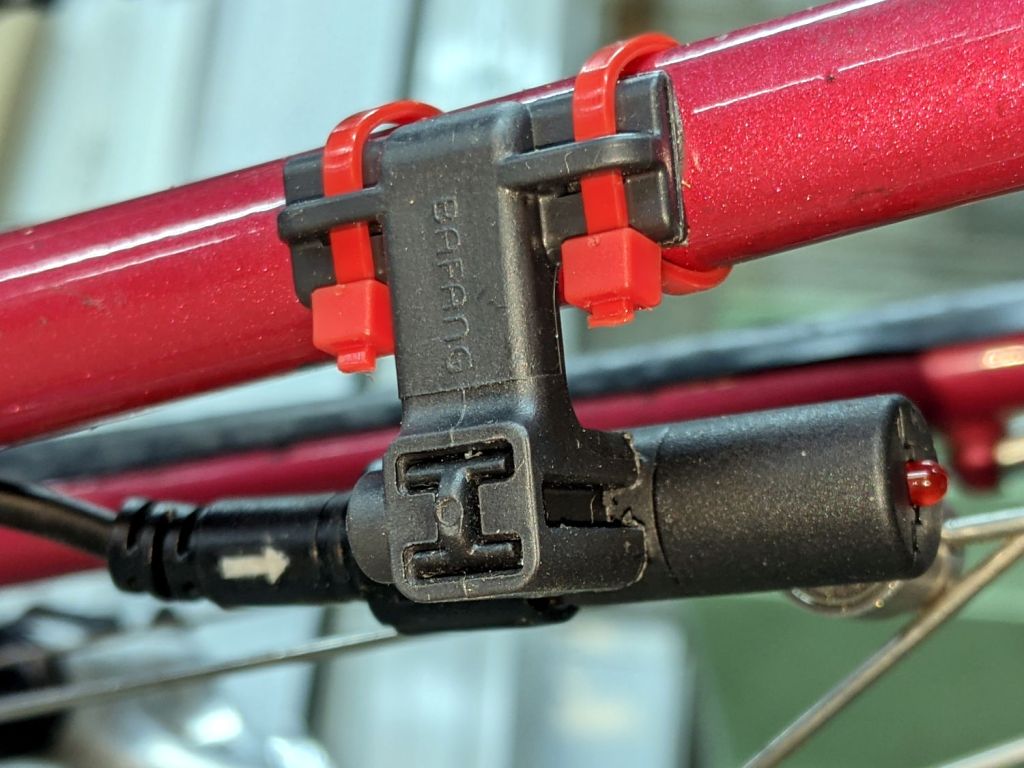
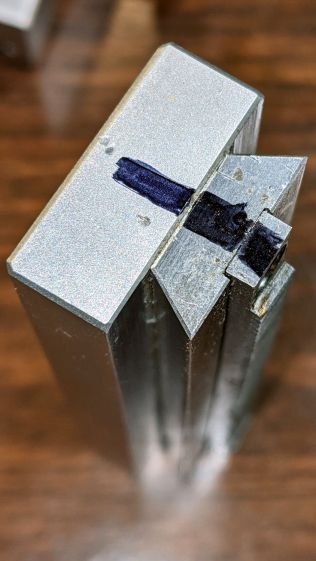
My friend Gee’s bike is a Terry Symmetry, designed for (small) women, which poses challenges when mounting “normal size” components. The Bafang BBS02 speed sensor mount (with a reshaped nut) requires far more clearance between the chainstay and the wheel spokes than the Symmetry has:
Bafang BBS02 Speed Sensor – OEM bracket
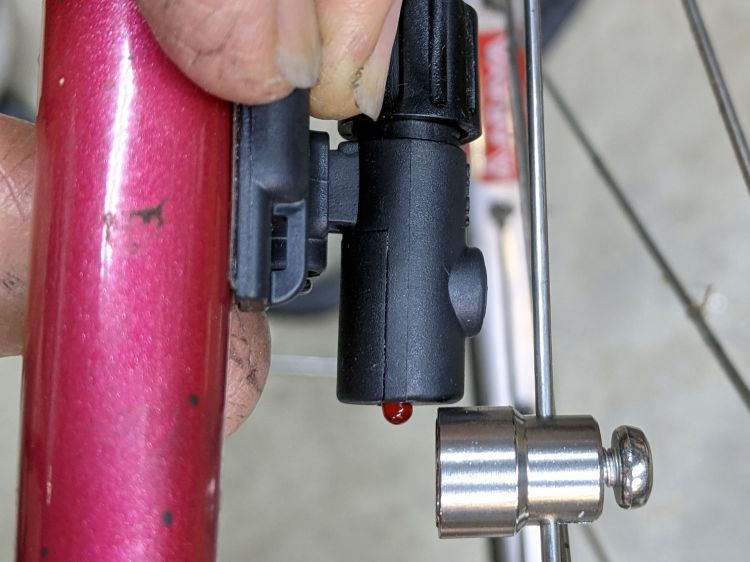
The chainstay is nearly parallel to the spokes, so the sensor fits equally poorly anywhere its cable will allow.
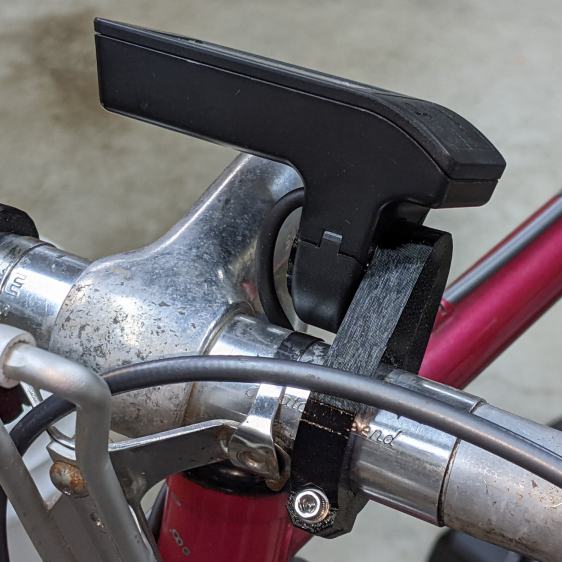
The obvious solution is to reverse the mount and stick it to the outside of the chainstay, but it’s not mmmm symmetric: the other end is closed. Use a pull saw to cut off the closed end, stick the sensor post in the other way, and then it fits fine:
Bafang BBS02 Speed Sensor – reversed bracket – top
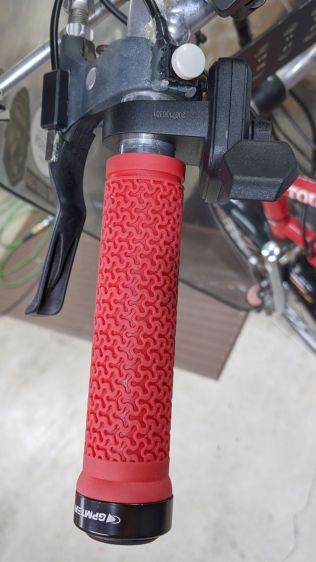
That’s the front view, so it’s on the right side in front of the handlebar. I think it’s usable with either a thumb or fingertips from a hand on the top of the bar. The handlebar lacks tape, as mounting the brake sensors poses a challenge.
The view from the rear isn’t too revealing:
Bafang Throttle adapter – rear view
Not too unsightly, but definitely not a standard setup!
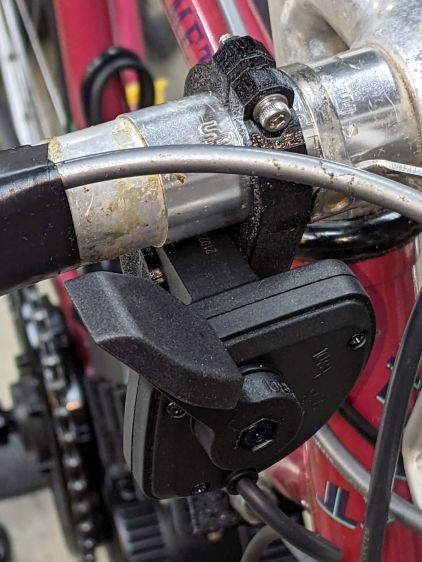
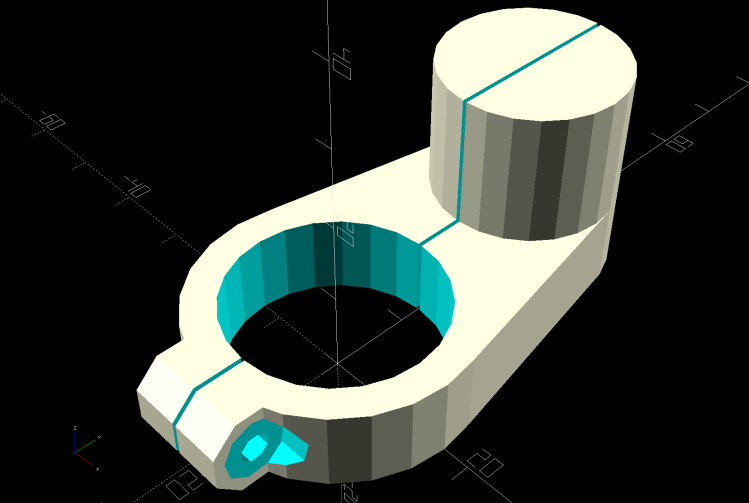
All of the Bafang BBS02 displays have a compression clamp intended for more-or-less standard 22.2 mm handlebars, as found on typical upright BMX-ish bikes suitable for conversion to e-bikes and, oddly, our Tour Easy recumbents. My friend’s bike has drop-bar handlebars with a 25.4 mm (yes, exactly 1 inch) center section that just isn’t going to fit through that hole.
The least awful solution involved summoning an adapter from the vasty digital deep:
Display adapter mount – solid model
The hole clamps around the handlebar with an M3 SHCS pulling it snug and the display clamps around the peg to hold everything together:
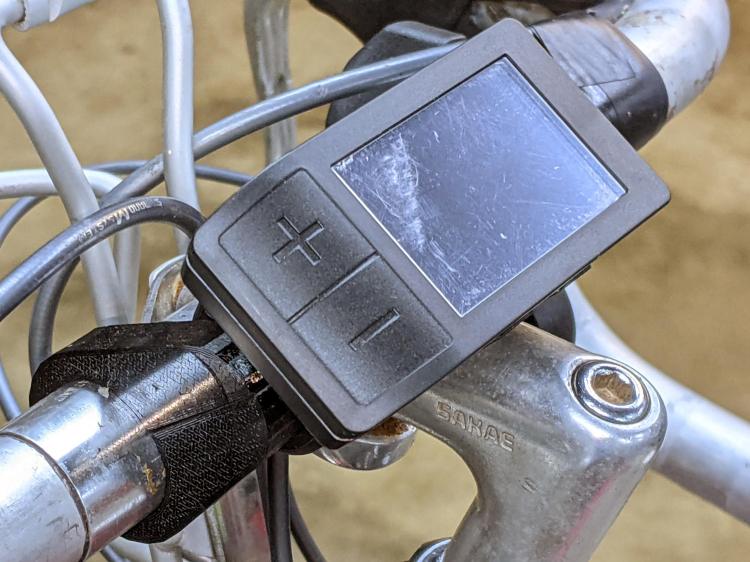
Bafang Display adapter – front view
There’s not much to see from the side:
Bafang Display adapter – left view
Those scuffs arrived on the protective plastic film!
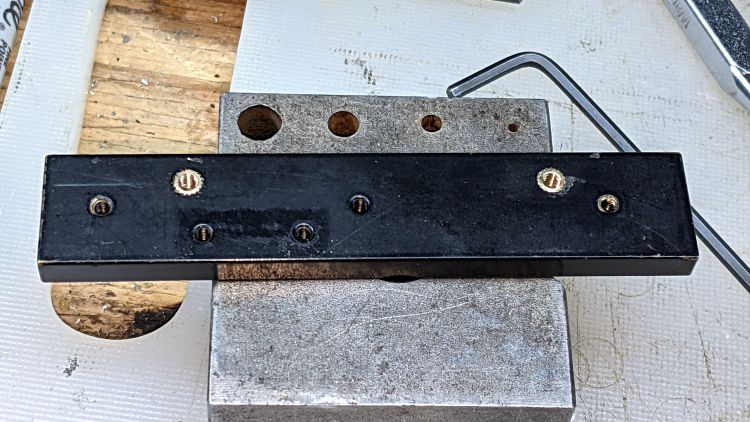
The OpenSCAD source code includes some cruft from an idea that didn’t work out quite right:
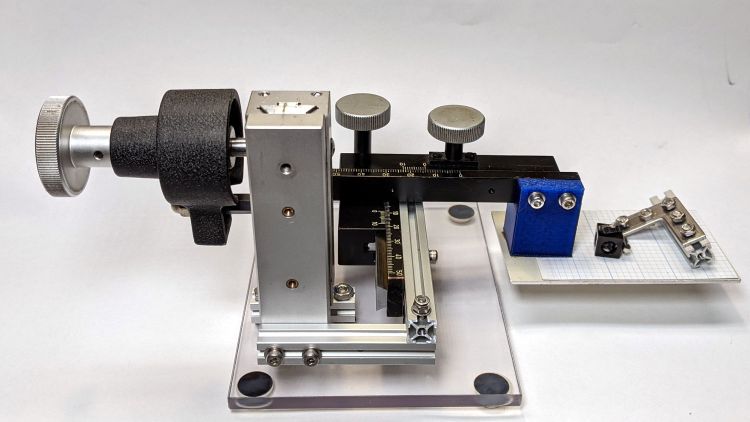
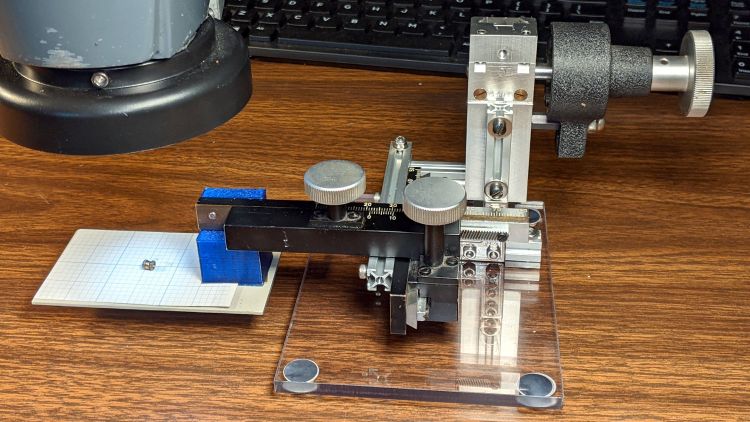
My friend rides about the same way we do, except from a much higher perch, so I’ll start her off with a configuration similar to the one we settled on for Mary’s Tour Easy.
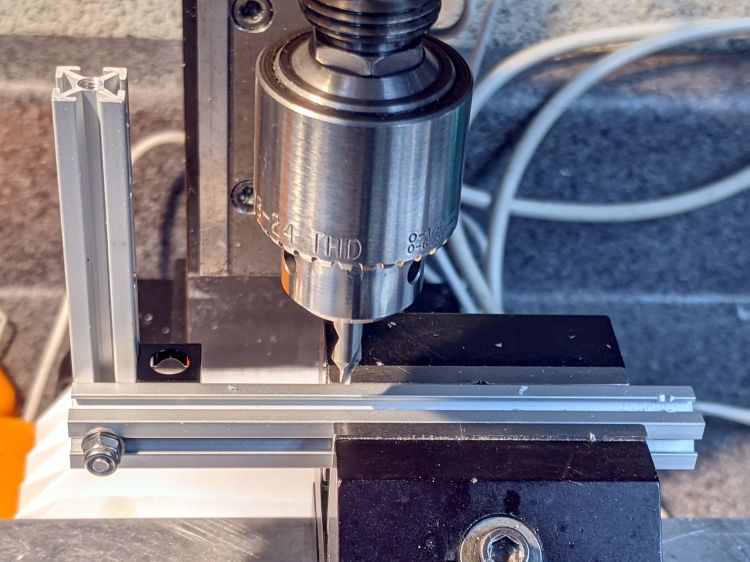
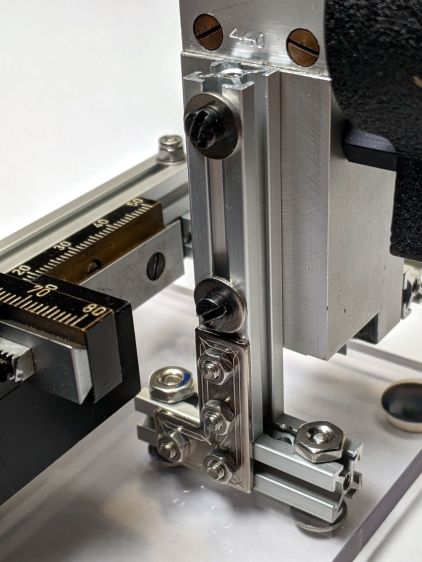
This requires drilling holes through the extrusions:
Microscope Stage Positioner – Makerbeam drilling
Running the center drill down until it just nicks the sides produces enough of a pilot hole through the center section to capture the 3 mm drill. If I had to drill enough holes to make a fixture worthwhile, I could probably eliminate the divots.
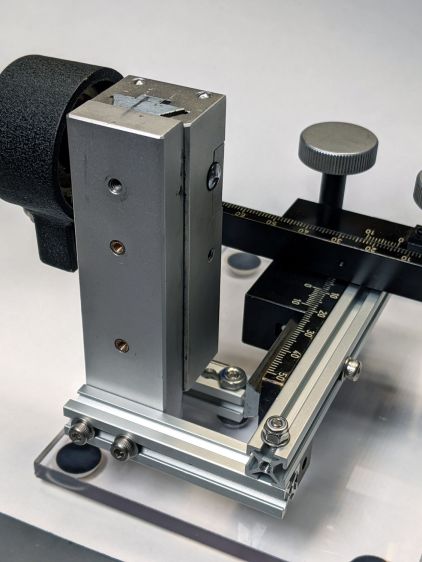
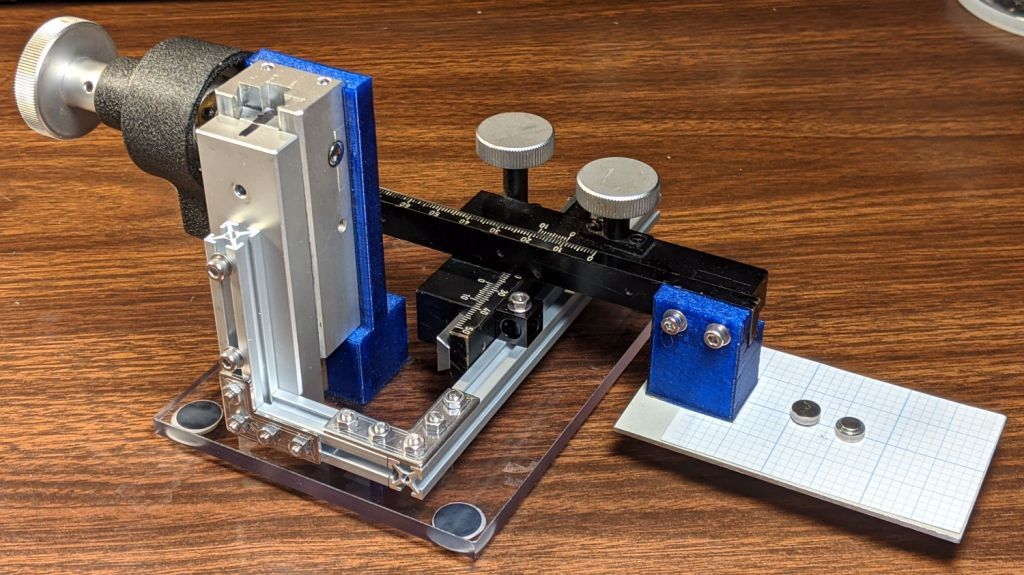
Two more holes + epoxied M3 brass inserts attached the 60 mm beam directly to the Z Axis stage, thereby eliminating the vertical beam and a steel bracket:
Microscope Stage Positioner – Makerbeam joints
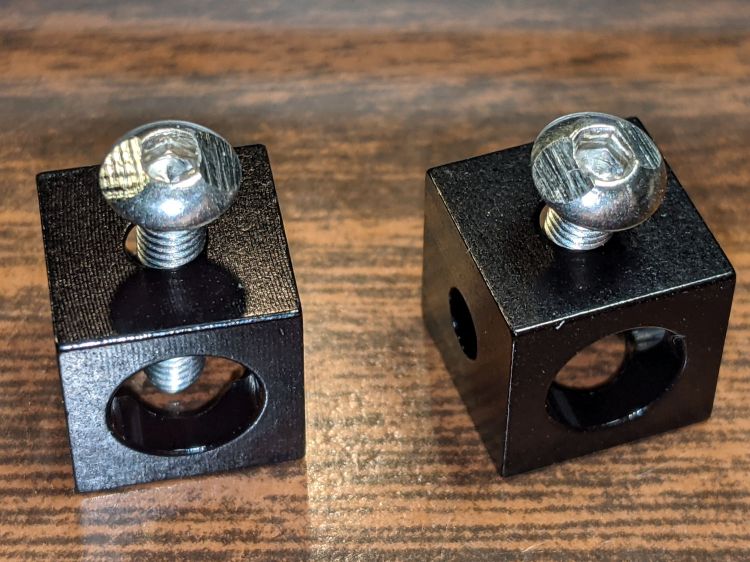
The M3 SHCS attaching the 100 mm beam goes through both beams. I think you could get the same result with a Tee Nut or a 12 mm Square Head bolt, should you have those lying around and don’t want to drill another hole. The Corner Cube screwed into both beams prevents rotation and helps ensure perpendicularity.
The Y stage now attaches directly to the beam, rather than through a pair of Corner Cubes, because I realized I wasn’t ever going to adjust its position.
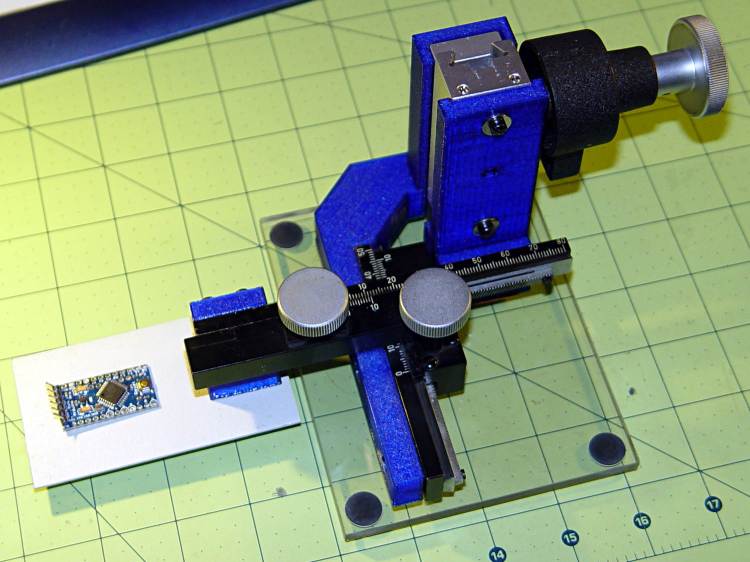
The Z Axis stage stands on the plastic plate through a hellish mixture of metric and USA-ian screws. Basically, the 6-40 screws into the stage were long enough, the 6-32 screws through the plate fit the existing holes, and M3 screws are for MakerBeam:
Microscope Stage Positioner – Z Axis base
To my utter astonishment, the threads in the end of the vertical beam had the proper alignment to let a Square Head bolt snug the beam against the 40 mm beam on the plate. As a result, the L Bracket just prevents the vertical beam from turning on the screw and the combination is as rigid as you (well, I) could want.
The 40 mm beam has two spurious holes, because I thought I could avoid drilling another hole in the baseplate. Nobody will ever notice.
After squaring and tightening everything, the 100 mm beam along the Y Axis is now horizontal within 0.2 mm and the X Axis is horizontal to better than I can measure.
Protip: before dismantling a fitted slide, mark one end so you know how to put it back together. Bonus points for taking a picture:
Microscope Stage Positioner – slide marking
Double bonus points for writing a blog post.
Rather than fight with the existing fine-pitch USA-ian screws, I drilled out their threaded holes:
Microscope Stage Positioner – Y slide drilling
And epoxied 3 mm brass inserts in their place:
Microscope Stage Positioner – Y slide M3 inserts
Those holes match up with a pair of corner cubes normally appearing on the end of the beams:
Microscope Stage Positioner – BHCS mods for Makerbeam
It turns out M3 button head cap screws will slide into the beams if you file the slightest angle on opposite sides of the button, although a small bag of tiny tee nuts should arrive in a while.
Then a variety of brackets spliced everything together:
Microscope Stage Positioner – Makerbeam detail
Although it looks strictly from industrial, it actually wasn’t much better than the plastic edition and, in fact, the beam supporting the XY slides sagged about the same 5 mm. The plastic upright post also contributed a bit of wobble.
It turns out that the extruded aluminum beams have plenty of longitudinal and torsional stiffness, but all those flat steel fittings don’t.
There’s a way to work with the beam strengths, rather than against them, but that’s a story for another day …
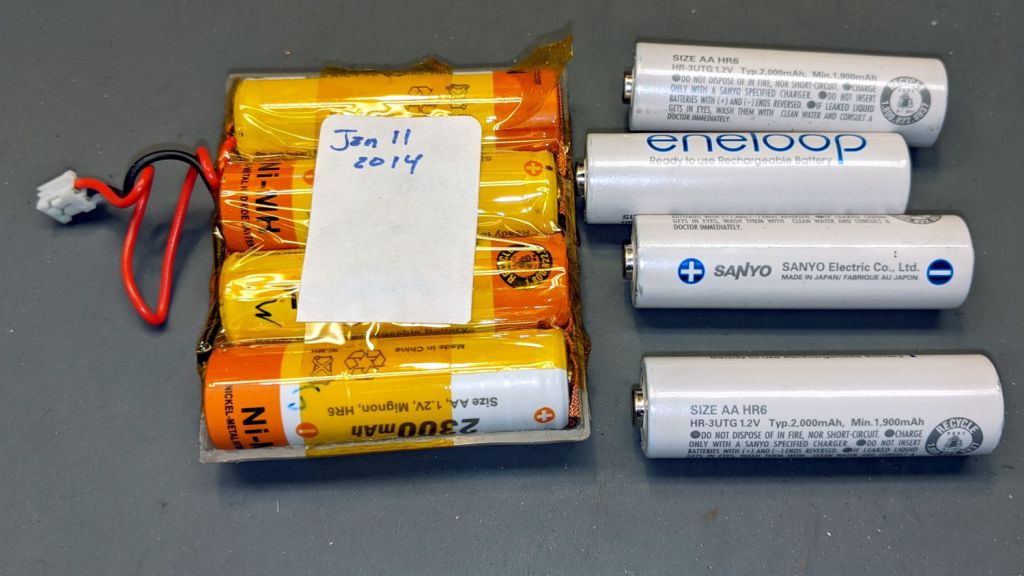
My old Aceco FC1002 frequency meter stopped working without being plugged into the charger. It runs from a quartet of NiMH cells taped into a tray I made seven years ago:
The faceplate bears the scars of its cracked acrylic (?) coating, so I pushed it out, traced the outline on a flat piece of polypropylene clamshell packaging, cut it out, and stuck it in place with tapeless sticky:
Aceco FC1002 – polypropylene faceplate
That removes the branding, but IMO improves the appearance.
It should continue working for another half decade or so!