Ed Nisley's Blog: Shop notes, electronics, firmware, machinery, 3D printing, laser cuttery, and curiosities. Contents: 100% human thinking, 0% AI slop.
Tag: Improvements
Making the world a better place, one piece at a time
After replacing the WS2812 LED in the 21HB5A socket, I drilled out the hole in the disk platter for a 3.5 mm stereo jack, wired a nice knurled metal plug onto the plate lead, and it’s all good:
21HB5A – Audio plug cable
The plug had a rather large cable entry that cried out for a touch of brass:
Audio plug – brass trim turning
Fancy plugs have a helical spring strain relief insert about the size & shape of that brass snout; might have to buy me some fancy plugs.
This time, I got the alignment right by clamping everything in the lathe while the epoxy cured:
Audio plug – brass trim gluing
I flipped the drill end-for-end, which was surely unnecessary.
It’s now sitting on the kitchen table, providing a bit of light during supper while I wait for a WS2812 controller failure. Again.
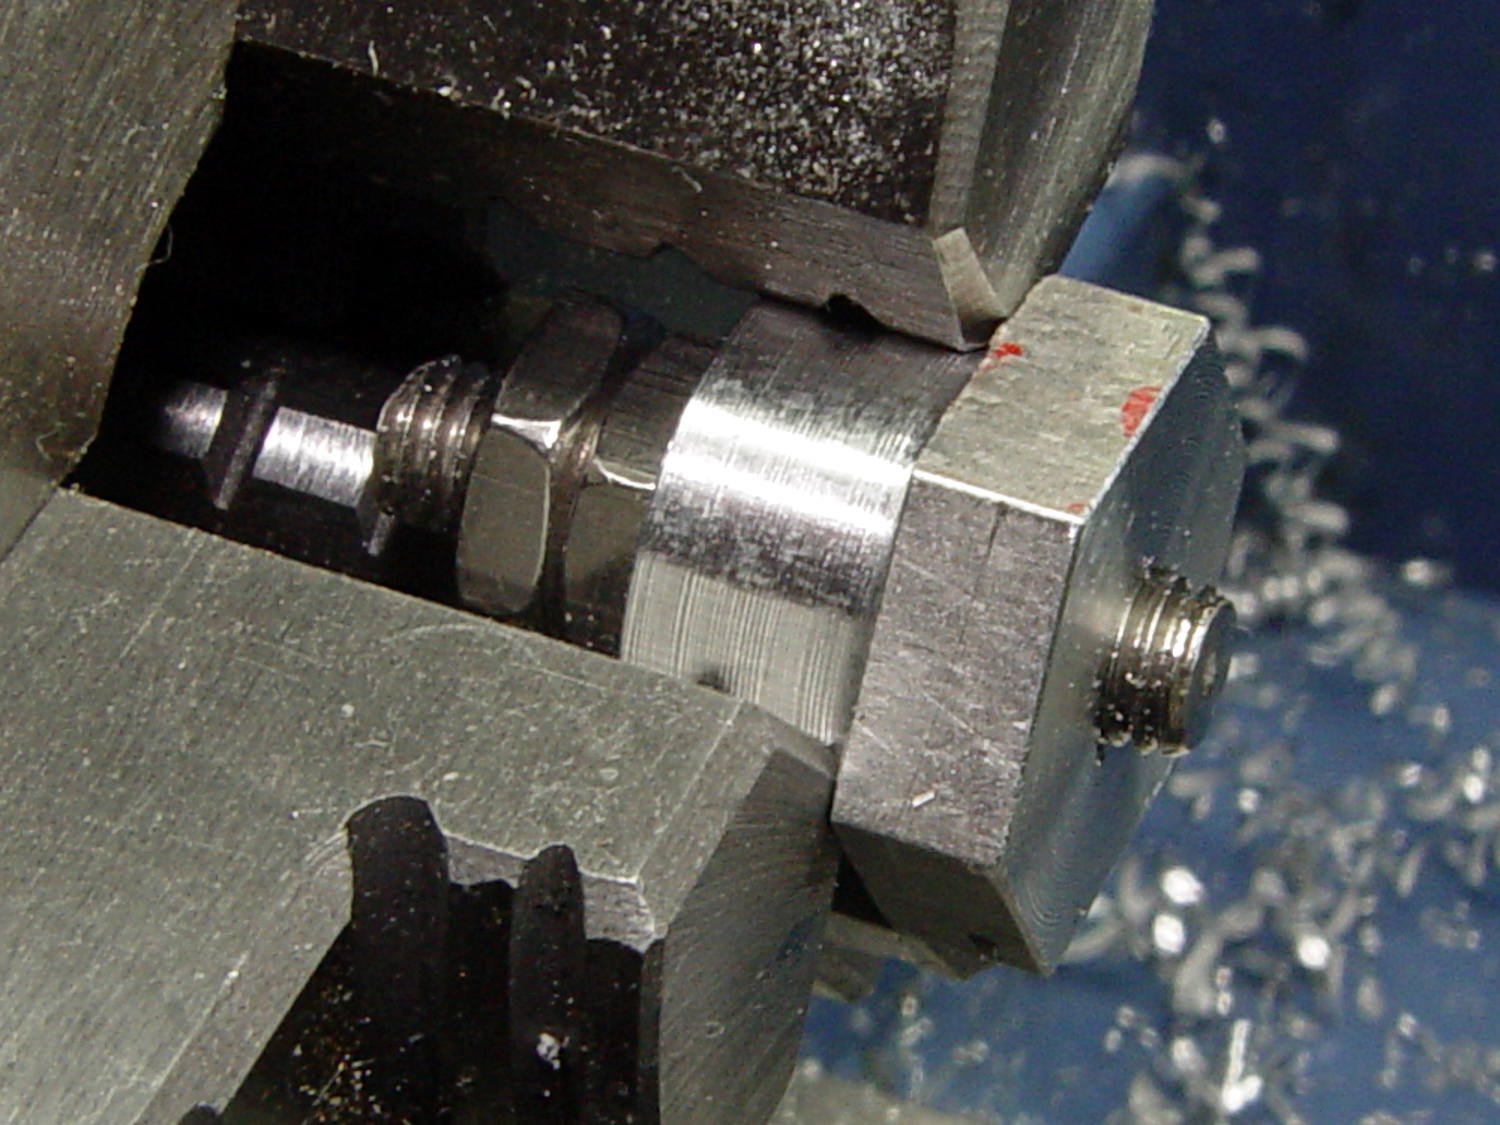
A length of aluminum hex bar became a nice 10-32 screw trimmer:
Screw cutting fixture – 10-32 – first cut
The hex neatly fits a 5/8 inch wrench, so I can tighten the jam nuts enough to run the lathe forward, part off the screw, and clean up the end just fine.
Unfortunately, the second test cut didn’t work nearly so well:
Screw cutting fixture – 10-32 – wrecked
With the cross-slide gib adjusted to the snug side of easy, the cut put enough pressure on the parting tool to lift the way on the tailstock side about 4 mil = 0.1 mm. The parting tool submarined under the cut, dislodged the fixture, and didn’t quite stall the motor while the chuck jaws ate into the aluminum.
Well, that was a learning experience.
After tightening the cross-slide gib to the far side of hard-to-turn:
Put a longer screw in the fixture
Grab it in the tailstock drill chuck
Crunch the hex end of the fixture in the spindle chuck
Remove the screw through the spindle (*)
Put a slight taper on the end of the fixture threads with a center drill
Deploy the live center to support the fixture
Like this:
Screw cutting fixture – 10-32 – rechucked
Turns out that angling the bit by 10° dramatically reduces chatter. If I had BR and BL turning tools, I’d be using them with the QCTP set to 0°, but they weren’t included in the set that came with the lathe.
It’s a good thing I’m not fussy about the diameter of that cylindrical section:
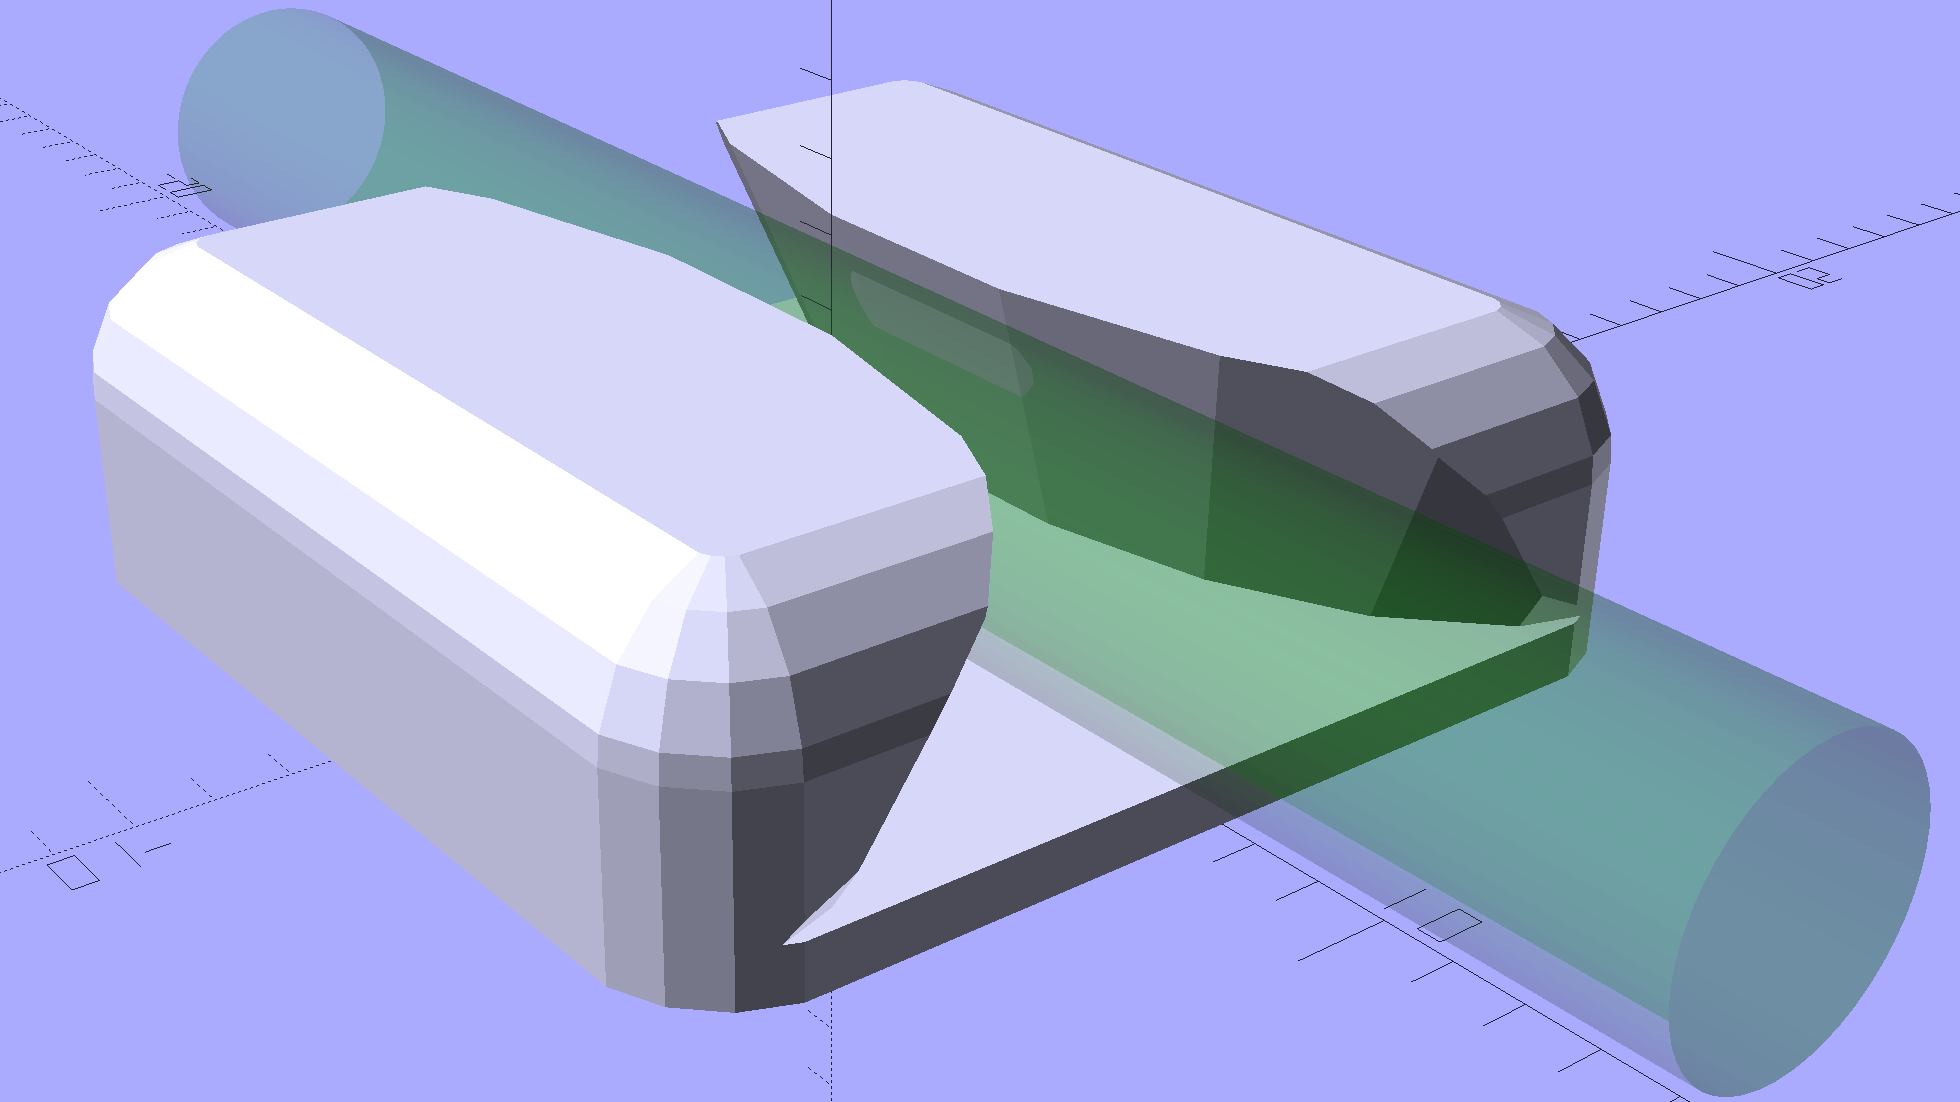
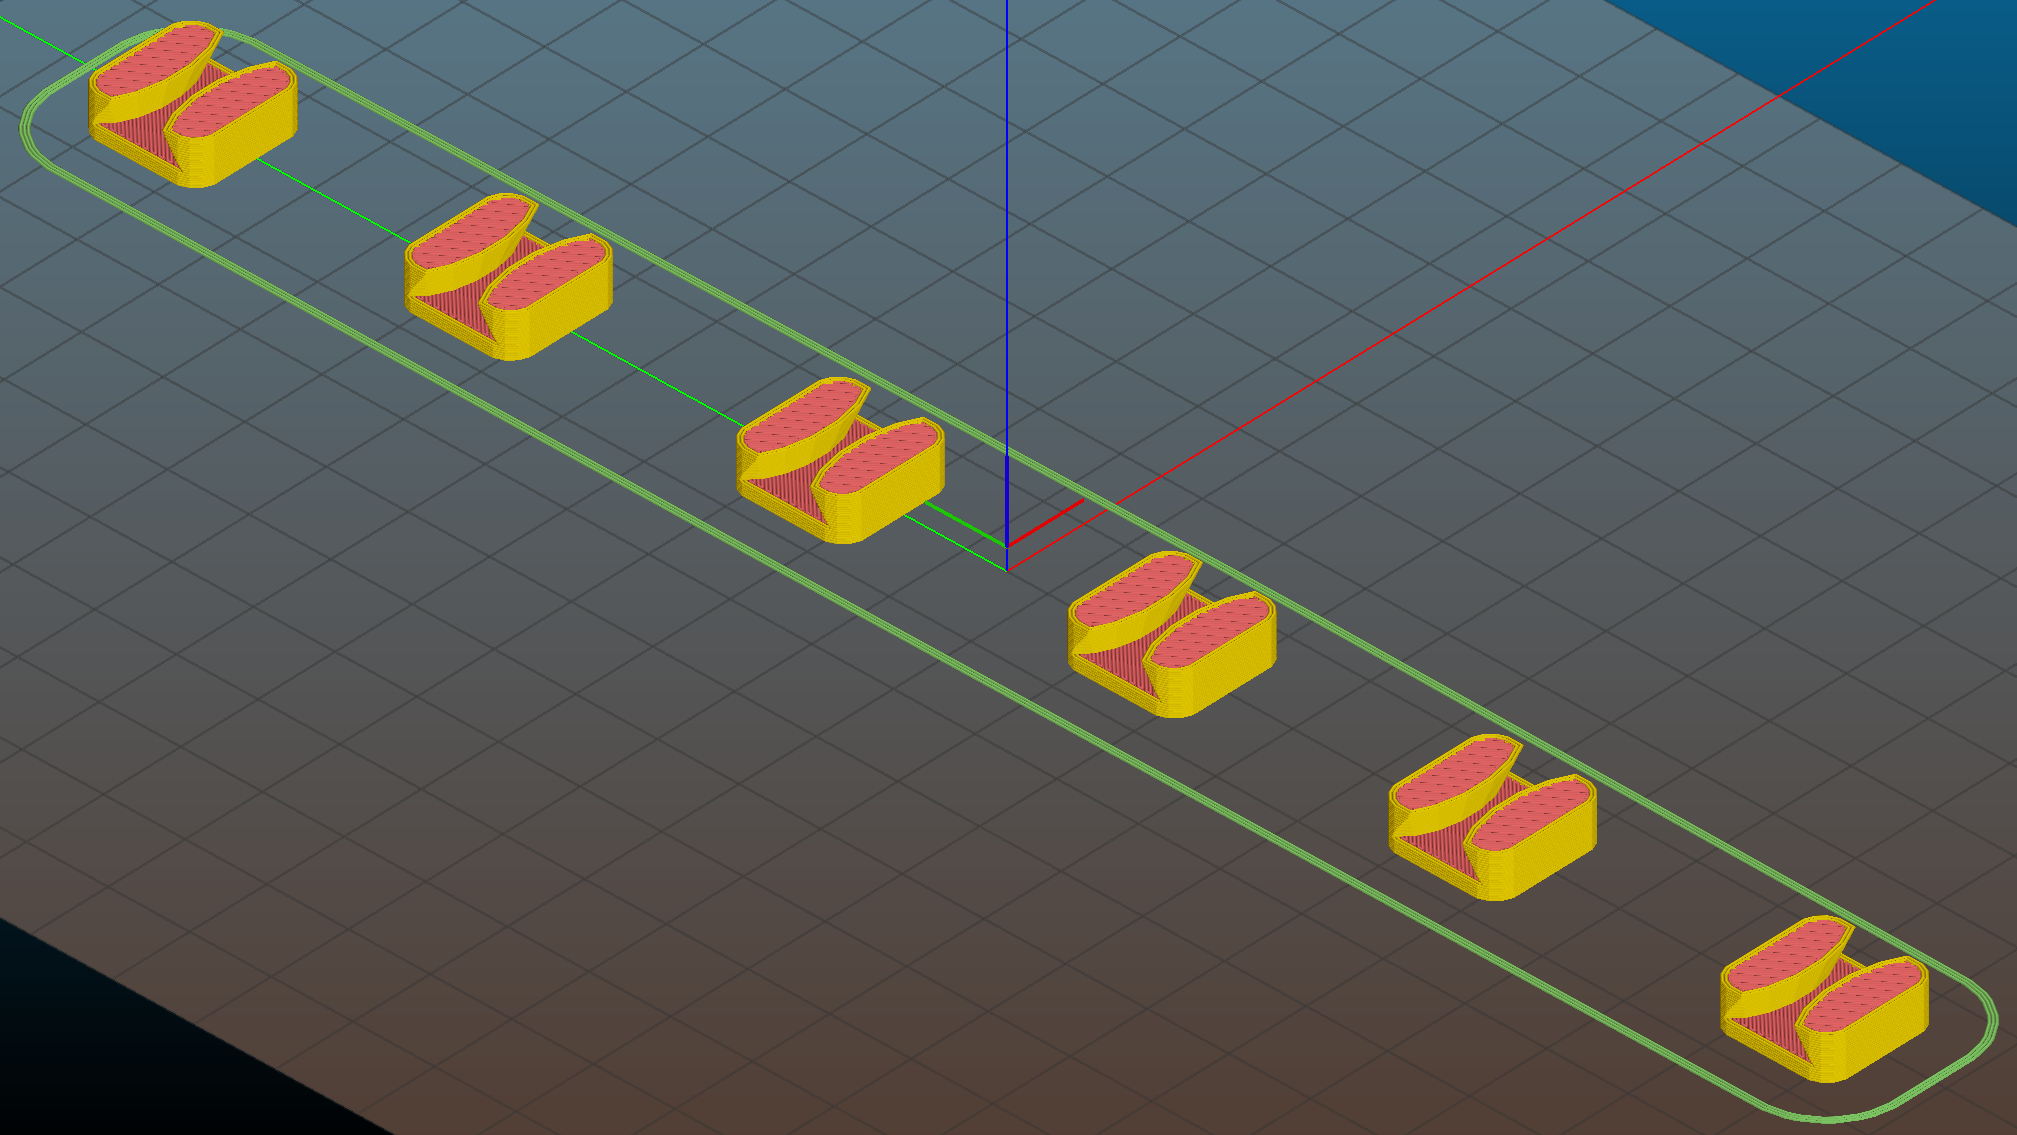
Which suggested the square version needed some softening:
LED Cable Clips – square – solid model
Apart from the base plate thickness, all the dimensions scale from the cable OD; I’ll be unsurprised to discover small cables don’t produce enough base area for good long-term foam tape adhesion. Maybe the base must have a minimum size or area?
I won’t replace the ones already on the saw, but these will look better on the next project…
This file contains hidden or bidirectional Unicode text that may be interpreted or compiled differently than what appears below. To review, open the file in an editor that reveals hidden Unicode characters.
Learn more about bidirectional Unicode characters
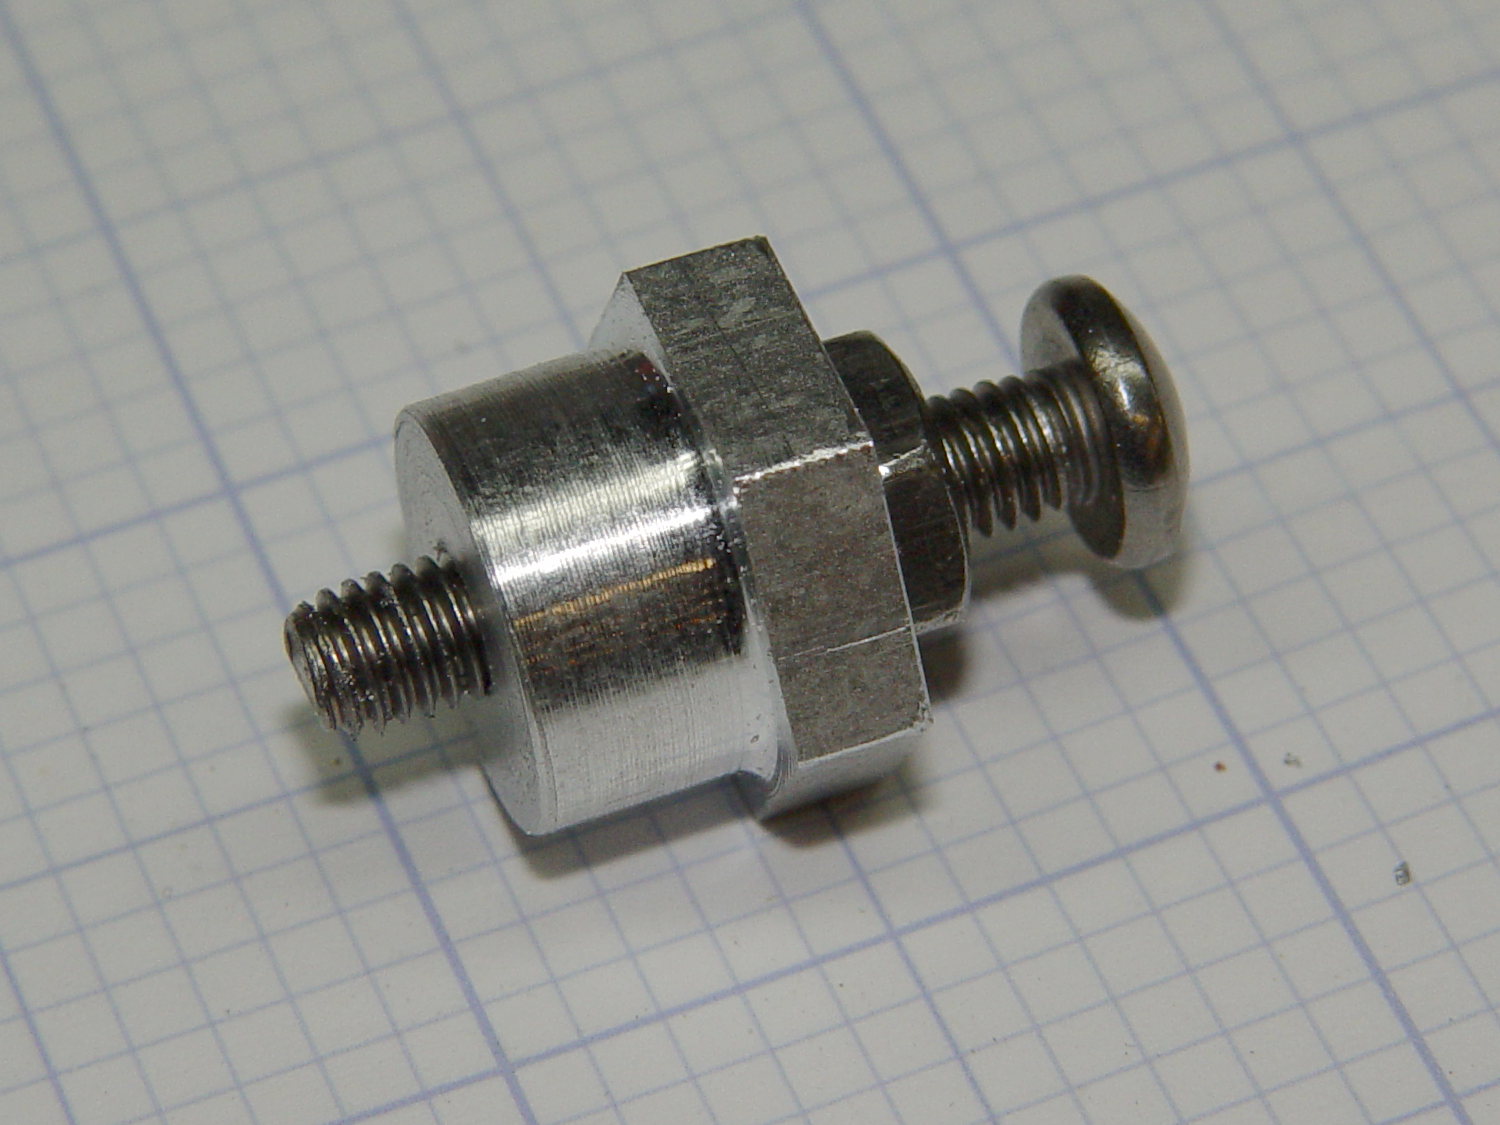
By and large, when you follow the recipe, you get the expected result:
Screw cutting fixture – M3x0.5 aluminum – side view
That’s another length of the same aluminum rod, this time with a full-length M3x0.5 thread down the middle, and a screw with a neatly trimmed end.
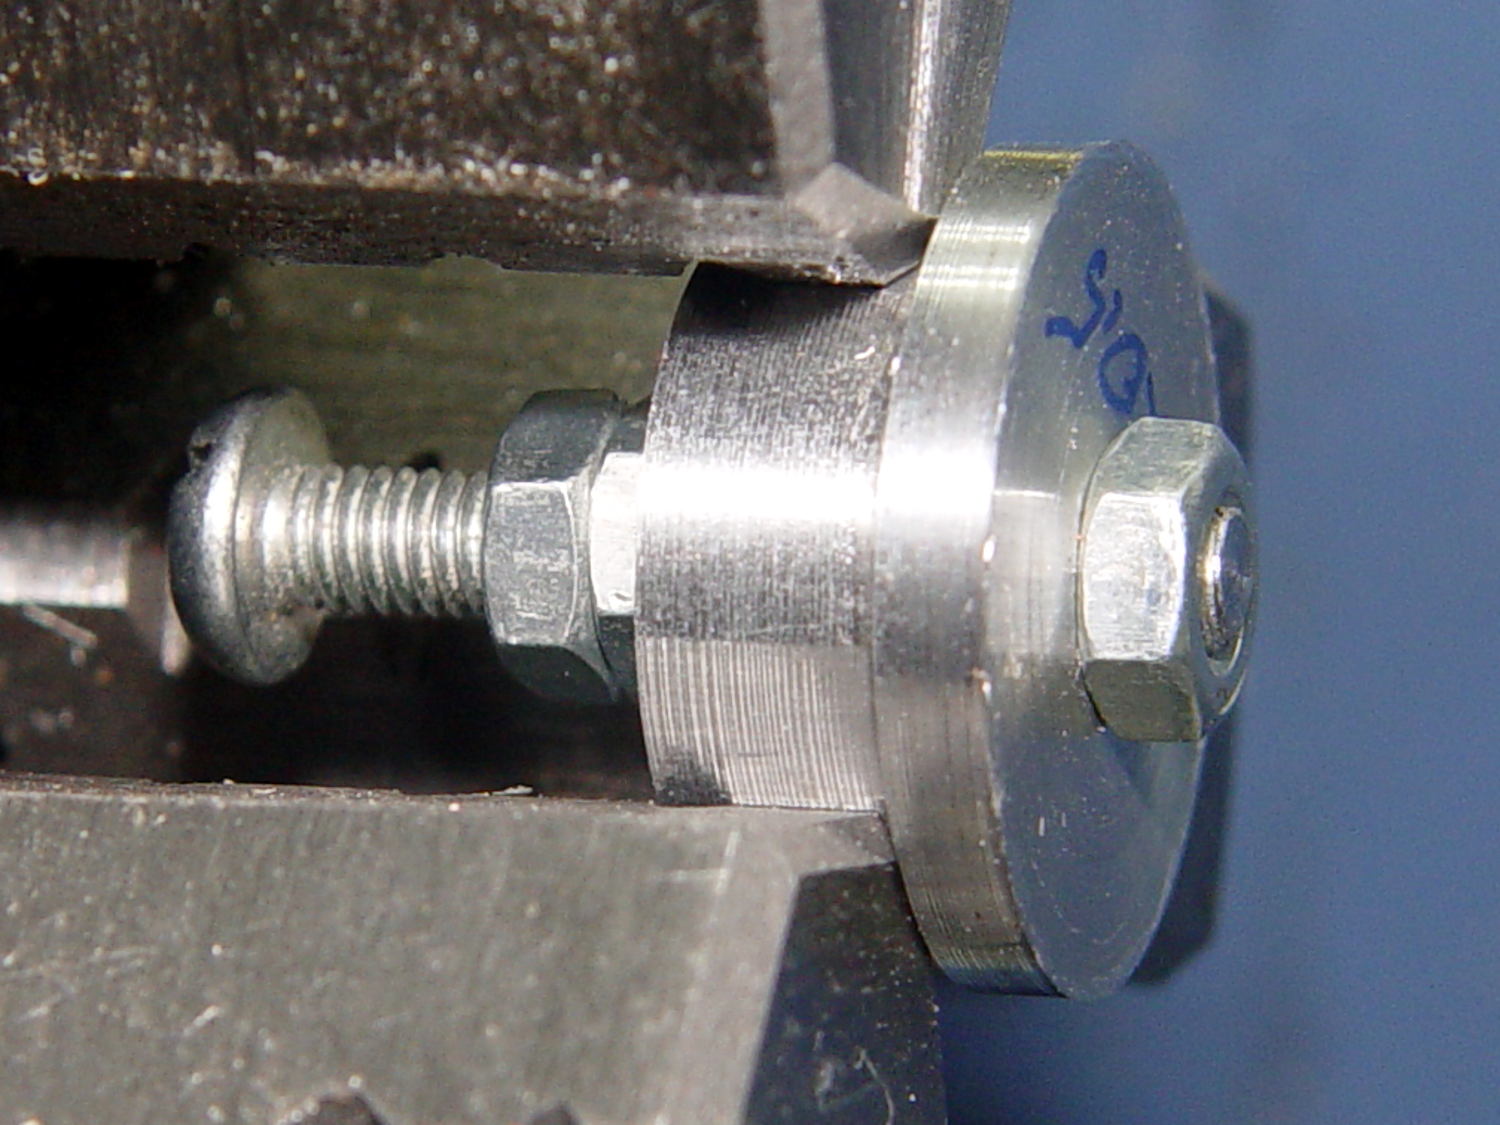
Running the lathe spindle in reverse prevents the screw from loosening the jam nuts on the left:
Screw cutting fixture – M3x0.5 aluminum – in lathe chuck
Running the spindle forward does move the screw enough to loosen the nuts. Perhaps I should put wrench flats on the big end of the fixture so I can really torque the nuts.
That front nut was mostly decorative, rather than tight, because I didn’t expect the first attempt to work nearly as well as it did. A bit of filing to taper the end of the thread and it was all good.
The -nc sets the “no clobber” option, which (paradoxically) simply avoids downloading a duplicate of an existing file. Otherwise, it’d download the file and glue on a *.1 suffix, which isn’t a desirable outcome. The myriad (thus far, 0.6 myriad) already-copied files generate a massive stream of messages along the lines of File ‘mumble’ already there; not retrieving.
Adding --no-verbose will cut the clutter and emit some comfort messages.
There seems no way to recursively fetch only newer media files directly from the WordPress file URL with -r -N; the site redirects the http:// requests to the base URL, which doesn’t know about bare media files and coughs up a “not found” error.
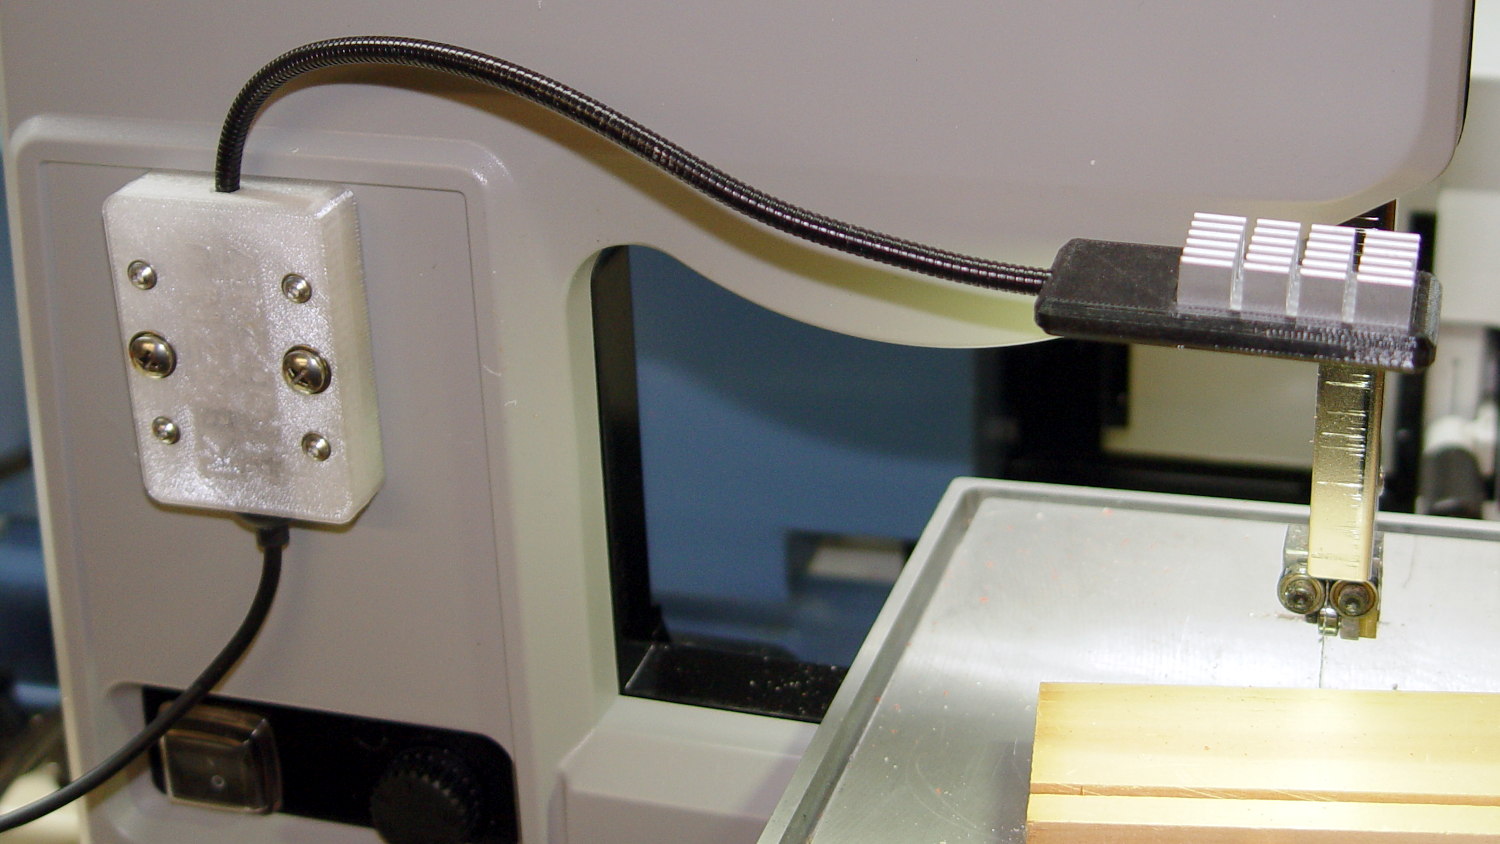
The really bright LED worklights I added to the MicroMark bandsaw produced plenty of glare from the raw aluminum table top:
USB Gooseneck Mount – on bandsaw
No good deed goes unpunished, I suppose.
While rooting around for something else, I rediscovered my bottle of Birchwood Casey Aluminum Black (basically selenium dioxide) that’s intended for touchup work on small parts, not blackening an entire aluminum plate. Well, having had that bottle forever, it’s not like I’ll miss a few milliliters.
If this didn’t work, I could always sand the table down to the original aluminum finish.
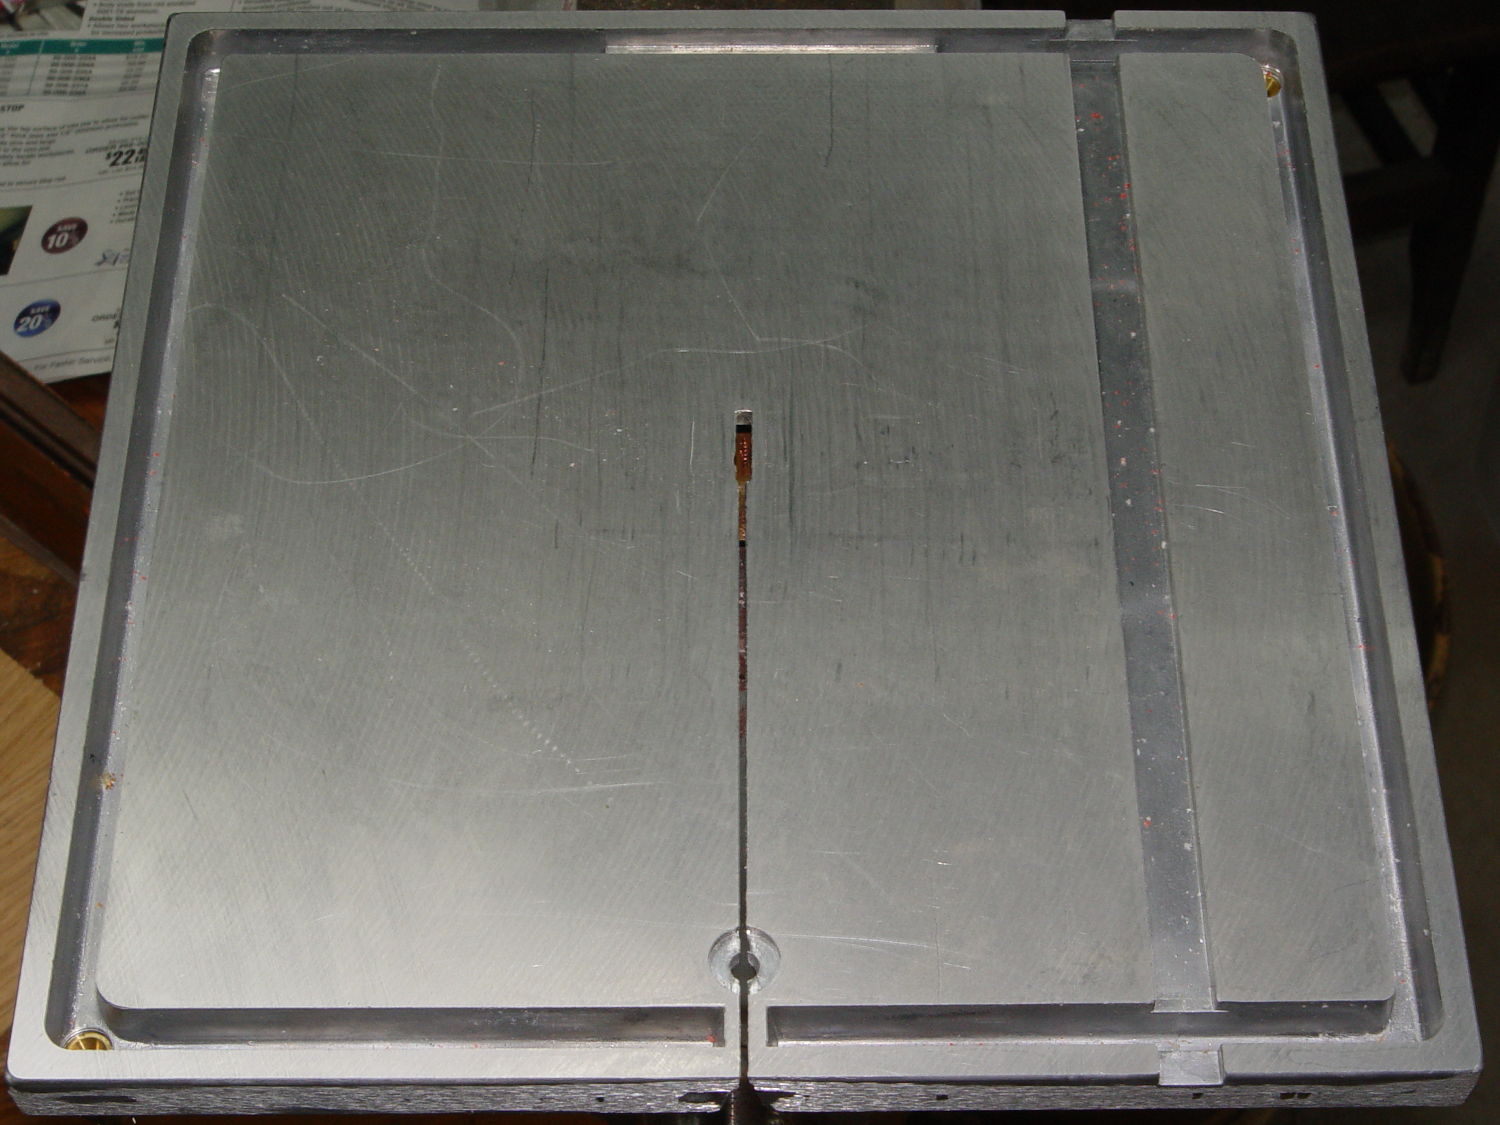
So I applied a sanding block in hopes of smoothing the tooling marks:
MicroMark Bandsaw – sanded table
Looked pretty good, I thought, so:
Wipe it down with alcohol (per the bottle instructions)
Well, in terms of metal finishing, that blackening job looks downright crappy. Aluminium Black is intended for decorative work and will surely wear quickly on the bandsaw table, but it’s entirely good enough for my simple needs: the glare from those lights is gone.
After I took the picture, I blackened the brass screw in the slot. Came out a weird mottled green-bronze, might look antique in a different context, suits me just fine.
With the basement at 14 °C, any cooling is too much: the platform heater can’t keep the bed above the thermal cutout temperature, the firmware concludes the thermistor has failed, and shuts the printer off. So I popped the four finished clips off the platform, removed the skirt, unplugged the fan, rebooted that sucker, and restarted the print.
One clip in the front keeps the cable away from the power switch and speed control directly below the gooseneck mount:
USB Gooseneck Mount – cable clip
A few clips in the back route the cable from the COB LED epoxied directly onto the bandsaw frame away from the motor enclosure:
Bandsaw platform COB LED – cable clips
They’re mounted on double-sided foam tape. The COB LED on the frame isn’t anything to write home about, but you can see the foam tape peeking out around the clip base:
Bandsaw platform COB LED
Unlike those LED filaments, it seems you can gently bend the aluminum substrate under a COB LED.
The bandsaw platform now has plenty of light: a fine upgrade!
Yeah, you can buy stick-on cable anchors, but what’s the fun in that? These fit exactly, hold securely, and work just fine.
This file contains hidden or bidirectional Unicode text that may be interpreted or compiled differently than what appears below. To review, open the file in an editor that reveals hidden Unicode characters.
Learn more about bidirectional Unicode characters