Although putting a Z-axis height probe in a rigid pen holder worked well enough, it’d be handy to have a probe with a stud suitable for clamping in the DW660 spindle (with the power off!):
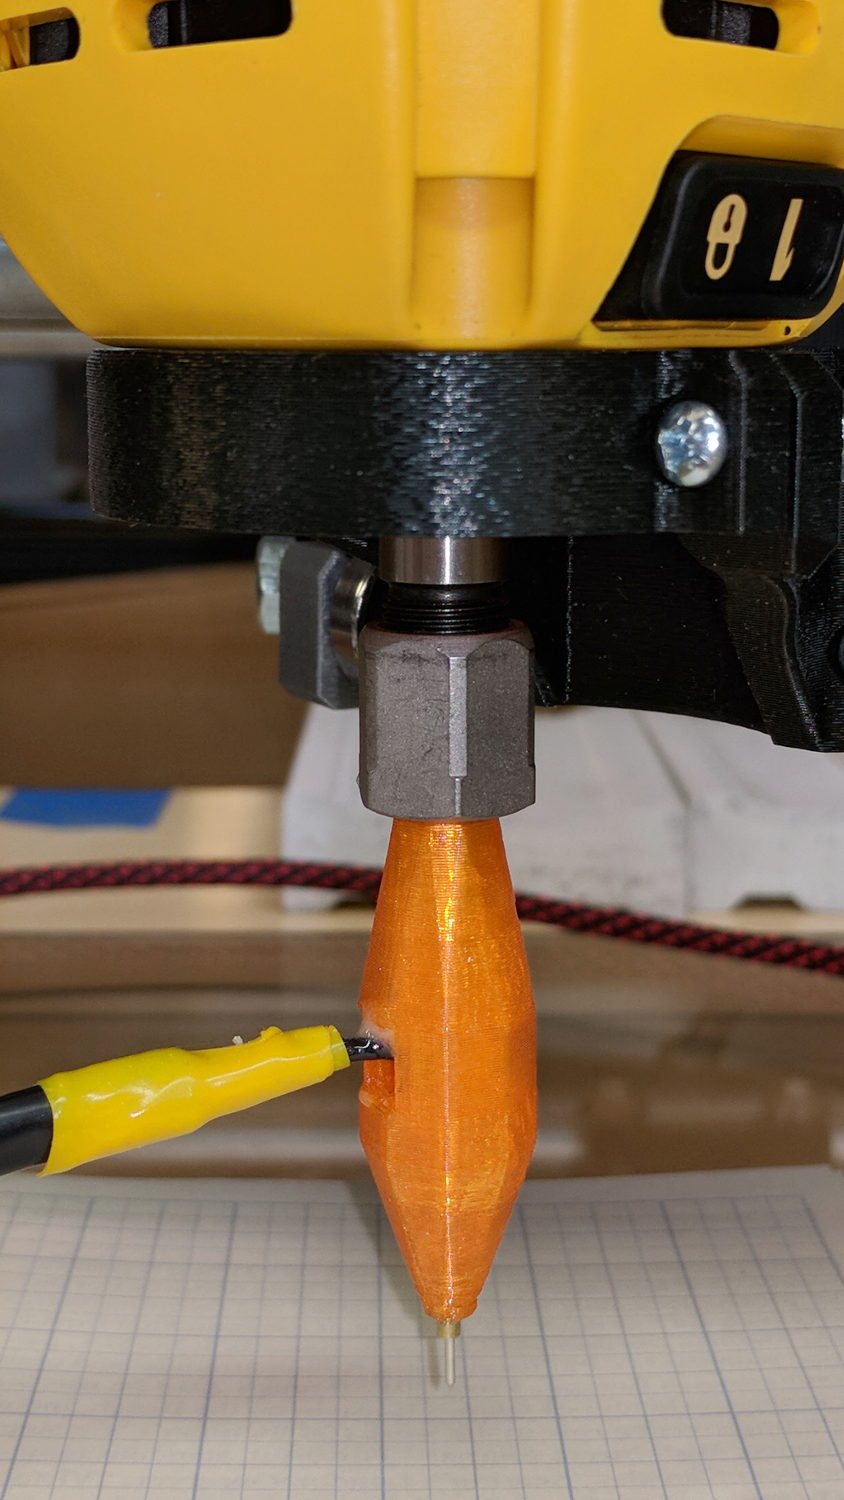
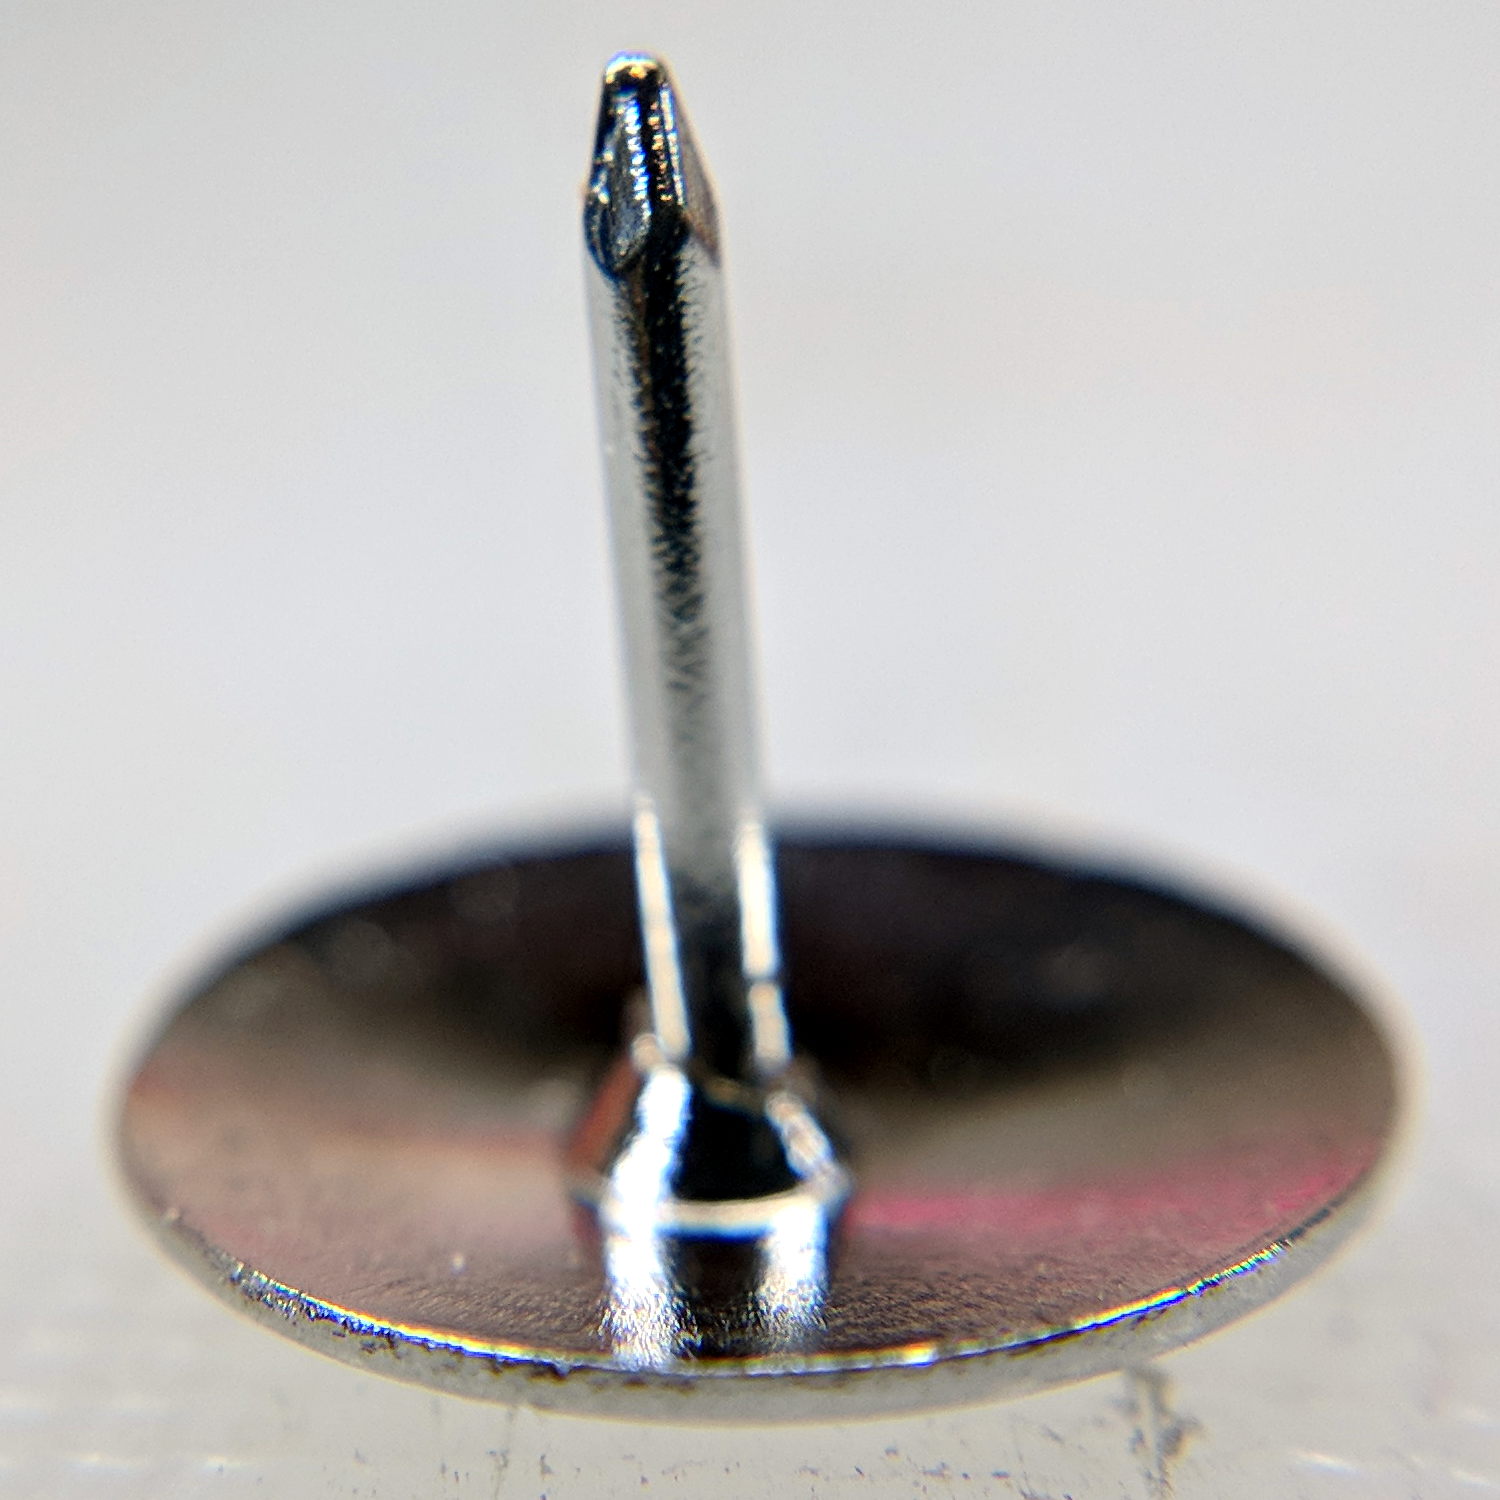
Inside, it uses the same pushbutton and pogo pin as the pen holder design, with a similar brass tube around the pogo pin.
There’s a conspicuous lack of good wire management; we all know where those wires will snap. In practice, you’d secure it to the DW660 power cord, way up on top, to eliminate most of the flexing. Still, it wants better strain relief than its gets from those heatstink tubes.
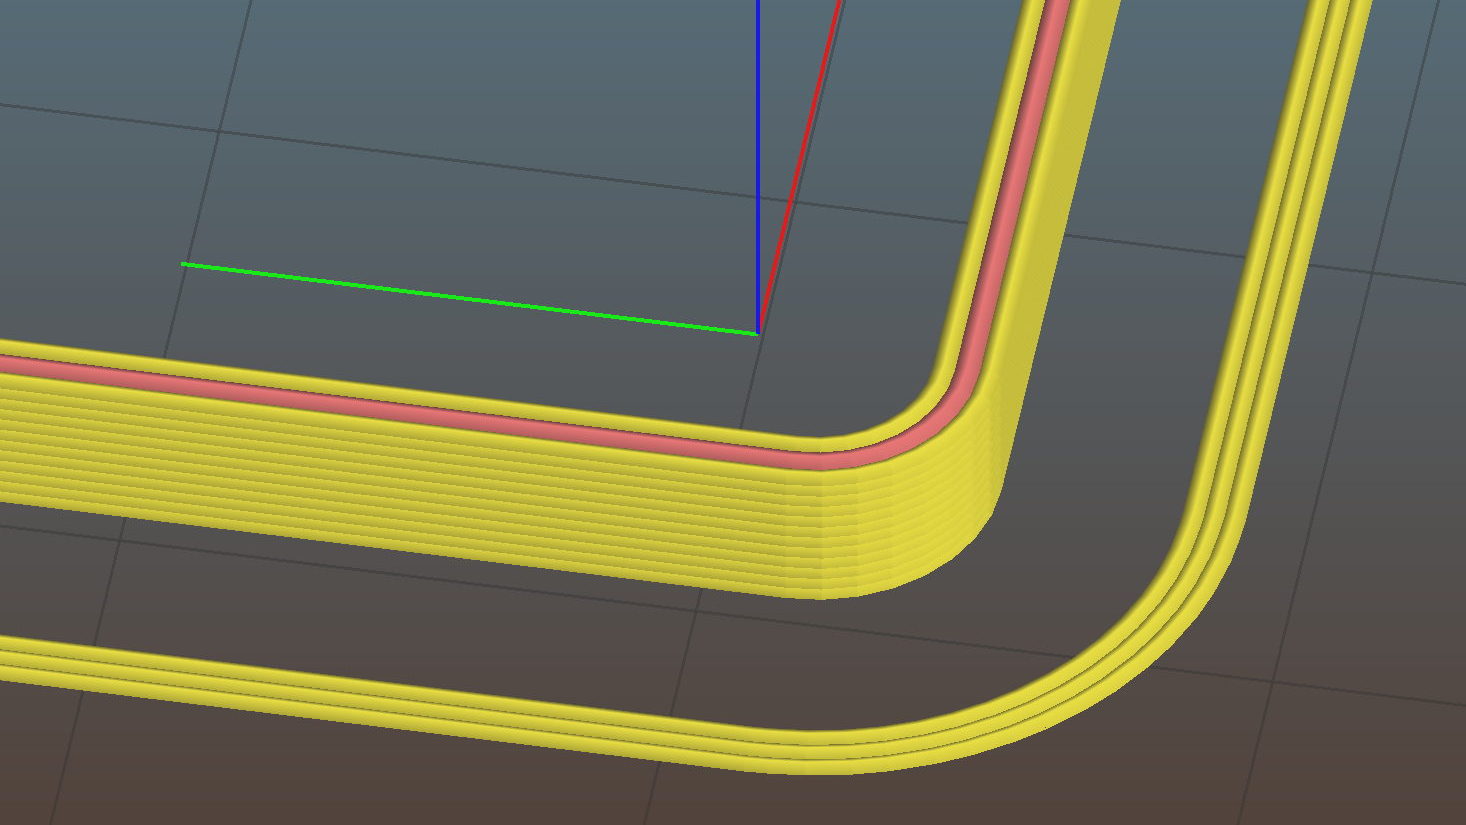
The solid model looks like a weaving shuttle:
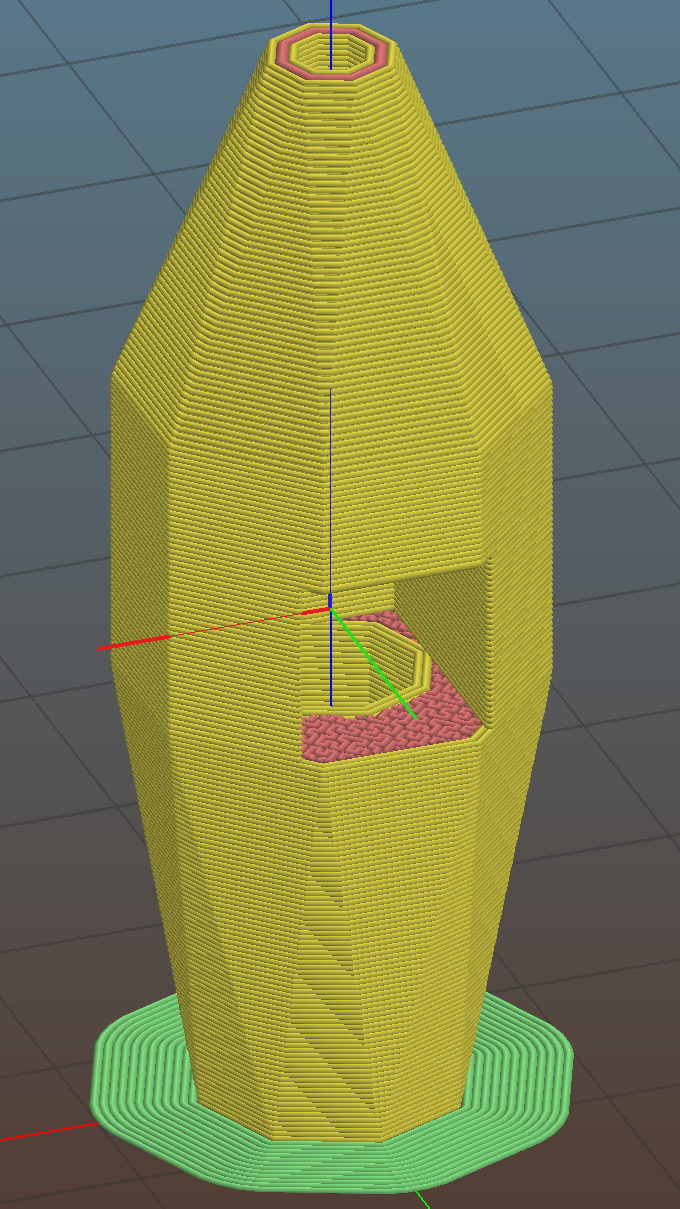
It’s sitting upside-down in a 5 mm brim for more platform adhesion.
The next one will have a 1/8 inch stud to fit the DW660’s other collet and shorten the top by 3/8 inch, because I want the rod inserted three diameters for stability. The bottom can’t get much shorter, because the pogo pin determines the switch-to-tip distance. Maybe a simple membrane switch will work well enough?
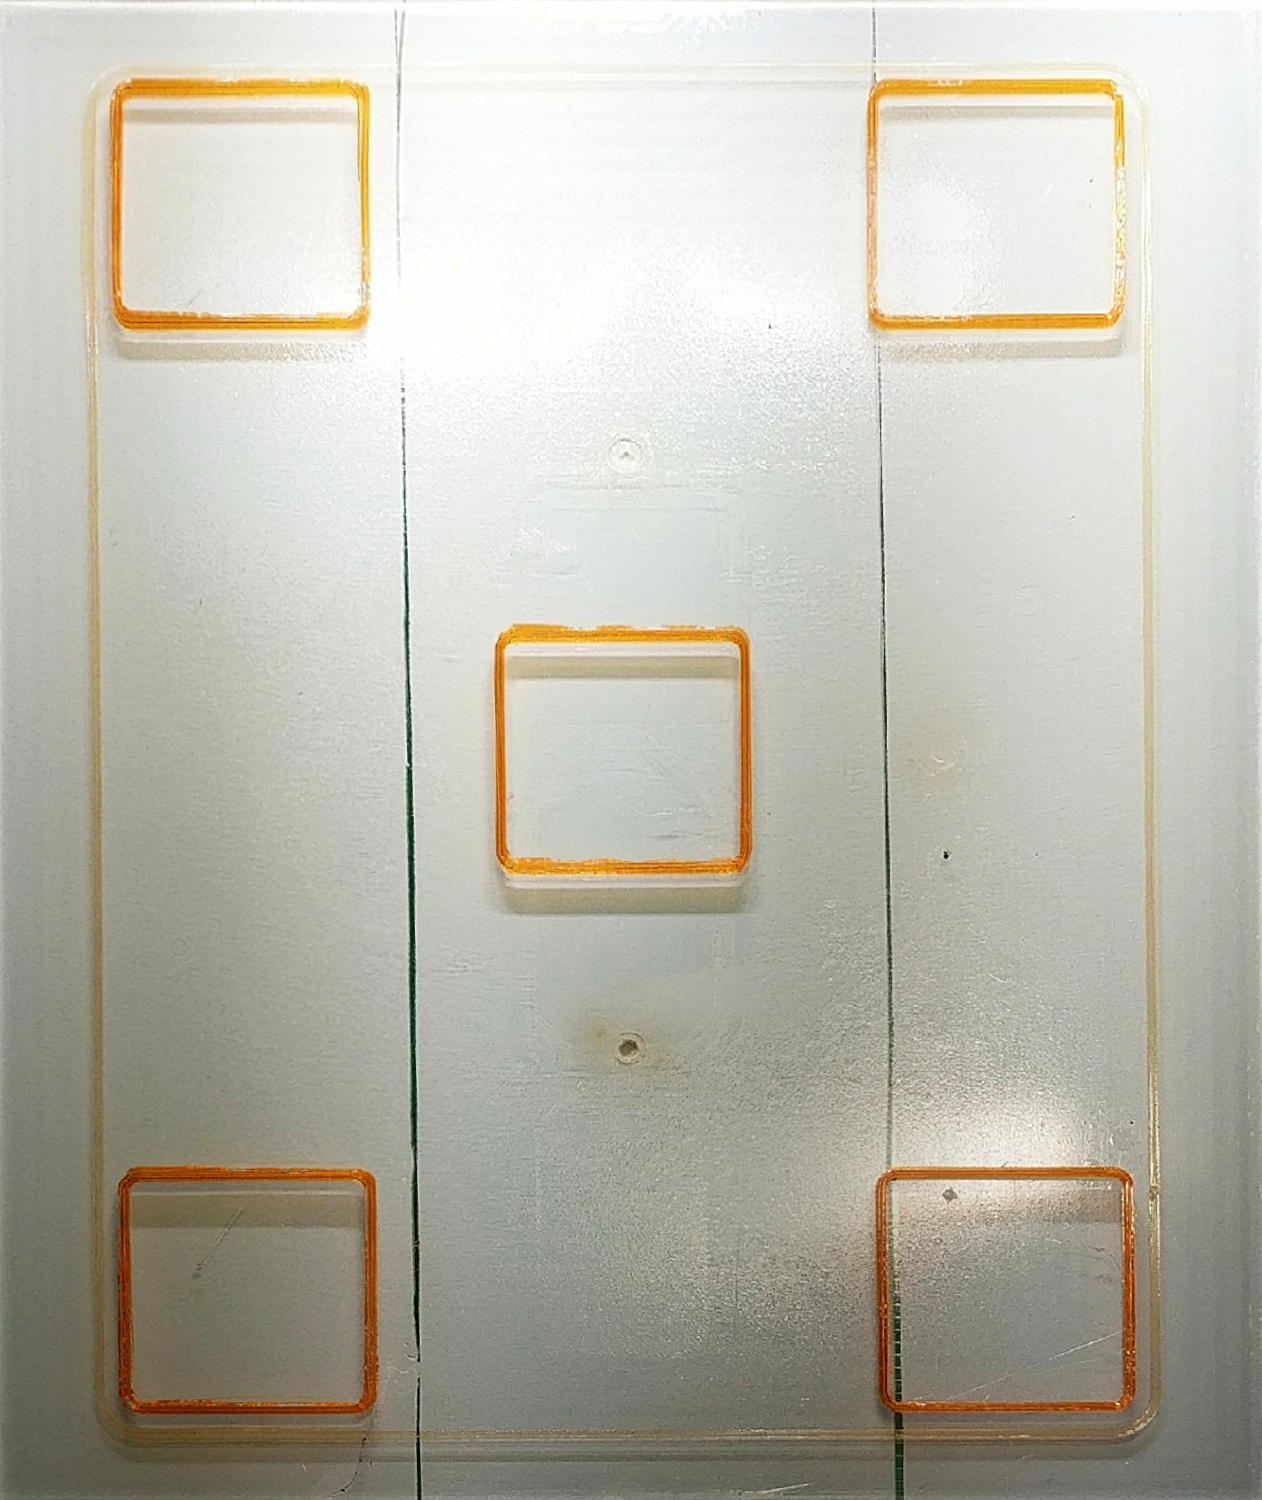
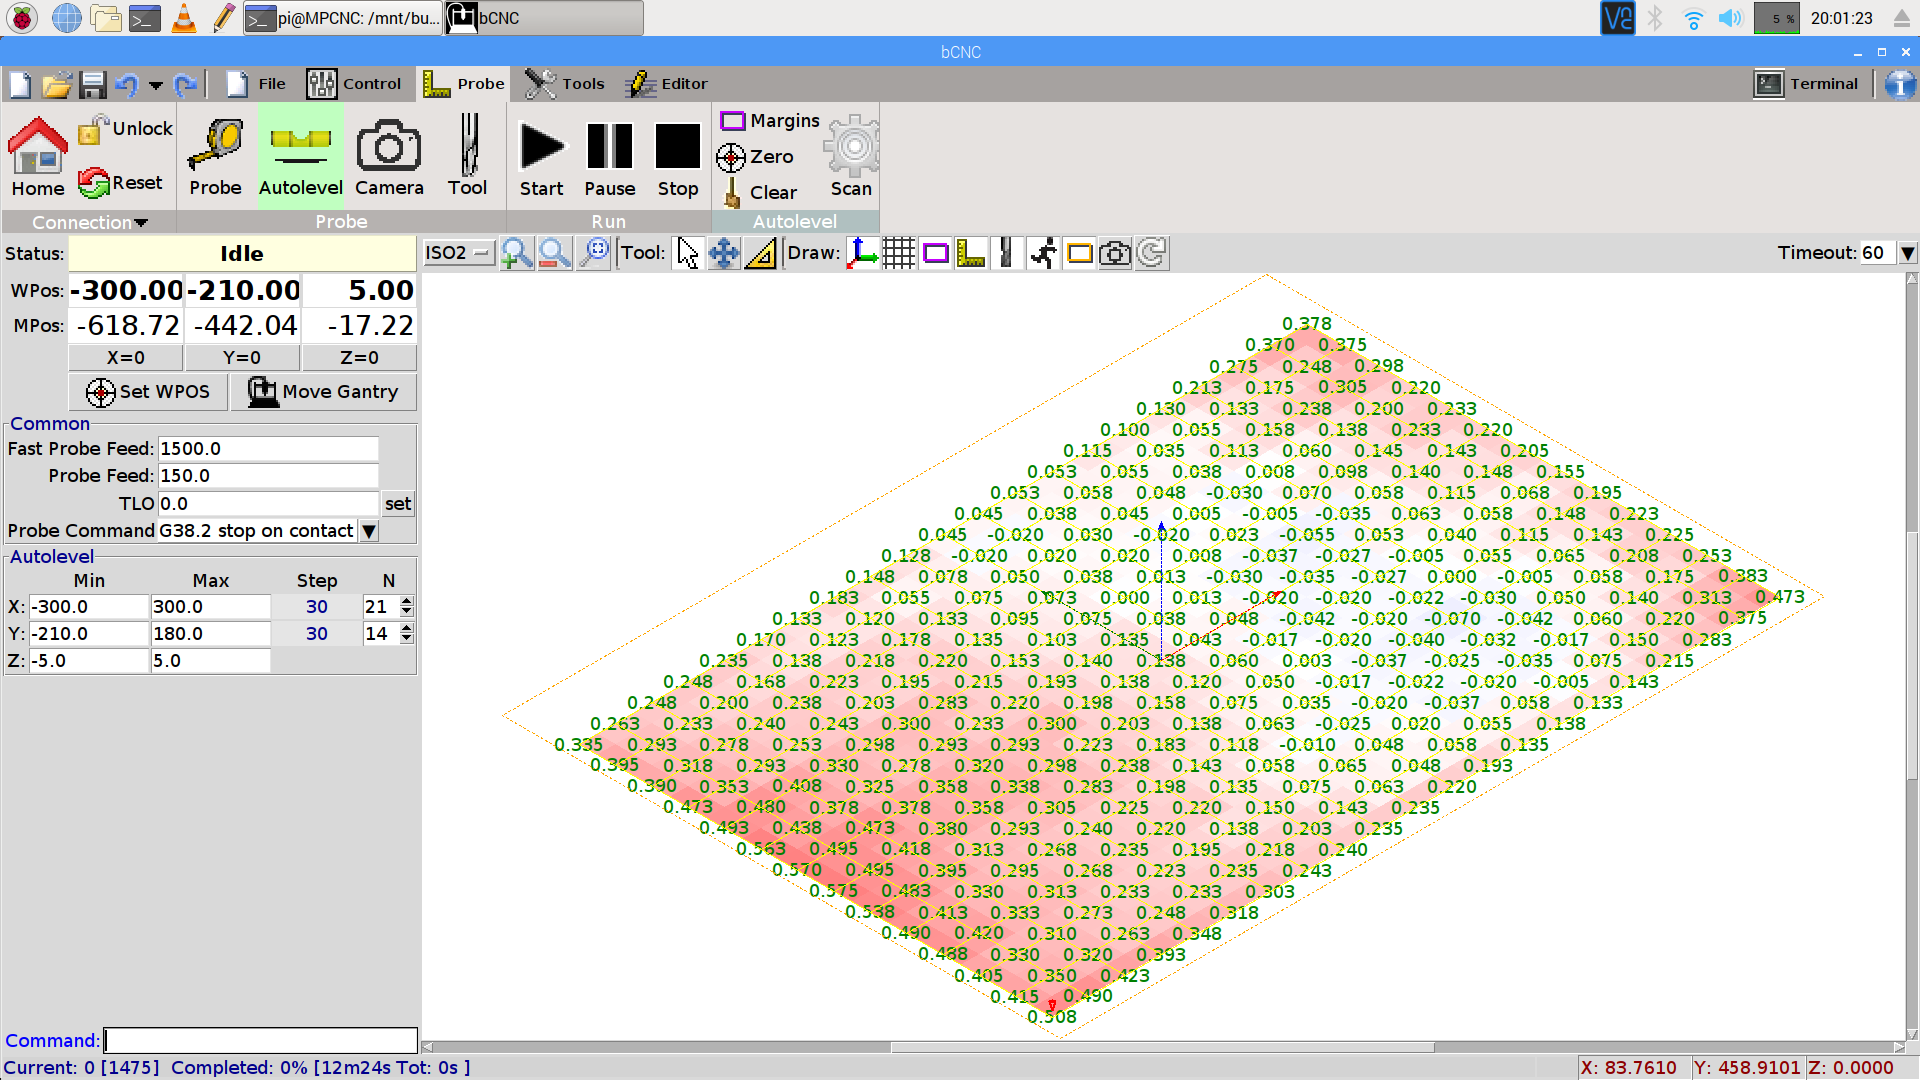
You can see the depression in the glass sheet pretty clearly in a bCNC Autolevel scan on 30 mm centers (clicky for more dots):
The OpenSCAD source code as a GitHub Gist:
| // MPCNC Z Axis Height Probe for router collet | |
| // Ed Nisley KE4ZNU – 2018-02-14 | |
| Layout = "Build"; // Build, Show | |
| Section = false; | |
| /* [Extrusion] */ | |
| ThreadThick = 0.25; // [0.20, 0.25] | |
| ThreadWidth = 0.40; // [0.40] | |
| /* [Hidden] */ | |
| Protrusion = 0.1; // [0.01, 0.1] | |
| HoleWindage = 0.2; | |
| inch = 25.4; | |
| function IntegerMultiple(Size,Unit) = Unit * ceil(Size / Unit); | |
| ID = 0; | |
| OD = 1; | |
| LENGTH = 2; | |
| //- Adjust hole diameter to make the size come out right | |
| module PolyCyl(Dia,Height,ForceSides=0) { // based on nophead's polyholes | |
| Sides = (ForceSides != 0) ? ForceSides : (ceil(Dia) + 2); | |
| FixDia = Dia / cos(180/Sides); | |
| cylinder(r=(FixDia + HoleWindage)/2,h=Height,$fn=Sides); | |
| } | |
| /* [Switch] */ | |
| SwitchBody = [7.8,6.8,7.0]; // PCB mount hardware extends infinitely to +Y | |
| SwitchButton = [3.5,5.0,1.0]; // OD allows some clearance | |
| SwitchClear = 5.0; // room for pad atop probe rod | |
| SwitchZ = SwitchBody.z + SwitchButton.z + SwitchClear; | |
| Sleeve = [1.5,2.5,15.0]; // tube around pogo pin | |
| ShankOD = 0.25 * inch; // rod into tool collet | |
| /* [Hidden] */ | |
| WallThick = 3.0; // basic wall & floor thickness | |
| ProbeBody = [Sleeve[OD], | |
| 2*WallThick + sqrt(pow(SwitchBody.x,2) + pow(SwitchBody.y,2)), | |
| 3*ShankOD + SwitchZ + Sleeve[LENGTH]]; | |
| echo(str("Probe Body: ",ProbeBody)); | |
| NumSides = 2*4; | |
| //—– | |
| // Define shapes | |
| module Switch() { | |
| union() { | |
| translate([0,0,SwitchBody.z/2]) | |
| cube(SwitchBody,center=true); | |
| translate([0,ProbeBody[OD]/2 – SwitchBody.y/2,(SwitchBody.z + SwitchButton.z)/2]) | |
| cube([SwitchBody.x,ProbeBody[OD],SwitchBody.z + SwitchButton[LENGTH]],center=true); | |
| translate([0,0,SwitchBody.z]) | |
| PolyCyl(SwitchButton[OD],SwitchButton[LENGTH] + SwitchClear,6); | |
| } | |
| } | |
| module ProbeHolder() { | |
| difference() { | |
| hull() { | |
| PolyCyl(Sleeve[OD] + 6*ThreadWidth,Protrusion,NumSides); | |
| translate([0,0,Sleeve.z]) | |
| rotate(180/8) | |
| PolyCyl(ProbeBody[OD],SwitchZ,NumSides); | |
| translate([0,0,Sleeve.z + SwitchZ + 3*ShankOD – Protrusion]) | |
| PolyCyl(ShankOD + 10*ThreadWidth,Protrusion,NumSides); | |
| } | |
| translate([0,0,SwitchZ + Sleeve[LENGTH]]) | |
| rotate([0,180,0]) | |
| Switch(); | |
| translate([0,0,-Protrusion]) | |
| PolyCyl(Sleeve[OD],Sleeve[LENGTH] + 2*Protrusion,NumSides); | |
| translate([0,0,Sleeve.z + SwitchZ – Protrusion]) | |
| PolyCyl(ShankOD,3*ShankOD + 2*Protrusion,NumSides); | |
| if (Section) | |
| translate([ProbeBody[OD]/2,0,ProbeBody[LENGTH]/2]) | |
| cube([ProbeBody[OD],2*ProbeBody[OD],ProbeBody[LENGTH] + 2*Protrusion],center=true); | |
| } | |
| } | |
| //—– | |
| // Build it | |
| if (Layout == "Show") | |
| ProbeHolder(); | |
| if (Layout == "Build") { | |
| translate([0,0,ProbeBody.z]) | |
| rotate([0,180,0]) | |
| ProbeHolder(); | |
| } |