More digital caliper work produced this model of a Sakura Pigma Micron pen:

It’s much shorter than the actual pen, because there’s nothing happening beyond the top of the original HP pen body that will serve as an adapter holding this pen in the plotter. As before, the tip of the pen is at Z=0.
Some of the diameter values include a small Finagle Constant to provide a close sliding fit:
//-- Sakura Micron fiber-point pen

ExpRP = 0.15;						// expand critical sections (by radius)

//-- pen locates in holder against end of outer body

PenOutline = [
	[0,0],							//  0 fiber pen tip
	[0.6/2,0.0],[0.6/2,0.9],		//  1  ... cylinder
	[1.5/2,0.9],[1.5/2,5.3],		//  3 tip surround
	[4.7/2,5.8],					//  5 chamfer
	[4.9/2,12.3],					//  6 nose
//	[8.0/2,12.3],[8.0/2,13.1],		//  7 latch ring
//	[8.05/2,13.1],[8.25/2,30.5],	//  9 actual inner body
	[8.4/2 + ExpRP,12.3],[8.4/2 + ExpRP,30.5],	//  7 inner body - clear latch ring
	[9.5/2 + ExpRP,30.5],			//  9 outer body - location surface!
	[9.8/2 + ExpRP,50.0],			// 10 outer body - length > Body
	[7.5/2,50.0],					// 11 arbitrary length
	[7.5/2,49.0],					// 12 end of reservoir
	[0,49.0]						// 13 fake reservoir
	];

PenNose = PenOutline[6];
PenLatch = PenOutline[7];

PenOAL = PenOutline[11][HEIGHT];
The model excludes the latching ring that secures the pen cap, mostly because the fit was already snug enough.
Subtracting the Sakura pen from the HP pen body produces the adapter:

The plug floating overhead and the cap standing on the bottom are frills that I added after the first few iterations. The plug seals the cut-off sections of the pen body, assuming that you will cut the pens to a more plotter-friendly length, and you’ll need two of them… a fact that didn’t penetrate my thick skull until I was confronted with the two ends of a cut-up pen. The flange on the bottom of the cap provides enough of a grip that you can actually pull the cap off; depending on the tolerances, it will be a very tight fit on the pen.
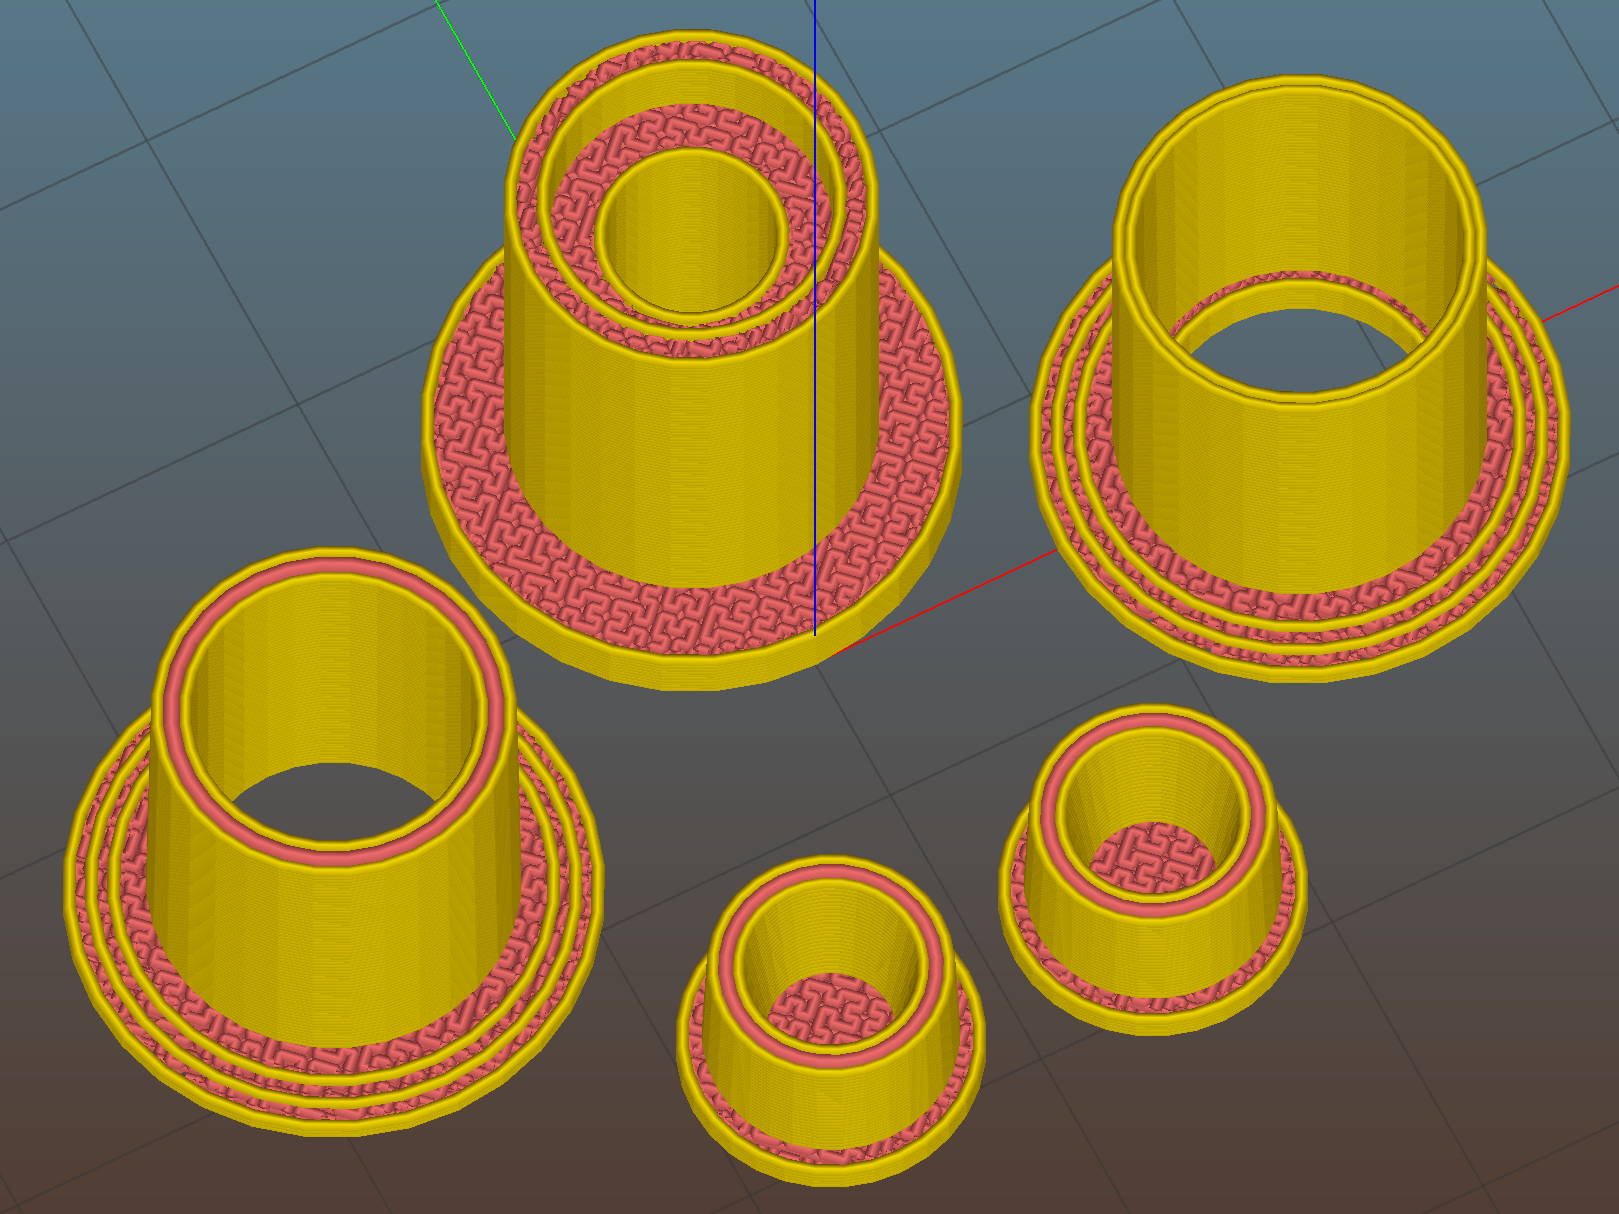
The solid model pieces rearranged for printing:
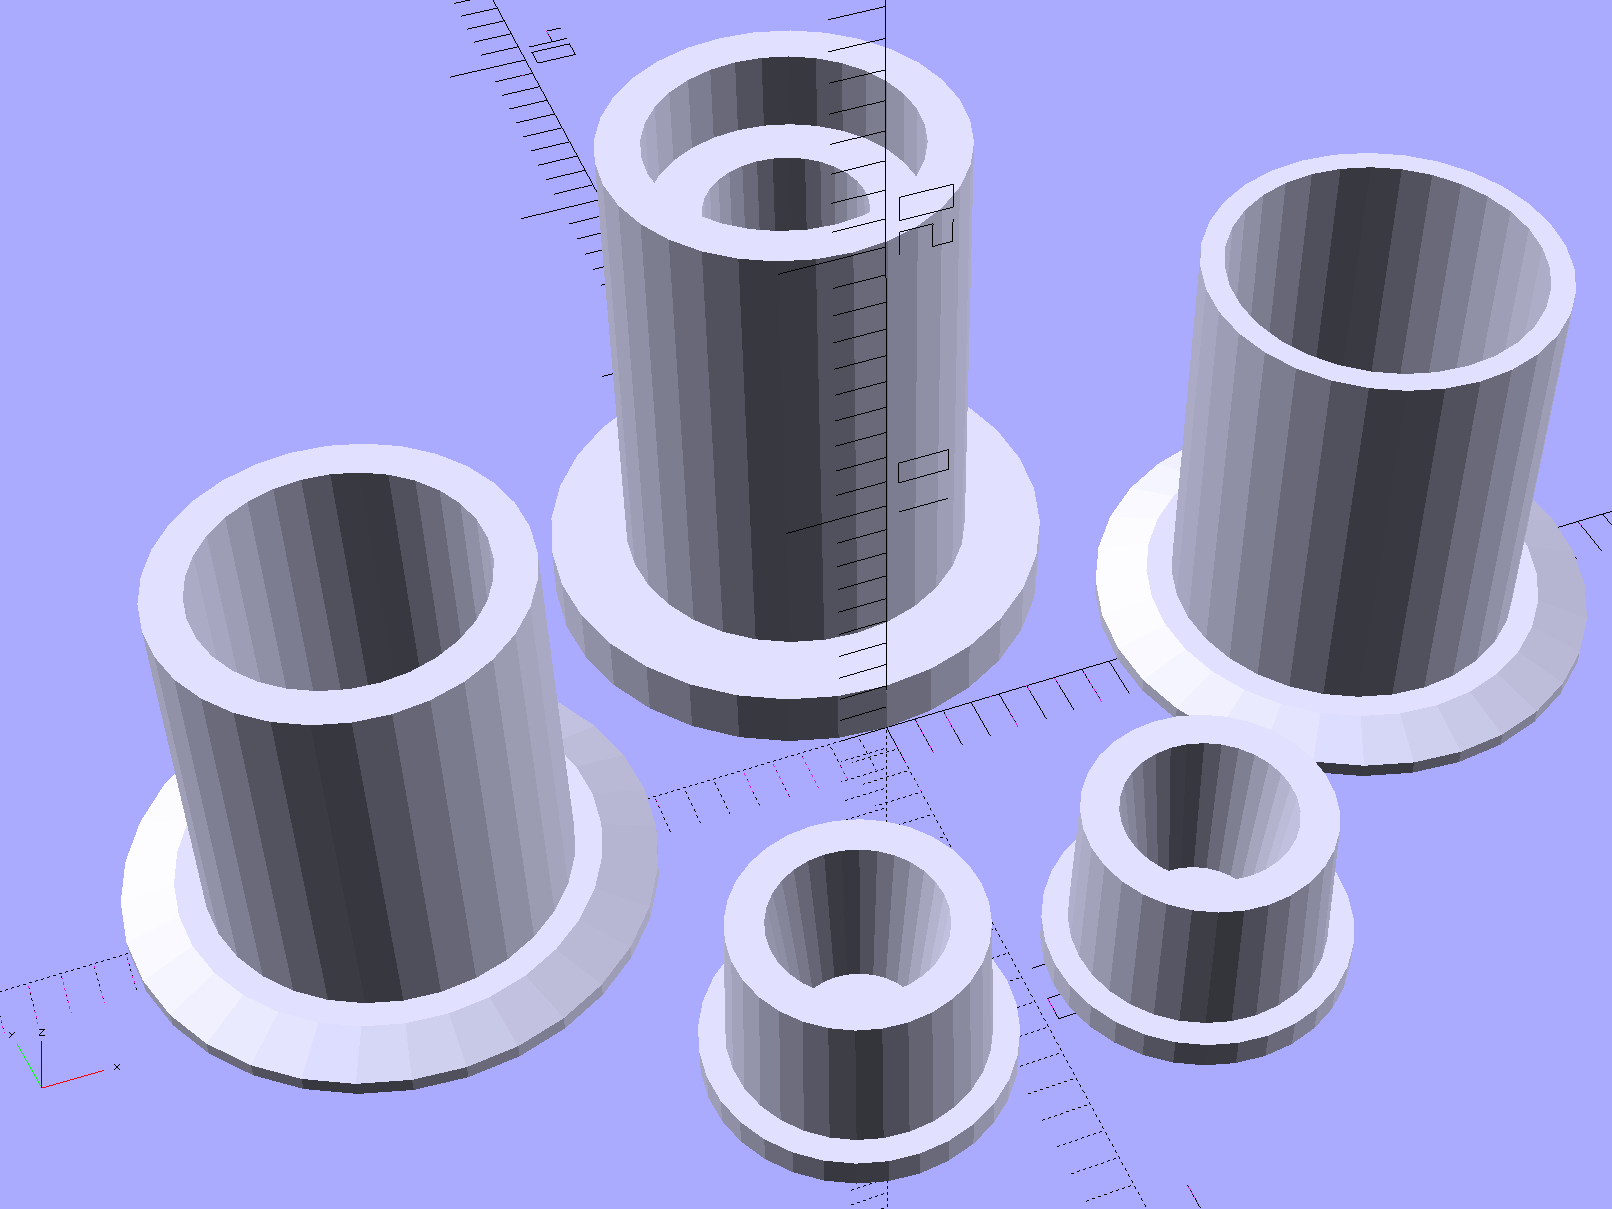
As before, splitting the HP pen body in the middle of the flange makes it build-able without supports. The first few passes didn’t include any of the other parts and had a slightly longer lower section (left front):

I used Sakura Micron pens because they’re slightly smaller than my usual Sharpie Ultra Fine Point pens; Mary had been sketching quilting patterns with them. The difference between the Sakura and HP pen ODs amounts to barely more two filament widths, less than 1 mm:
Fortunately, Slic3r can dynamically adjust the thread width to eliminate voids between parallel outer walls with less than a thread width between them.
The interior step near the bottom of the part at the rear right in the picture locates the Sakura pen body inside the HP shell. In principle, that will put the tip at the same location as the HP pen tip, although making that happen required a bit of measurement fine-tuning:

I started out gluing the adapter halves together around a Sakura pen serving as a mandrel, but that didn’t work out well:

Although the IPS 4 adhesive didn’t attack the pen body, getting all the parts flying in formation required more dexterity than I could muster, plus that tape snippet didn’t seal the tip well at all. After doing a few adapters like that, I broke down and machined a steel mandrel with diameters matching the Sakura pen:

No, you can’t 3D print the mandrel.
You can see the discontinuities in the adapter shell, showing the internal step (in the right half) and the transition from 3D Honeycomb infill (just left of the flange) to a single thread of infill between the two outer walls (the rest of the left half).
After a few iterations, a full-length pen in an adapter produced some rather good-looking lines, if I do say so myself:

That’s done in Etch A Sketch mode with the plotter’s front-panel buttons. The blob under the pen tip shows why you can’t let the pen linger on the paper for more than an instant…
But, hey, it worked!
The OpenSCAD source code is in the HP pen body post.

Comments
8 responses to “HP 7475A Plotter: Sakura Micron Pen Adapter”
Awaiting a DMCA takedown notice from HP in 3, 2, 1…
Yeah, they own the IP for a flanged 11.5 mm cylinder with a hole down the middle!
You are absolutely right. However, that won’t stop their legal team from suing you out of existence. You’ll be financially depleted before you ever get your day in court.
Not that I think this will really happen in this case. I was being tongue-in-cheek, given the age of the technology in question. I doubt HP has any interest in this anymore. But, sadly, that is pretty much exactly how events play out for things they and other large corporations do care about (read, makes them boat-loads of money.)
Wouldn’t take much, particularly in their terms. [sigh]
I’m mildly surprised that we haven’t seen a corporation sue itself for infringement… and win!
[…] « HP 7475A Plotter: Sakura Micron Pen Adapter […]
[…] Subtracting the holder from the HP pen body produced an adapter much like the Sakura pen adapters: […]
[…] Obliterate any need for my Sakura pen adapters […]
[…] 128, and devoted a few days to merge-sorting / triaging her possessions. Having shown her the HP 74754A plotter project, she later dropped a bag o’ stuff on my desk without […]