The idea behind this gadget surfaced while I was looking for something else and, although the front panel makes my skin crawl, it’s just an adjustable DC power supply:

This is apparently the cheapnified version of the item appearing in the eBay listing:
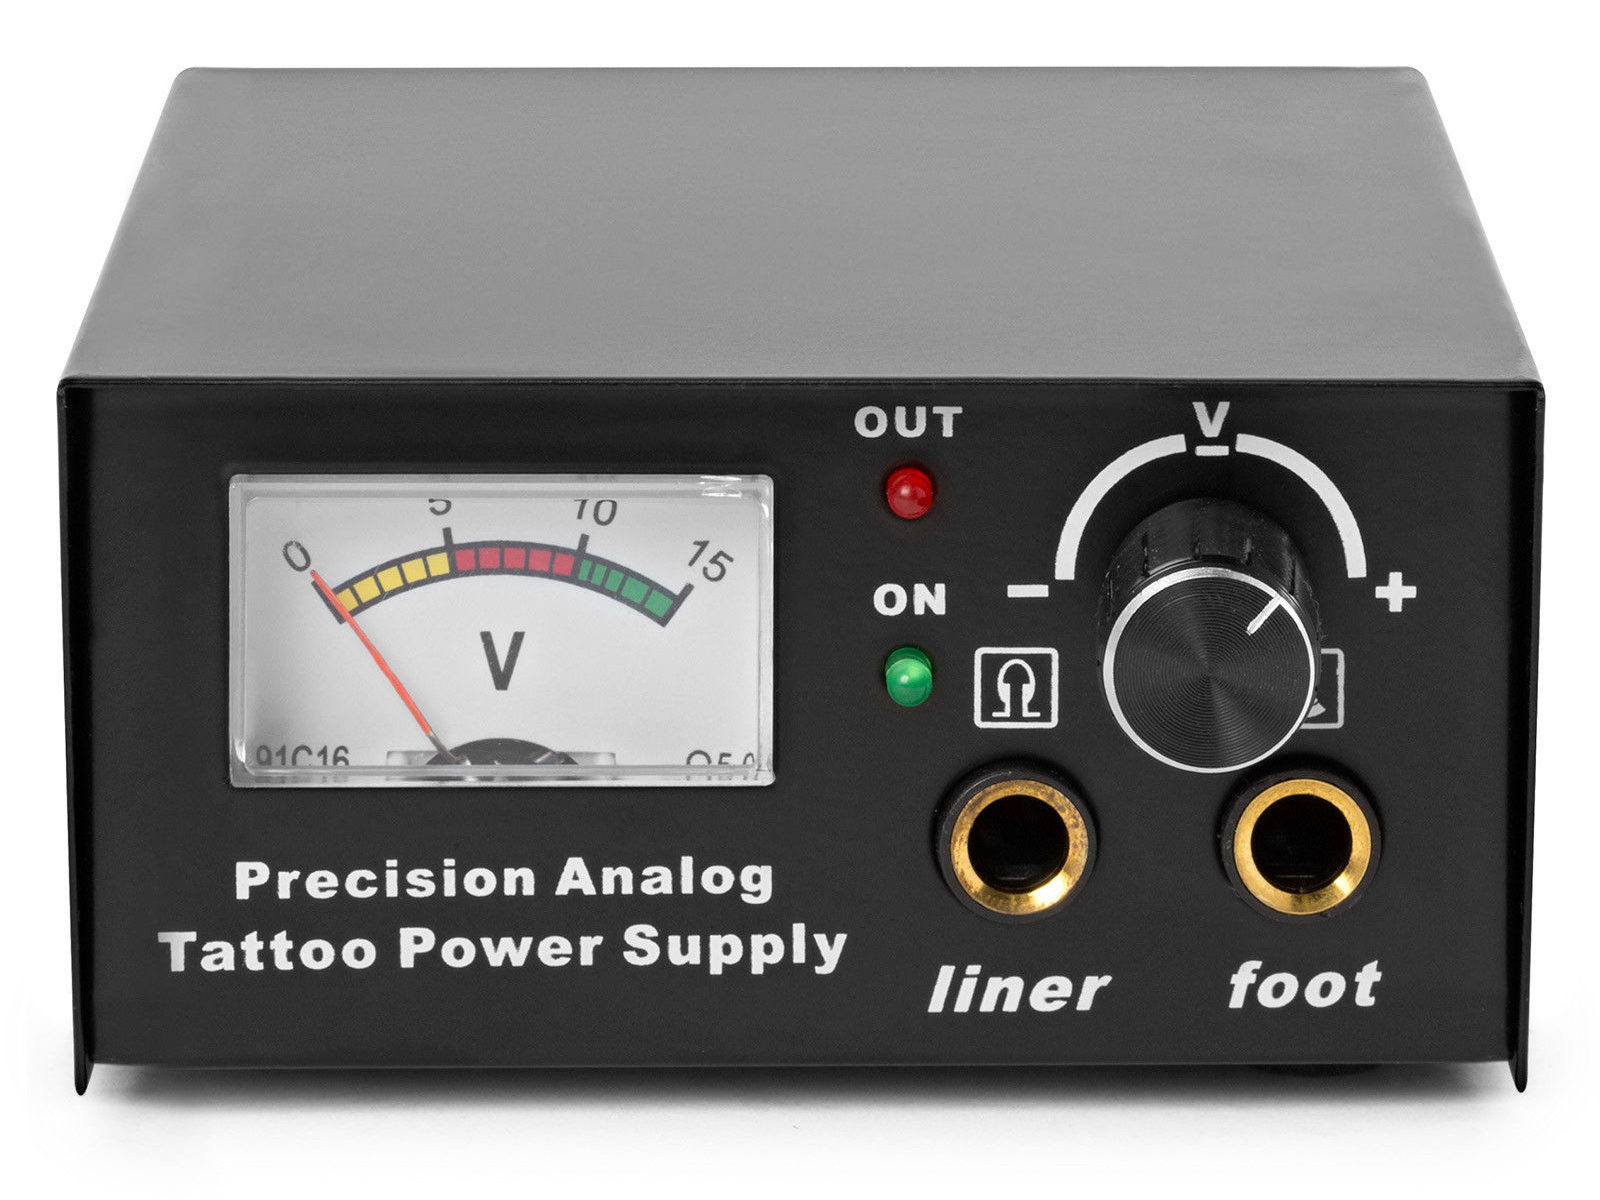
Let’s say it has the potential to be a DC power supply, although we might quibble about the “Precision” part.
As delivered, it’s a deathtrap. Of course, it’s not UL listed and I didn’t expect it to be.
How many lethal problems do you see?

For starters, it has a three-wire AC line cord with the green-and-yellow conductor chopped off flush with the outer insulation inside the heatshrink tubing just behind the transformer:

The blue wire is AC neutral, but it really shouldn’t be connected to the finger-reachable outer fuse terminal.
The brown wire is AC line, which goes directly to one power switch terminal. In the event of a hot wiring fault, an unfused conductor touching the case will test the GFI you should have on your bench wiring.
The AC line cord uses some mysterious copper-colored metallic substance that’s about as stiff as music wire:

The strands cannot be twisted together like ordinary copper wire, although they can be soldered. They may be copper-plated aluminum, because a magnet ignores them.
After soldering the strands together, they snap when bent:

Generous strain relief is not just a good idea, it’s mandatory.
After some Quality Shop Time, the ground wire now connects to the case through the transformer’s rear mounting screw, the neutral AC wire connects to the transformer, the hot AC wire goes to the tip of the line fuse, and the fuse cap terminal goes to the switch:

I relocated the white LED to the middle of the meter, where it looks a bit less weird:

I have no idea what “Porket indicate” might mean. Perhaps “Precision indicator”?
The right 1/4 inch jack, labeled “Foot”, normally goes to a foot switch you don’t need for a bench power supply, so I converted a length of drill rod into a dummy plug to short the jack contacts:
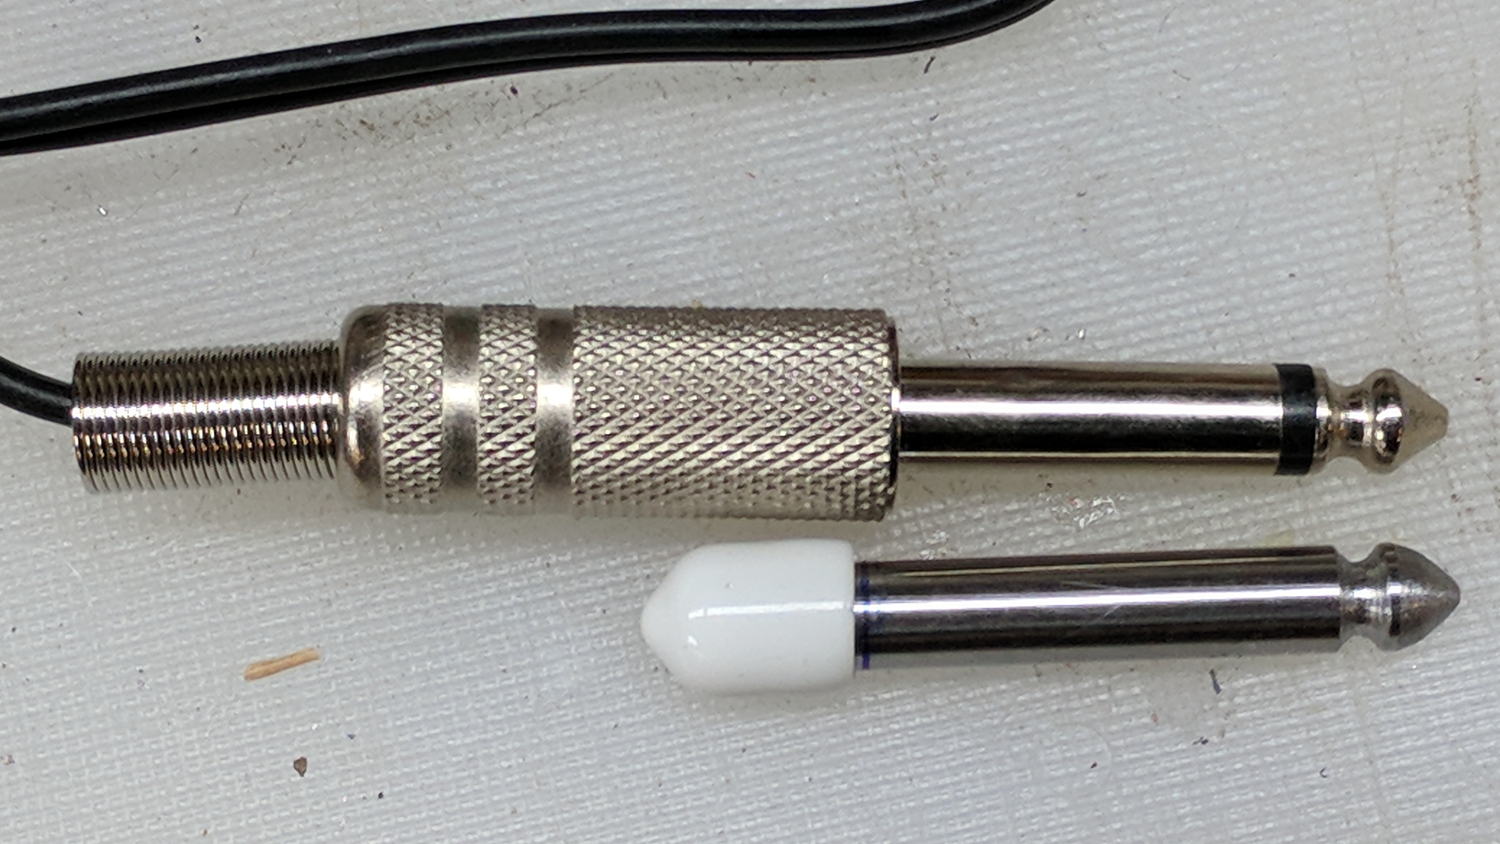
The tip comes from a bit of lathe and file work and the white cap comes from a bag of wire shelf hardware.
A genuine hologram sticker (!) on the back panel proclaims “1.5 – 15 VDC 2 A”, which seemed optimistic. Some fiddling with power resistors suggests tattoo liners (I learned a new word!) don’t draw much current:
- 4 V @ 1 A
- 8 V @ 800 mA
- 10 V @ 600 mA
It can reach a bit over 18 V (pegging the meter) at lower current, so it’s Good Enough for small projects with un-fussy power requirements.
Caveat emptor, indeed.

Comments
14 responses to “Low Budget Bench Power Supply”
I really enjoy your blog posts….but the hijacking by the video causes e to not view as often as I used to….
Mick, try an adblocker.
The label reminds me of Jerry Pournelle’s lament about old imported hardware: Paraphrasing: The manual looks like it was translated from [Japanese|Chinese|other lanuage] to Swahili and then to English.
As it says over in the right column, I have no control over the ads WordPress shows to you. I could pay them to not show ads to you, but this becomes a (slight) money sink instead of kinda-sorta breaking even, sooooo …
Add uBlock Origin and Privacy Badger to your browser; blocking annoying ads will be a pleasant side effect of preventing a hostile takeover.
A quick test for copper-coated aluminum wire: if you cook it with a lighter, it’ll shrivel up.
In the unlikely event I ever take that bad boy apart again, I’ll try (to remember) the test!
I would have replaced the entire cord with a surplus IEC computer supply cord and dumped the original into recycling bin. I make a habit of periodically checking our company electronics dump box for cords and similar items, they make a great wire source for non critical projects – which, in my case, is most of them :)
Before I get around to actually using the thing, I should test the OEM cord to see if it’s aluminum, pop a replacement from the Big Box o’ known-good (or at least copper!) cords, and improve the situation.
Your vote counts! [grin]
Gotta keep you alive’n’kickin to get my daily fix :)
My aunt recently brought in a desk lamp, craptacularly built in the Land of Mao some years ago with a note: “it doesn’t work”. It’s full metal body, no hint of ground wire in the cable, low temp wires right up to the hi temp ceramic socket rated for 60W incandesent bulb. Those were more or less cooked, but the fault turned out to be a broken cord right on the point it enters the metal housing – no strain relief in sight of course. I’m guessing they counted enamel paint as good enough to consider the device “double insulated” and omit the ground wire :)
Ah, yes, brittle plastic insulation on AC line wires: gotta love the sight!
Apparently a porket is a young pig, so clearly it’s for the labeling thereof using tattoos! Or something.
The image springing immediately to mind is … unpleasant …
The front panel labels on this junk is often so funny. Can you imagine what anyone who didn’t know what these should be would think? The symbol above the foot jack looks like a pile of poo emoji and the other resembles either headphones on a stand or omega. Glad they put some thought into it. The whole thing should be potted like your epoxy filled header!
[…] This one costs slightly more than the analog tattoo power supply: […]
[…] fixed & variable power supplies, repeat resistor […]