From the NYS DMV:
You cannot register or operate any of the motorized devices from the list below on any street, highway, parking lot, sidewalk or other area in New York State that allows public motor vehicle traffic. You may be arrested if you do.
[List of things]
Golf Cart (also referred to as Golf Car or Neighborhood Electric Vehicle) – a small motorized device with four wheels designed to carry people. You can’t register a golf cart as an ATV. Many low speed vehicles are similar in appearance to a golf cart, and can be registered and driven on New York State highways. 1
[More things]
1. For a low speed vehicle to be registered in New York
- it must meet federal motor vehicle safety standard 500 (49 CFR 571.500)
- its maximum performance speed must be certified by the manufacturer
- it must appear on the list of approved limited use vehicles
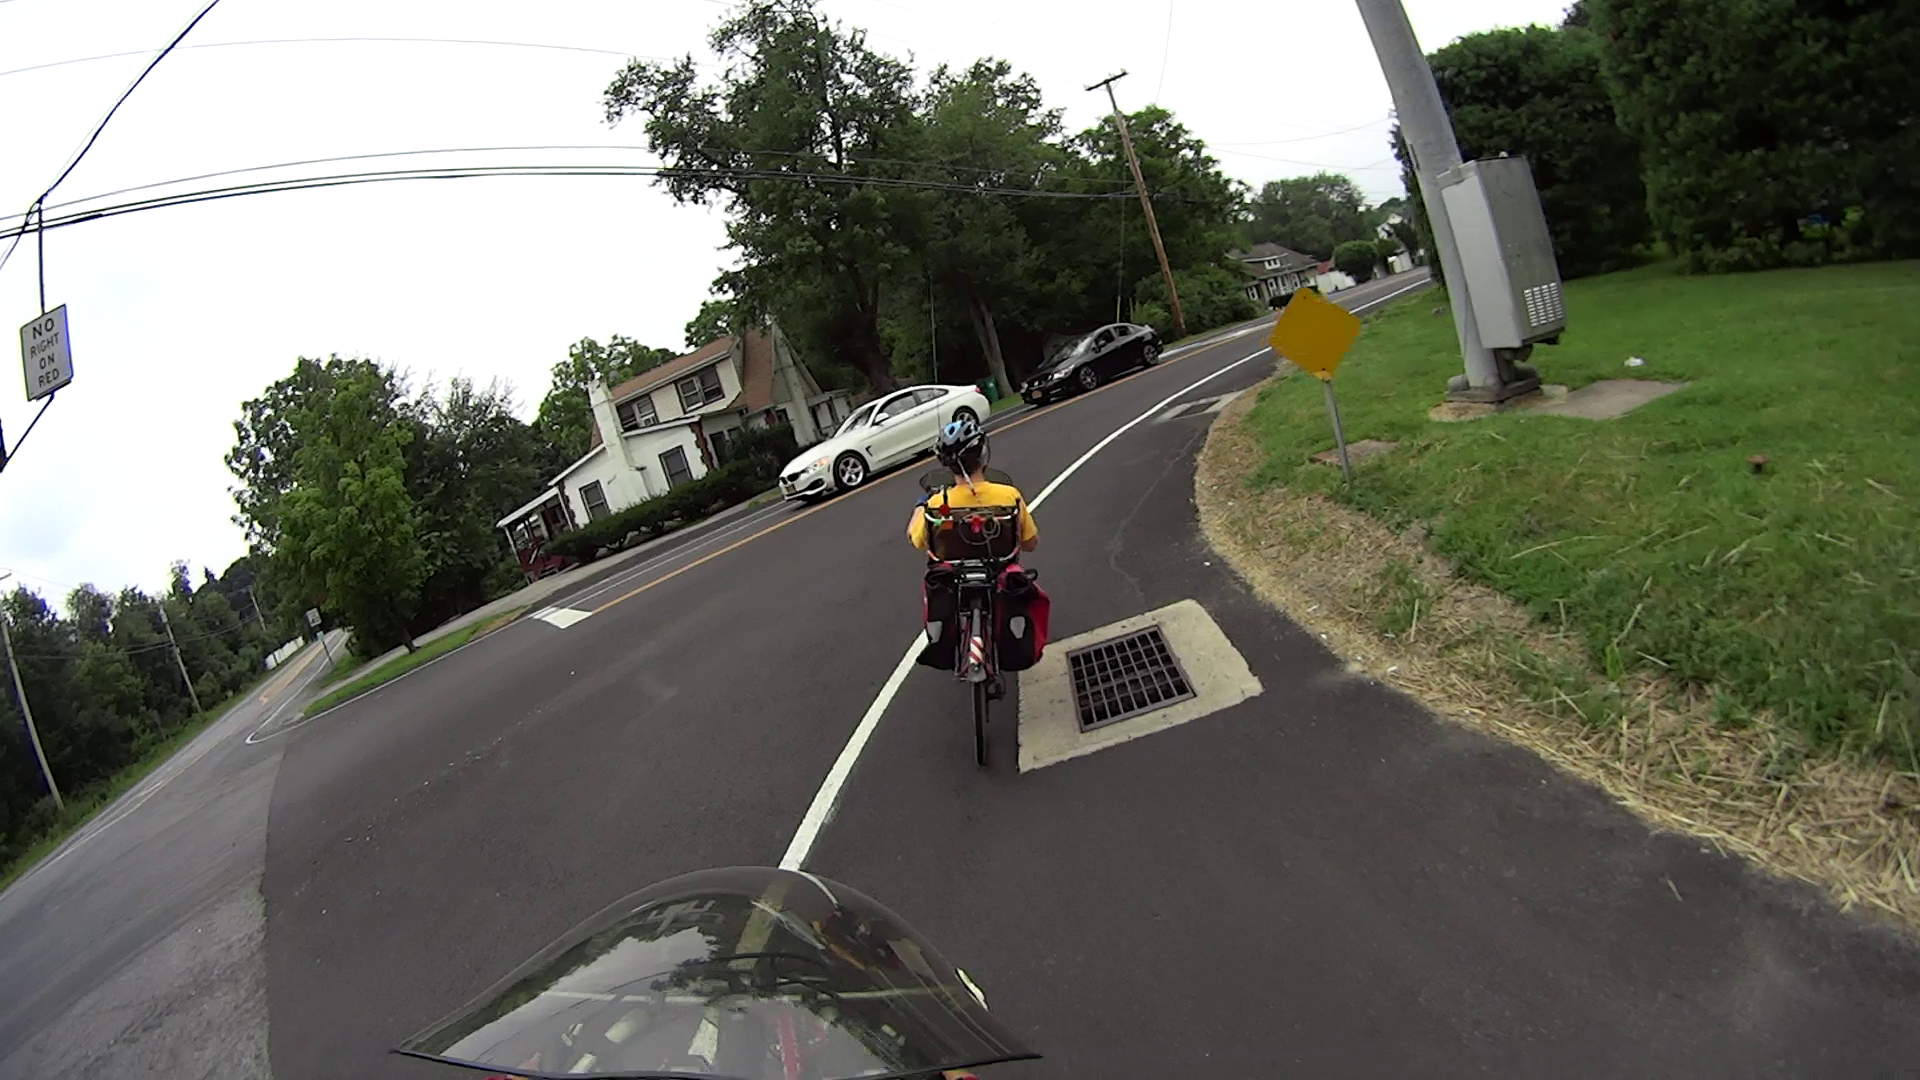
With that in mind, here’s a fairly common sight along Raymond Avenue…


Vassar College regards as Raymond as its private driveway, with its fleet of golf-cart-class and tiny-pickup vehicles traveling the web of sidewalks and pedestrian crossings on and off campus. In point of fact, Vassar does own all of the property on both sides of Raymond from Hooker to Collegeview, but Raymond itself unquestionably has “public motor vehicle traffic”.
Vassar’s Annual Sidewalk Sodding Week occurs shortly before their graduation / alumnae homecoming ceremonies. The sidewalks and paths obviously weren’t designed for shared vehicular & pedestrian use, so the cart tires gouge unsightly ruts along the pavement edges; the sod prevents those muddy strips from marring the festivities.
The concrete sidewalks along Raymond take a beating from the vehicles, too, but the overall concrete quality (or lack thereof) may have something to do with that.
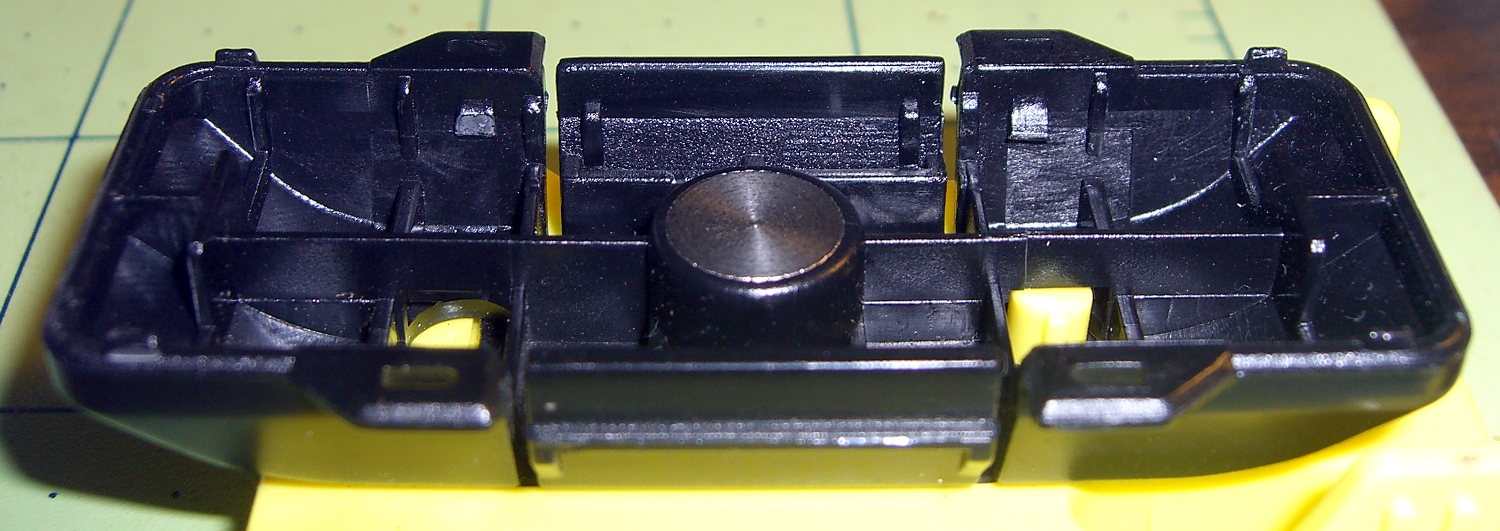
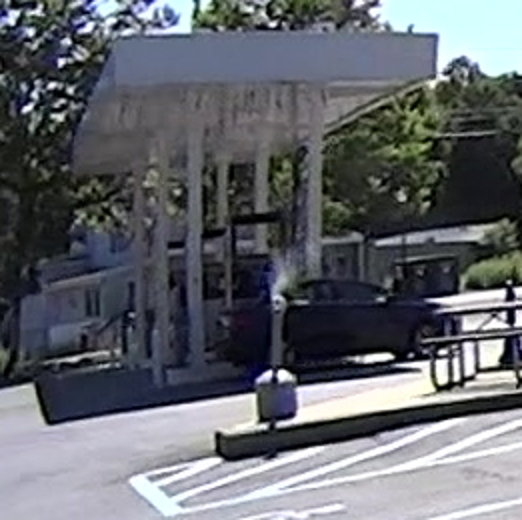
This spiffy tiny-pickup golf cart used by the NYS OPRHP sports a Limited Use Auto plate:
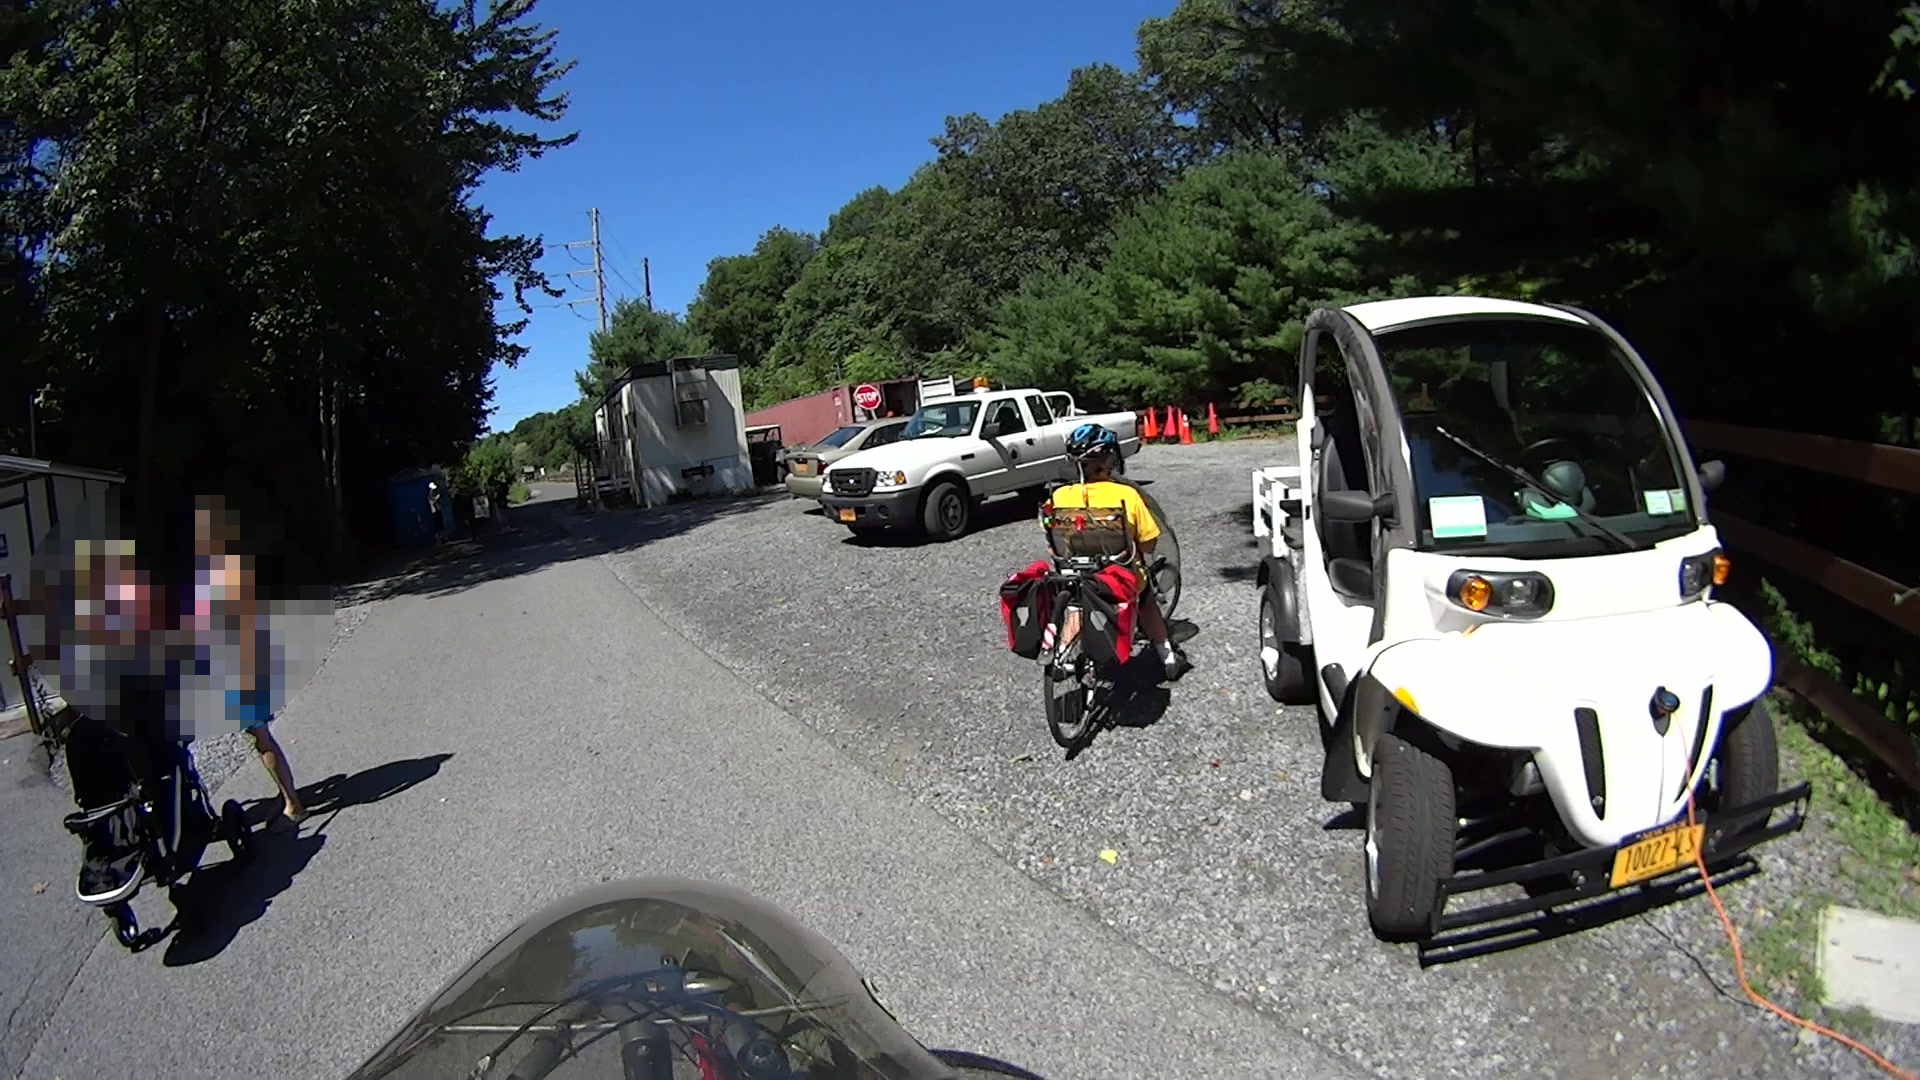
It’s sucking a socket at the west end of the Walkway Over the Hudson.