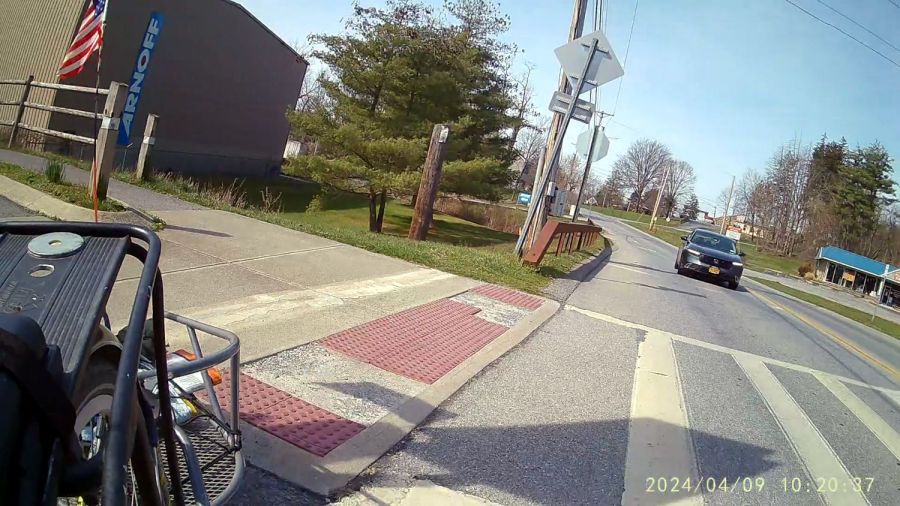
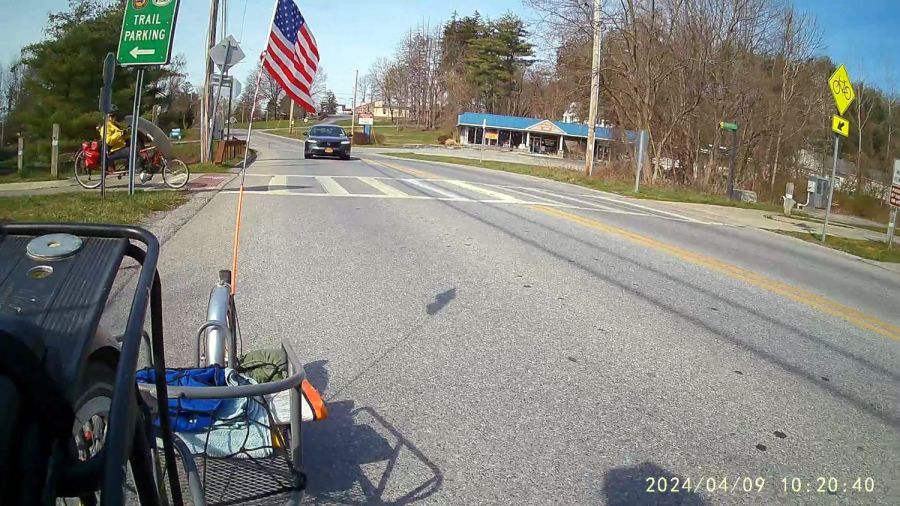
The decaying ADA bump (a.k.a. detectable warning) strips at the Dutchess Rail Trail’s Overocker Road Trailhead require cyclists to carefully pick their line. We’re on our way for groceries, so I’m towing the BOB Yak trailer and have just jounced over the edge of the concrete “ramp” while making a right-angle turn to the right:
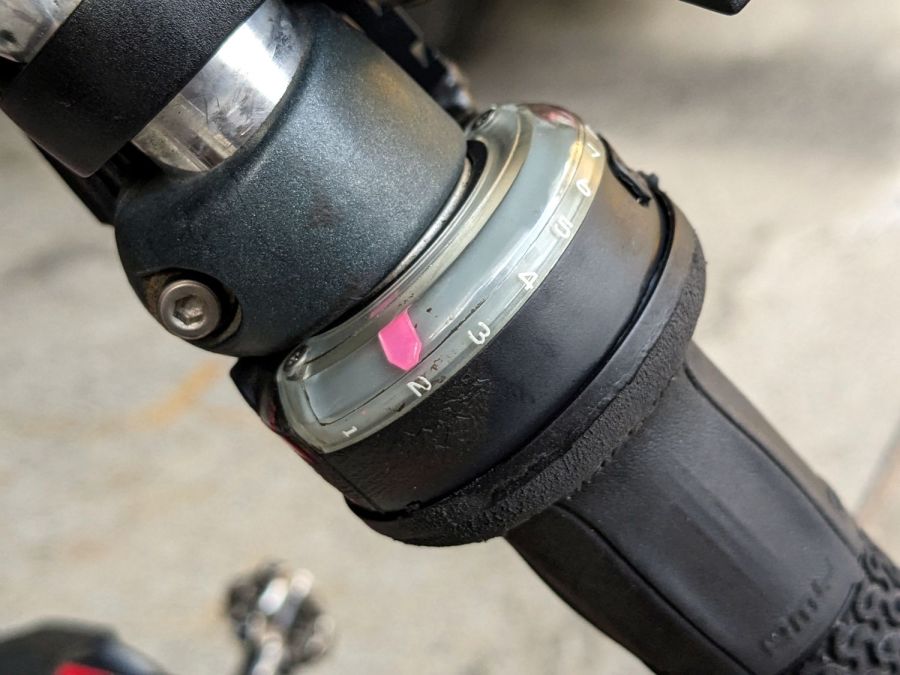
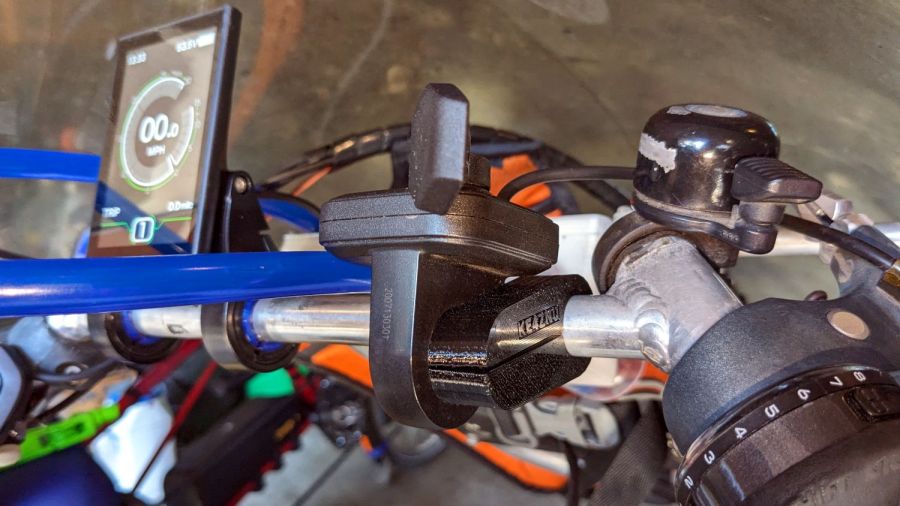
The four-digit frame numbers tick along at 60 FPS.
The car remained stopped at the crossing during this whole affair.
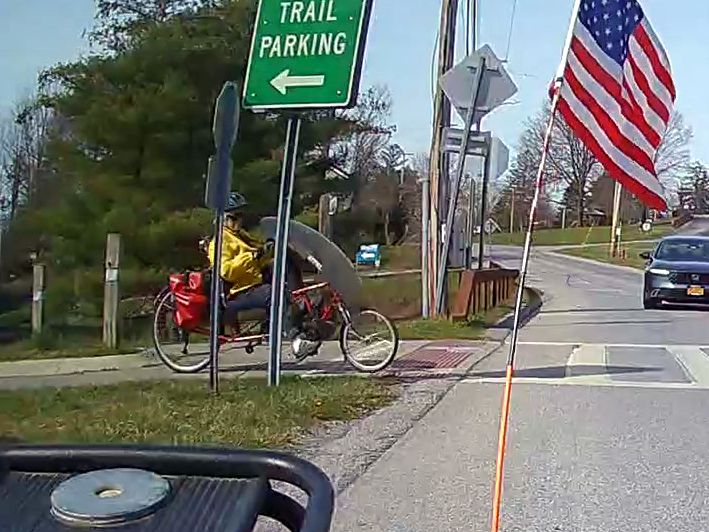
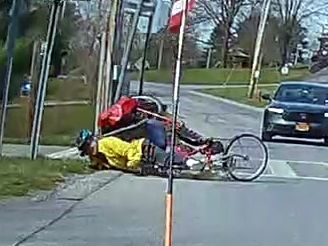
Mary is approaching along the same line with the same intent:
A closer look shows her front wheel is parallel to the edge of the concrete ramp:
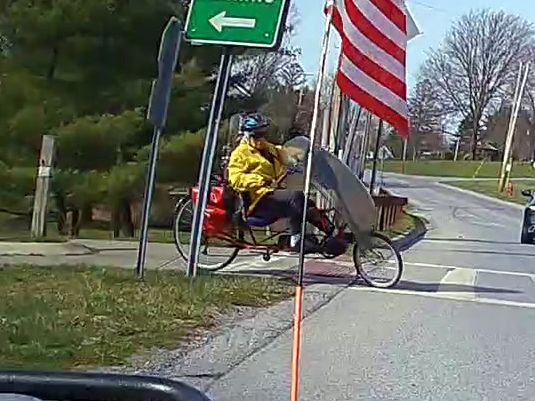
We think her wheel slipped off the edge of the concrete and, with the edge preventing her from steering left to counterbalance the sudden tilt, she knows she’s going to fall:
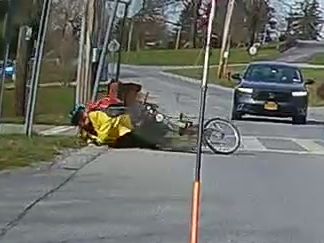
Whereupon Newton took control and left no way out:
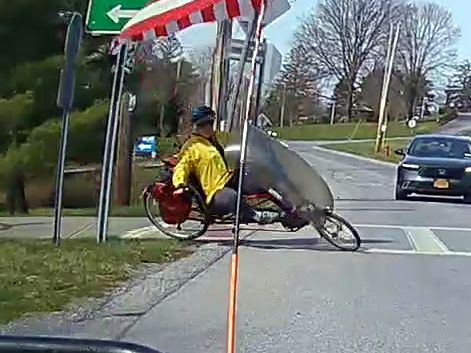
Fortunately, this is at about zero miles per hour:

She collected a nasty bruise on her starboard ham, plus a few scuffs here and there as the bike basically rolled over her:
And back down again:
Elapsed time: 100 frames = 1.7 seconds.
The drivers of vehicles in both directions rushed to assist Mary, but, apart from a few bruises and scrapes, she was in good shape.
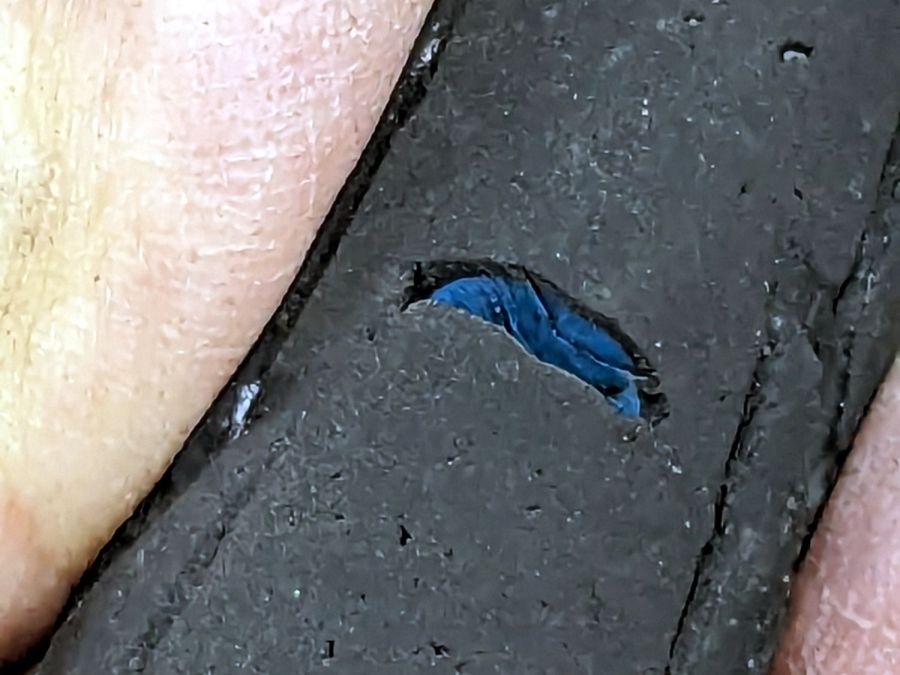
The fairing incurred fatal cracks, but held together as we completed the mission. No surprise: after nearly a quarter-century of sunlight exposure, polycarbonate loses a lot of its durability.
Now, to be honest, we both ignored the Dismount before crossing road sign at the intersection. Over the years, I have seen a few cyclists stop and dismount before walking through the trail’s at-grade road crossings, but they are most certainly the rare exception; we all stop while waiting for traffic to recognize our presence, then ride through.
Rail trail maintenance has always been a low priority and the County’s “Vision Statements” over the decades have been largely irrelevant to what actually happens out on the pavement. ADA strips at trail crossings have been decaying for years and I expect that to continue for many more.