For reasons obvious to any cyclist, we must improve the forward conspicuity of our Tour Easy recumbents with a white daytime running light; a near-miss boosted this to the front of the project queue. While you can outfit a standard bike with a handlebar-mounted headlight (*), at any price from the sublime to the ridiculous, the smooth snout of a fully faired recumbent covers all the usual attachment points.
A small LED flashlight tacked onto the fairing support bracket seems workable enough to make up for a significant case of ugly:
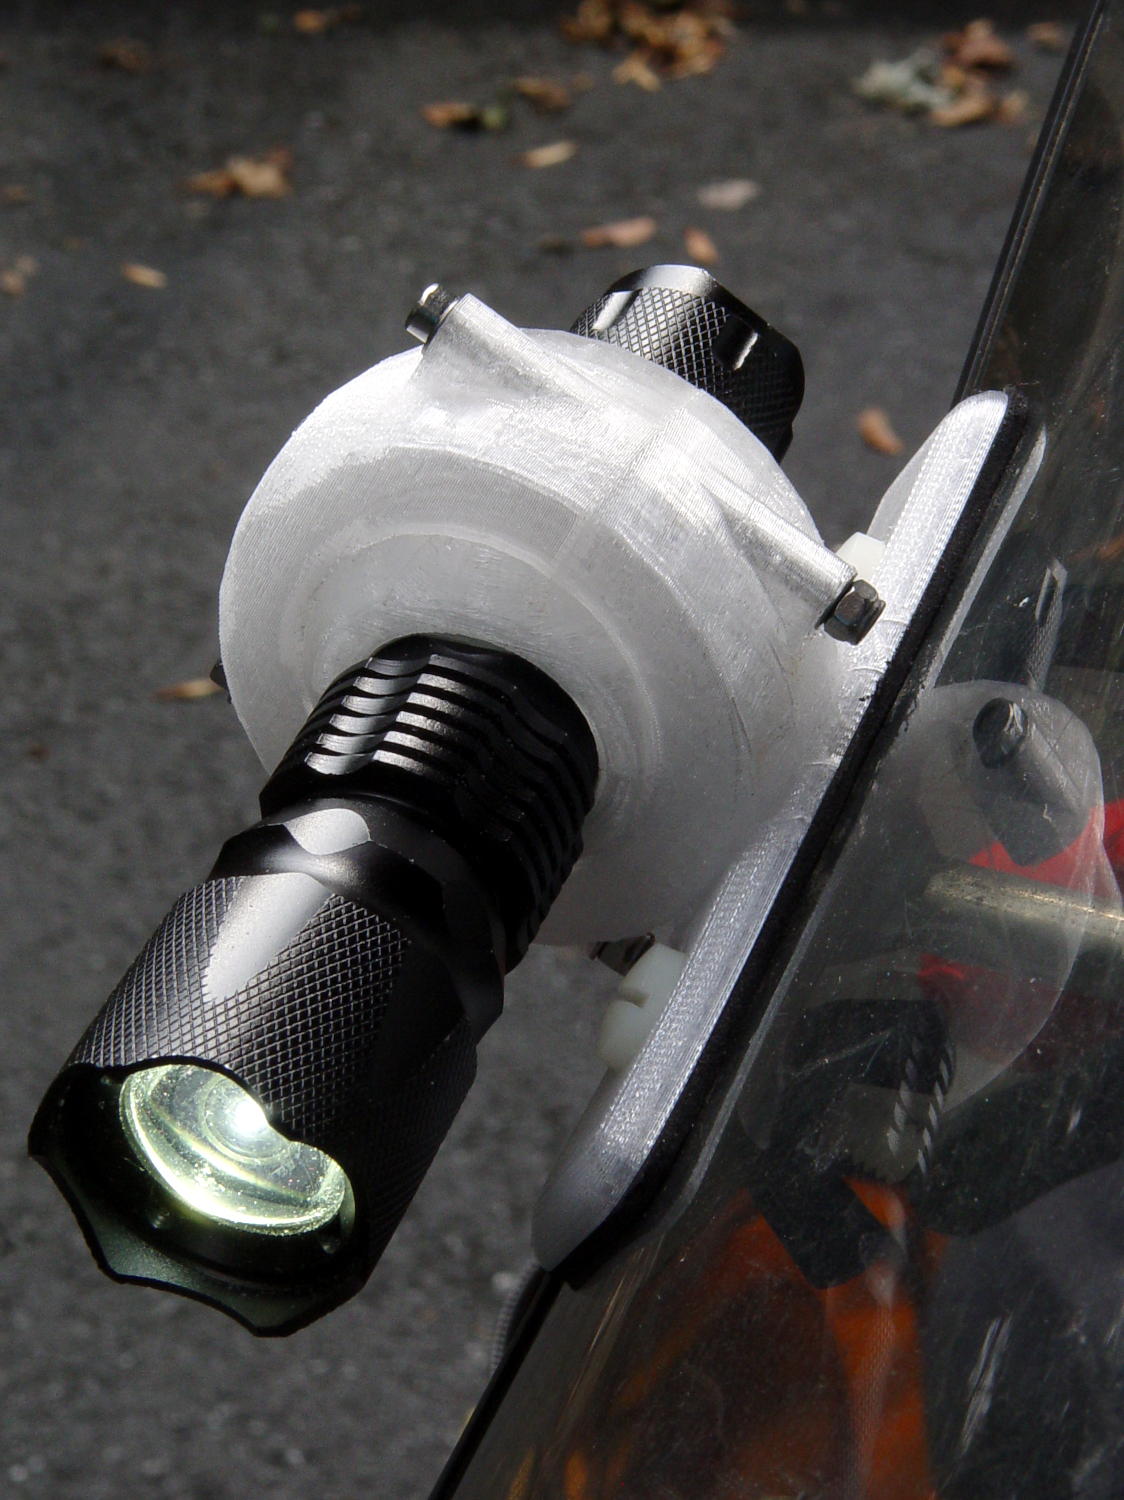
That’s a J5 Tactical V2 flashlight on my bike.
Mary’s bike has a tidier Anker LC40 in an earlier mount version:
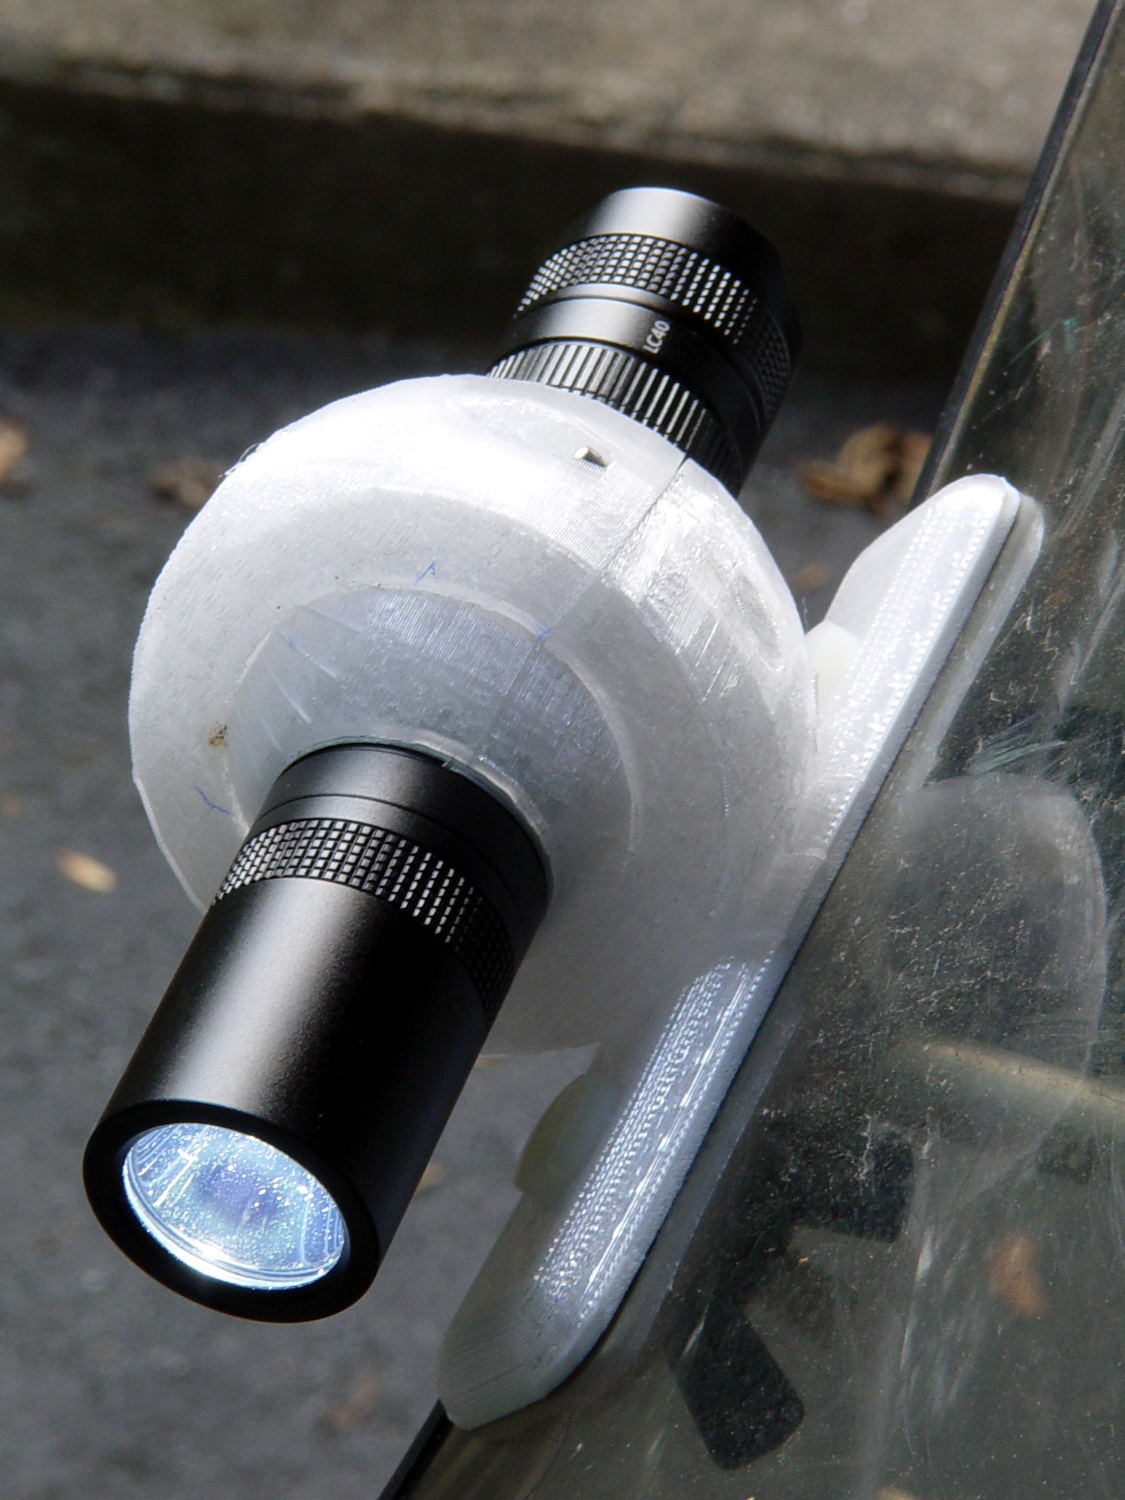
The Anker required an adapter to hold an 18650 cell in its 3xAAA-size body. The J5 V2 is resolutely 18650-only, which is fine with me.
The intent here is to find out whether this works, figure out the proper aiming point(s), then de-bulk the mount.
The next few posts will cover various bits & pieces of the design, because I must remember why I did things the way they turned out: sometimes the obvious choices didn’t work.
The Zzipper fairing originally mounted to the strut across the handlebars with a single 1/4-20 nylon screw on each side. Even with a nylon washer on the outside, the stress concentration cracked the polycarbonate sheet around the screws and brackets, so I designed & printed flat ABS plates to spread the stress over a larger area:

The tapered edges were supposed to be flexible, but the foam sheets sandwiched on both sides of the fairing actually provided most of the compliance. There’s another screw in the open hole binding the inner & outer plates together.
The mounts worked perfectly, even as they faded over the years. The fairings became quite scuffed during the course of our near-daily rides, but, heck, we’re also a bit scuffed and it’s still all good.
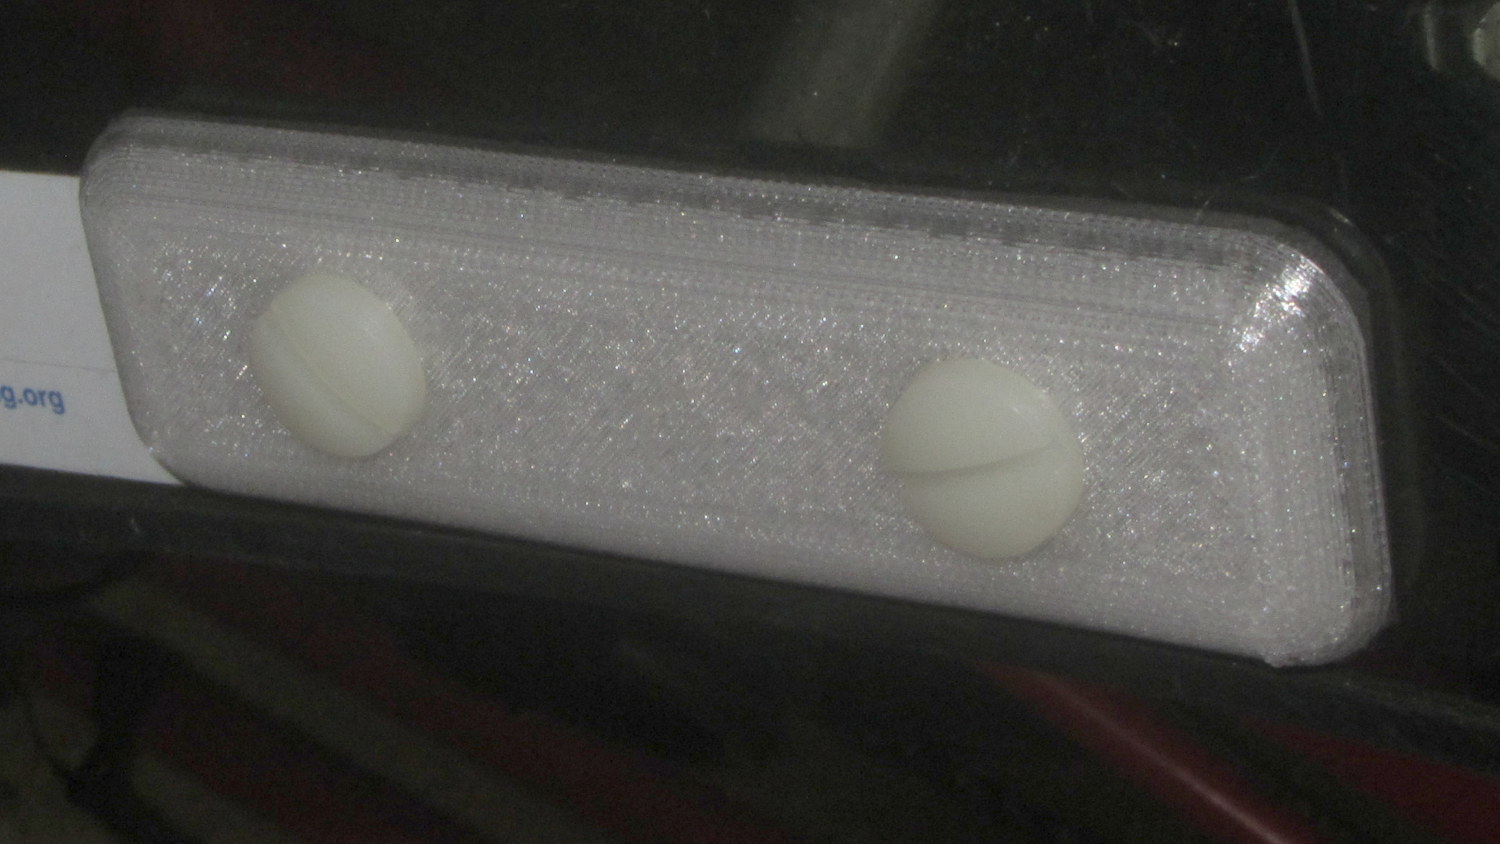
The new PETG inner plates seat on the bracket to nearly its full thickness:
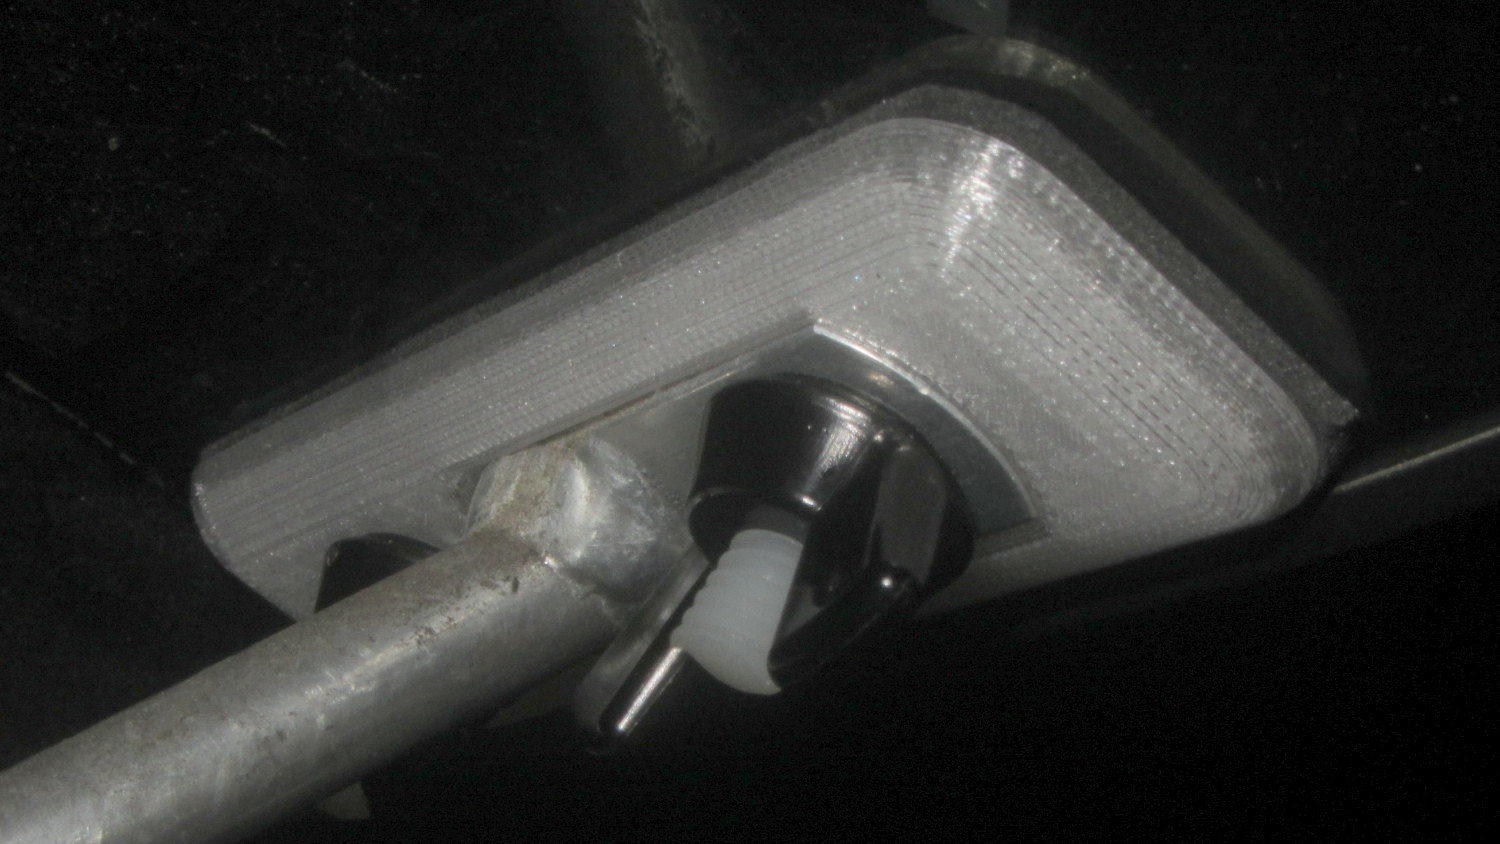
The flashlight on the outer plate applies torque around the bolt which (I hope) the sides of the recess can resist. This is the absolutely key part of the design and, I’m somewhat ashamed to admit, took me far too long to figure out. What you don’t want: weird & fragile gimcrackery clamped onto the strut extending under the fairing’s edge, with the flashlight hanging far off to the side.
I modeled the fairing strut’s aluminum bracket as a 2D rectangle, plus a pair of chords, embiggened by a thread around the outside edge, minus the hole, then extruded to the proper height:
| //- Fairing Bracket | |
| // Magic numbers taken from the actual fairing mount | |
| // Centered on screw hole | |
| /* [Hidden] */ | |
| inch = 25.4; | |
| BracketHoleOD = 0.25 * inch; // 1/4-20 bolt holes | |
| BracketHoleOC = 1.0 * inch; // fairing hole spacing | |
| // usually 1 inch, but 15/16 on one fairing | |
| Bracket = [48.0,16.3,3.6 – 0.6]; // fairing bracket end plate overall size | |
| BracketHoleOffset = (3/8) * inch; // end to hole center | |
| BracketM = 3.0; // endcap arc height | |
| BracketR = (pow(BracketM,2) + pow(Bracket[1],2)/4) / (2*BracketM); // … radius | |
| module Bracket() { | |
| linear_extrude(height=Bracket[2],convexity=2) | |
| difference() { | |
| translate([(Bracket[0]/2 – BracketHoleOffset),0,0]) | |
| offset(delta=ThreadWidth) | |
| intersection() { | |
| square([Bracket[0],Bracket[1]],center=true); | |
| union() { | |
| for (i=[-1,0,1]) // middle circle fills gap | |
| translate([i*(Bracket[0]/2 – BracketR),0]) | |
| circle(r=BracketR); | |
| } | |
| } | |
| circle(d=BracketHoleOD/cos(180/8),$fn=8); // dead center at the origin | |
| } | |
| } |
The hole isn’t strictly necessary, as I punch out both screw holes as part of the plate assemblies.
The overall plate shape comes from the top half of a hull() wrapped around four squashed spheres:
| //- General plate shape | |
| // Centered on the hole for the fairing bracket | |
| Plate = [100.0,30.0,6*ThreadThick + Bracket[2]]; | |
| PlateRad = Plate[1]/4; | |
| echo(str("Base plate thick: ",Plate[2])); | |
| module PlateBlank() { | |
| difference() { | |
| translate([BracketHoleOC,0,0]) | |
| intersection() { | |
| translate([0,0,Plate[2]/2]) // select upper half of spheres | |
| cube(Plate,center=true); | |
| hull() | |
| for (i=[-1,1], j=[-1,1]) | |
| translate([i*(Plate[0]/2 – PlateRad),j*(Plate[1]/2 – PlateRad),0]) | |
| resize([2*PlateRad,2*PlateRad,2*Plate[2]]) | |
| sphere(r=PlateRad); // nice rounded corners! | |
| } | |
| translate([2*BracketHoleOC,0,-Protrusion]) // screw holes | |
| PolyCyl(BracketHoleOD,2*Plate[2],8); | |
| translate([0,0,-Protrusion]) | |
| PolyCyl(BracketHoleOD,2*Plate[2],8); | |
| } | |
| } |
Then the inner plate is just a plate blank stamped with the bracket:
| //- Inner plate | |
| module InnerPlate() { | |
| difference() { | |
| PlateBlank(); | |
| translate([0,0,Plate[2] – Bracket[2] + Protrusion]) // punch out fairing bracket | |
| Bracket(); | |
| } | |
| } |
You’ll need a set for the side of the fairing without the running light:
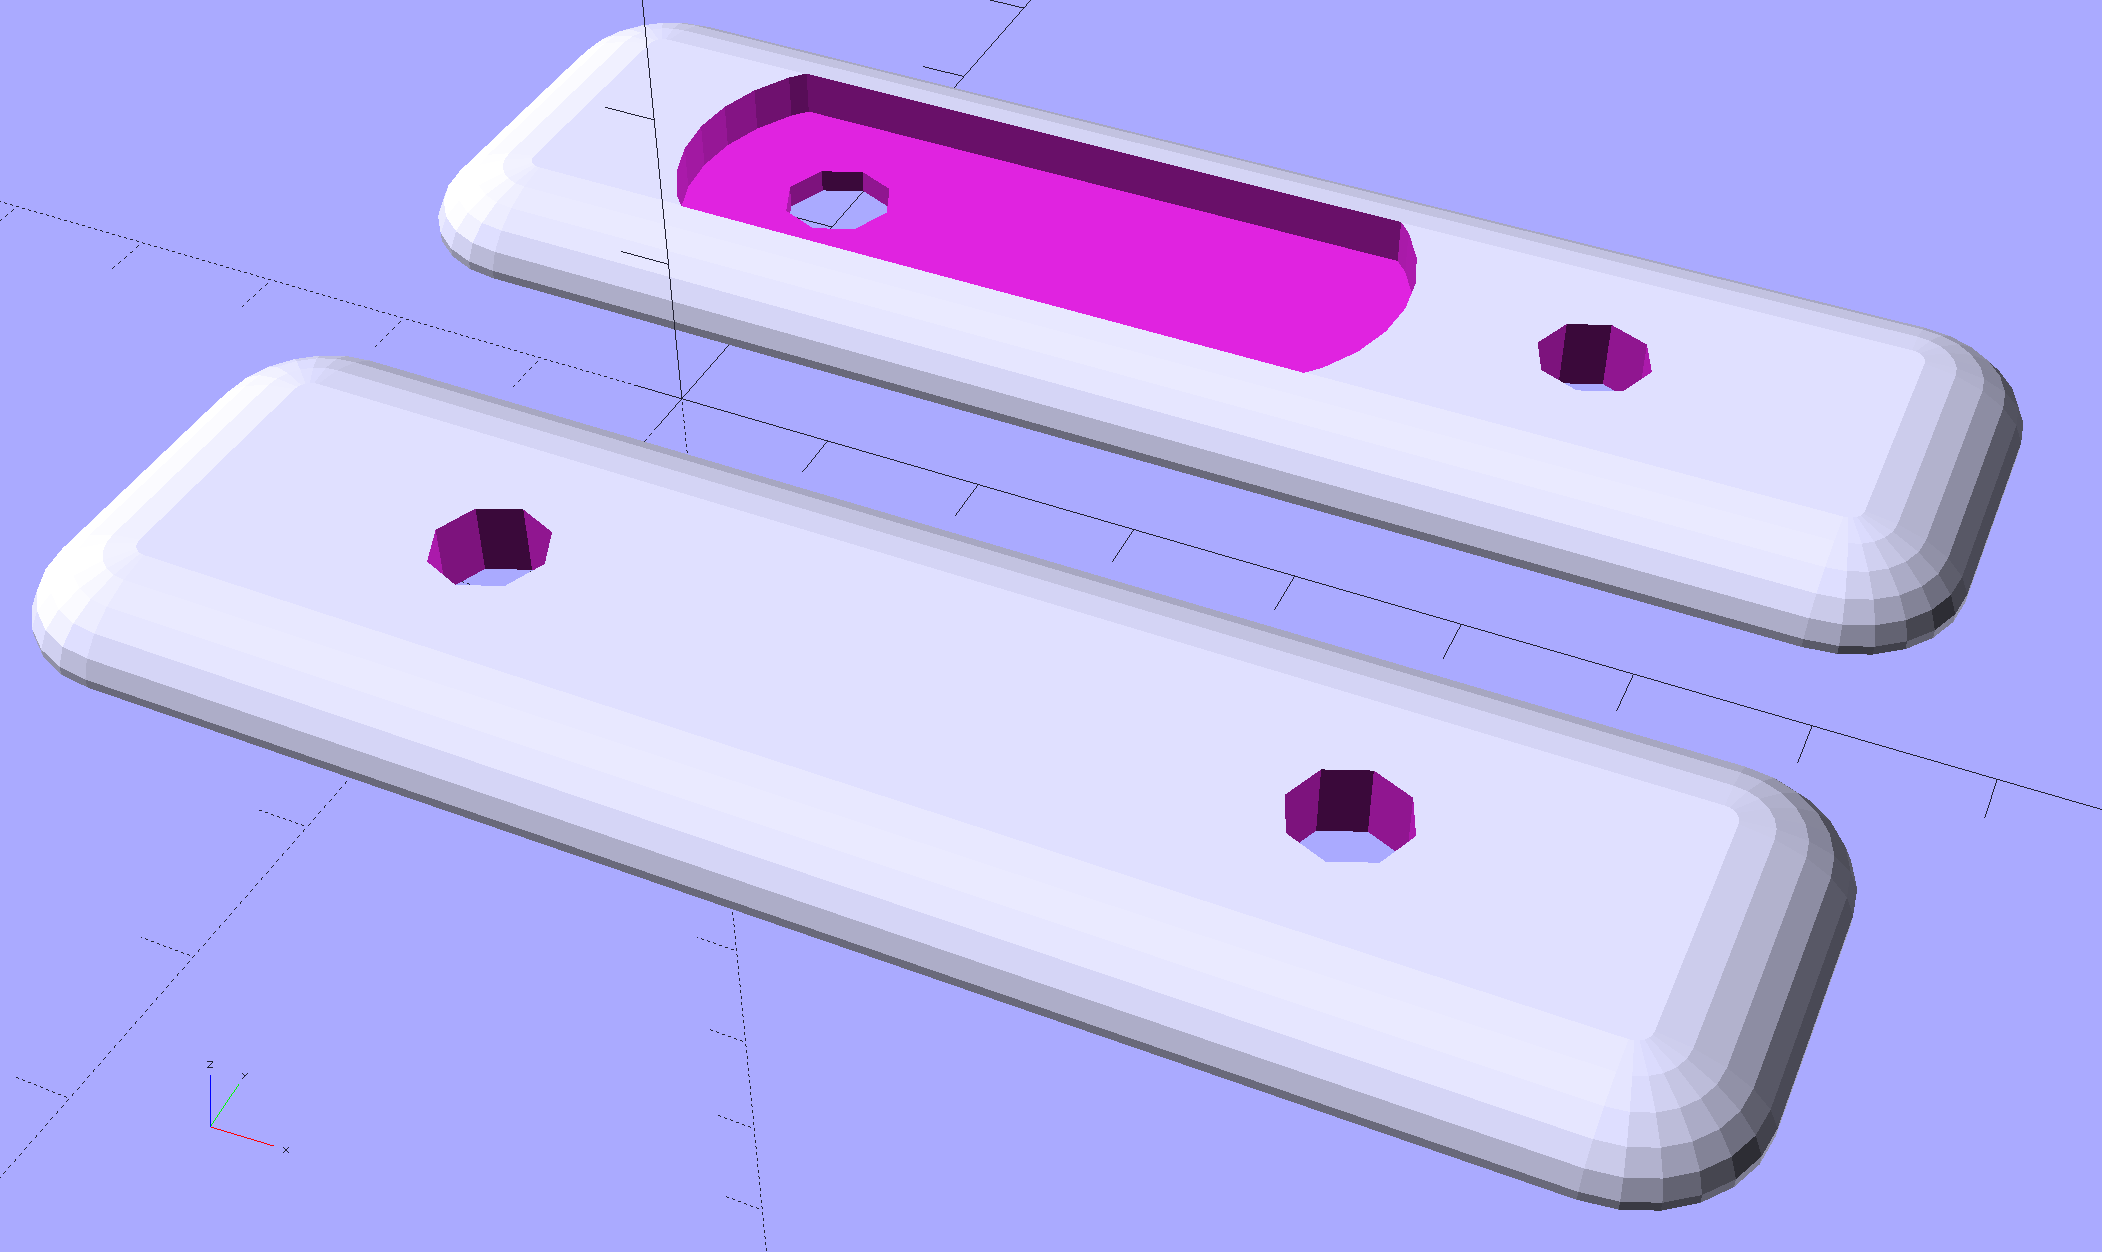
The outer plate looks reasonably sleek in real life, although that’s not the primary consideration:
You could replace the squared-off ends with simple half-circles, maybe stretched into stylin’ ellipse shapes, without too much effort.
I got out the screws, set up to cut them with a pull saw and miter box, then realized they are plastic. Put away the saw, got out the utility knife, and cut them to length with one firm push. No distorted threads, no dust, no muss, no fuss.
(*) Opinion: any headlight with non-replaceable, USB-chargeable cells is a toy. I can replace a discharged (or failed) 18650 cell in the middle of a ride, where a dead battery inside a spendy headlight would leave me in the dark. Might not matter for a DRL, but seems absolutely critical on night rides. ‘Nuff said.

Comments
One response to “Tour Easy Daytime Running Light: Fairing Clamp Plates”
[…] fussing with three rotational angles, simply tilting the mount upward by 20° with respect to the fairing clamp aims the flashlight straight ahead, with the ball nearly centered in the […]