The Smell of Molten Projects in the Morning

Ed Nisley's Blog: Shop notes, electronics, firmware, machinery, 3D printing, laser cuttery, and curiosities. Contents: 100% human thinking, 0% AI slop.

Category: Recumbent Bicycling

Cruisin’ the streets

  • Tour Easy: Another SRAM Grip Shift Indicator

    Tour Easy: Another SRAM Grip Shift Indicator

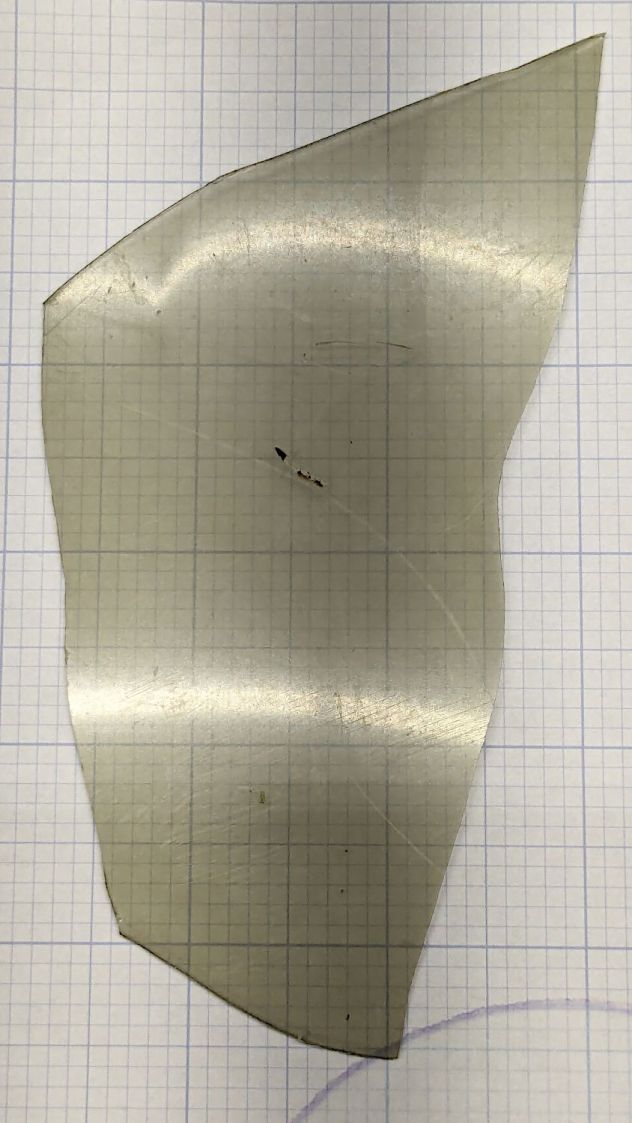
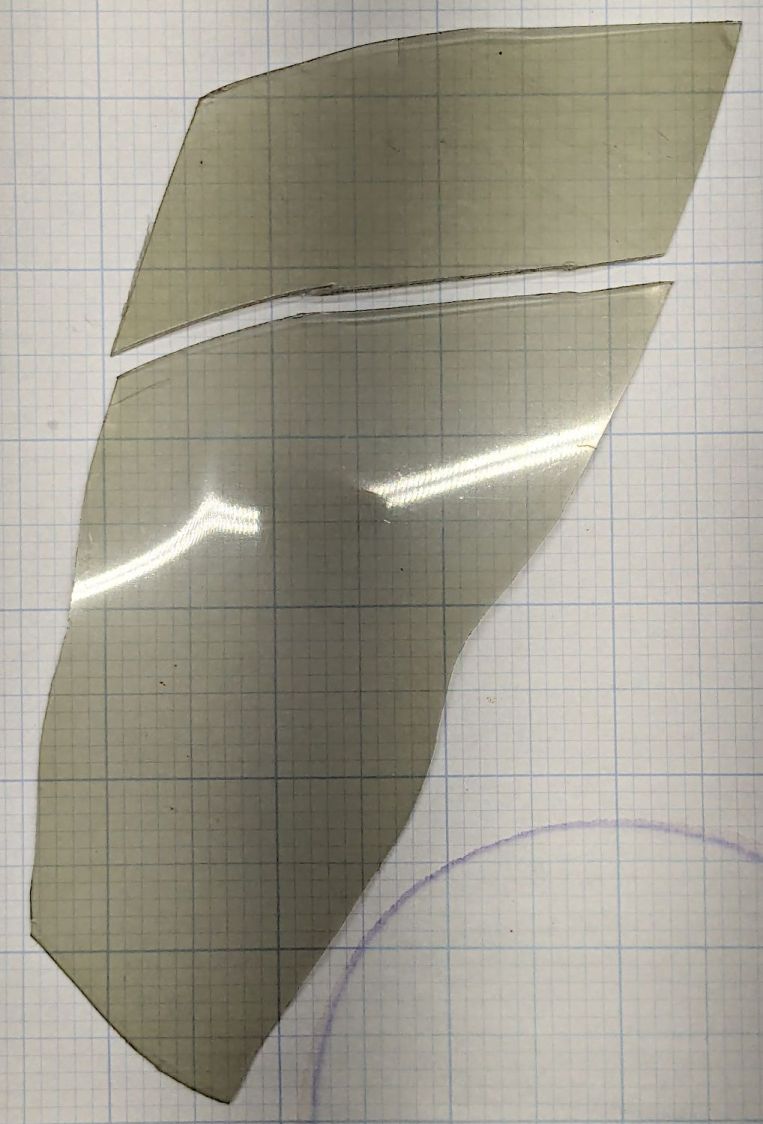
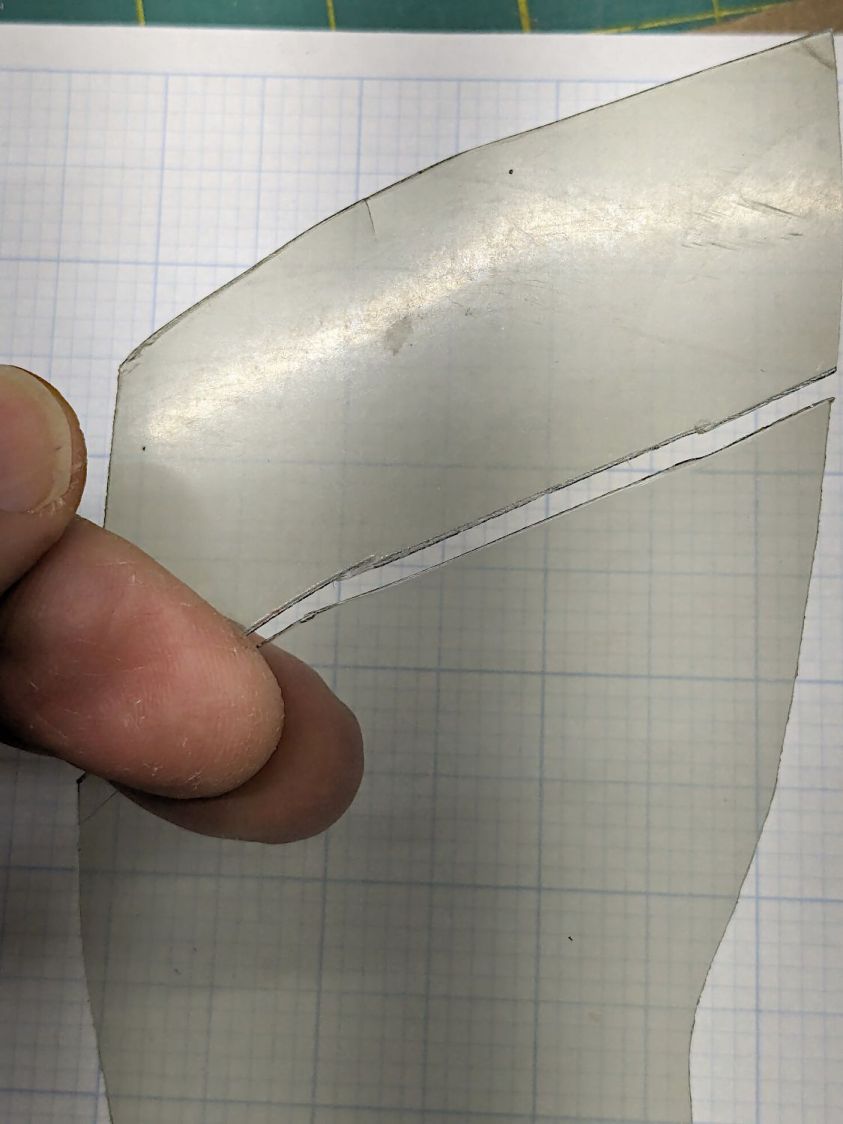
    After about five and a half years, the OEM shift indicator in my rear SRAM Grip Shift failed, so I replaced it with a piece of right-angle polypropylene backed with hot pink vinyl:

    All done by hand, because it’s easy.

    I’d used up my stock of genuine replacement indicators long ago, but they’re now down to two bucks (probably because Grip Shifters are obsolete) and I’ve stocked up in anticipation of future need.

    Let’s see how long this one lasts …

  • Tour Easy: Rewheeling

    Tour Easy: Rewheeling

    After 22 years and well over 30 k miles, I finally replaced the rear wheel rim on my Tour Easy, which went as smoothly as one could want.

    The tire showed considerable wear and damage, with this gash dating back three years:

    Schwalbe Marathon Plus - W5W gash
    Schwalbe Marathon Plus – W5W gash

    The pebble caught in this crater has worn flat on the outside and started cutting through the tire carcass into the tube:

    Schwalbe Marathon Plus - Stone gash
    Schwalbe Marathon Plus – Stone gash

    Gotta love those Marathon Plus tires!

    So my bike now has a new tire, tube, and rim on the back.

    The old spokes looked OK and tightened up without incident. For the record, the Park TM-1 tension meter puts the drive-side spokes at 25 and the other side just under 20, with the total runout & wobble under a millimeter.

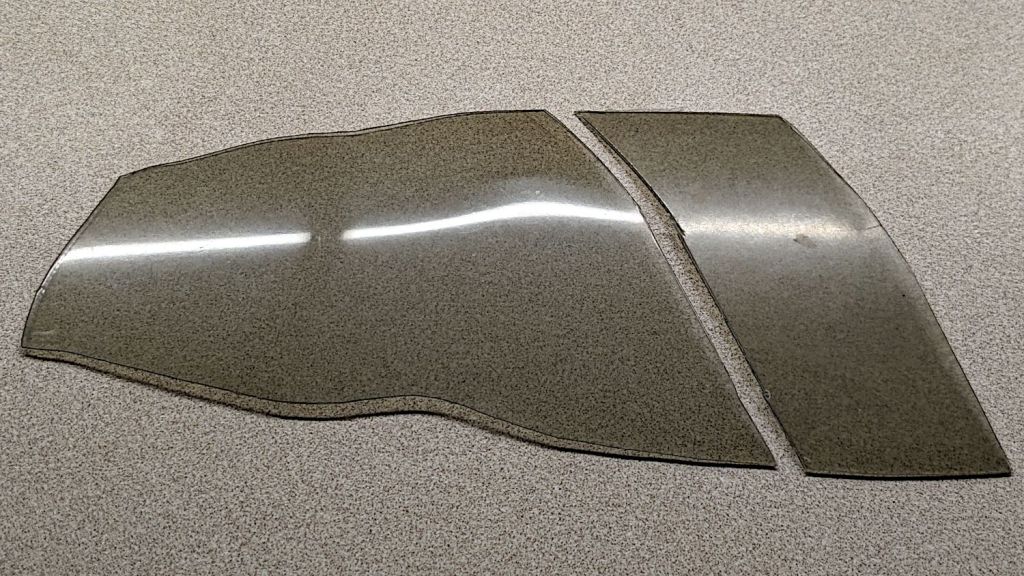
    Having now replaced all four rims on our bikes over the course of two years, I sawed the three rims still awaiting recycling into samples:

    Tour Easy - 30 k mile rim wear
    Tour Easy – 30 k mile rim wear

    Unlike contemporary bikes, our Tour Easy recumbents have rim brakes and those original rims are pretty well worn out; they’re not supposed to be concave like that.

    All in all, more Quality Shop Time™.

  • Tour Easy: DPC-18 Display Controls

    Tour Easy: DPC-18 Display Controls

    The Bafang 500C display I installed on Mary’s Tour Easy recumbent has assist level buttons along its left edge:

    Bafang display - clamp bushing
    Bafang display – clamp bushing

    This required her to take her left hand off the handlebar to fiddle with the assist level and, as it turned out, used her thumb in position causing some distress. Given that changing the assist level happens a lot as we ride, it was time for a change.

    So I replaced the 500C with a DPC-18 display like the one on my bike, with the key advantage of putting the buttons on the handgrip:

    Tour Easy Bafang Controls - DPC-18 buttons
    Tour Easy Bafang Controls – DPC-18 buttons

    She preferred a higher position for the buttons than I do, with the PTT button for the Baofeng amateur radio below the housing.

    After a few iterations, the throttle moved from the right handgrip to the right end of the handlebar crosspiece on a lengthened version of the mount I conjured for Tee’s Terry Symmetry upright bike:

    Tour Easy Bafang DPC-18 - throttle mount
    Tour Easy Bafang DPC-18 – throttle mount

    That location requires a bit of dexterity, but let us move the twist-grip shifter upward on the handgrip where it is more comfortable. She rarely uses the throttle, so we’ll try this for a while.

    The DPC-18 has an awkward portrait-mode display with an incredible amount of wasted space, with the side detriment of displacing the blue Camelbak hose. After a few iterations, we settled on a receptacle to catch the mouthpiece without requiring any fancy snaps / clips / fasteners:

    Tour Easy Bafang Controls - Camelbak nozzle catcher
    Tour Easy Bafang Controls – Camelbak nozzle catcher

    The solid model descends from the Zzipper fairing mounts on that same aluminum bar, with the bottle simply jammed into the big hole:

    Zzipper Fairing - Camelbak nozzle catcher - show layout
    Zzipper Fairing – Camelbak nozzle catcher – show layout

    There being no real forces on the holder, I omitted the aluminum load-spreading plate across the top and just epoxied four threaded brass inserts into the bottom part.

    Early reports suggest a happier thumb and no problems stashing the hose, so it’s all good.

  • Tour Easy Broken Spoke

    Tour Easy Broken Spoke

    A rear spoke snapped on Mary’s Tour Easy while we were at the far end of a ride. Unlike most broken spokes, the flanged end that I couldn’t maneuver the stub out of the hub and deploy the FiberFix, so we rode home slowly while avoiding as much rough pavement as feasible.

    Once in the shop, pulling the sprocket and extracting the stub posed no problem:

    Tour Easy broken spoke
    Tour Easy broken spoke

    Install the new spoke, crank to 23 on the Park Spoke Tension Meter to match the rest of the wheel, check the truing, and it’s all good.

    At some point in the last two decades of riding, it seem the chain fell off the high side and gouged the spokes around the hub:

    Tour Easy broken spoke - damage
    Tour Easy broken spoke – damage

    If another spoke snaps in the near future, I’ll replace the lot of them, but until then, well, there’s riding to be done …

  • Tour Easy Running Lights: Anodizing Sun Fade

    Tour Easy Running Lights: Anodizing Sun Fade

    After six years, the anodizing on the Anker LC40 flashlights I repurposed as daytime running lights shows some radiation damage:

    Tour Easy Running Lights fading - mount top view
    Tour Easy Running Lights fading – mount top view

    The bottom side looks pristine:

    Tour Easy Running Lights fading - mount bottom view
    Tour Easy Running Lights fading – mount bottom view

    It turns out they were clamped in slightly different positions on our two bikes:

    Tour Easy Running Lights fading - top view
    Tour Easy Running Lights fading – top view

    The side view shows a gentle color transition:

    Tour Easy Running Lights fading - bottom view
    Tour Easy Running Lights fading – bottom view

    Apparently I had swapped the caps from the two lights when I noticed the fading after only the first year.

  • Newmowa NP-BX1

    Newmowa NP-BX1

    After a year’s service in my Sony AS-30V helmet camera, the Newmowa NP-BX1 lithium cells perform pretty nearly as well as they started out:

    NP-BX1 - Newmowa 2022 - 2023-08
    NP-BX1 – Newmowa 2022 – 2023-08

    Recharging the cells after that test averaged 907 mA·hr within 2%, so they’re still reasonably well grouped.

    The camera burns 1.9 W, so the worst of the cells has a 100 minute runtime = 3.3 W·hr/1.9 W × 60 min/hr,.

    Our usual weekday rides run a little over an hour and I change the batteries during our longer weekend rides, so they rarely see more than an hour’s use.

    A recent 1-¼ hour = 75 minute ride soaked up 687 mA·hr, just about exactly 75% of 907 mA·hr. Gotta love it when the numbers work.

    Surprisingly good performance, given the drama involved in finding those cells. I wonder if that will hold next year when I buy another set?

  • Eneloop AAA Cells: Six Years of Blinkiness

    Eneloop AAA Cells: Six Years of Blinkiness

    With the rear running lights up and mmmm running on our Tour Easy recumbents, I could finally retire the Planet Bike Superflash blinkie after a decade of constant use:

    Superflash on Tour Easy
    Superflash on Tour Easy

    For the last six years, a set of eight Panasonic Eneloop AAA cells have been marching in pairs through the Superflashes in lockstep alphabetic order. We ride several times a week, less in the winter, and I changed the batteries once a week whether they need it or not, so they’ve gone through maybe 200 charge cycles. With four pairs and two bikes, that’s 100 cycles each.

    They’re not dead yet, but they’re showing signs of age:

    Eneloop AAA - final - 2023-08
    Eneloop AAA – final – 2023-08

    In round numbers, the capacity is down 20% from their original 850 mW·hr. The 50 to 75 mV depression is probably more significant for an LED power supply intended for alkaline cells, as the light was running from 2.3 V instead of 3 V.

    They worked surprisingly well, all things considered.

    Nowadays, one might use bucked lithium cells with a constant 1.5 V output for their entire discharge curve, although I absolutely do not believe a claimed 1000+ mW·hr capacity.