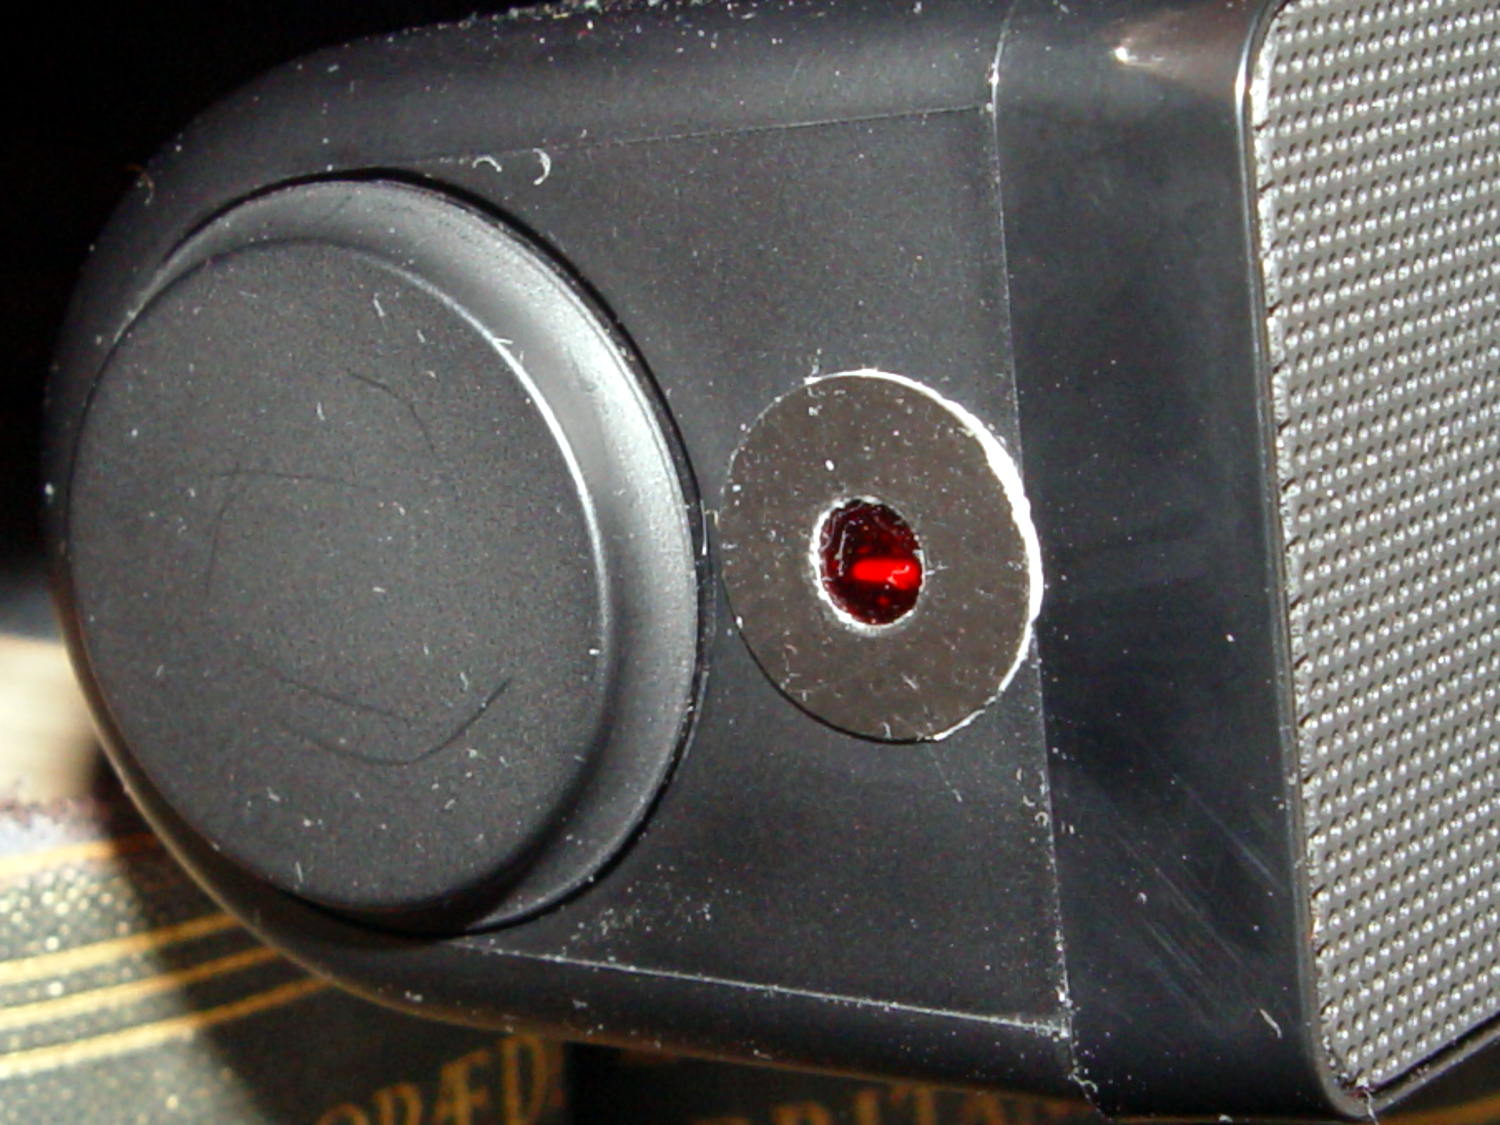
For reasons not relevant here, we (temporarily) have a set of pots with glass lids. One of lids had a remarkable amount of crud between the glass and the trim ring under the knob, which turned out to be corrosion falling off the screw. Trying to remove the screw produced the expected result:
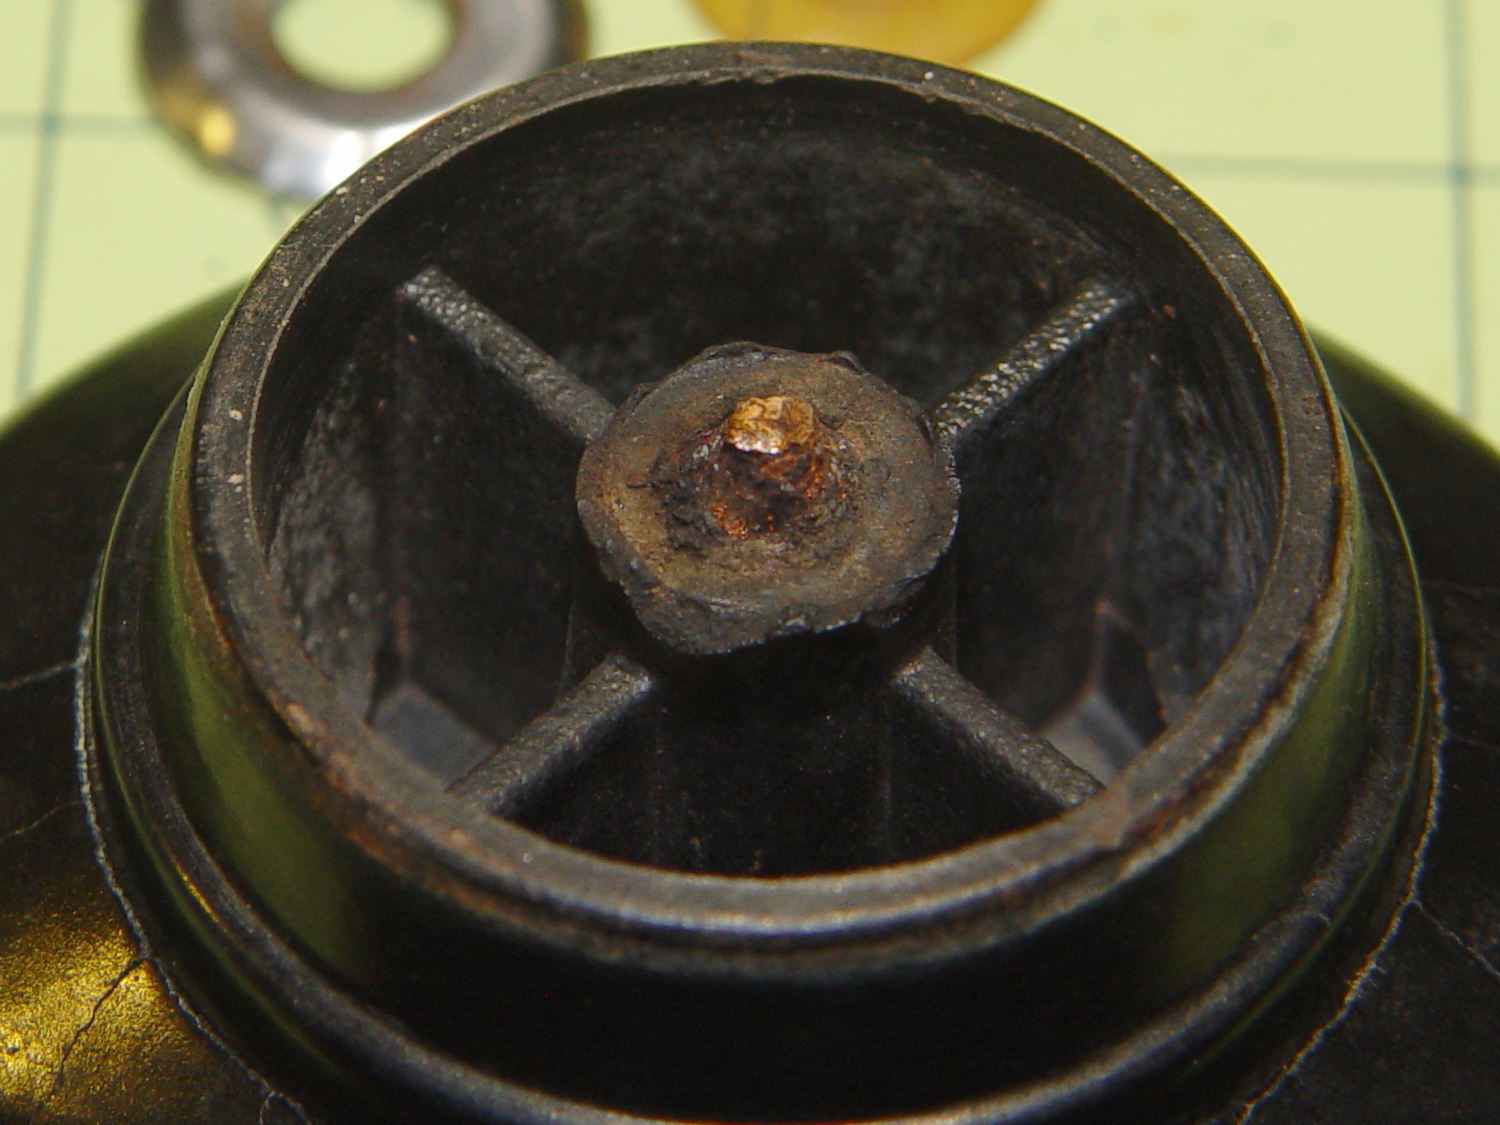
For whatever reason, they used an ordinary, not stainless, steel screw:

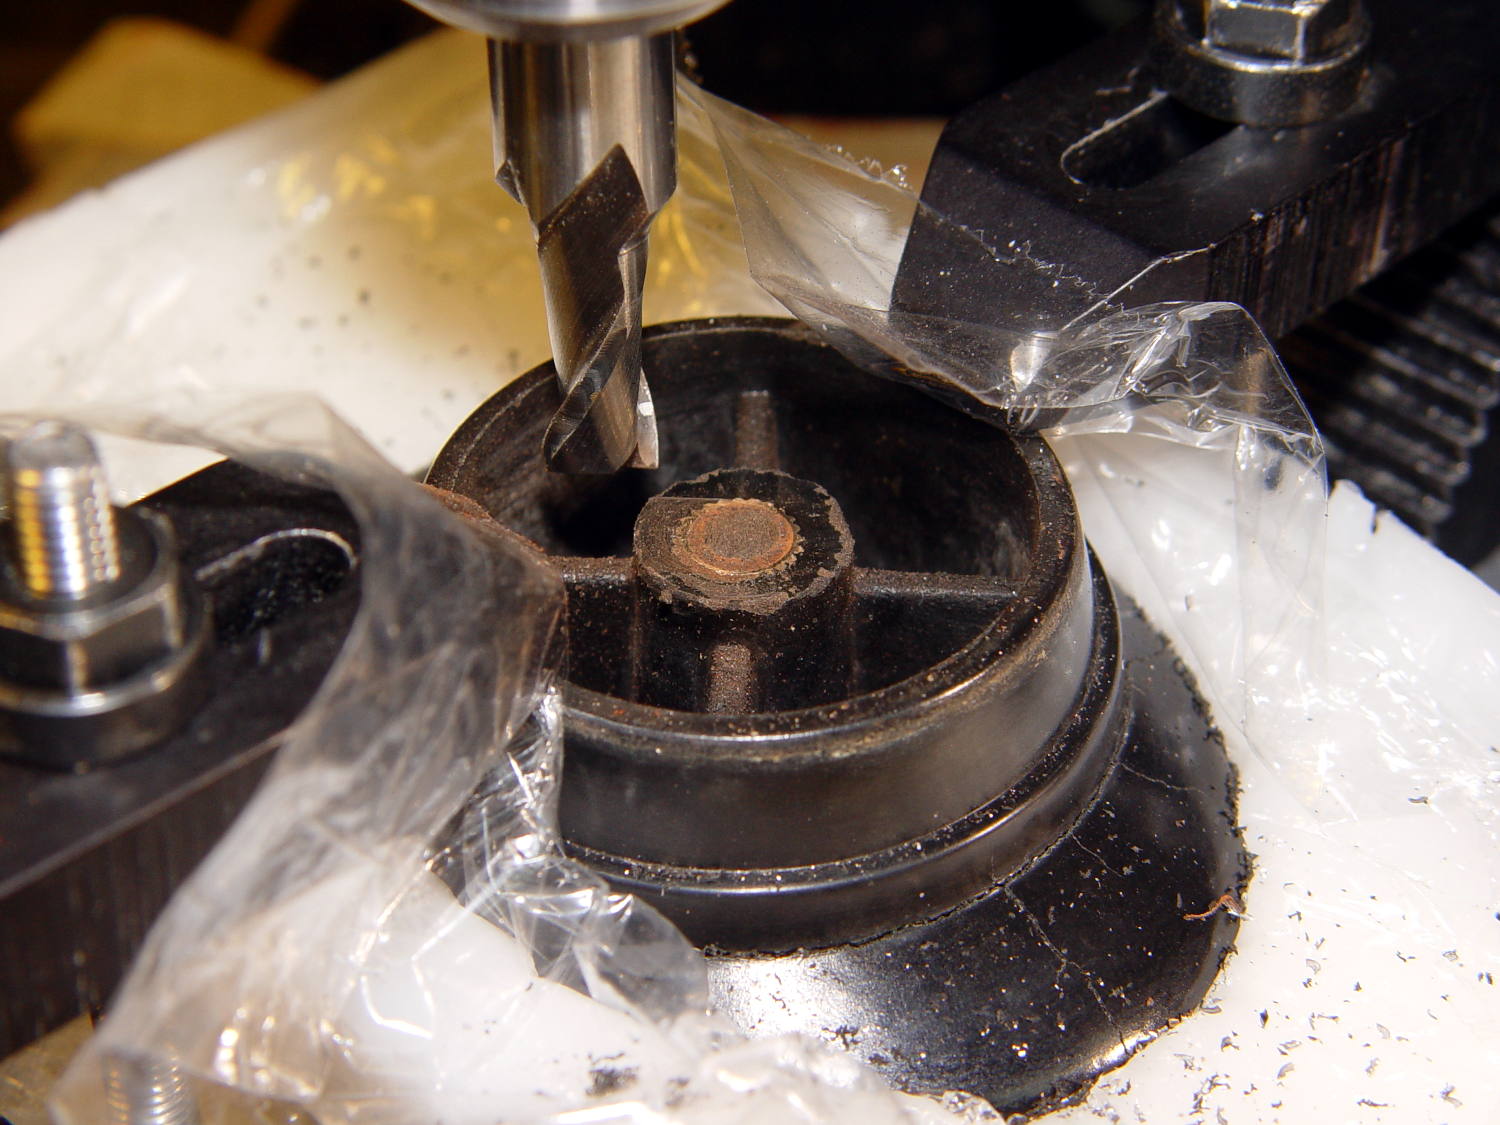
I figured I could mill the stub flat, drill out the remainder, install a new insert, and be done with it. The knob has a convex surface and, even though this looked stupid, I tried clamping it atop a wood pad:

Two gentle cutter passes convinced me it was, in fact, a lethally stupid setup.
Soooo, I poured some ShapeLock pellets into a defunct (and very small) loaf pan, melted them in near-boiling water, and pressed the knob into the middle, atop some stretchy film to prevent gluing the knob in place:

That’s eyeballometrically level, which is good enough, and the knob sits mechanically locked into the room-temperature plastic slab. Clamping everything down again makes for a much more secure operation:

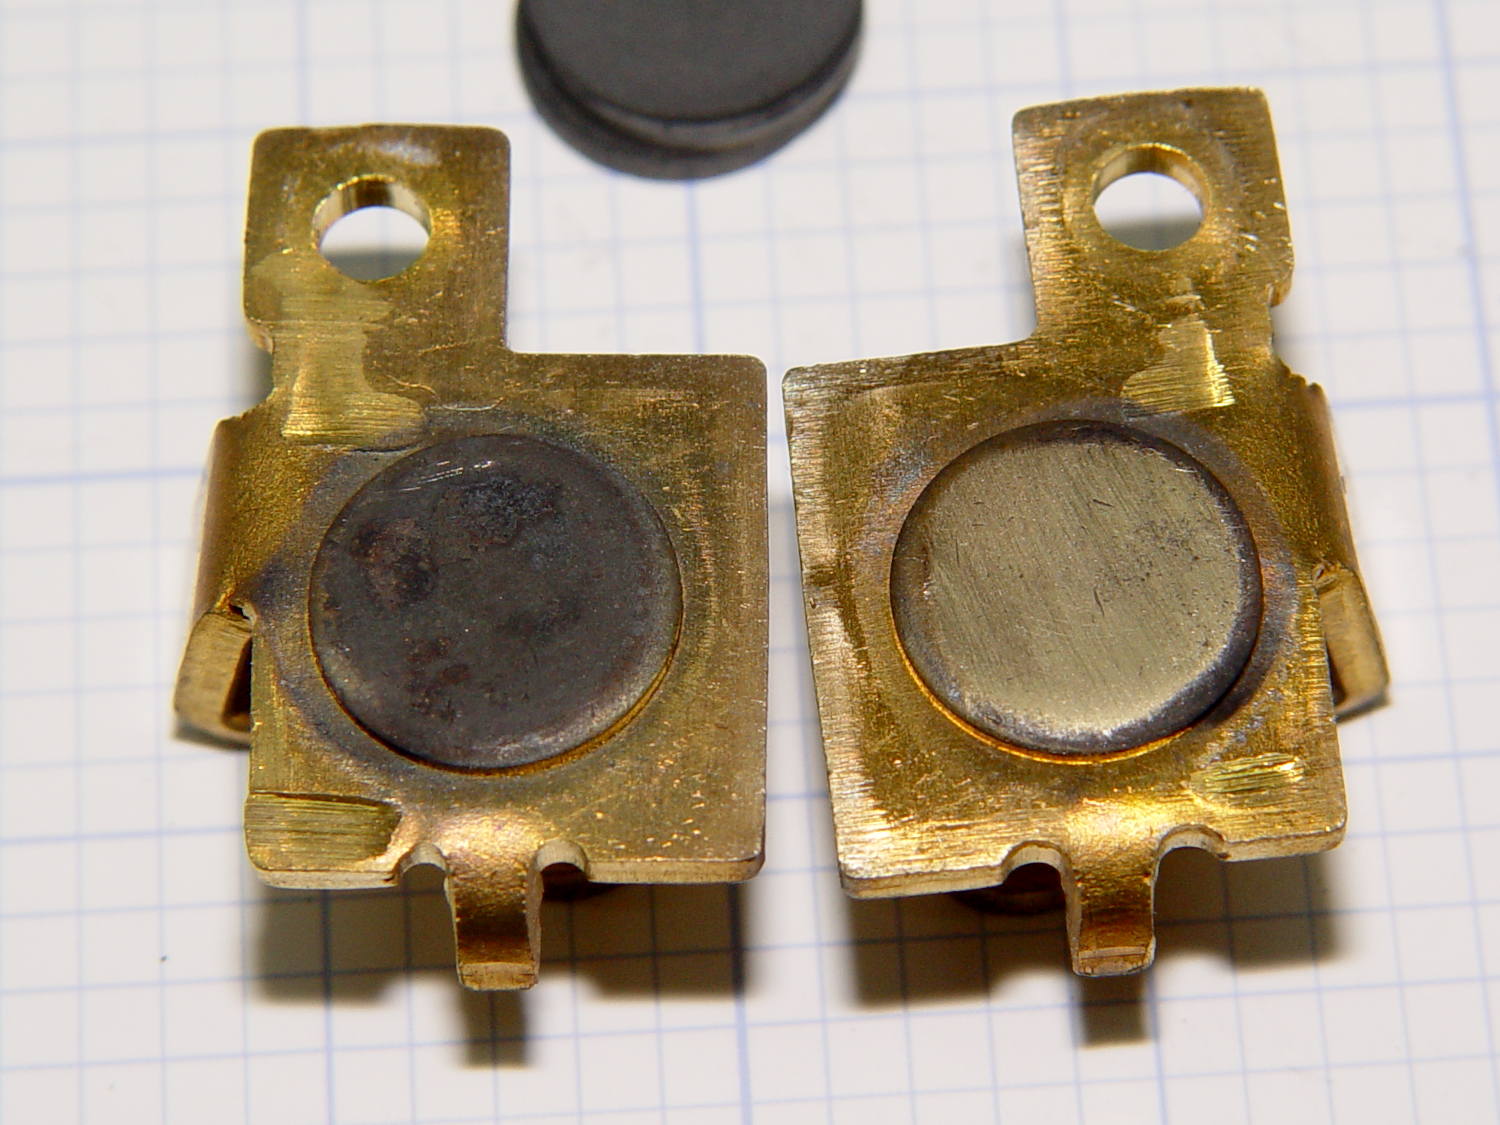
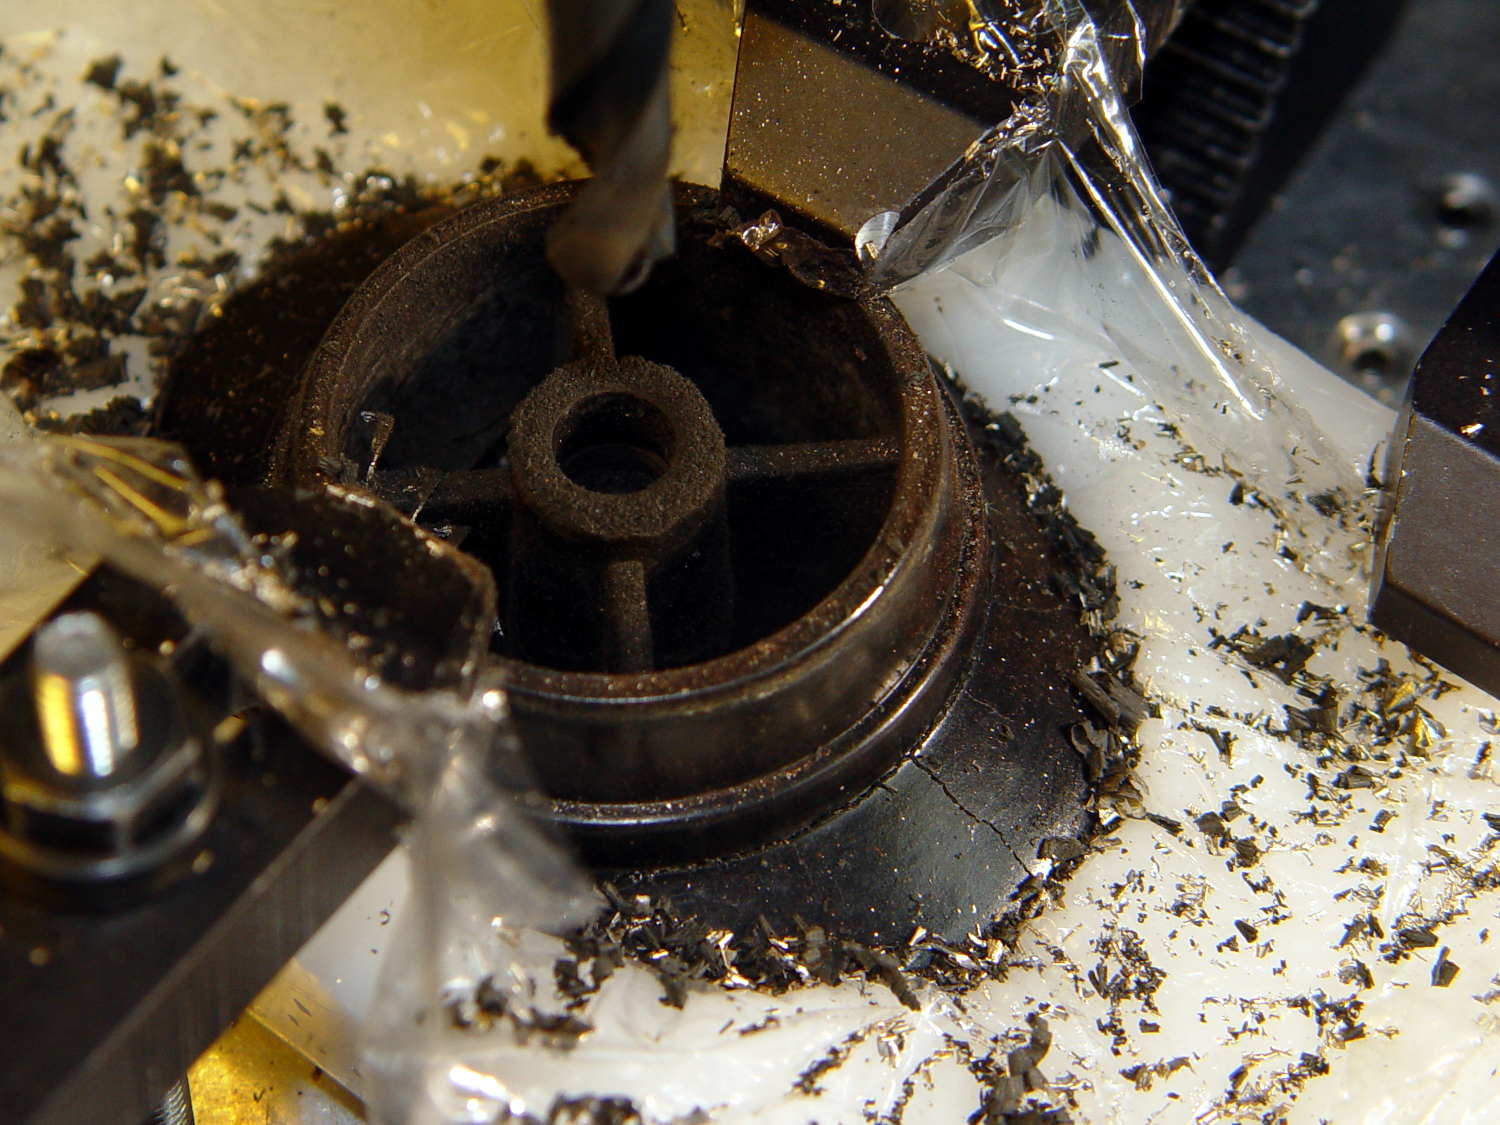
A few minutes of manual milling exposes the original brass insert molded into the knob, with the steel screw firmly corroded in the middle:
Center-drill, drill small-medium-large, and eventually the entire insert vanishes in a maelstrom of chips and dust:
Run a 10-32 stud into an insert, grab in drill chuck, dab JB Kwik around the knurls, press in place while everything’s still aligned in the Sherline, pause for curing, re-melt the ShapeLock, and the insert looks like it grew there:

Wonder to tell, a 1 inch 10-32 screw fit perfectly through the pot lid into the knob, with a dab of low-strength Loctite securing it. Reassemble everything in reverse order, and it’s all good:

Well, apart from those cracks. I decided I will not borrow trouble from the future: we’ll let those problems surface on their own and, if I’m still in the loop, I can fix them.