A soaker hose leaped under a descending garden fork and accumulated a nasty gash:

Mary deployed a spare and continued the mission, while I pondered how to fix such an odd shape.
For lack of anything smarter, I decided to put a form-fitting clamp around the hose, with silicone caulk buttered around the gash to (ideally) slow down any leakage:

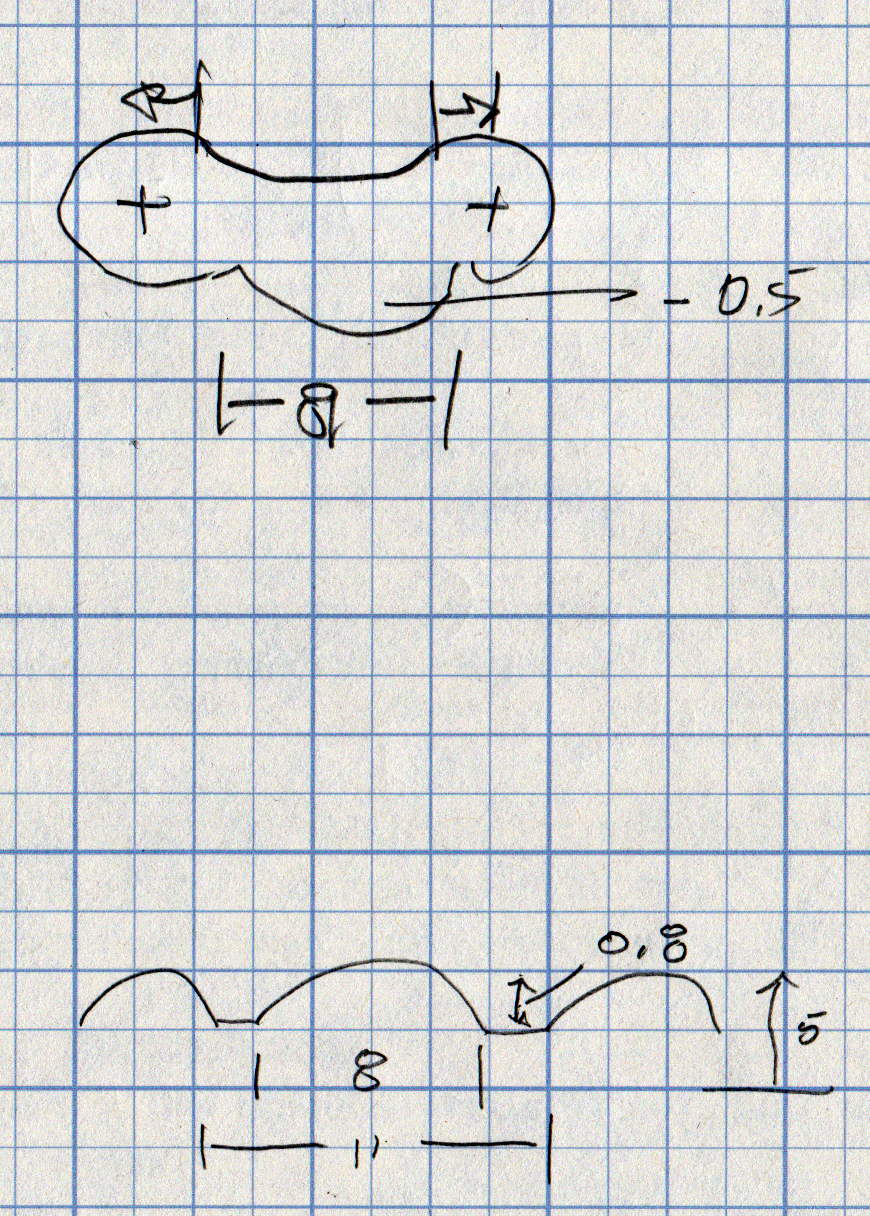
As usual, some doodling got the solid model started:

A hose formed from chopped rubber doesn’t really have consistent dimensions, so I set up the model to spit out small test pieces:

Lots and lots of test pieces:

Each iteration produced a better fit, although the dimensions never really converged:
The overall model looks about like you’d expect:

The clamp must hold its shape around a hose carrying 100 psi (for real!) water, so I put 100 mil aluminum backing plates on either side. Were you doing this for real, you’d shape the plates with a CNC mill, but I just bandsawed them to about the right size and transfer-punched the hole positions:
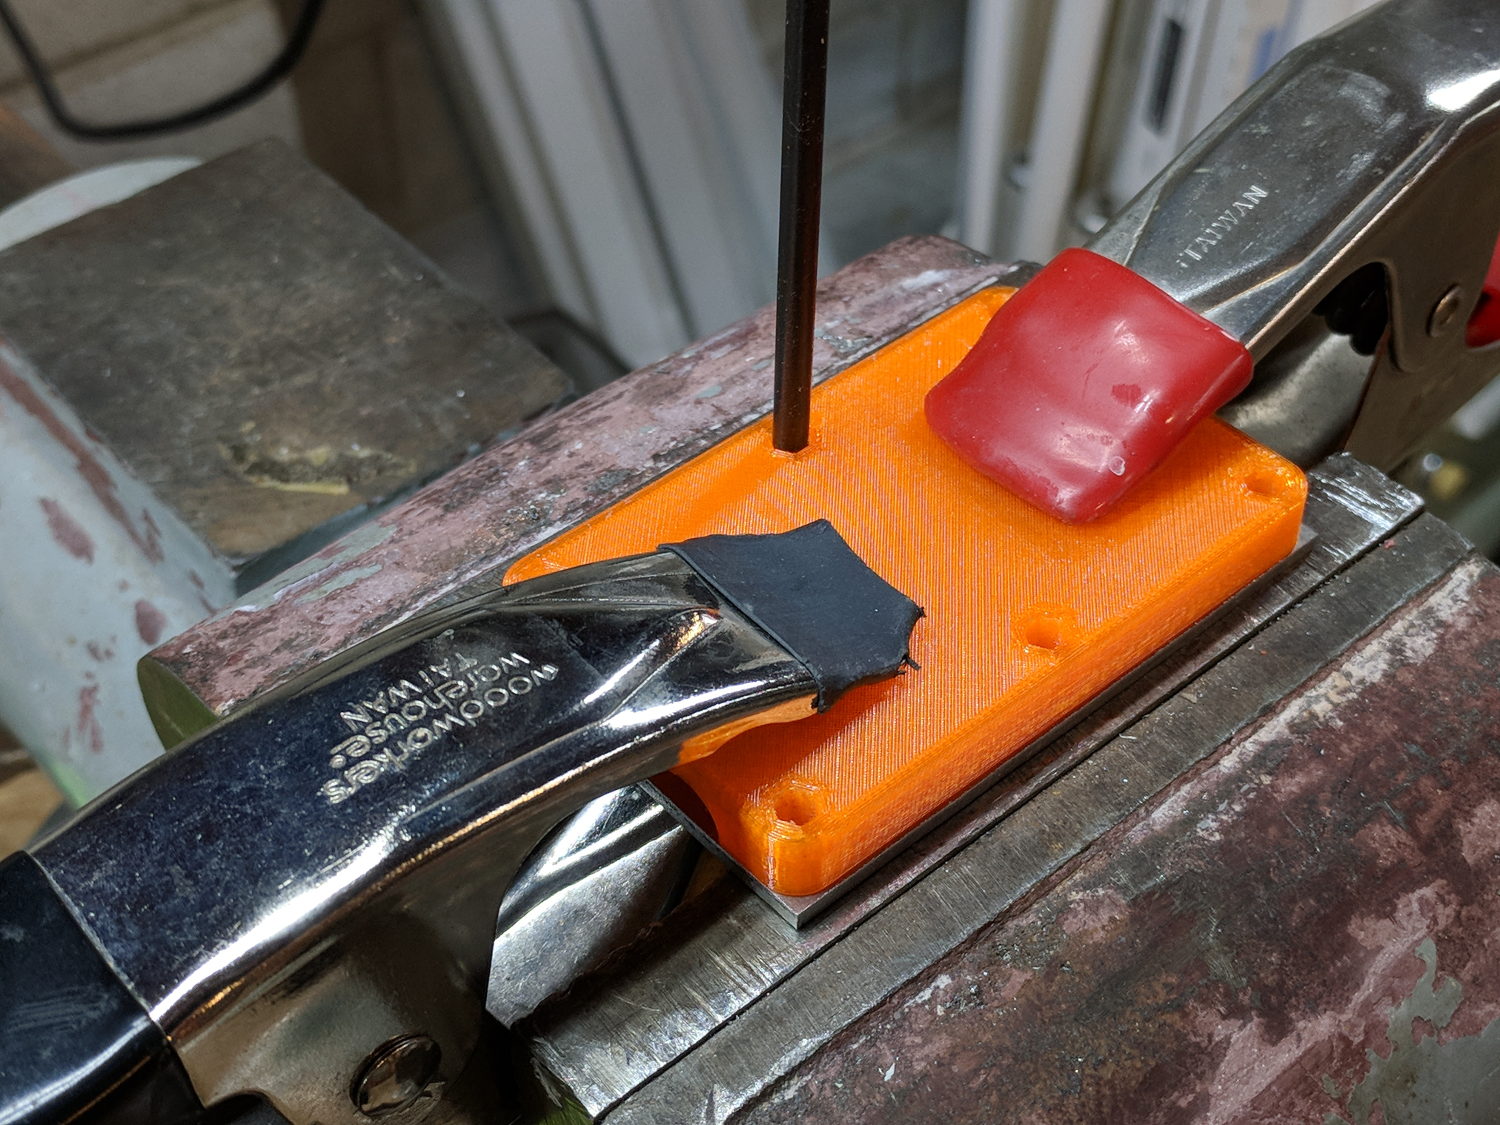
Some drill press action with a slightly oversize drill compensated for any misalignment and Mr Disk Sander rounded the corners to match the plastic block:

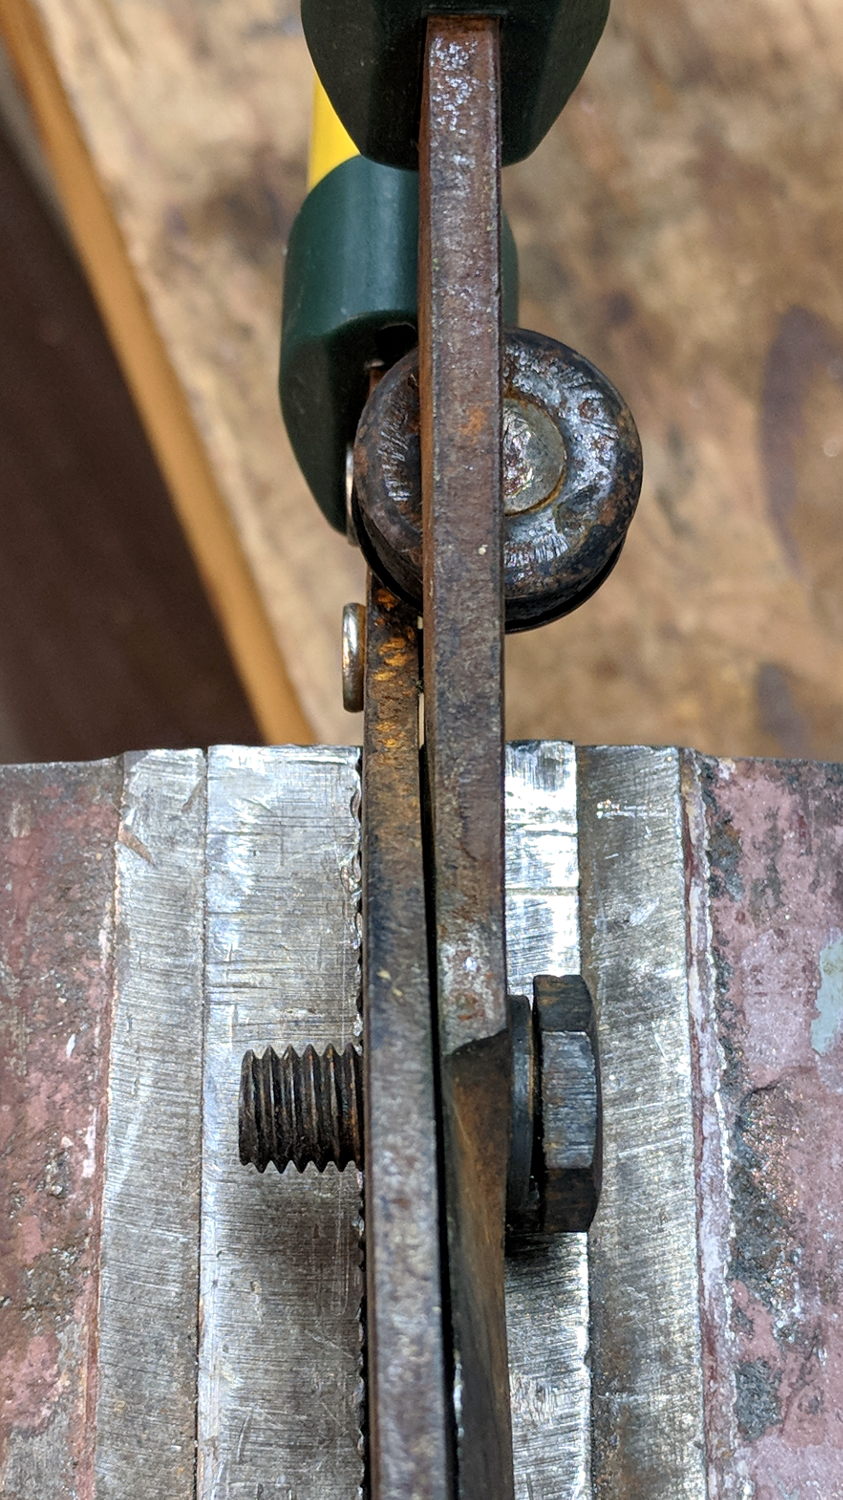
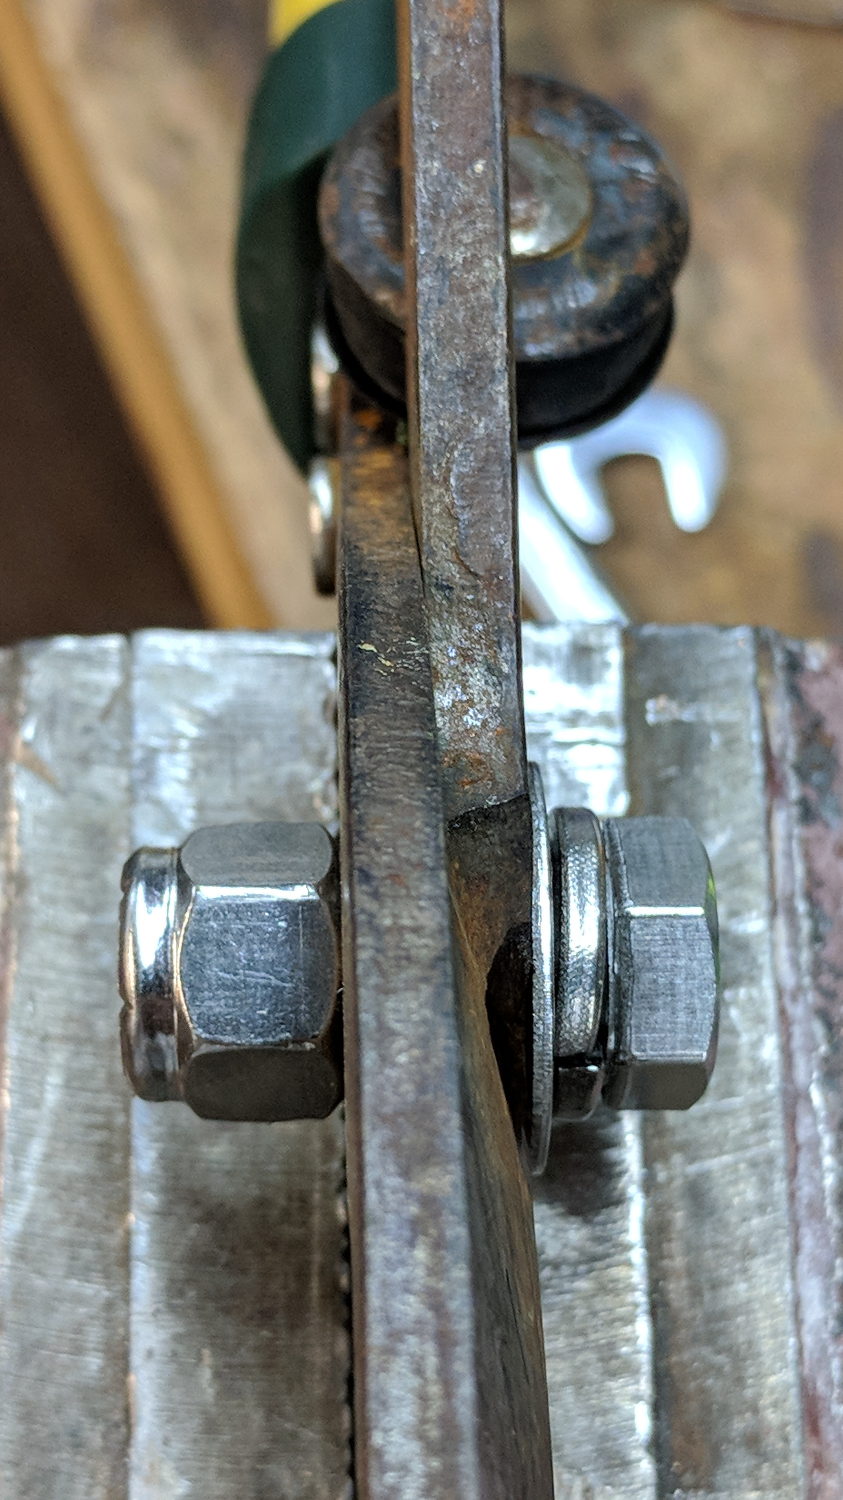
A handful of stainless steel 8-32 screws holds the whole mess together:
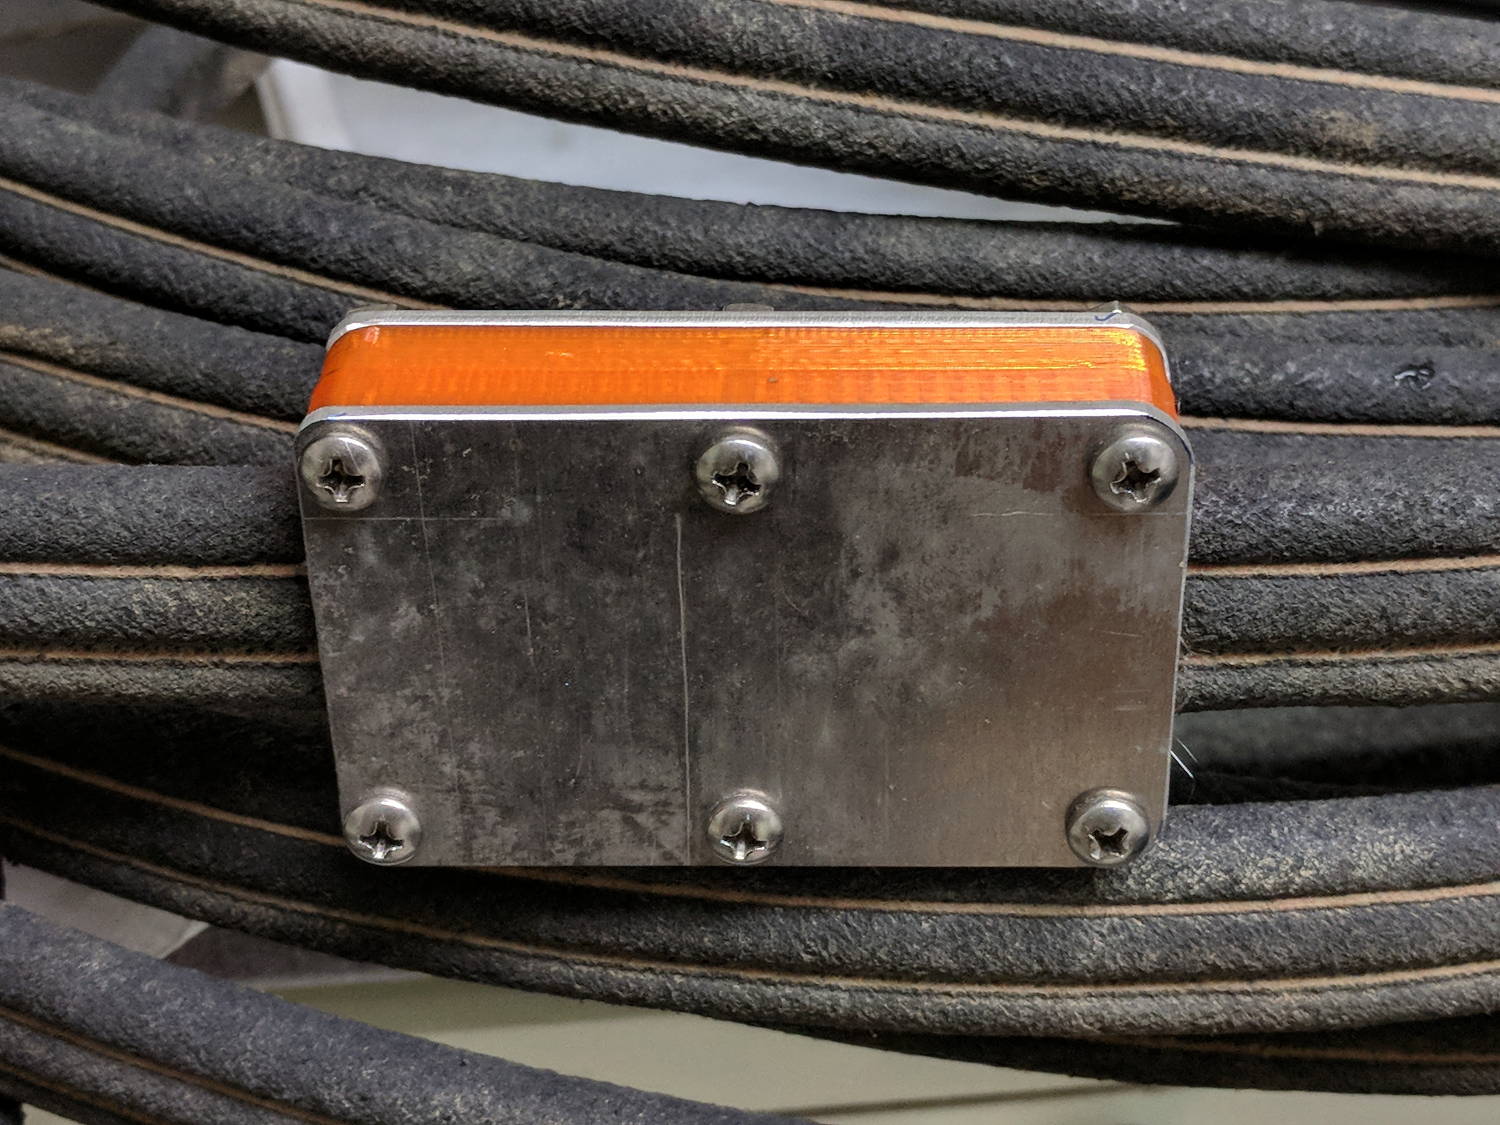
These hoses spend their lives at rest under a layer of mulch, so I’m ignoring the entire problem of stress relief at those sharp block edges. We’ll see how this plays out in real life, probably next year.
I haven’t tested it under pressure, but it sure looks capable!
The OpenSCAD source code as a GitHub Gist:
| // Rubber Soaker Hose Splice | |
| // Ed Nisley KE4ZNU July 2018 | |
| Layout = "Build"; // Hose Block Show Build | |
| TestFit = false; // true to build test fit slice from center | |
| //- Extrusion parameters must match reality! | |
| ThreadThick = 0.25; | |
| ThreadWidth = 0.40; | |
| HoleWindage = 0.2; | |
| Protrusion = 0.1; // make holes end cleanly | |
| inch = 25.4; | |
| function IntegerMultiple(Size,Unit) = Unit * ceil(Size / Unit); | |
| //———- | |
| // Dimensions | |
| // Hose lies along X axis | |
| Hose = [200,27.0,12.0]; // X = longer than anything else | |
| Block = [80.0,50.0,4.0 + Hose.z]; // overall splice block size | |
| echo(str("Block: ",Block)); | |
| Kerf = 0.1; // cut through middle to apply compression | |
| ID = 0; | |
| OD = 1; | |
| LENGTH = 2; | |
| // 8-32 stainless screws | |
| Screw = [4.1,8.0,3.0]; // OD = head LENGTH = head thickness | |
| Washer = [4.4,9.5,1.0]; | |
| Nut = [4.1,9.7,6.0]; | |
| CornerRadius = Washer[OD]/2; | |
| NumScrews = 3; // screws along each side of cable | |
| ScrewOC = [(Block.x – 2*CornerRadius) / (NumScrews – 1), | |
| Block.y – 2*CornerRadius, | |
| 2*Block.z // ensure complete holes | |
| ]; | |
| echo(str("Screw OC: x=",ScrewOC.x," y=",ScrewOC.y)); | |
| //———————- | |
| // Useful routines | |
| module PolyCyl(Dia,Height,ForceSides=0) { // based on nophead's polyholes | |
| Sides = (ForceSides != 0) ? ForceSides : (ceil(Dia) + 2); | |
| FixDia = Dia / cos(180/Sides); | |
| cylinder(d=(FixDia + HoleWindage),h=Height,$fn=Sides); | |
| } | |
| // Hose shape | |
| // This includes magic numbers measured from reality | |
| module HoseProfile() { | |
| RimThick = 10.0; // outer sections | |
| RimOD = RimThick; | |
| RimFlatRecess = -0.7; // recess to front flat surface | |
| OuterOC = Hose.y – RimOD; // outer tube centers | |
| RecessM = 1.5; // back recess chord | |
| RecessC = OuterOC; | |
| RecessR = (pow(RecessM,2) + pow(RecessC,2)/4) / (2*RecessM); | |
| RidgeM = 1.0; // front ridge chord | |
| RidgeC = 8.0; | |
| RidgeR = (pow(RidgeM,2) + pow(RidgeC,2)/4) / (2*RidgeM); | |
| NumSides = 12*4; | |
| rotate([0,-90,0]) | |
| translate([0,0,-Hose.x/2]) | |
| linear_extrude(height=Hose.x,convexity=4) | |
| difference() { | |
| union() { | |
| for (j=[-1,1]) // outer channels | |
| translate([0,j*OuterOC/2]) | |
| circle(d=RimOD,$fn=NumSides); | |
| translate([-RimOD/4,0]) // rear flat fill | |
| square([RimOD/2,OuterOC],center=true); | |
| translate([(RimOD/4 + RimFlatRecess),0]) // front flat fill | |
| square([RimOD/2,OuterOC],center=true); | |
| intersection() { | |
| translate([Hose.z/2,0]) | |
| square([Hose.z,OuterOC],center=true); | |
| translate([-RidgeR + RimOD/2 + RimFlatRecess + RidgeM,0]) | |
| circle(r=RidgeR,$fn=NumSides); | |
| } | |
| } | |
| translate([-(RecessR + RimOD/2 – RecessM),0]) | |
| circle(r=RecessR,$fn=2*NumSides); | |
| } | |
| } | |
| // Outside shape of splice Block | |
| // Z centered on hose rim circles, not overall thickness through center ridge | |
| module SpliceBlock() { | |
| difference() { | |
| hull() | |
| for (i=[-1,1], j=[-1,1]) // rounded block | |
| translate([i*(Block.x/2 – CornerRadius),j*(Block.y/2 – CornerRadius),-Block.z/2]) | |
| cylinder(r=CornerRadius,h=Block.z,$fn=4*8); | |
| for (i = [0:NumScrews – 1], j=[-1,1]) // screw holes | |
| translate([-(Block.x/2 – CornerRadius) + i*ScrewOC.x, | |
| j*ScrewOC.y/2, | |
| -(Block.z/2 + Protrusion)]) | |
| PolyCyl(Screw[ID],Block.z + 2*Protrusion,6); | |
| cube([2*Block.x,2*Block.y,Kerf],center=true); // slice through center | |
| } | |
| } | |
| // Splice block less hose | |
| module ShapedBlock() { | |
| difference() { | |
| SpliceBlock(); | |
| HoseProfile(); | |
| } | |
| } | |
| //———- | |
| // Build them | |
| if (Layout == "Hose") | |
| HoseProfile(); | |
| if (Layout == "Block") | |
| SpliceBlock(); | |
| if (Layout == "Bottom") | |
| BottomPlate(); | |
| if (Layout == "Top") | |
| TopPlate(); | |
| if (Layout == "Show") { | |
| difference() { | |
| SpliceBlock(); | |
| HoseProfile(); | |
| } | |
| color("Green",0.25) | |
| HoseProfile(); | |
| } | |
| if (Layout == "Build") { | |
| SliceOffset = TestFit && !NumScrews%2 ? ScrewOC.x/2 : 0; | |
| intersection() { | |
| translate([SliceOffset,0,Block.z/4]) | |
| if (TestFit) | |
| cube([ScrewOC.x/2,4*Block.y,Block.z/2],center=true); | |
| else | |
| cube([4*Block.x,4*Block.y,Block.z/2],center=true); | |
| union() { | |
| translate([0,0.6*Block.y,Block.z/2]) | |
| ShapedBlock(); | |
| translate([0,-0.6*Block.y,Block.z/2]) | |
| rotate([0,180,0]) | |
| ShapedBlock(); | |
| } | |
| } | |
| } |