Ed Nisley's Blog: Shop notes, electronics, firmware, machinery, 3D printing, laser cuttery, and curiosities. Contents: 100% human thinking, 0% AI slop.
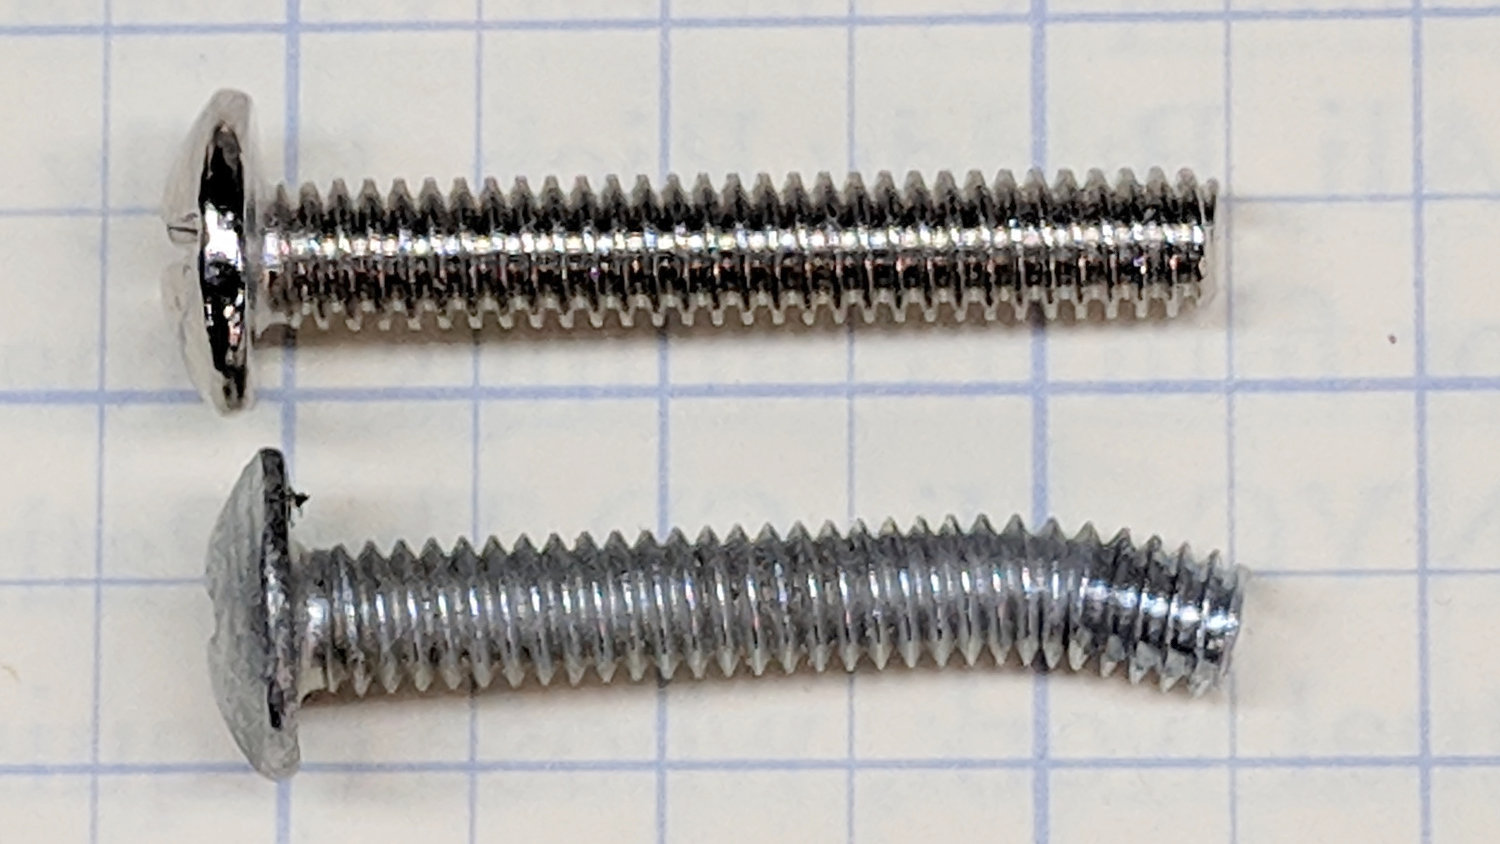
I managed to snag a cargo pocket on the under-sink drawer knob in the Black Bathroom:
Bathroom knob – bent screw
Did a job on the pocket, too, although after Mary was done with it, you’d never know.
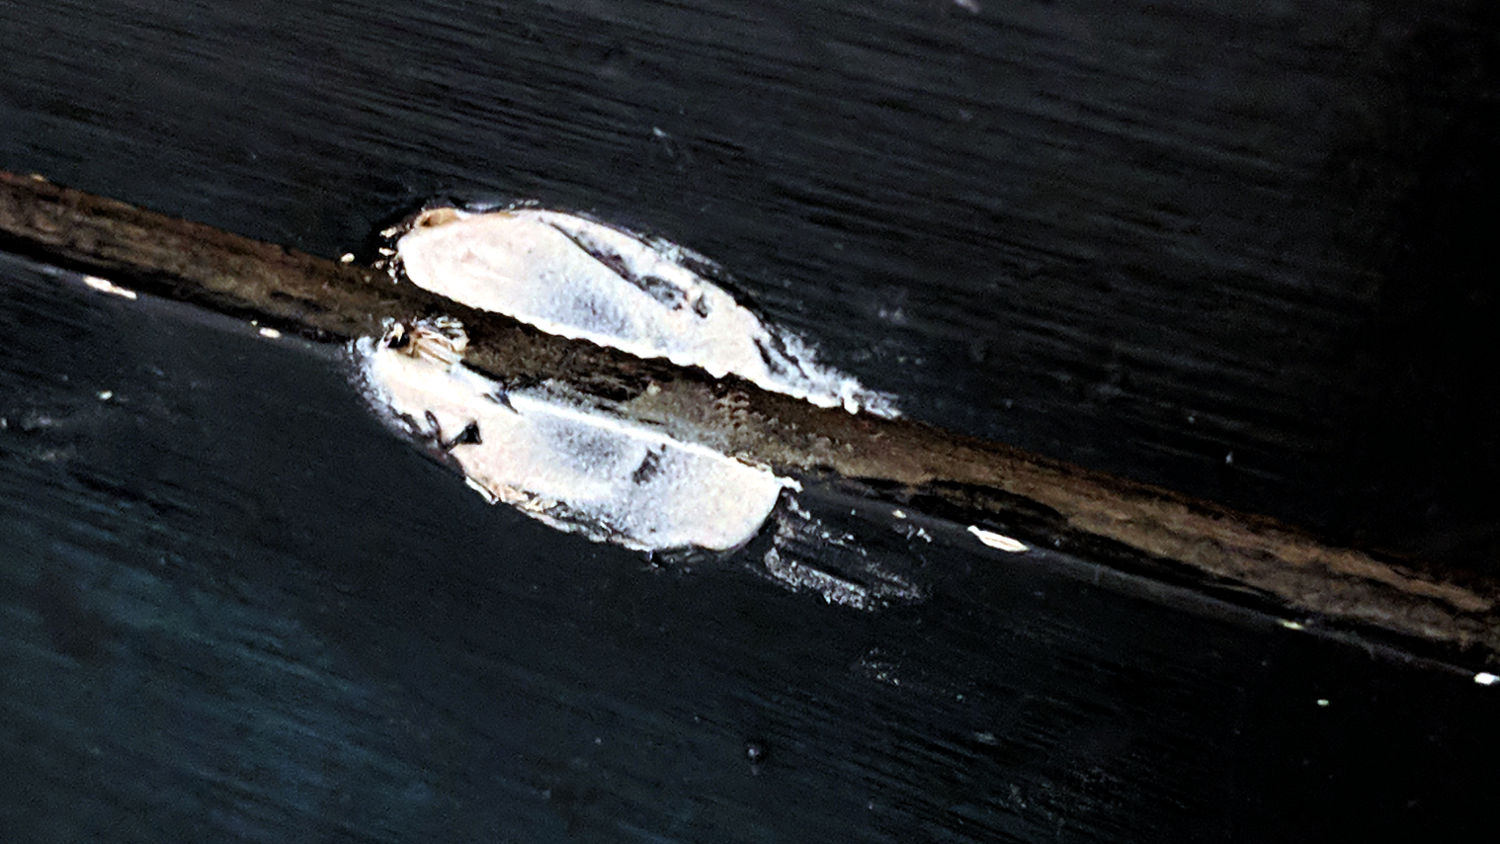
With that much of a bend in the screw, the knob left a nasty divot in the drawer front requiring a layer of wood-filled epoxy:
Bathroom knob – filled divot
I sanded it more-or-less flush with the surface, taking great pains to not scuff the surrounding paint. A similar layer fills the corresponding divot under the screw head inside the front.
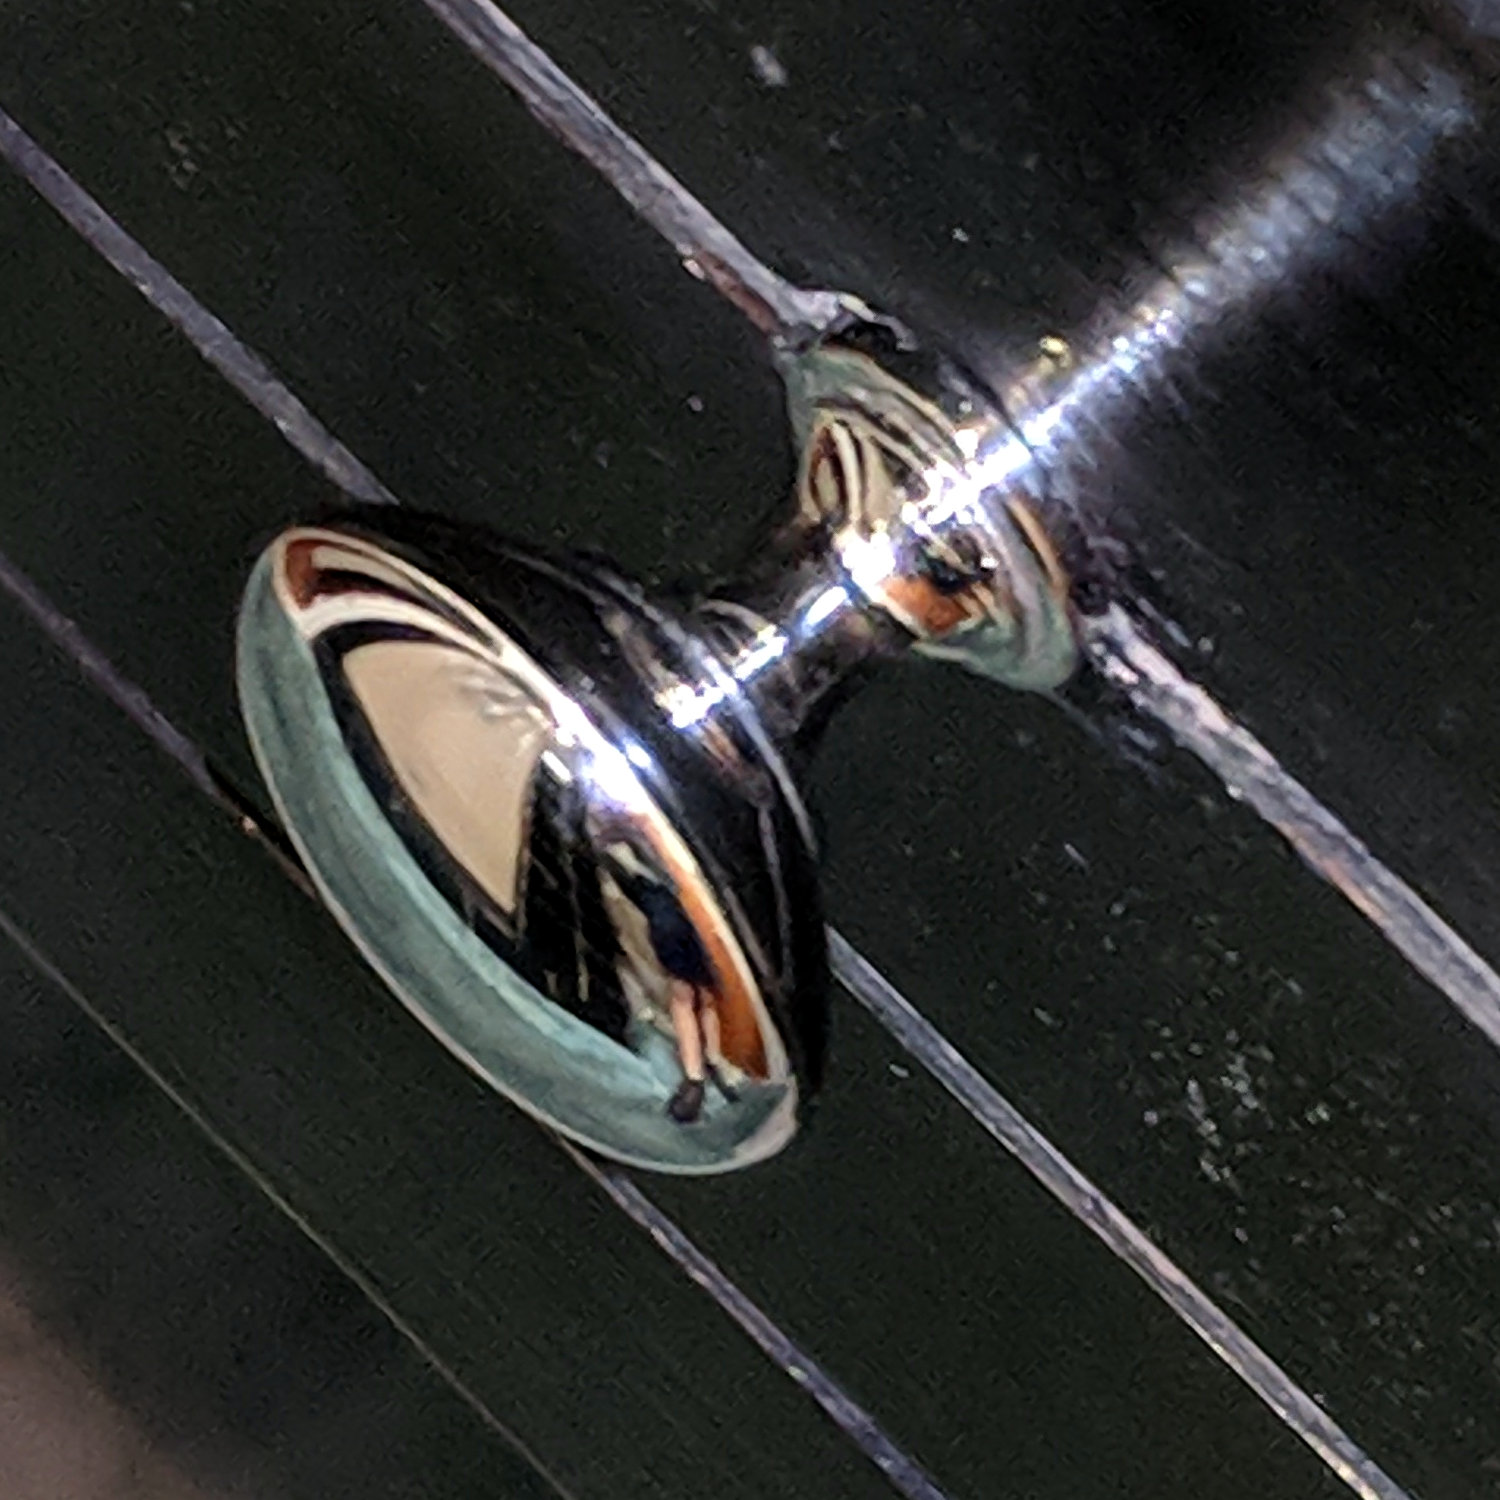
Despite appearances, only about 1/8 inch of the epoxy peeked around the knob, so I painted it black with a Sharpie, ran the knob onto the screw, and declared victory:
Bathroom knob – restored
I’ll (try to) (remember to) stand further back from the knob …
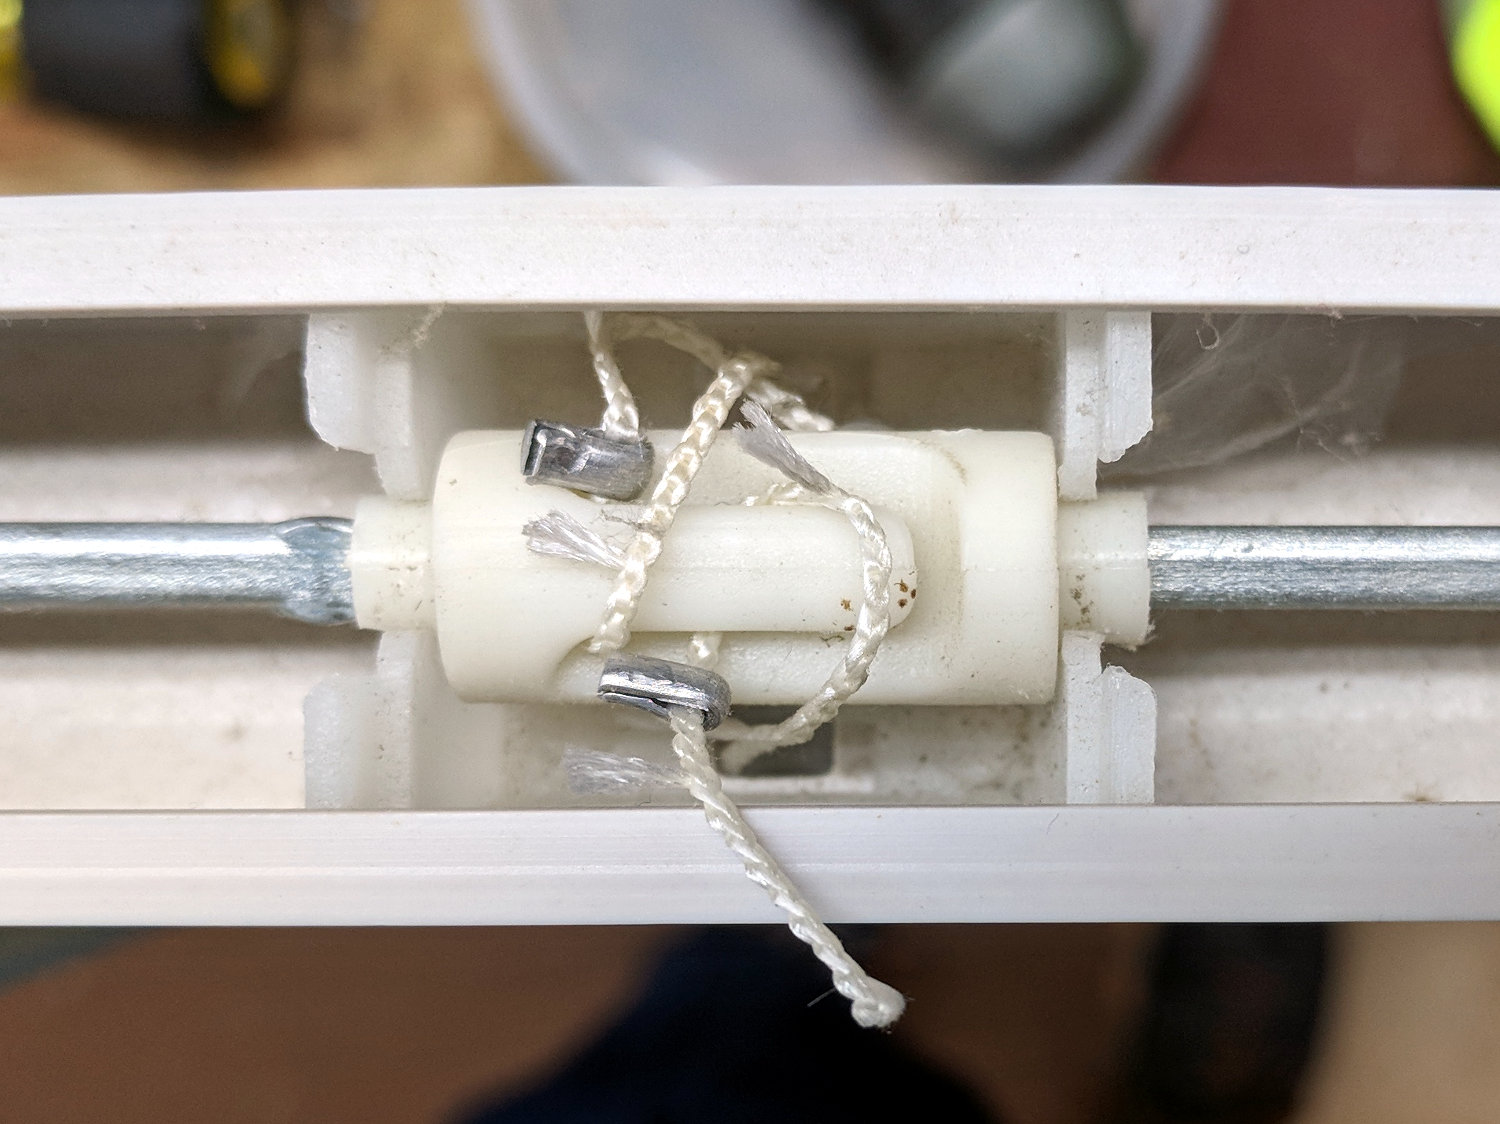
The rod along the left side of our miniblinds turns a shaft spanning the length of the housing which pulls-and-releases three pairs of cords tilting the blades, with one roller for each pair. The cords loop over, pass under, and are secured to a tab on the roller with metal ferrules, thusly:
Miniblind roller – intact
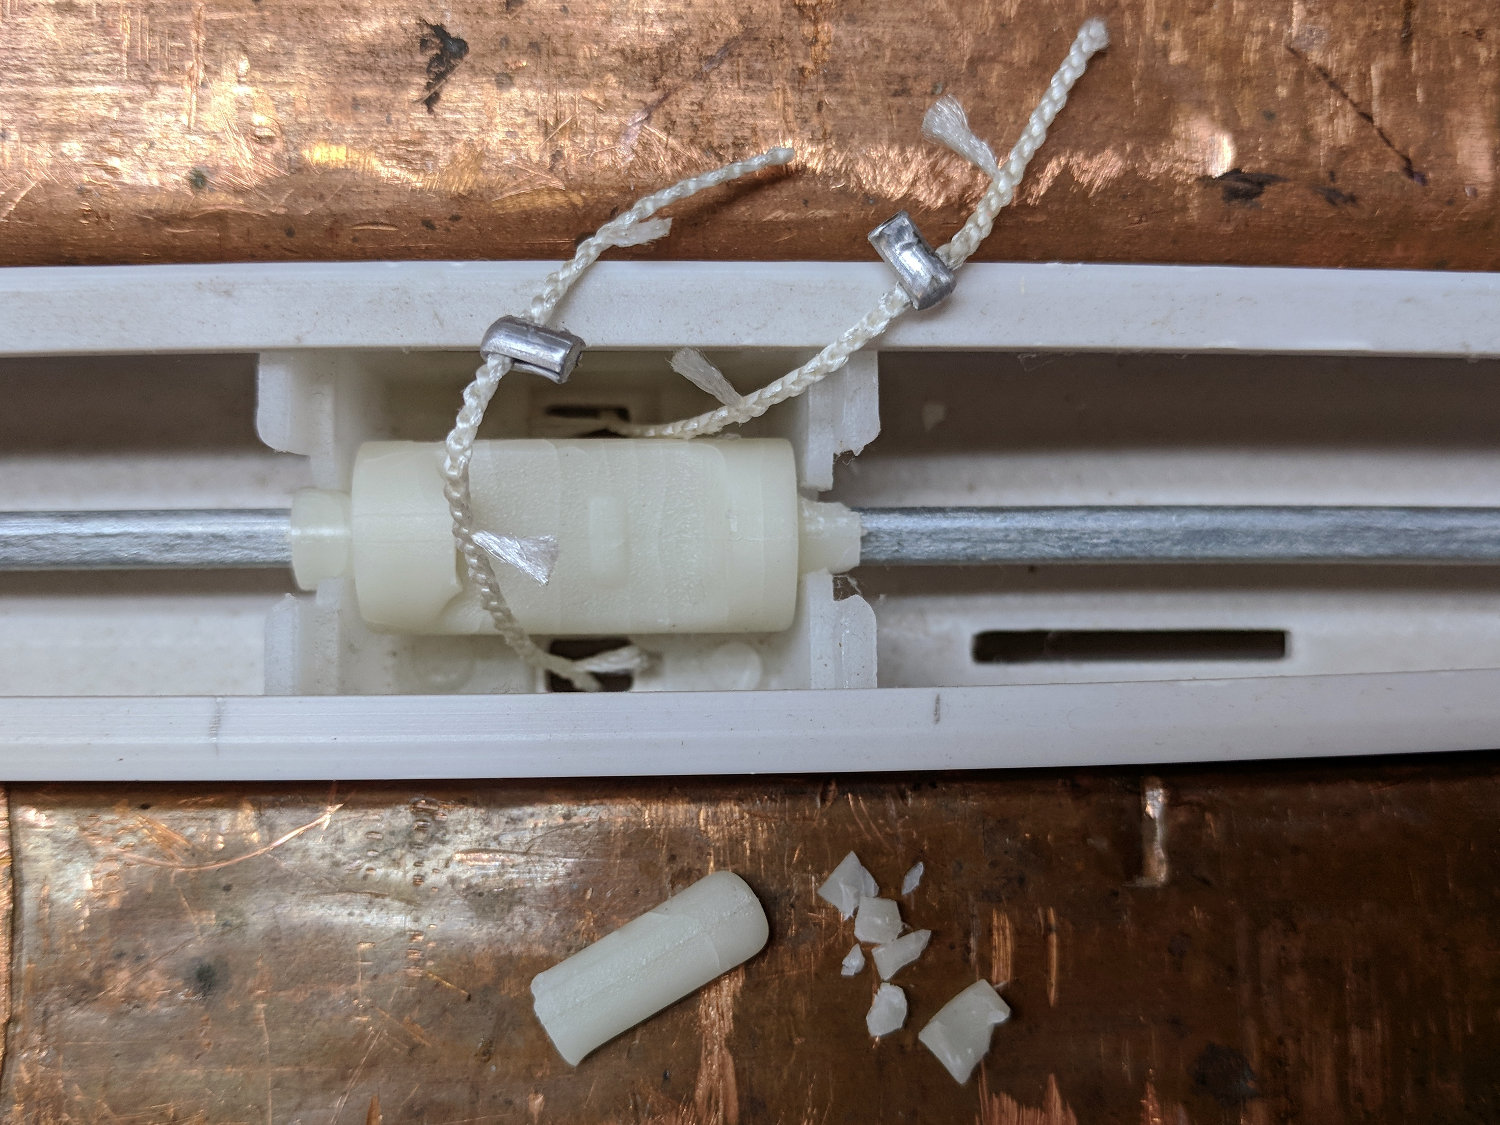
One day, the middle section of all the blades on one miniblind stopped tilting, prompting this discovery:
So I laid the cords in place, put the broken tab atop them, and held the mess together with a strip of the obligatory Kapton tape:
Miniblind roller – repositioned tab
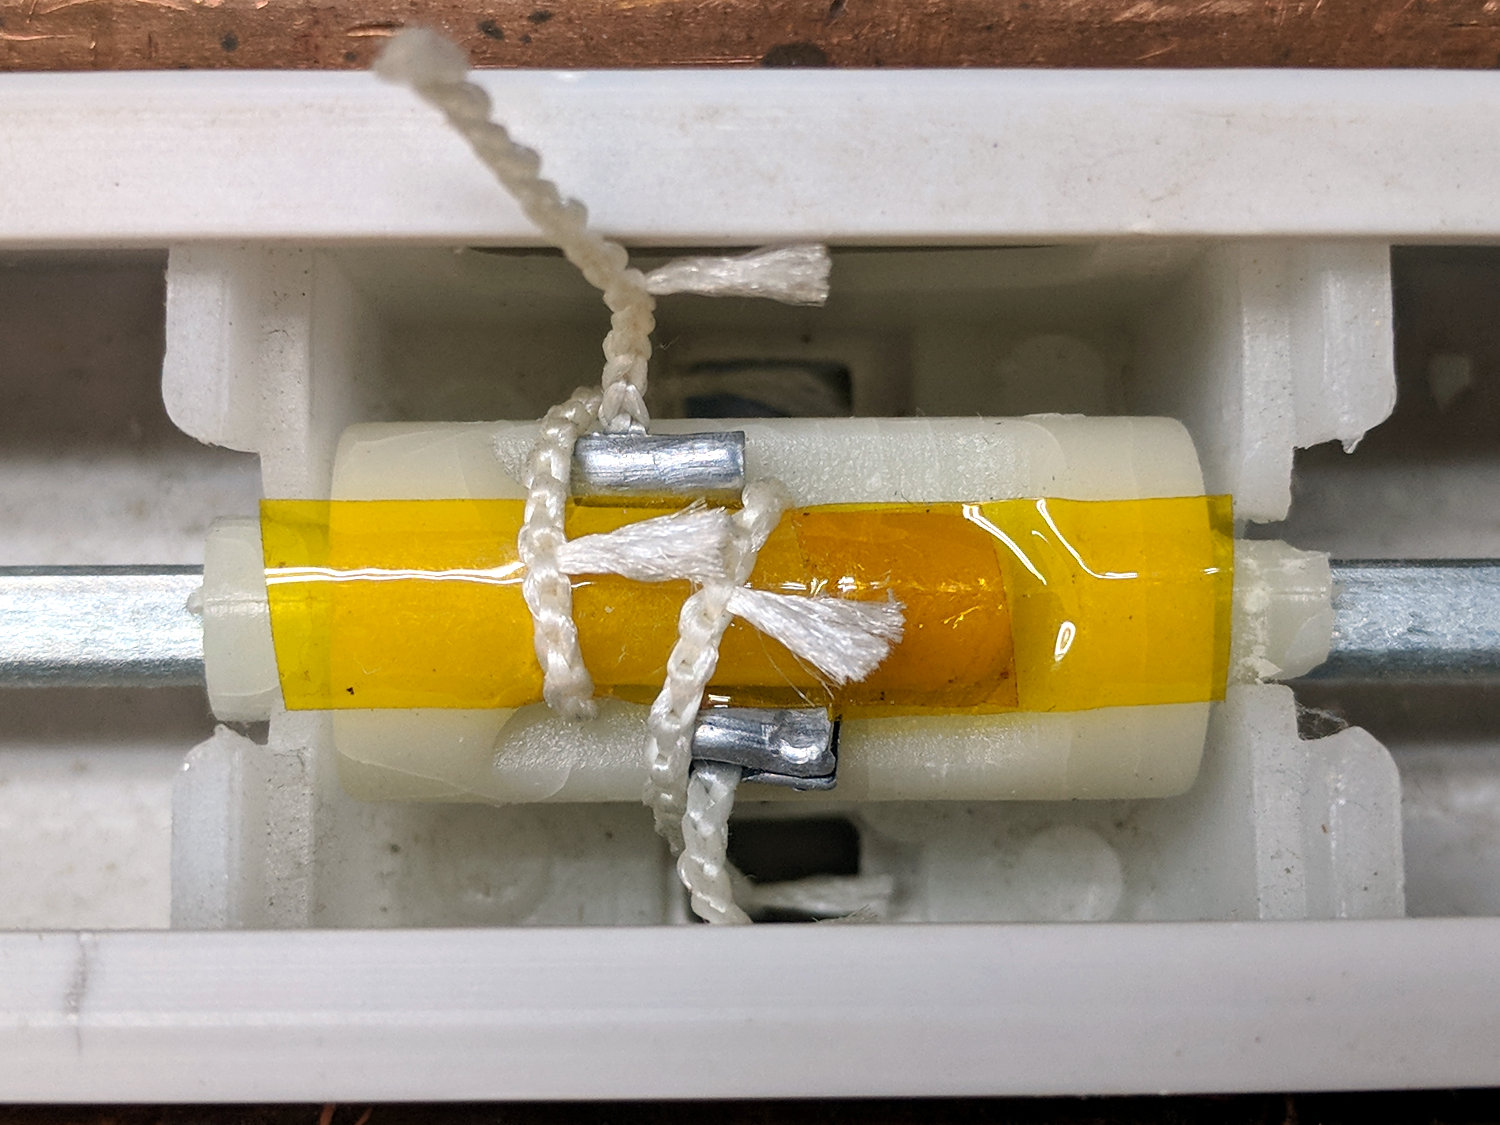
Easing some epoxy under the tab and soaking the cords atop the tape held everything together in approximately the original layout:
Miniblind roller – epoxy backfill
Two days after I reinstalled the miniblind, a second roller broke and was restored by a similar treatment. While I had the thing on the bench clamped in the bench vise, I preemptively slobbered epoxy on the intact roller in the hope of reinforcing it.
A cousin asked if my 3D printer could replace some figures gone missing from their old Fireball Island game board, a classic apparently coming out in a new & improved version.
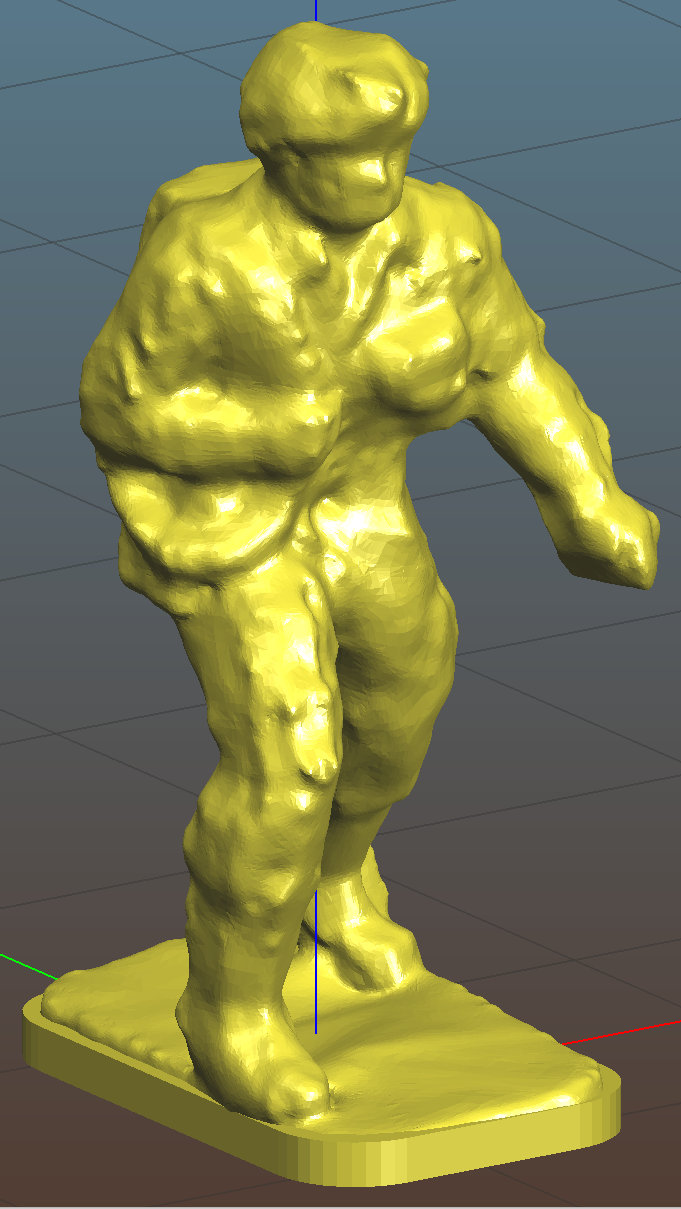
Unfortunately, the left arm requires support, which Slic3r supplies with great exuberance:
Fireball Island figure – Slic3r support
The vast tower on the figure’s right side (our left) seemed completely unnecessary, not to mention I have no enthusiasm for the peril inherent in chopping away so much plastic, so I replaced it with a simple in-model pillar:
Figure Support Mods
The pillar leans from an adhesion-enhancing lily pad and ends one layer below the left hand, with all dimensions and angles chosen on the fly to make the answer come out right.
Works like a champ:
Fireball Island Figures – orange – on platform
The dark band down the middle comes from the Pixel’s shutter.
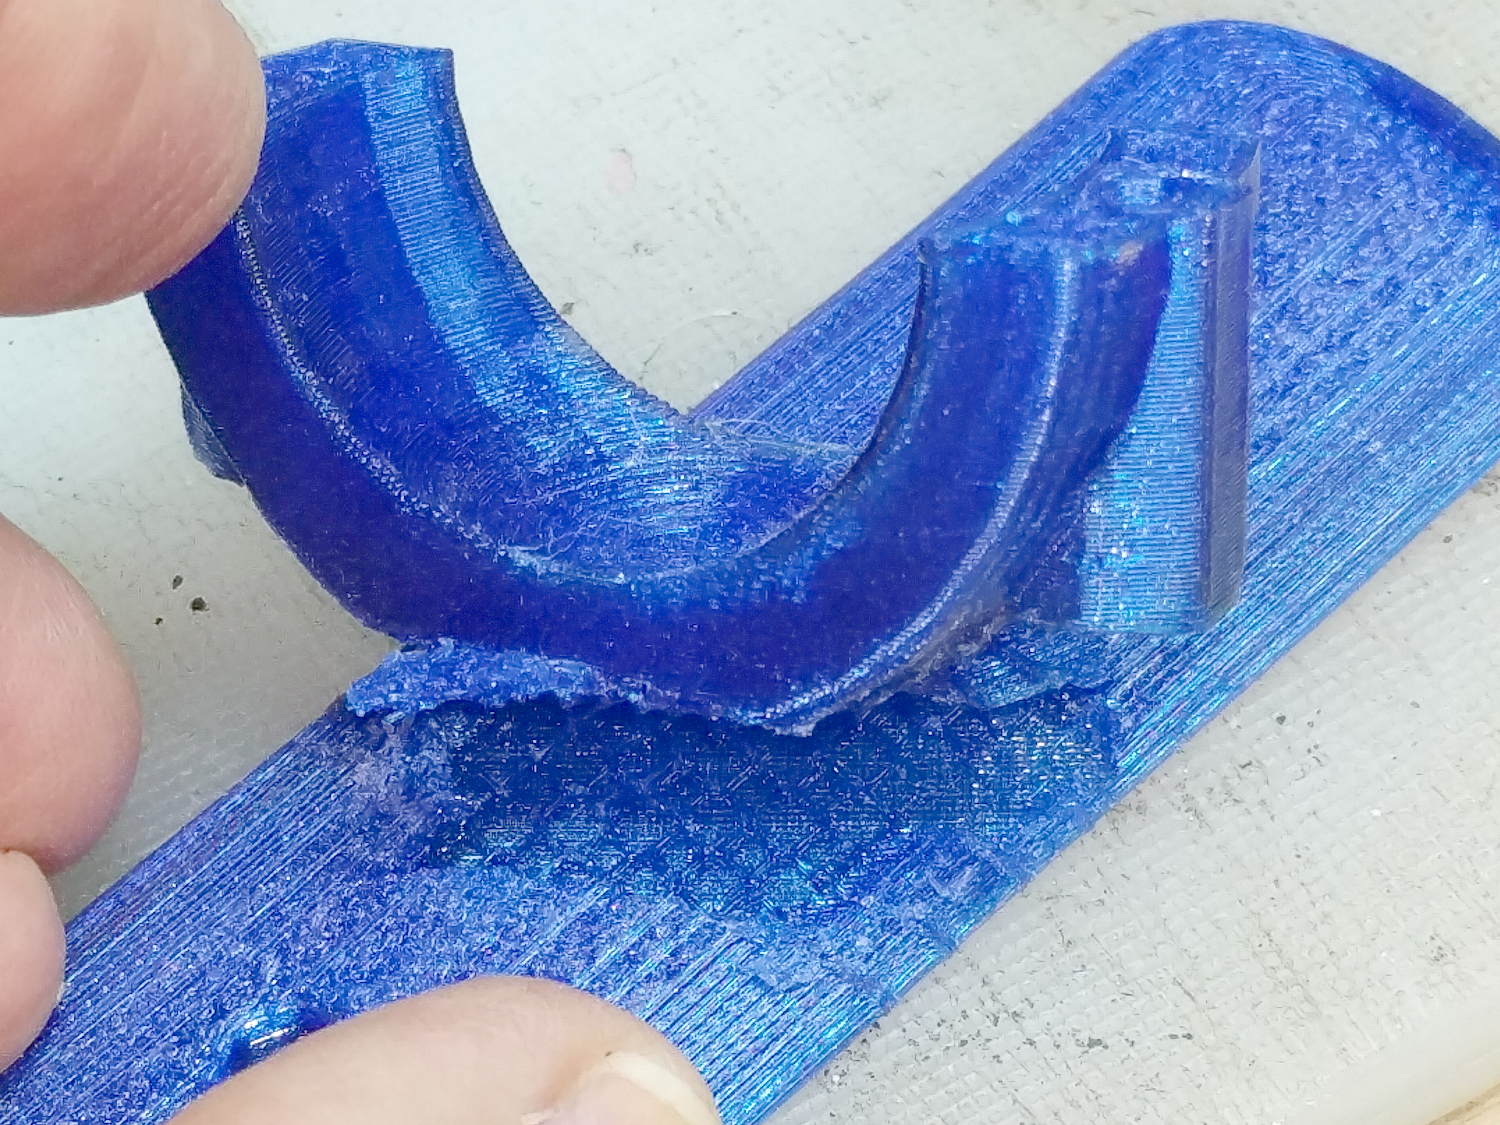
They emerged with some PETG hair, the removal of which I left as an end-user experience.
I mailed a small box containing figures printed in my (limited!) palette of four colors, some spares Just In Case™, and a few QC rejects showing the necessity of lily pads.
This file contains hidden or bidirectional Unicode text that may be interpreted or compiled differently than what appears below. To review, open the file in an editor that reveals hidden Unicode characters.
Learn more about bidirectional Unicode characters
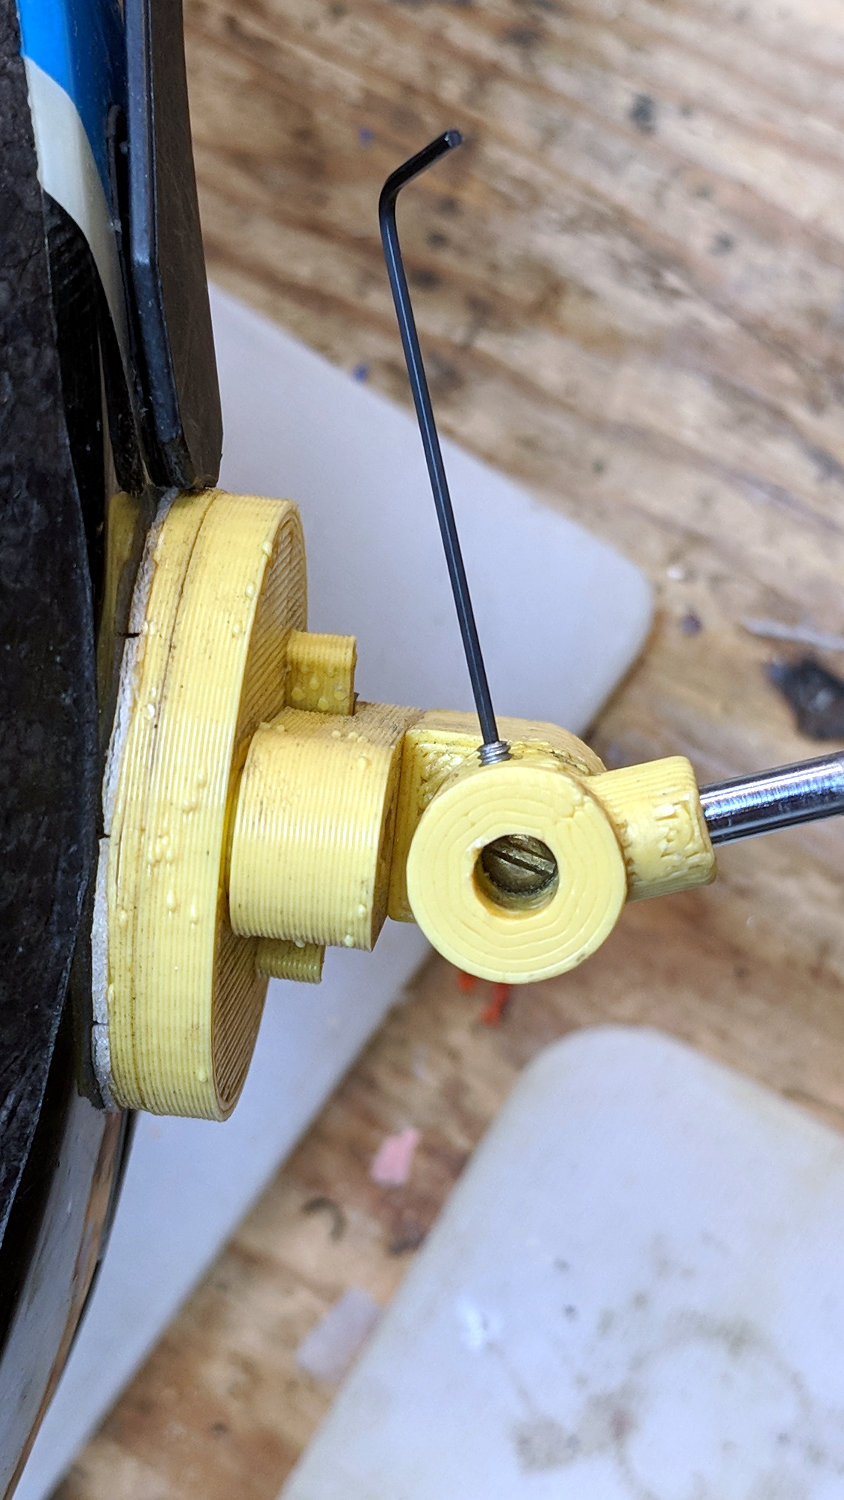
That’s a 0.035 inch = 35 mil hex wrench, of which Eks reminds me “Any time your design requires a tiny [obscene gerund] wrench, you’re doing it wrong”.
It’s certainly the shapeliest hydrant I’ve ever seen.
Of course, you need a special tool to remove the main cap, after which some internal lockwork releases the side caps, after which you can spin the valve stem recessed under the top cover. One hopes all those little bits continue sliding and releasing after a few decades, but … the status quo apparently isn’t all that good, either.
After a few days of downtime, an Official Makergear Thermistor arrived and is now installed amid a dab of heatsink compound:
M2 – Thermistor with heatsink compound
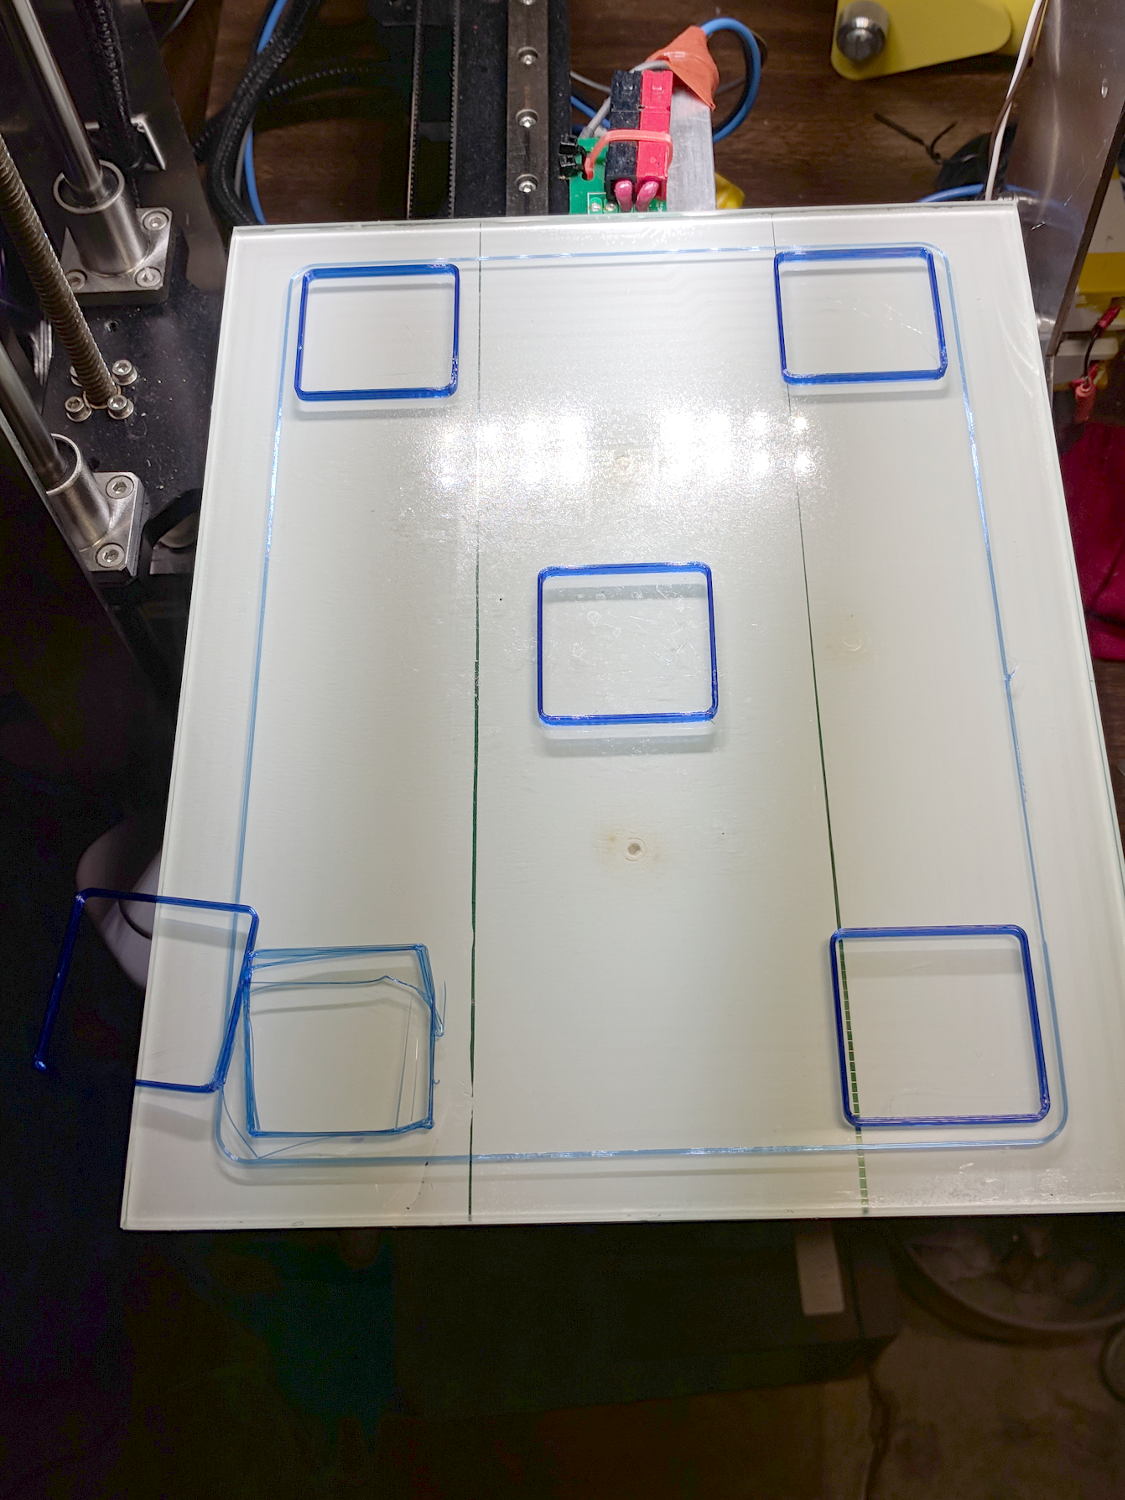
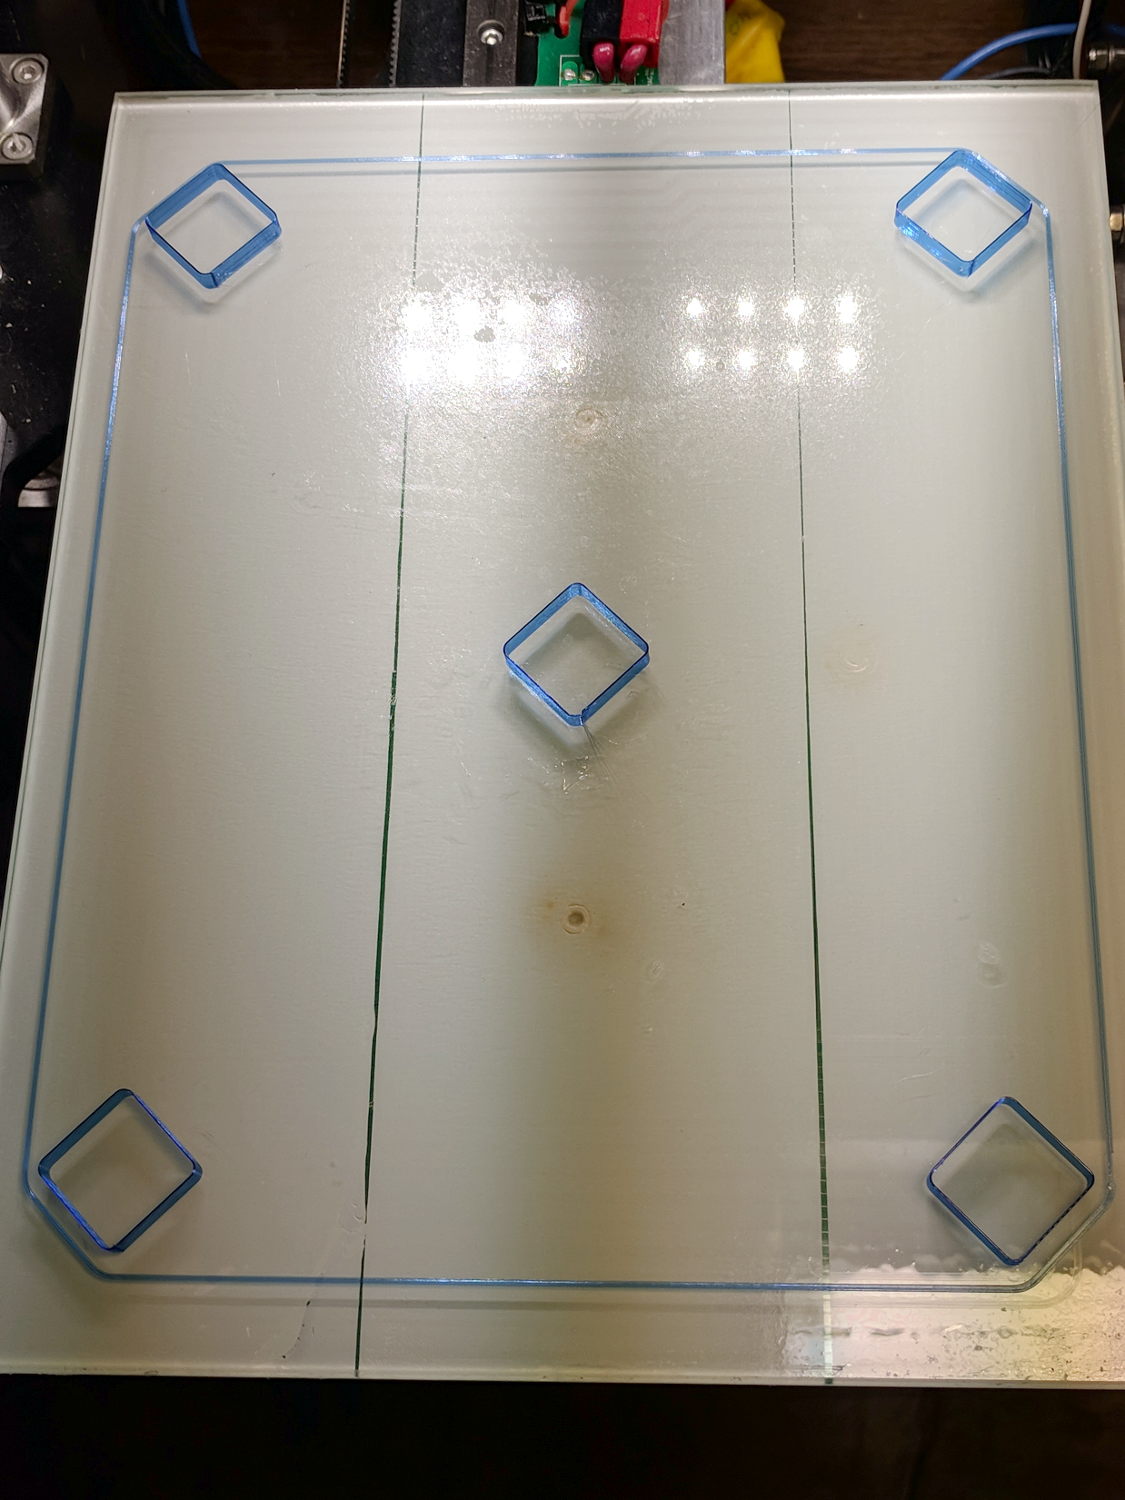
With the hot end set a bit higher than usual, position the platform at Z=0, lower the nozzle to be flat on the platform, tighten the lock screw, then run off a set of large calibration squares:
M2 – Nozzle Z Offset Recal – first test
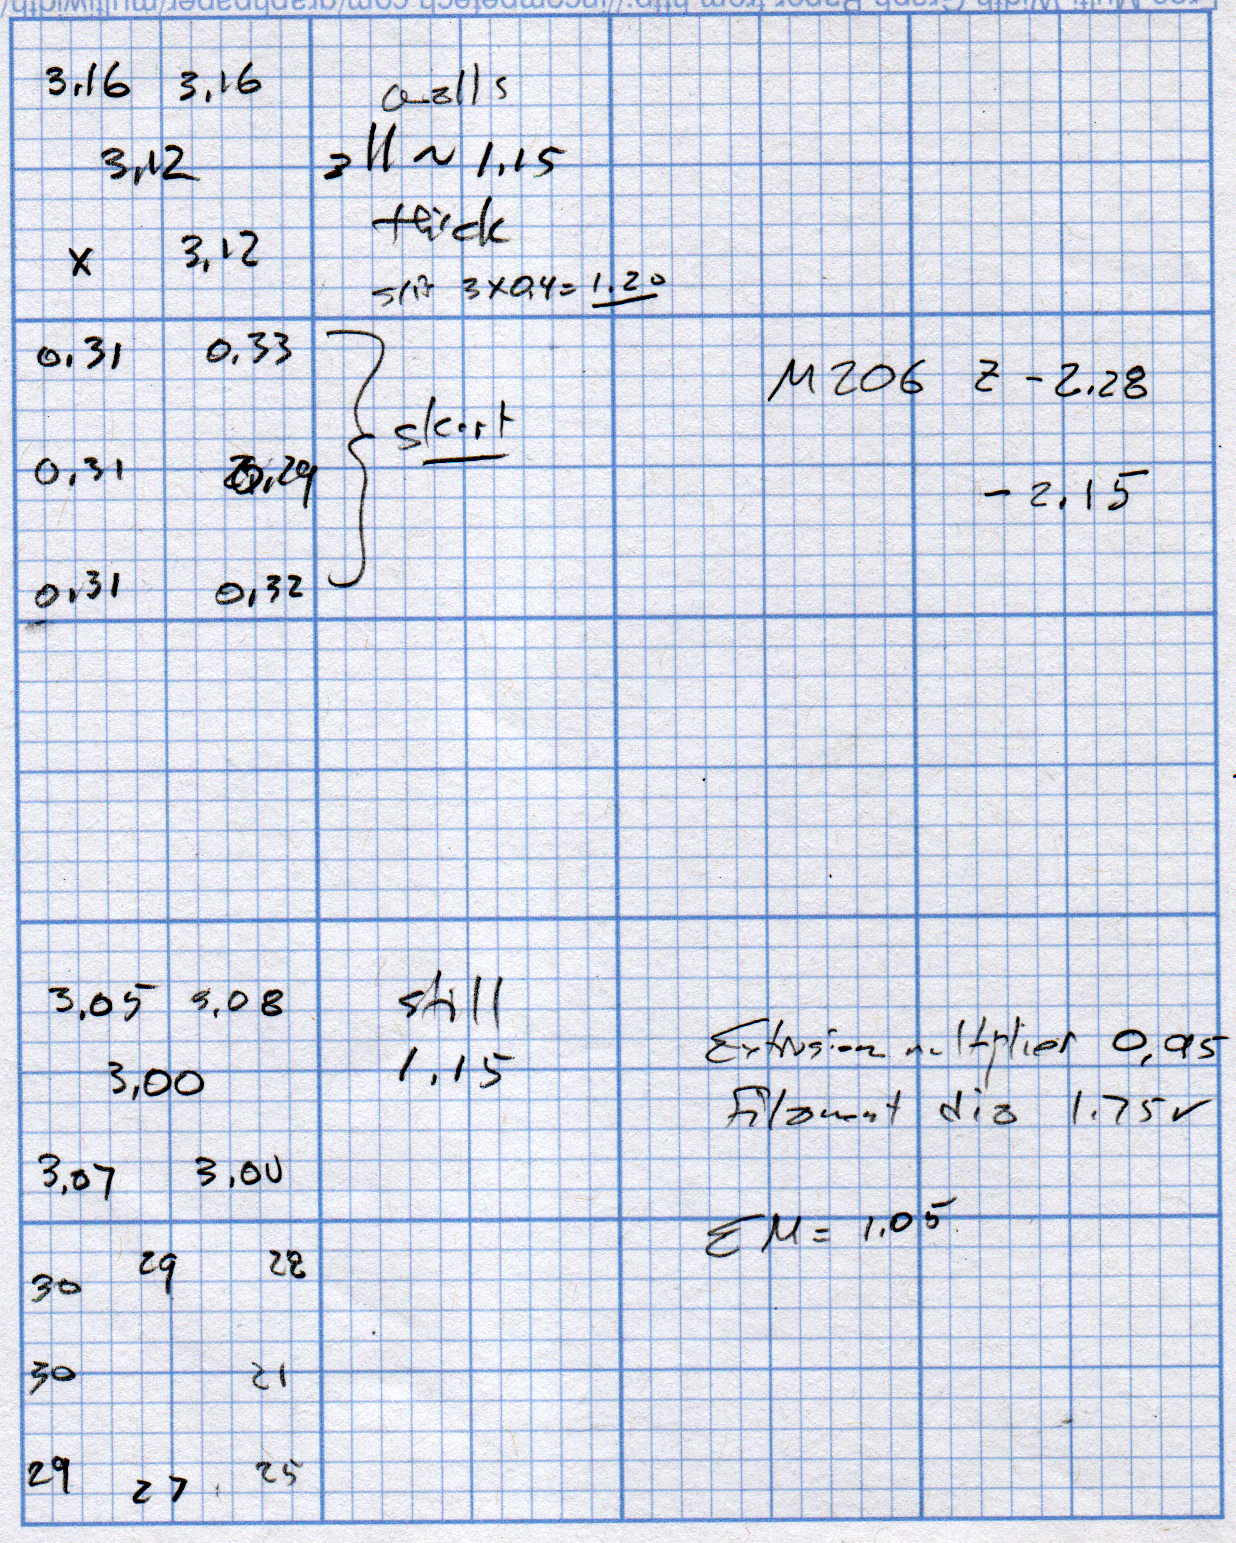
The scrambled square in the front left says the Z=0 nozzle position came out just a bit too far above the platform and, indeed, the measurements (upper left numbers) say it’s off by 0.15-ish mm:
M2 Nozzle and Platform Re-Cal Measurements
Probably a little PETG stuck to the nozzle; I hate adjusting things when they’re burning hot.
The walls are also thin by a smidge, but the first order of business is to reset the Z offset with M206 Z=-2.15. With that in hand, the second set of squares came out at 3.00 to 3.08 mm (lower left numbers), which I defined to be Close Enough.
The 0.08 mm variation across the platform isn’t enough to worry about.
The first skirt threads were too thick and not solidly bonded together, but the second skirt came out normally, with a thickness from 0.21 through 0.30, which is also Good Enough.
The three-thread walls were still 1.15 mm, rather than 1.20 mm, so the EM should go from 0.95 to 0.95*1.20/1.15 = 1.05.
Next, a set of single-thread thinwall boxes to verify the Z offset and recheck the Extrusion Multiplier:
M2 – Nozzle Z Offset Recal – thinwall test
They’re dead on 3.00 mm tall, varying by not enough to worry about.
Their single-thread walls are 0.38 mm, not the intended 0.40, which suggests the EM should become 0.95*0.40/0.35 = 1.00.
It turns out the filament diameter at this part of the roll is scant of 1.75 mm, maybe 1.73 mm, so I decided to not fiddle with the EM.
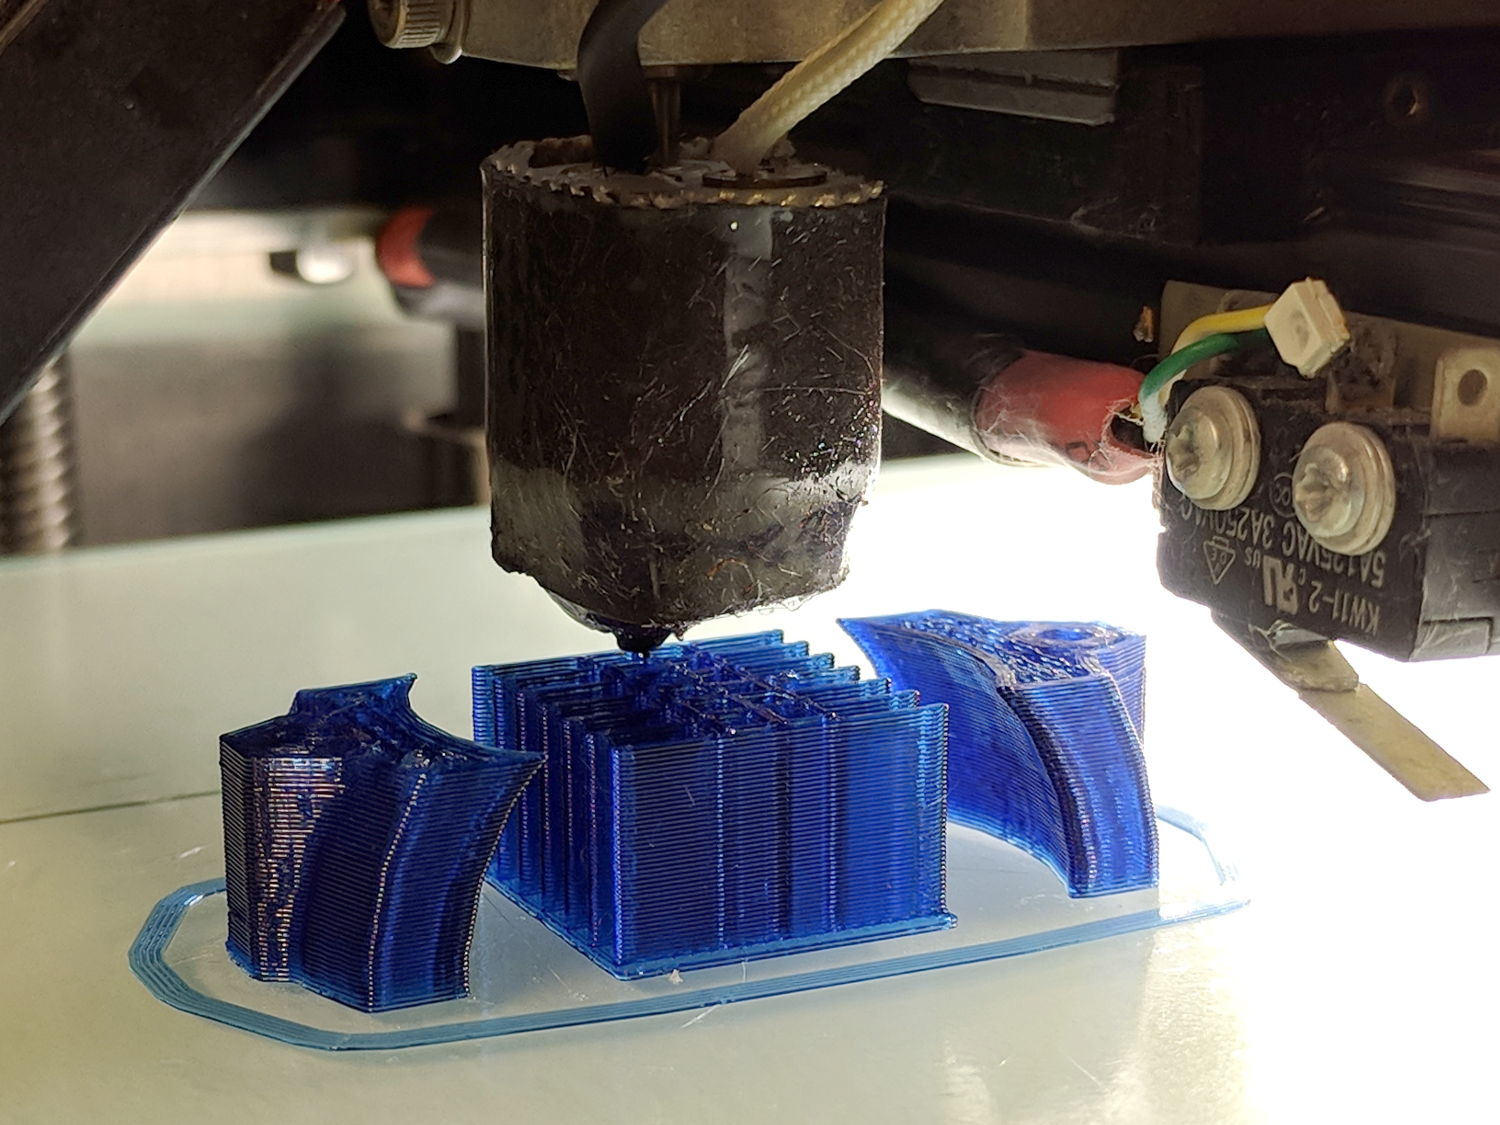
The flange around the bottom of the arch support grid (in the middle) is intentional; it’s not an overstuffed first layer. The clamp sections rise from the platform just like they grew there.
So the M2 is back in operation and I have a spare thermistor on the shelf!