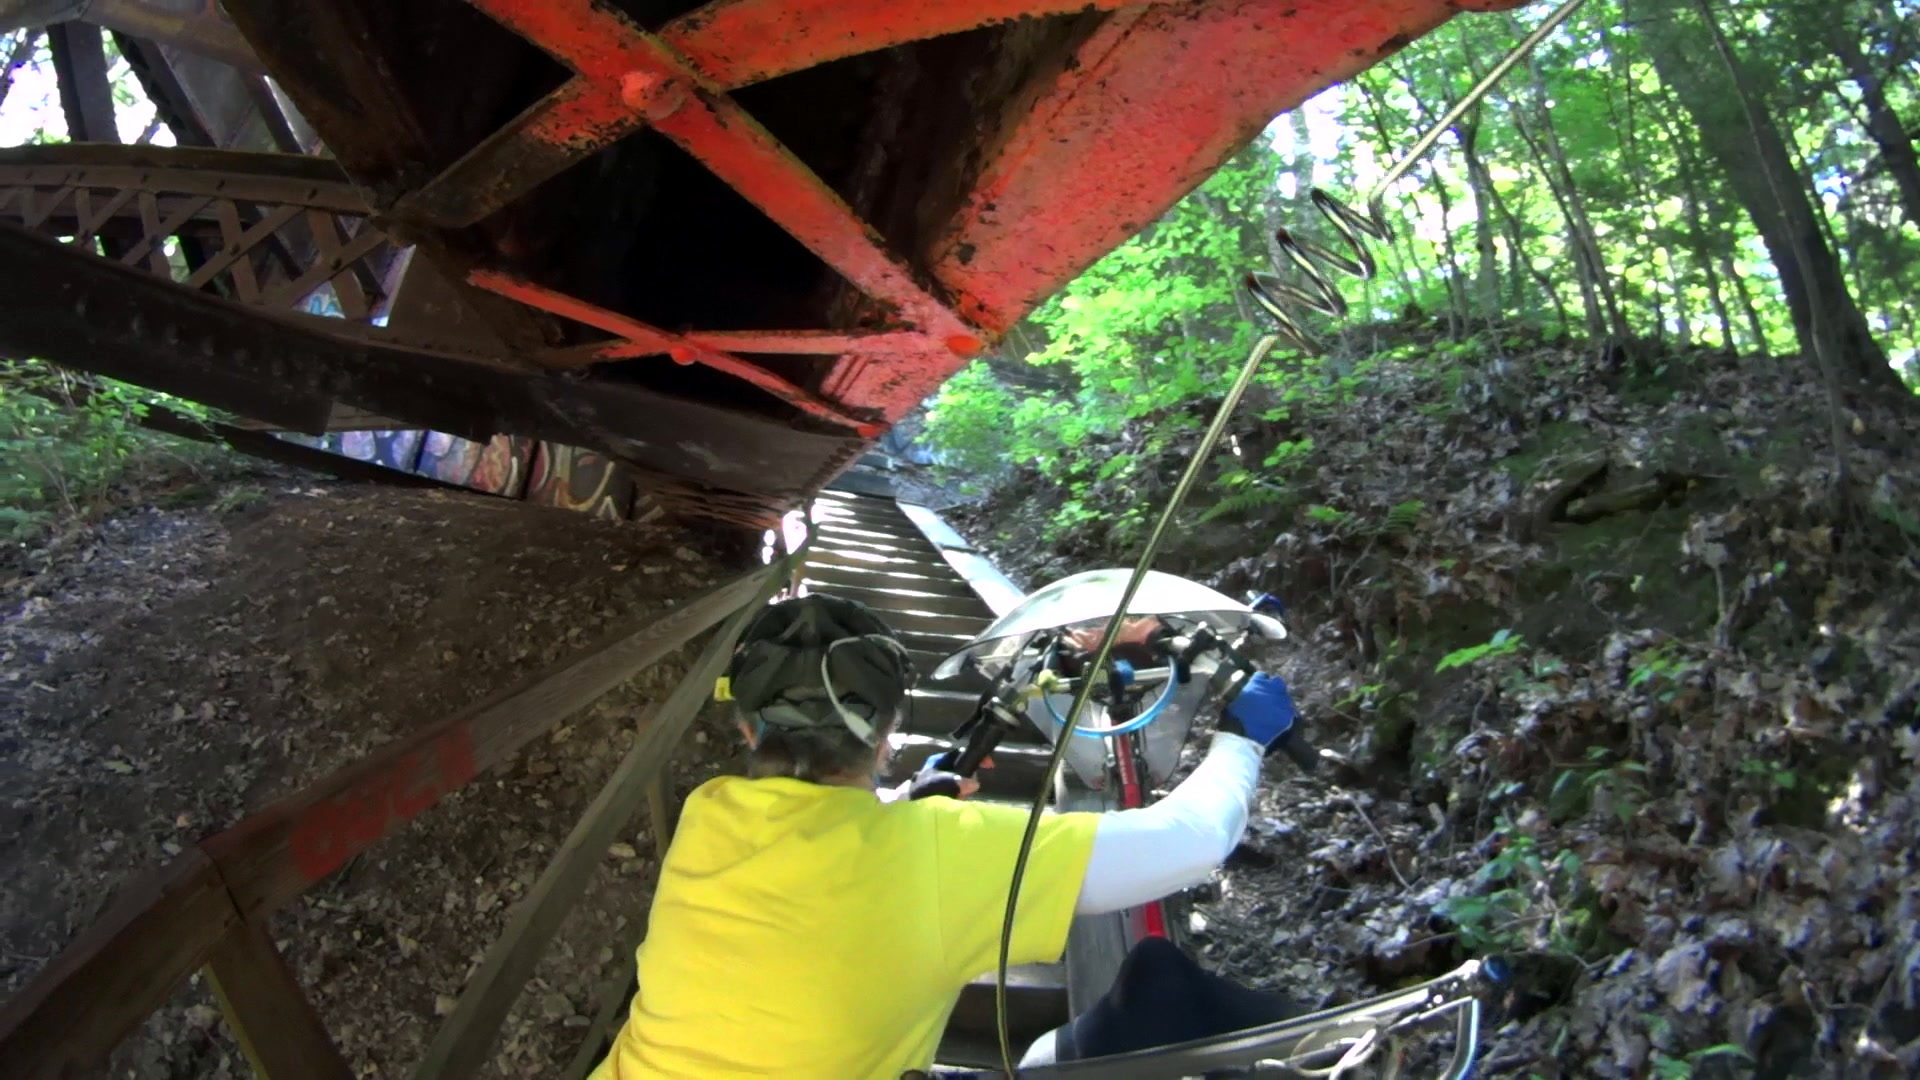
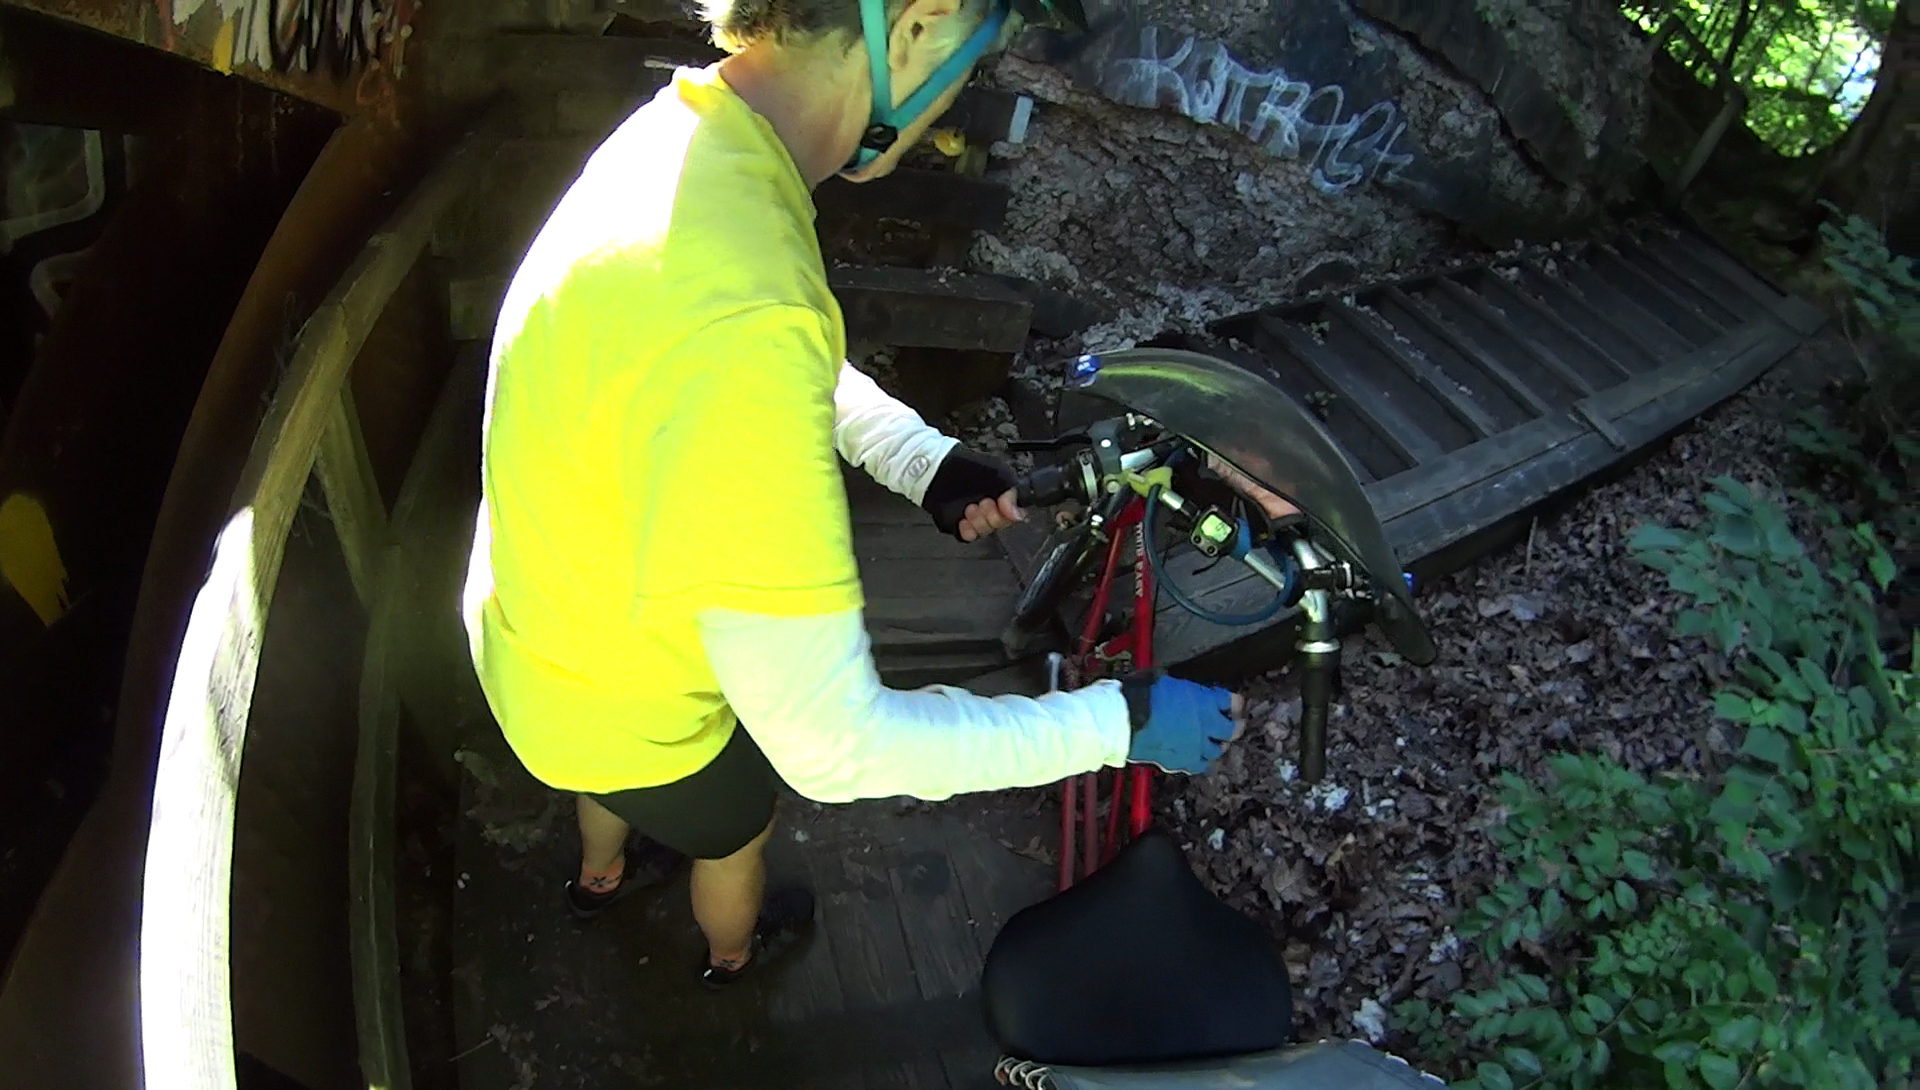
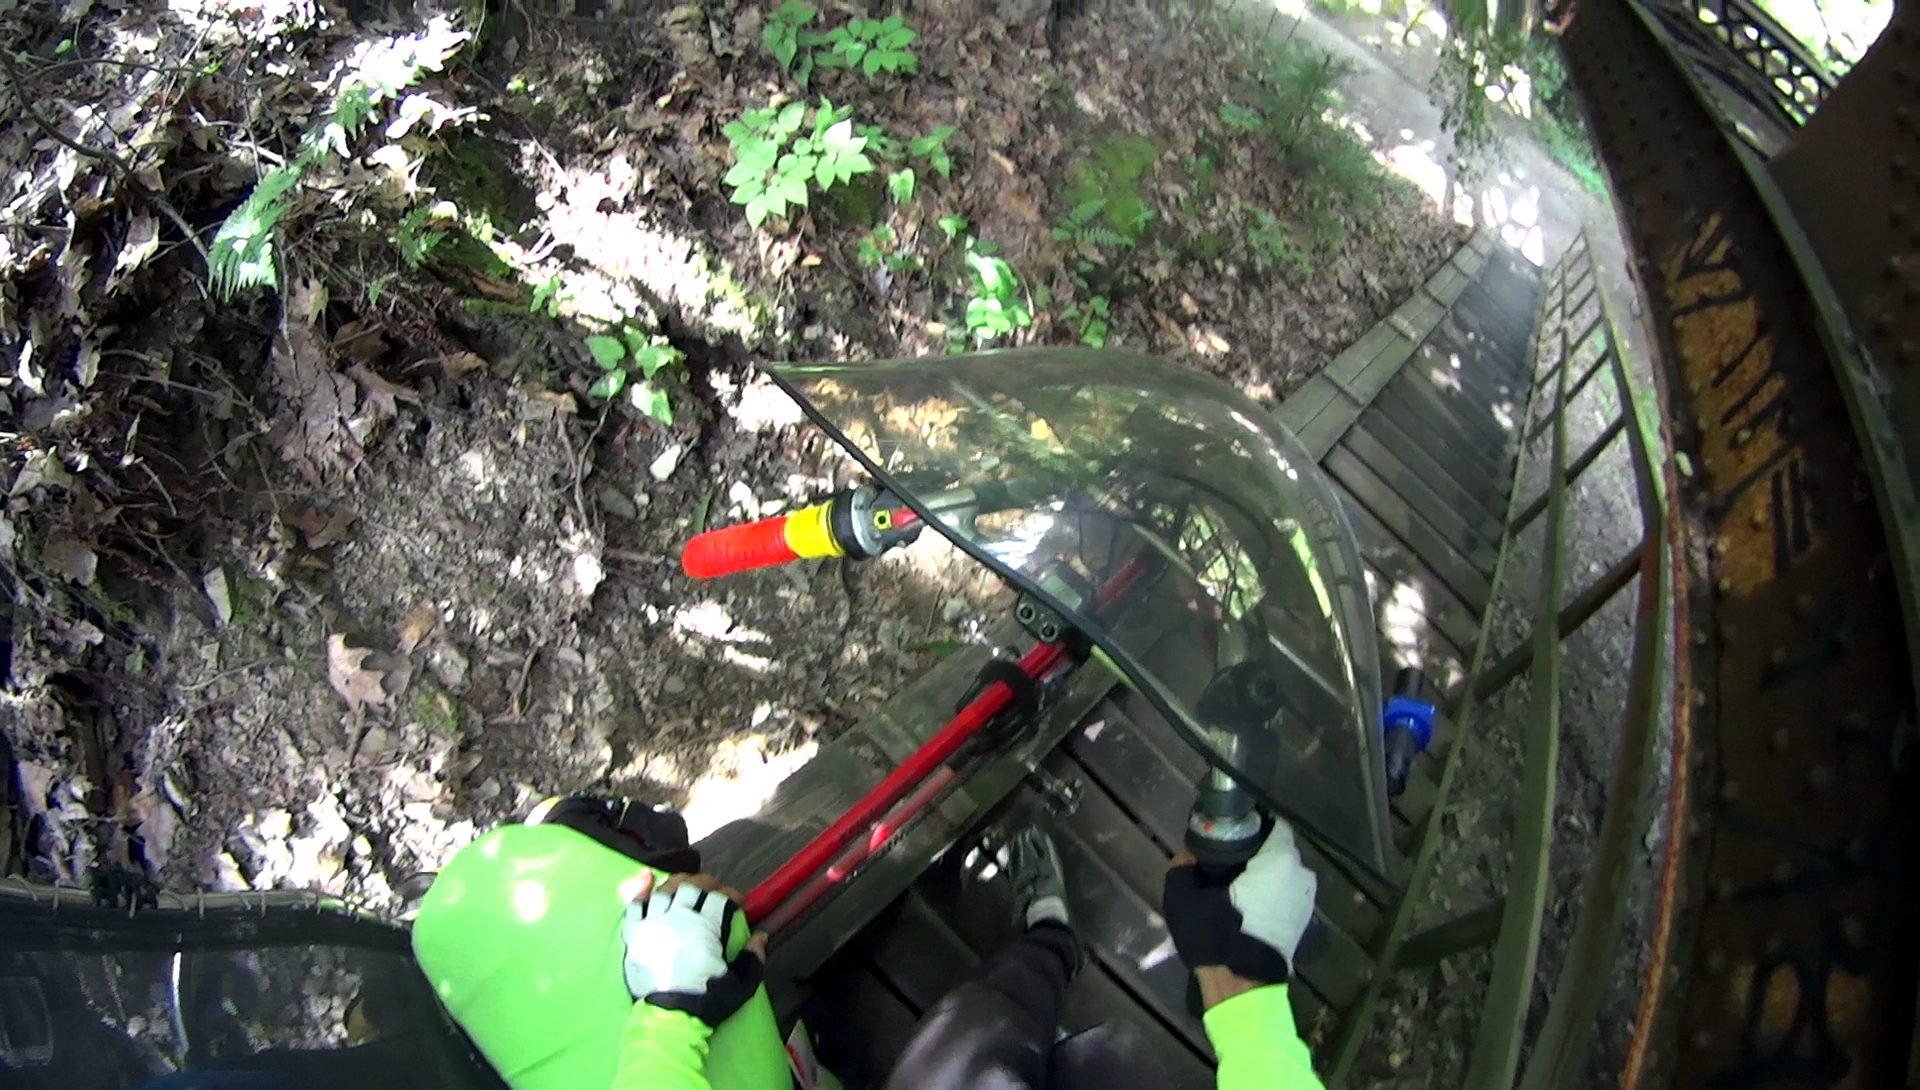
We negotiated the Belmar Bridge connection stairway from the Allegheny River Trail to the Sandy Creek trail:
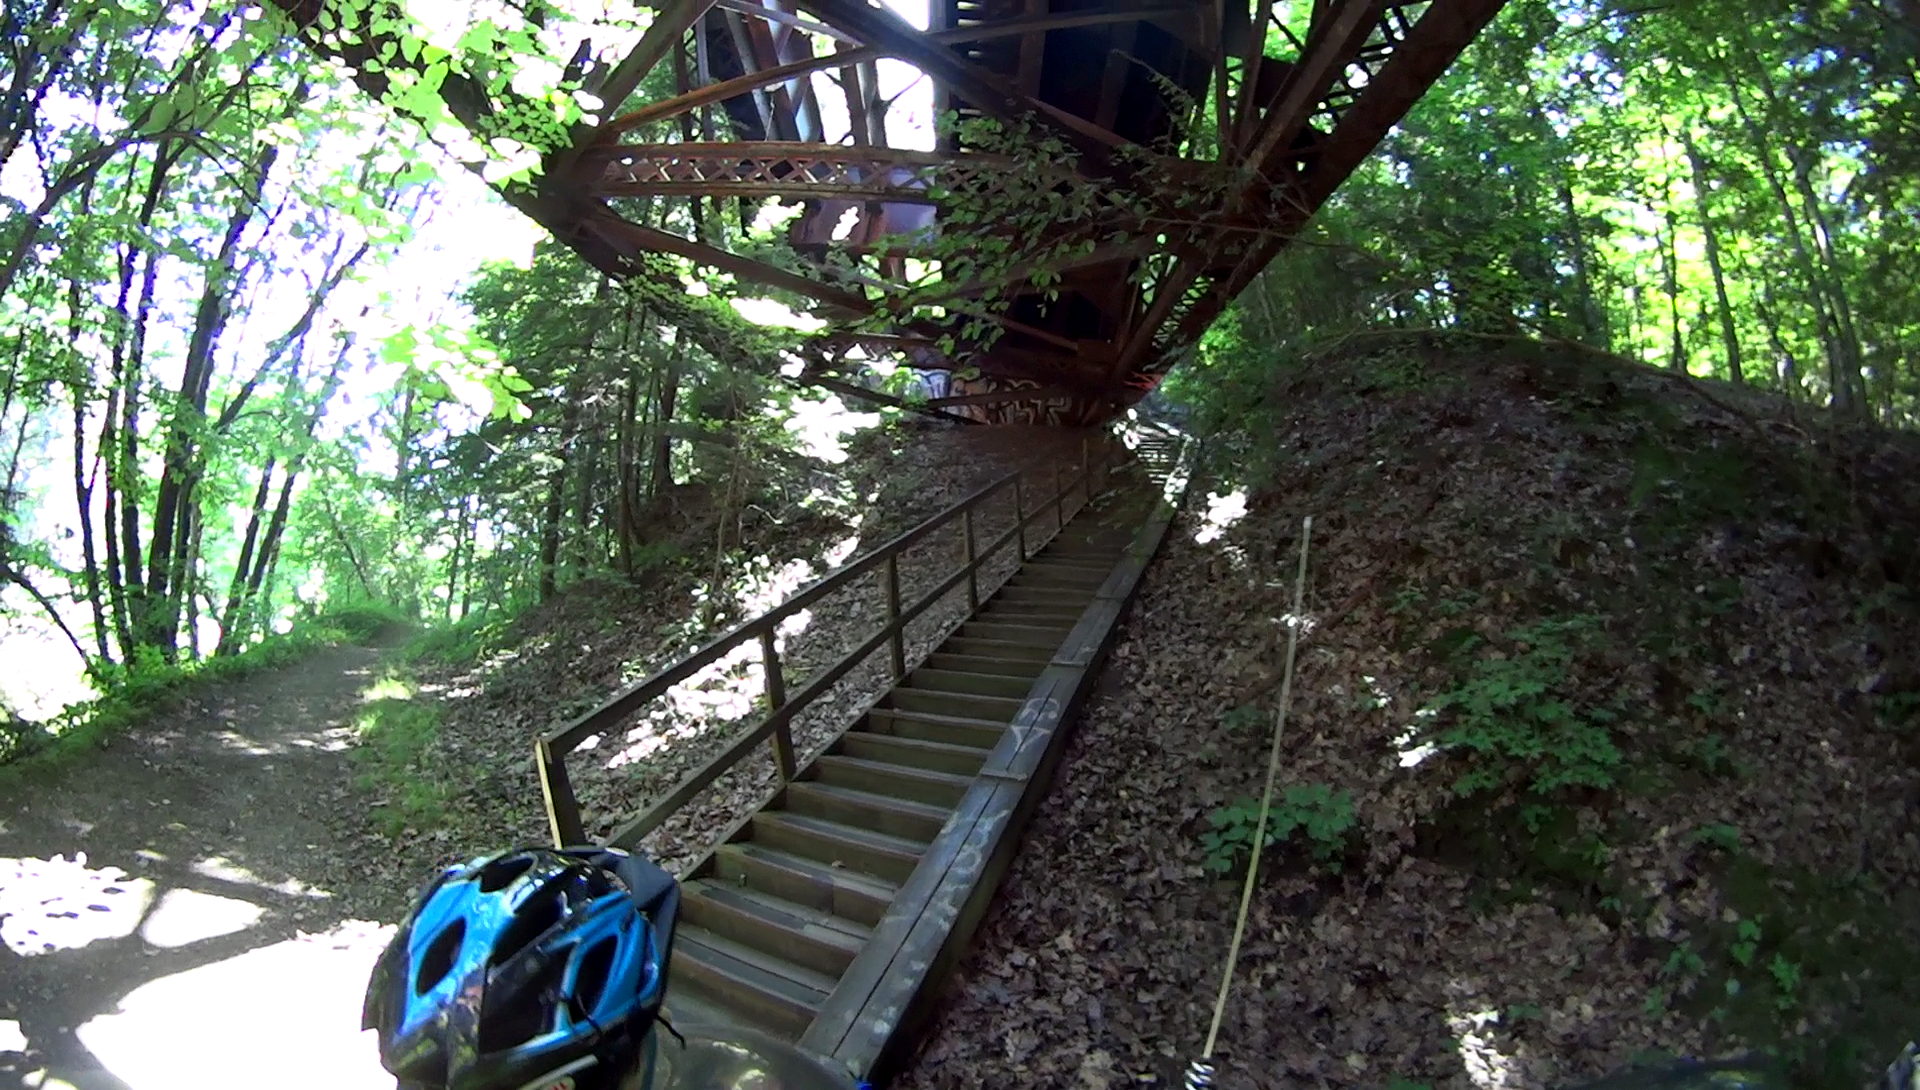
We’re maneuvering Mary’s bike, but you get the general idea. Our bikes aren’t built for stairways, particularly ones with low overheads:
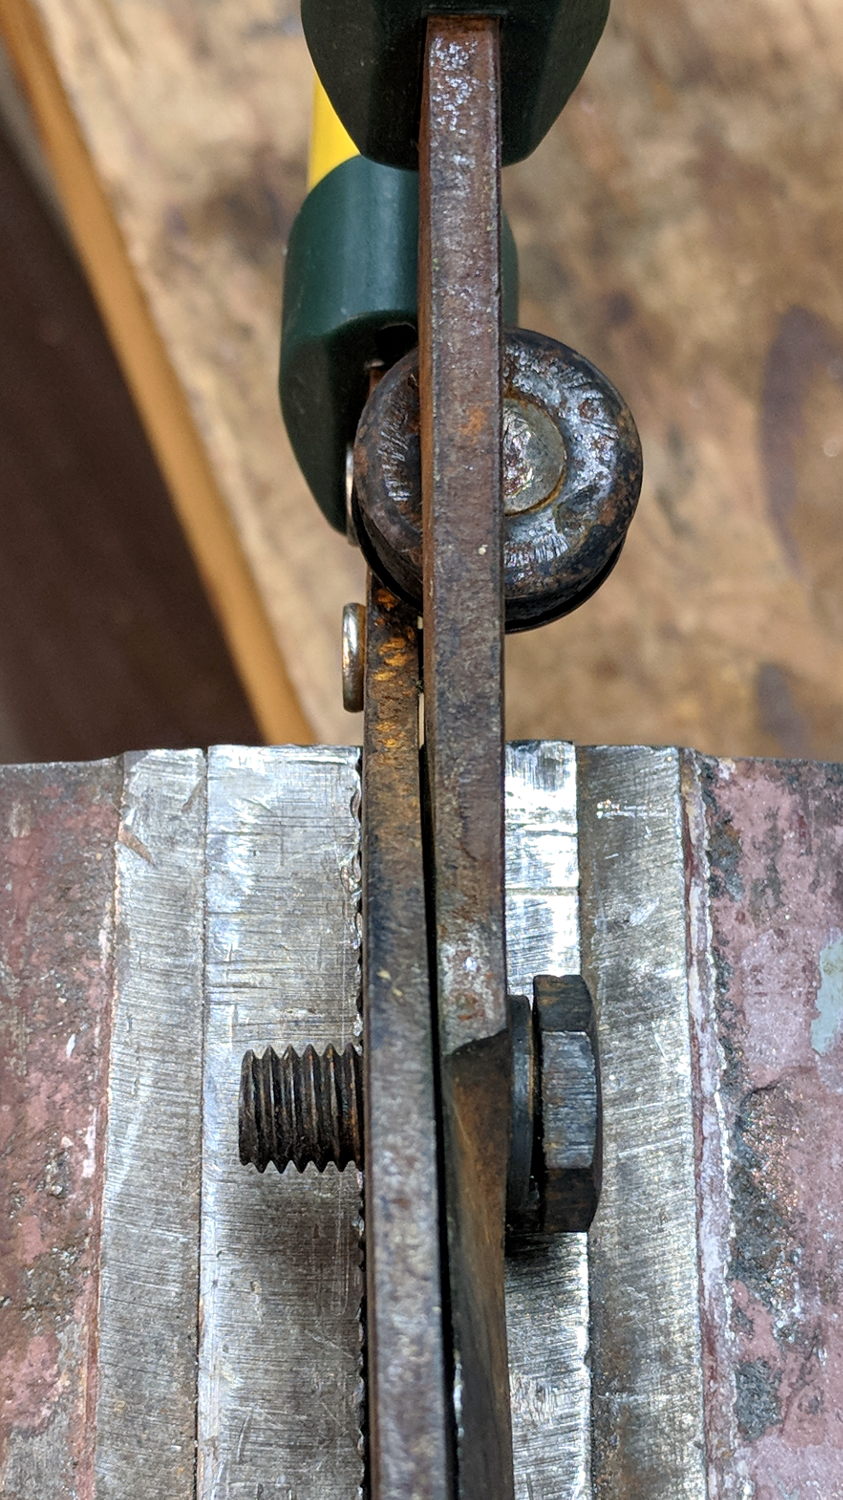
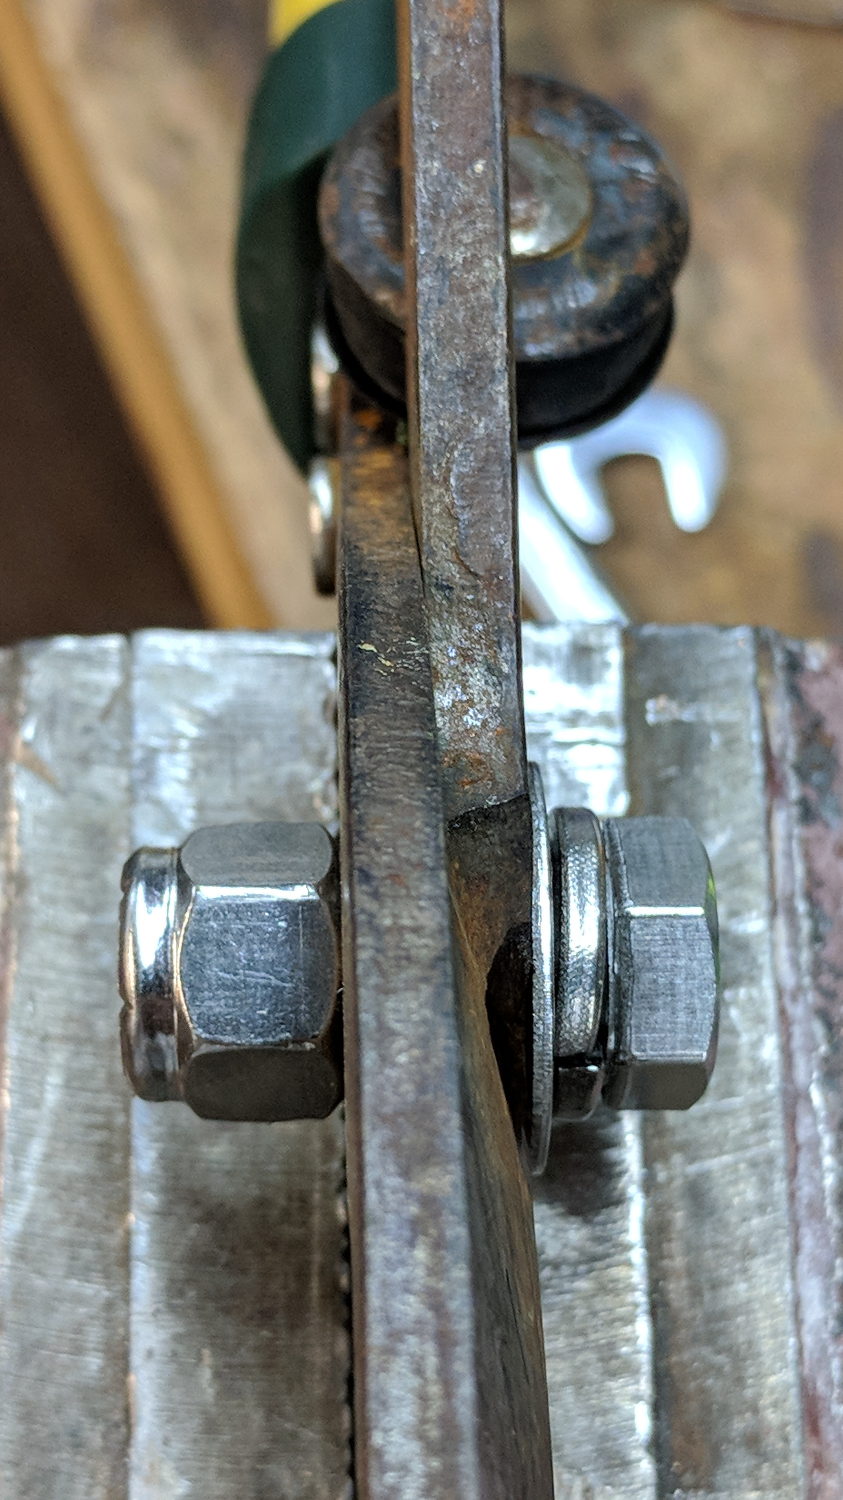
The front fender clip on my Tour Easy snapped (at the expected spots) when the mudflap snagged on one of the angles:
For some inexplicable reason, I didn’t have a roll of duct tape in my packs, so the temporary repair required a strip of tape from a battery pack, two snippets of hook-and-loop tape, and considerable muttering:
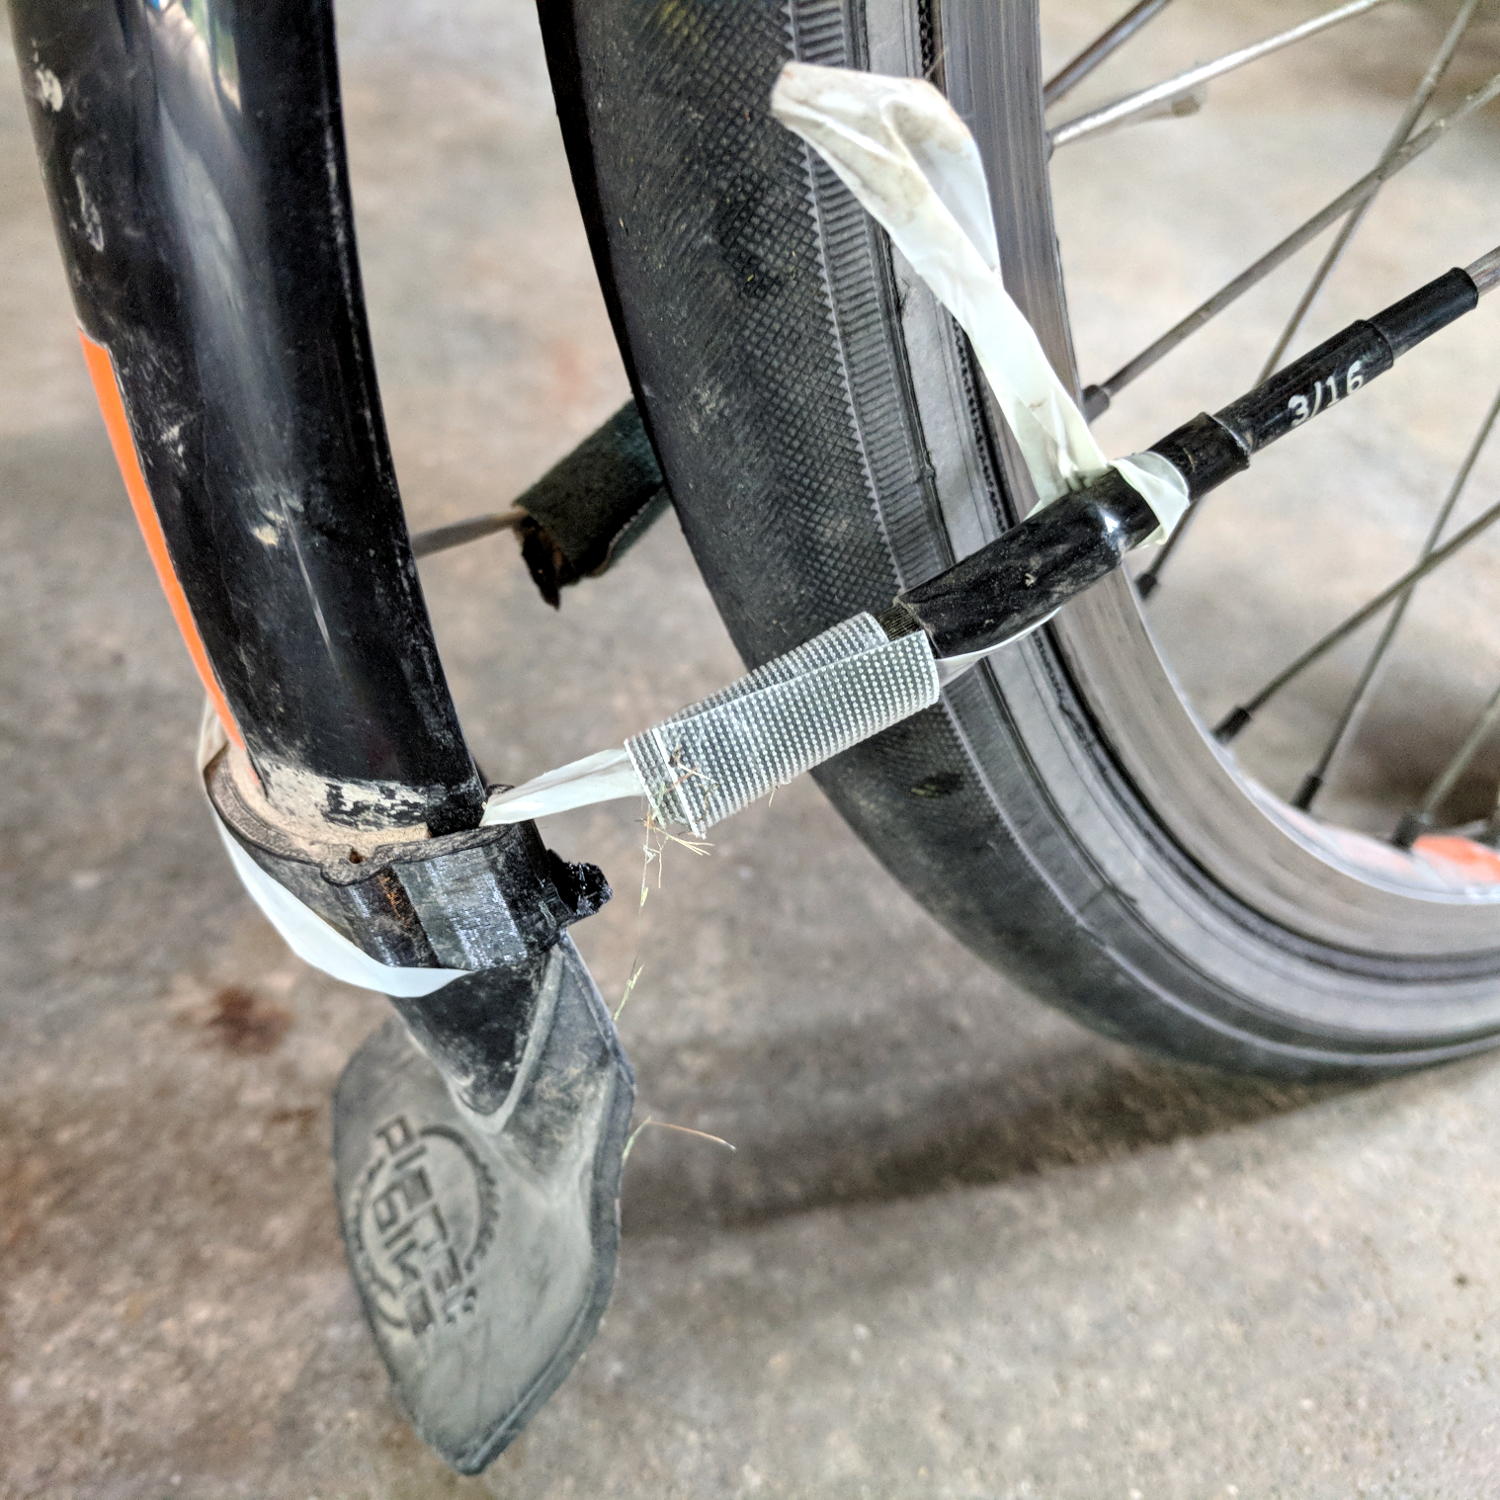
It was good for two dozen more miles to the end of our vacation, so I’d say that was Good Enough.
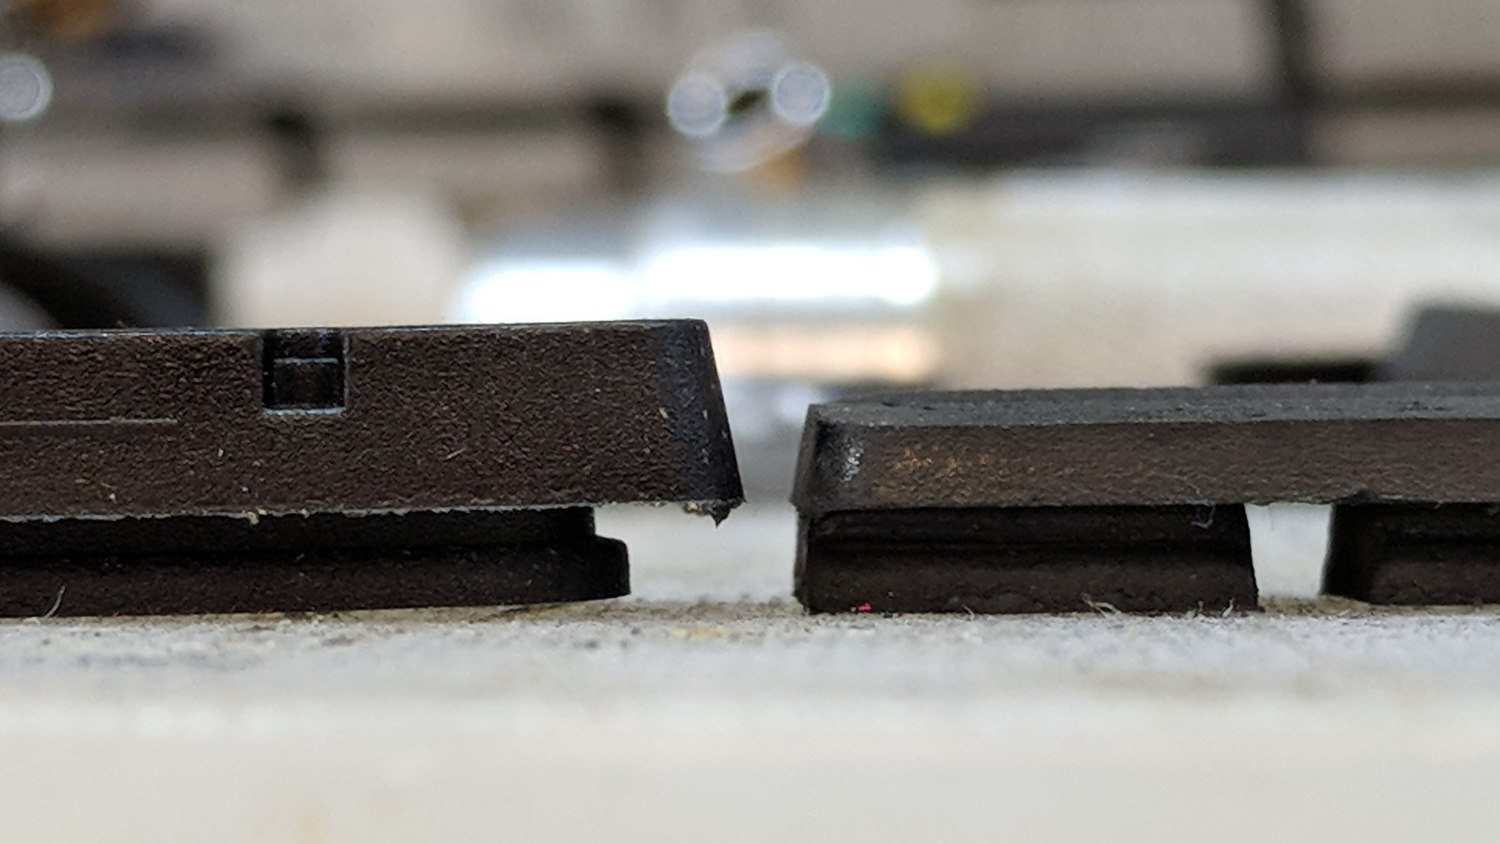
The new version has holes in the ferrules ten stay diameters deep, instead of six, which might eliminate the need for heatstink tubing. I added a small hole at the joint between the curved hooks and the ferrules to force more plastic into those spots:
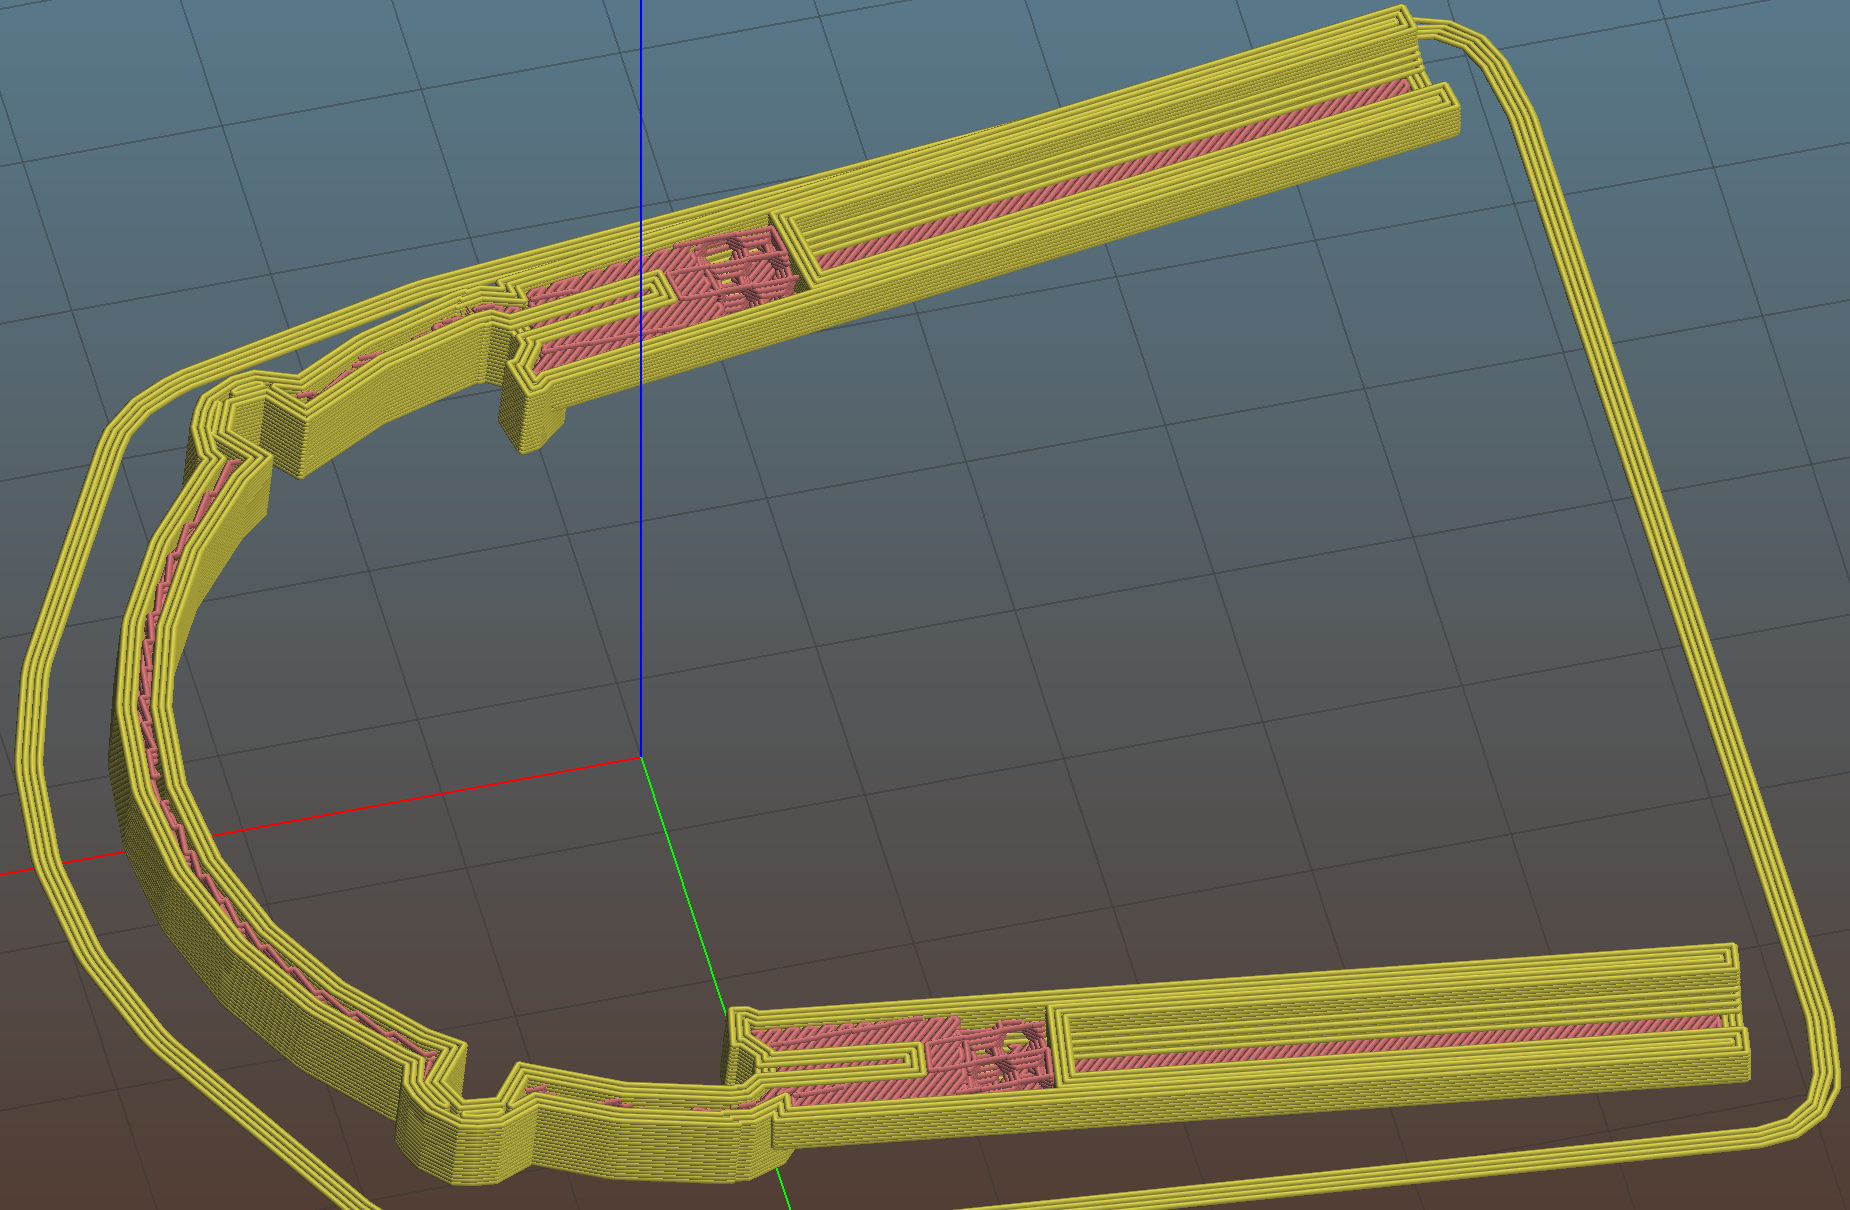
I also bent the hanger extension to put the fender’s neutral position closer to the wheel.
We’ll see how long this one lasts. By now, I now have black double-sticky foam tape!
The OpenSCAD source code as a GitHub Gist:
| // Tour Easy front fender clip | |
| // Ed Nisley KE4ZNU July 2017 | |
| Layout = "Build"; // Build Profile Ferrule Clip | |
| //- Extrusion parameters must match reality! | |
| ThreadThick = 0.25; | |
| ThreadWidth = 0.40; | |
| HoleWindage = 0.2; | |
| Protrusion = 0.1; // make holes end cleanly | |
| inch = 25.4; | |
| function IntegerMultiple(Size,Unit) = Unit * ceil(Size / Unit); | |
| //———————- | |
| // Dimensions | |
| // special case: fender is exactly half a circle! | |
| FenderC = 51.0; // fender outside width = chord | |
| FenderM = 21.0; // height of chord | |
| FenderR = (pow(FenderM,2) + pow(FenderC,2)/4) / (2 * FenderM); // radius | |
| echo(str("Fender radius: ", FenderR)); | |
| FenderD = 2*FenderR; | |
| FenderA = 2 * asin(FenderC / (2*FenderR)); | |
| echo(str(" … Arc: ",FenderA," deg")); | |
| FenderThick = 2.5; // fender thickness, assume dia of edge | |
| ClipHeight = 15.0; // top to bottom, ignoring rakish tilt | |
| ClipThick = IntegerMultiple(2.5,ThreadWidth); // thickness of clip around fender | |
| ClipD = FenderD; // ID of clip against fender | |
| ClipSides = 4 * 8; // polygon sides around clip circle | |
| BendReliefD = 2.5; // bend arch diameter | |
| BendReliefA = 2/3 * FenderA/2; // … angle from dead ahead | |
| BendReliefCut = 1.5; // factor to thin outside of bend | |
| ID = 0; | |
| OD = 1; | |
| LENGTH = 2; | |
| StayDia = 3.3; // fender stay rod diameter | |
| StayOffset = 15.0; // stay-to-fender distance | |
| StayPitch = -5; // angle from stay to fender arch | |
| DropoutSpace = 120; // stay spacing at wheel hub | |
| StayLength = 235; // stay length: hub to fender | |
| StaySplay = asin((DropoutSpace – FenderC)/(2*StayLength)); // outward angle to hub | |
| echo(str(" … Pitch: ",StayPitch," deg")); | |
| echo(str(" … Splay: ",StaySplay," deg")); | |
| FerruleSides = 2*4; | |
| Ferrule = [StayDia,3*FenderThick/cos(180/FerruleSides),10*StayDia + StayOffset]; // ID = stay rod OD | |
| FerruleHoleD = 0.1; // small hole to create solid plastic at ferrule joint | |
| //———————- | |
| // Useful routines | |
| module PolyCyl(Dia,Height,ForceSides=0) { // based on nophead's polyholes | |
| Sides = (ForceSides != 0) ? ForceSides : (ceil(Dia) + 2); | |
| FixDia = Dia / cos(180/Sides); | |
| cylinder(r=(FixDia + HoleWindage)/2, | |
| h=Height, | |
| $fn=Sides); | |
| } | |
| //———————- | |
| // Clip profile around fender | |
| // Centered on fender arc | |
| module Profile(HeightScale = 1) { | |
| linear_extrude(height=HeightScale*ClipHeight,convexity=5) { | |
| difference() { | |
| offset(r=ClipThick) // outside of clip | |
| union() { | |
| circle(d=ClipD,$fn=ClipSides); | |
| for (i=[-1,1]) | |
| rotate(i*BendReliefA) { | |
| translate([ClipD/2 + BendReliefD/2,0,0]) | |
| circle(d=BendReliefD,$fn=6); | |
| } | |
| } | |
| union() { // inside of clip | |
| circle(d=ClipD,$fn=ClipSides); | |
| for (i=[-1,1]) | |
| rotate(i*BendReliefA) { | |
| translate([ClipD/2 + BendReliefCut*BendReliefD/2,0,0]) | |
| circle(d=BendReliefD/cos(180/6),$fn=6); | |
| translate([ClipD/2,0,0]) | |
| square([BendReliefCut*BendReliefD,BendReliefD],center=true); | |
| } | |
| } | |
| translate([(FenderR – FenderM – FenderD/2),0]) // trim ends | |
| square([FenderD,2*FenderD],center=true); | |
| } | |
| for (a=[-1,1]) // hooks around fender | |
| rotate(a*(FenderA/2)) | |
| translate([FenderR – FenderThick/2,0]) { | |
| difference() { | |
| rotate(1*180/12) | |
| circle(d=FenderThick + 2*ClipThick,$fn=12); | |
| rotate(1*180/8) | |
| circle(d=FenderThick,$fn=8); | |
| rotate(a * -90) | |
| translate([0,-2*FenderThick,0]) | |
| square(4*FenderThick,center=false); | |
| } | |
| } | |
| } | |
| } | |
| //———————- | |
| // Ferrule body | |
| module FerruleBody() { | |
| translate([0,0,Ferrule[OD]/2 * cos(180/FerruleSides)]) | |
| rotate([0,-90,0]) rotate(180/FerruleSides) | |
| difference() { | |
| cylinder(d=Ferrule[OD],h=Ferrule[LENGTH],$fn=FerruleSides,center=false); | |
| translate([0,0,StayOffset + Protrusion]) | |
| PolyCyl(Ferrule[ID],Ferrule[LENGTH] – StayOffset + Protrusion,FerruleSides); | |
| } | |
| } | |
| //———————- | |
| // Generate entire clip at mounting angle | |
| module FenderClip() { | |
| difference() { | |
| union() { | |
| translate([FenderR,0,0]) | |
| difference() { // angle and trim clip | |
| rotate([0,StayPitch,0]) | |
| translate([-(FenderR + ClipThick),0,0]) | |
| Profile(2); // scale upward for trimming | |
| translate([0,0,-ClipHeight]) // trim bottom | |
| cube(2*[FenderD,FenderD,ClipHeight],center=true); | |
| translate([0,0,ClipHeight*cos(StayPitch)+ClipHeight]) // trim top | |
| cube(2*[FenderD,FenderD,ClipHeight],center=true); | |
| } | |
| for (j = [-1,1]) // place ferrules | |
| translate([Ferrule[OD]*sin(StayPitch) + (Ferrule[OD]/2)*sin(StaySplay),j*(FenderR – FenderThick/2),0]) | |
| rotate(-j*StaySplay) | |
| FerruleBody(); | |
| } | |
| for (i=[-1,1]) // punch stiffening holes | |
| translate([FenderThick/2,-i*(FenderR – FenderThick/2),Ferrule[OD]/2]) | |
| rotate([0,-90,i*StaySplay]) | |
| PolyCyl(FerruleHoleD,Ferrule[OD],FerruleSides); | |
| } | |
| } | |
| //———————- | |
| // Build it | |
| if (Layout == "Profile") { | |
| Profile(); | |
| } | |
| if (Layout == "Ferrule") { | |
| FerruleBody(); | |
| } | |
| if (Layout == "Clip") { | |
| FenderClip(); | |
| } | |
| if (Layout == "Build") { | |
| FenderClip(); | |
| } |
As a bonus for paging all the way to the end, here’s the descent on the same stairway:
No, I wasn’t even tempted …