Ed Nisley's Blog: Shop notes, electronics, firmware, machinery, 3D printing, laser cuttery, and curiosities. Contents: 100% human thinking, 0% AI slop.
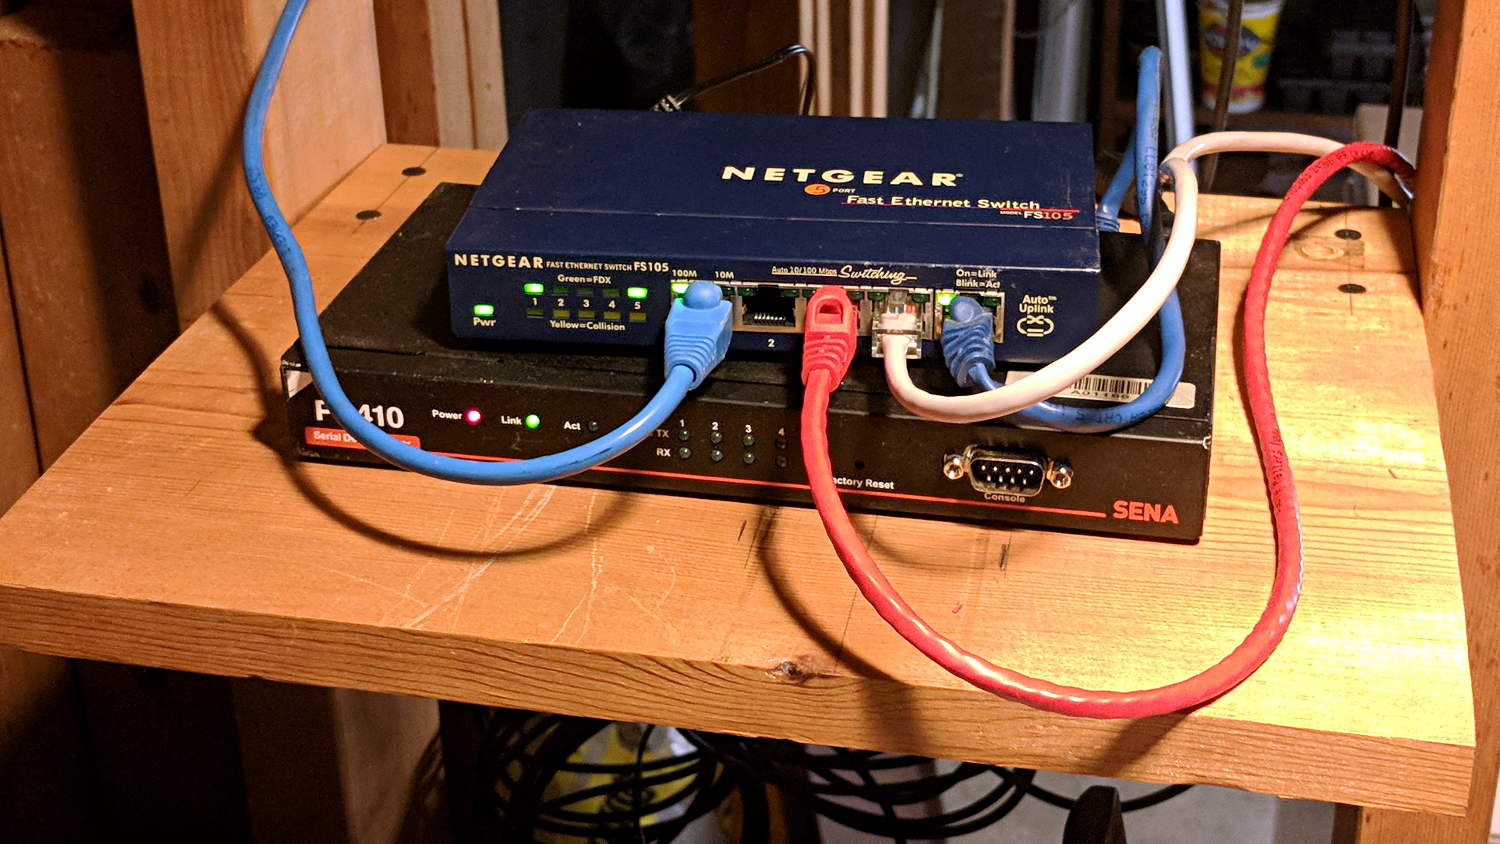
This 2 GB flash drive arrived with datasheets & sample files for a (computerized) sewing machine Mary eventually decided she wasn’t going to get (because computerized):
Fake Flash drive
Being of sound mind, we reformatted it and dropped it in the bag o’ random drives. She eventually used it for one of her gardening presentations, whereupon the library’s (Windows) laptop said it needed formatting; she pulled out a backup drive and continued the mission.
Lather, rinse, verify a good format, verify presentation files on the Token Windows Box, and repeat, right down to having another library’s laptop kvetch about the drive.
Soooo, I did what I should have done in the first place:
sudo f3probe -t /dev/sdc
F3 probe 6.0
Copyright (C) 2010 Digirati Internet LTDA.
This is free software; see the source for copying conditions.

WARNING: Probing normally takes from a few seconds to 15 minutes, but
         it can take longer. Please be patient.

Probe finished, recovering blocks... Done

Bad news: The device `/dev/sdc' is a counterfeit of type limbo

You can "fix" this device using the following command:
f3fix --last-sec=25154 /dev/sdc

Device geometry:
	         *Usable* size: 12.28 MB (25155 blocks)
	        Announced size: 1.86 GB (3893248 blocks)
	                Module: 2.00 GB (2^31 Bytes)
	Approximate cache size: 511.00 MB (1046528 blocks), need-reset=no
	   Physical block size: 512.00 Byte (2^9 Bytes)

Probe time: 55'18"
 Operation: total time / count = avg time
      Read: 8'35" / 3145715 = 163us
     Write: 46'37" / 18838872 = 148us
     Reset: 350.7ms / 2 = 175.3ms
Huh.
As long as you don’t write more than a few megabytes, it’s all good, which was apparently enough for its original use.
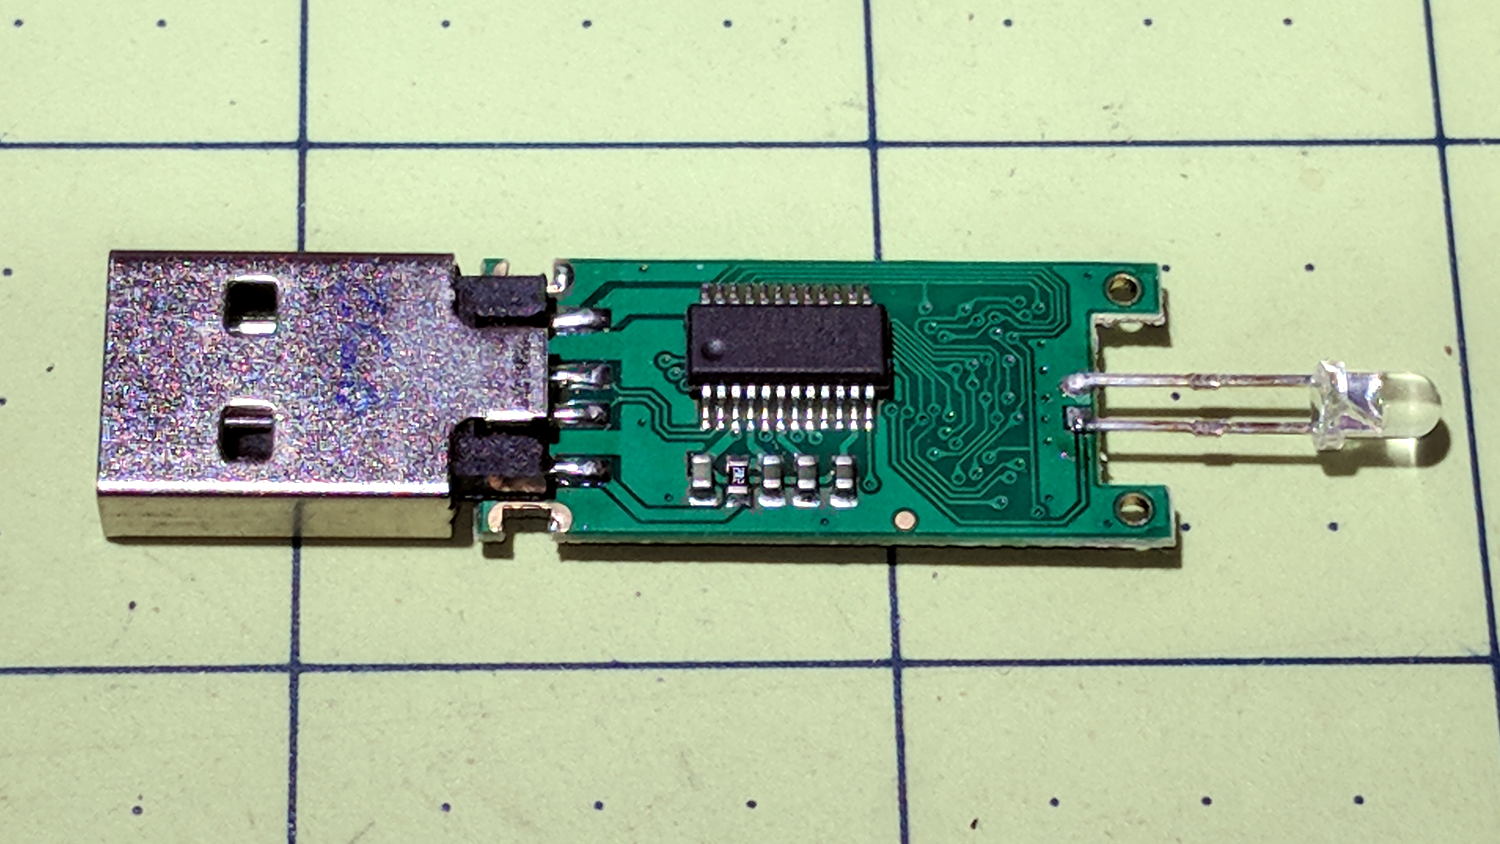
The front of the PCB looks normal:
Fake Flash – controller
But it seems they really didn’t want you to see the flash chip:
Fake Flash – covered chip
Given the two rows of unused pads, it must be a really small chip!
Memo to Self: Always examine the dentition of any Equus ferus received as a gift.
A friend now owns my trusty Canon SX230HS camera, but, given the restrictions on shipping lithium batteries, we agreed there was no point in transferring ownership of my nearly dead batteries.
For completeness, their final state:
Canon NB-5L – 2018-03-25
The original Canon OEM battery (orange curve) looms above all the offerings from various Amazon sellers.
After three years, the bracket locking the snowblower’s muffler bolts broke, but this time I saw the bolt pop out of the muffler, fall to the driveway, and lie there sizzling in the slush. I tightened the remaining bolt and completed the mission.
The OEM bracket was thin sheet metal and broke across one bolt hole under the head. I sawed a rectangle out of a defunct PC case, then drilled clearance holes:
Snowblower muffler – drilling bracket
Bending two corners upward locks the bolt heads in position. I started the bends by clamping the bracket in the bench vise and whacking the corners, then finishing the job with a drift punch after installing it:
Snowblower muffler installed
Of course, I renewed the Never-Seez on the bolt threads; they obviously weren’t corroded in place!
For whatever it’s worth, the many spot welds joining the top bracket to the muffler are doing just fine.
A long long time ago, I conjured a short bench for our Larval Engineer from a pair of junked folding-table legs and a truly hideous mid-50s Genuine Formica countertop salvaged from the kitchen refurbishment:
Bench Leg – overview
Most recently, it held a pile of test equipment and random stuff next to the MPCNC, whereupon the welds holding the tube with the feet to one of the vertical tubes on the far end failed. It wasn’t in the critical path, so I broke the welds on the other tube, propped the vertical tubes on wood blocks, and continued the mission. Having finally finished those measurements, I could clear off the bench and repair the legs.
I no longer have my welding gear and, in any event, it’s still winter outside, so a low-excitement repair seemed in order: drill suitable holes into the leg crosspiece, make threaded inserts for the tubes, and join them with 3/8-16 bolts.
So, we begin.
File the broken welds off the foot tube, align it in the drill press vice (where it barely fits!), center drill to make a pilot hole, then poke a 3/8 inch drill completely through to line up both holes:
Bench Leg – through drilling
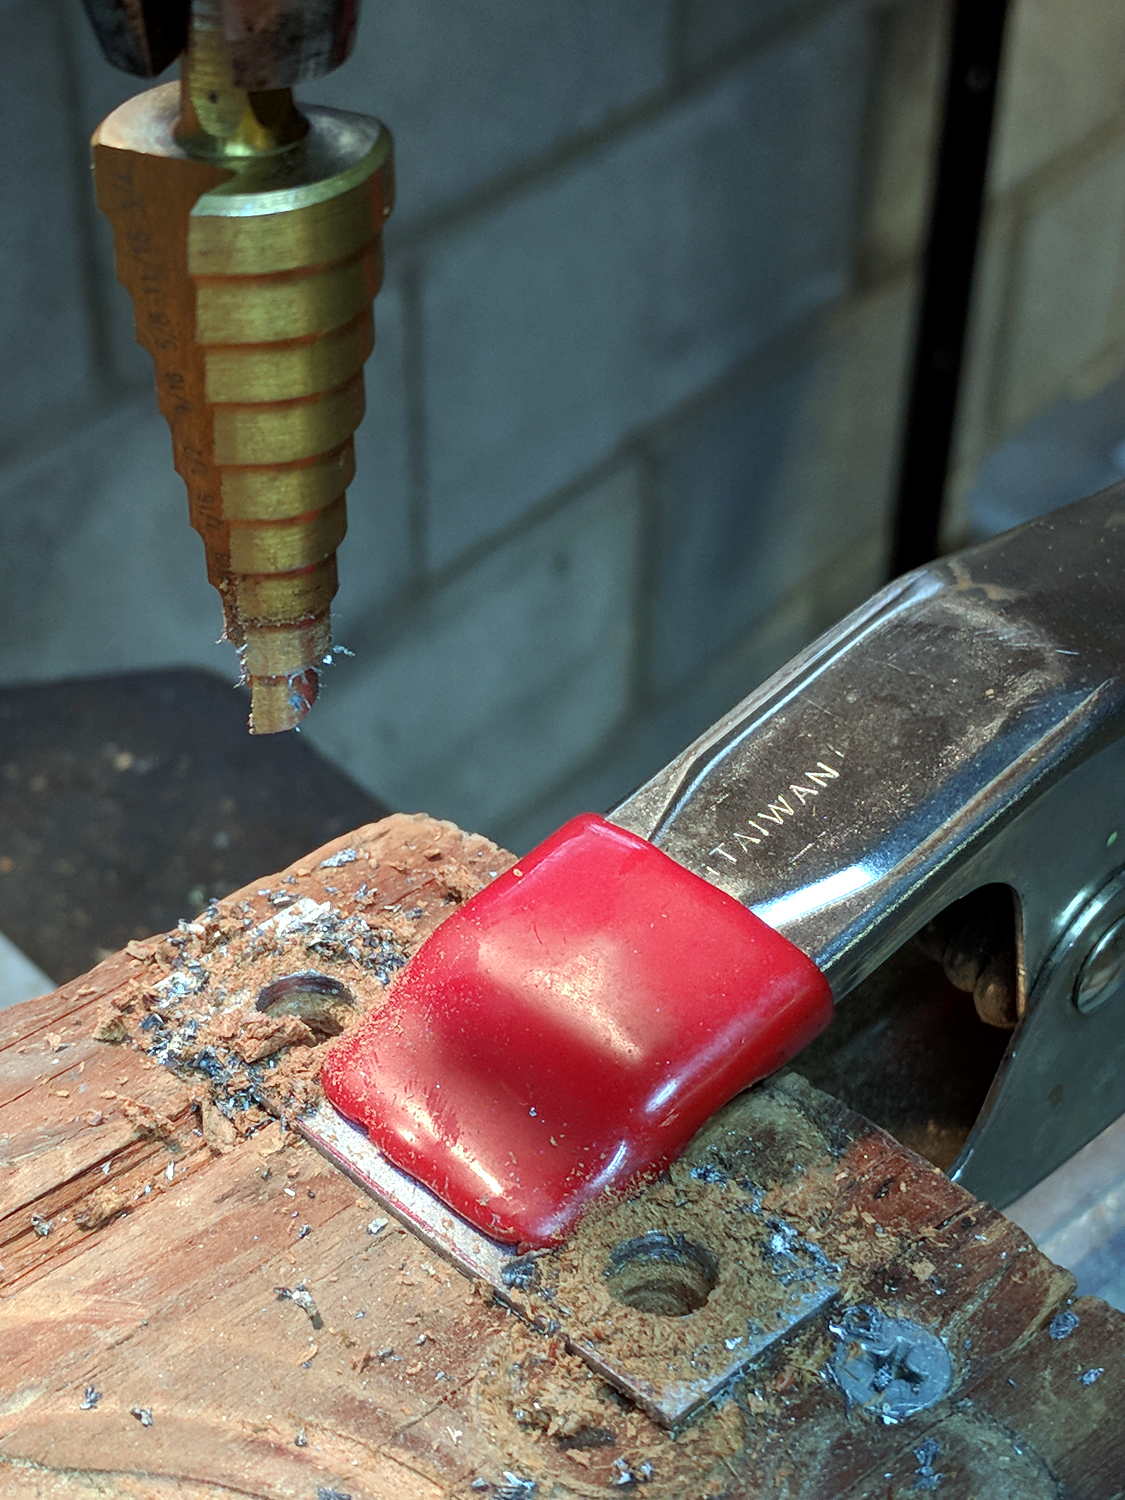
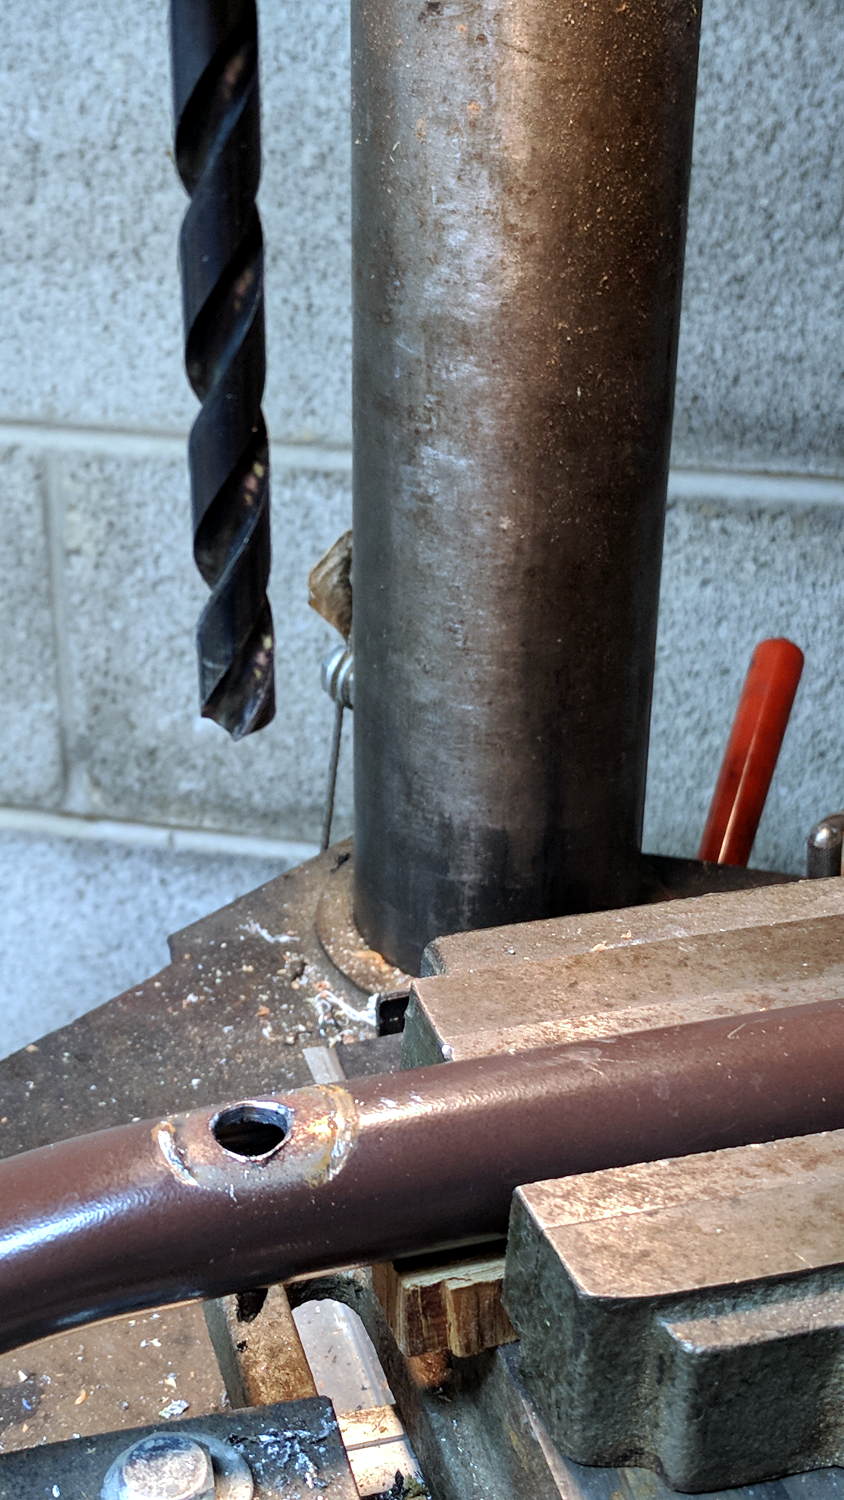
By the Universal Law of the Conservation of Perversity, a 3/8 inch bolt didn’t quite fit the 3/8 inch hole, so I embiggened the holes with a step drill:
Bench Leg – step-drilling to size
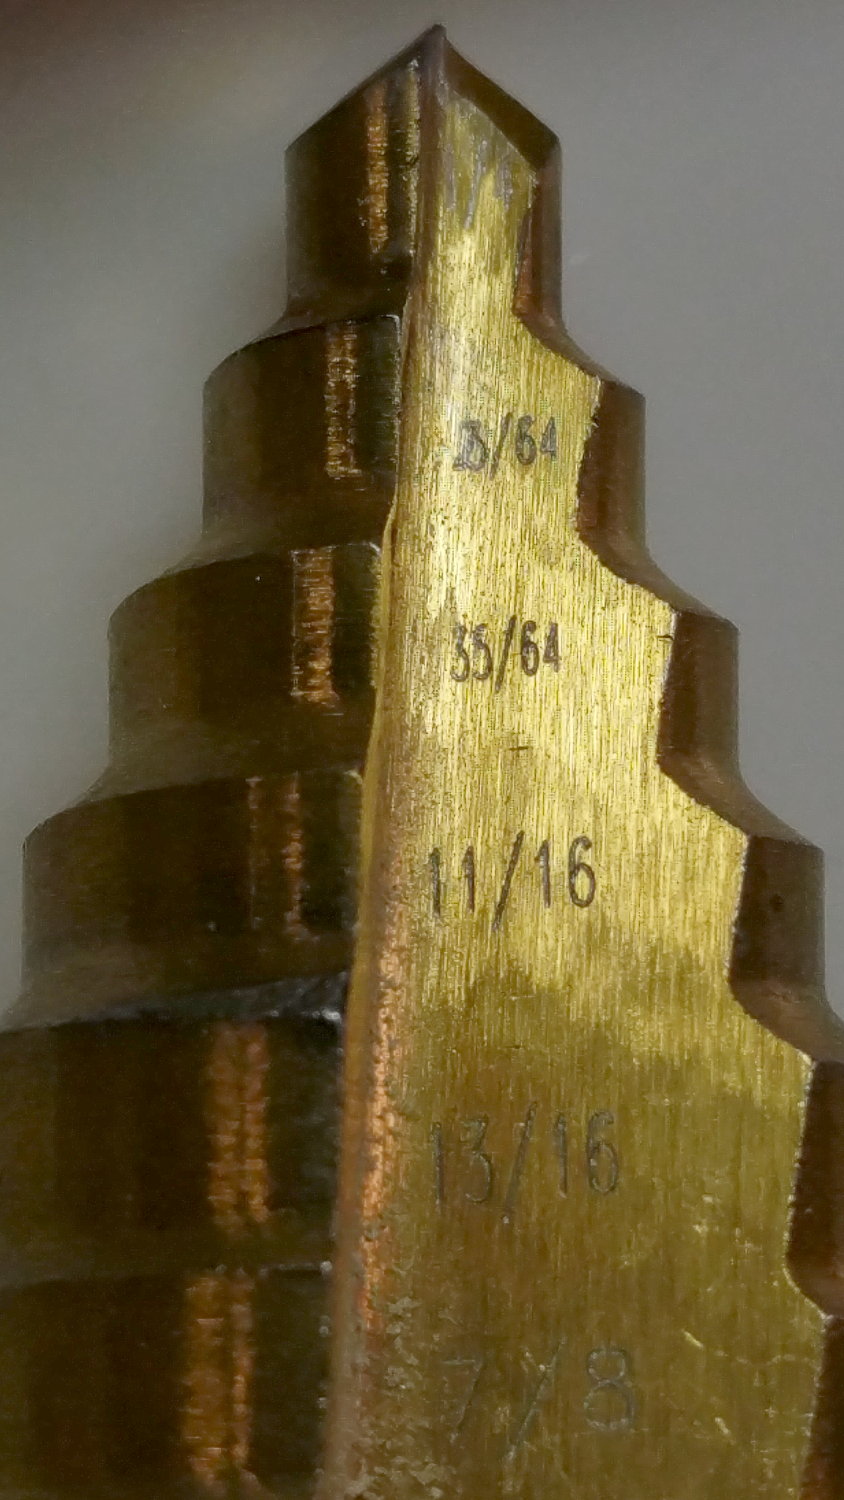
The step drill obviously has hard metric diameters labeled as weird inch sizes:
Quasi-inch step drill
I can’t read the second step, either, but it’s apparently 25/64 inch = 9.8 mm, which is just enough over 3/8 inch = 9.5 mm to be useful. The next step is 14 mm = 35/64 inch, so the drill is a bit of a lump.
The leg tubes were a hair over 0.9 inch ID and not particularly round. Tolerances being slack, slice a bit more than two inches off a 1 inch OD aluminum rod:
Bench Leg – sawing rod stock
I wanted more than one diameter in the tubes, but the bolts in my stash topped out at 2 inches and, really, an inch of aluminum won’t go anywhere.
Clean up one end of the rod to 0.9 inch OD, flip, and center drill:
Bench Leg – center drilling insert
Obviously, surface finish and concentricity aren’t critical, but the cleaned-up OD of the left end lined up at barely perceptible mismatch with the (yet to be done) right end.
Sunder in twain:
Bench Leg – sawing leg inserts
Betcha you can’t spot the junction between the two ODs, either.
Drill 3/8 inch through, then discover you (well, I) have neither a drill big enough nor a boring bar small enough to embiggen one end of the hole for a nasty interference fit against the tips of a 3/8 inch hex nut.
Once again, a step drill to the rescue:
Bench Leg – step-drilling insert
Because it’s a step drill, the counterbore isn’t quite deep enough for the whole nut, so turn the nut to fit the recess left by the drill:
Bench Leg – nut shaping
Put a bolt through the insert as a guide, spin the nut on, backstop the insert with a machinist’s parallel jaw clamp (loose, just to give the head somewhere to go), line ’em up, and mash the nut into place with the bench vise:
Bench Leg – nut pressed in place
Clean up the broken welds with a rat tail file, hammer the inserts into the tubes:
Bench Leg – insert installed
Which, as I expected, rounded them nicely while producing an absolutely solid, ain’t gonna work loose, dry joint.
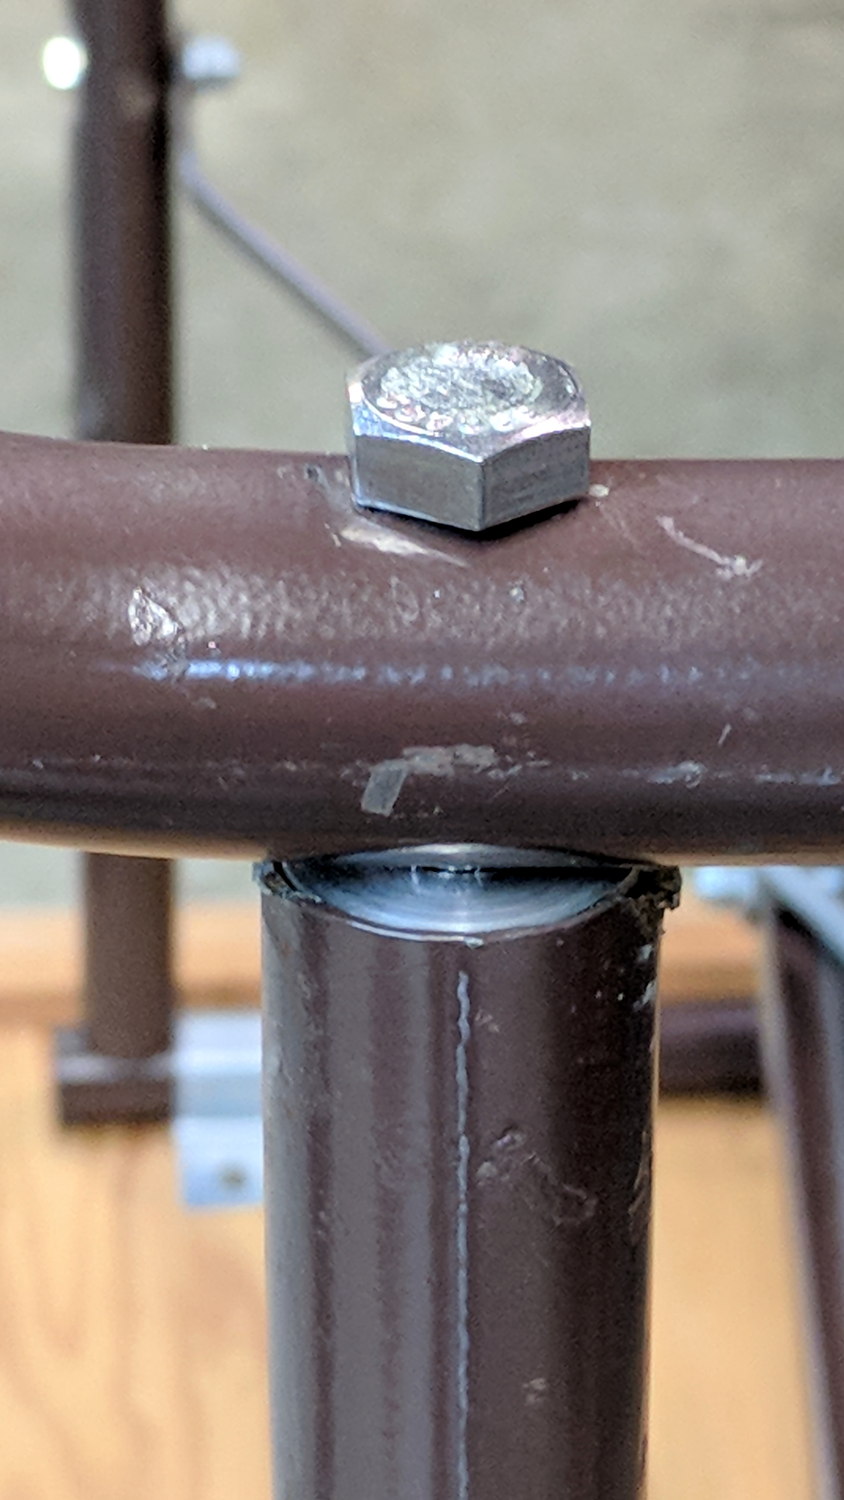
Add threadlocker to the bolts and it’s all good:
Bench Leg – repaired
Stipulated: butt-ugly.
Tell me you’d have fish-mouthed those inserts just for pretty, after noting the factory didn’t bother fishmouthing the vertical tubes before welding them in place.
But it was good for generous dose of Quality Shop Time!
I found this while moving the wheelbarrow off the driveway in preparation for another snowfall:
Submerged and frozen chipmunk
It may have sipped water from the bowl, fell in, drowned, then froze in place. Mary uses rainwater (or snowmelt) for household plants, at least during somewhat warmer weather, but the bowl obviously presents an attractive nuisance for little critters.
Chipmunks are basically rats in snappy livery, but even they don’t deserve such a fate.
Mary acquired this bottle a long time ago and has used it forever, so it has Historic Connotations and cannot be discarded. Alas, the cardboard-and-plastic seal in the cap finally disintegrated; I replaced it with various plastic foams and sheets, none of which worked.
Finally, I found the cork sheet stash while looking for something else and cut out a disk: