Ed Nisley's Blog: Shop notes, electronics, firmware, machinery, 3D printing, laser cuttery, and curiosities. Contents: 100% human thinking, 0% AI slop.
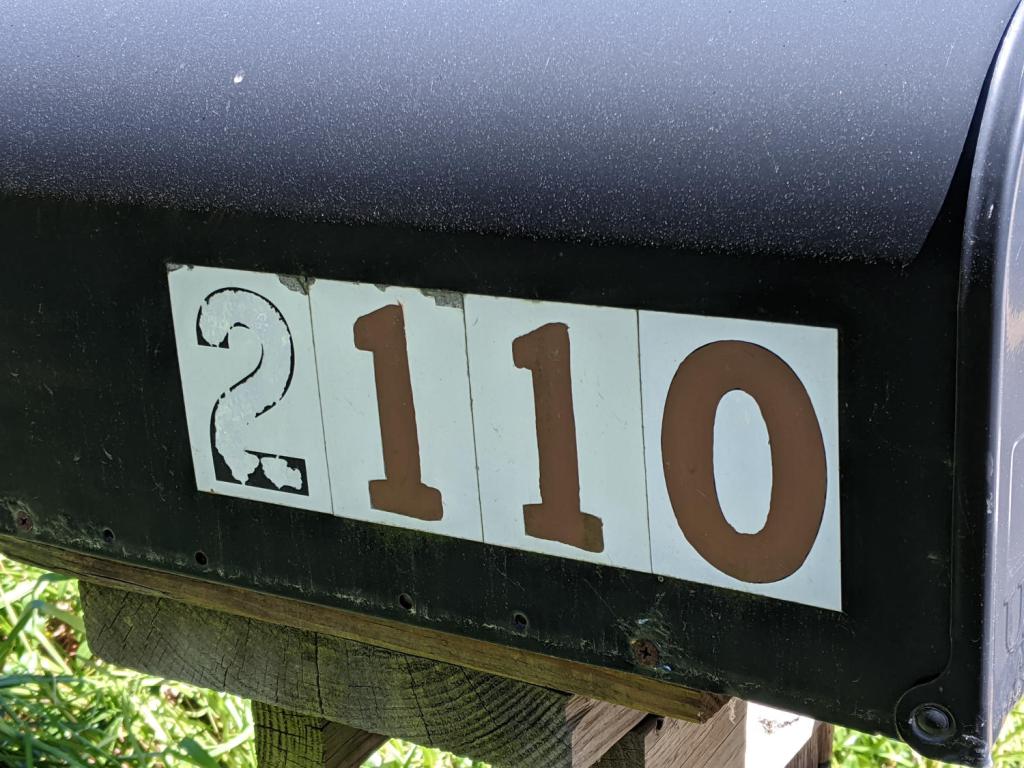
Five years later, the digits I painted with Rust-Oleum Rusty Metal Primer have weathered pretty well, while the original ink has fallen off the retroreflective sticker:
Mailbox numbers – original vs primer
As before, I wiped off the crud with denatured alcohol and painted neatly inside the lines. The other digits on both sides still look as good as the day I painted them, with only a few bubbles and nicks.
Memo to self: Next time, buy a big sheet of 3M retroreflective film, make a stencil by vinyl cutting, paint the entire number in one shot, and be done with it.
Actually, those are the remainder of two production runs devoted to reducing the amount of water sprinkling the garden paths. A 50 foot hose runs along both sides of one 14 foot bed, crosses the path, then continues along the adjacent bed. The hoses have (deliberate!) sprinkler holes along their porous rubber body and sometimes the layout puts a hole where it waters the path.
The blue silicone rubber strips provide a bit of sealing to prevent the absurdly high pressure water from streaming through the orange PETG clamps. It’s OK if the clamp leaks, but less flow is better!
I’m getting really good at making those aluminum backing plates and, in fact, I think it’s faster to run the blanks past the disk sander, then drill the holes, than to CNC-machine them. Could be wrong, but Quality Shop Time is not to be sniffed at.
Wow, that tasted good and definitely added a bit more pep to my morning bike rides!
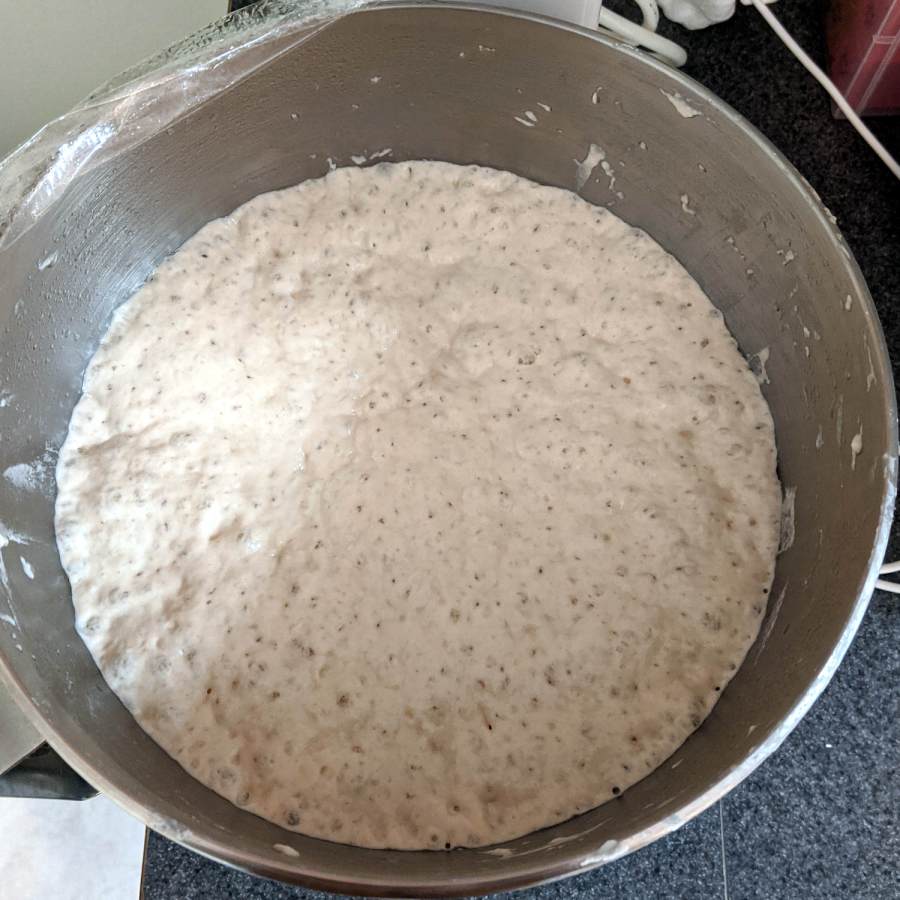
The receipe produces a rather wet lump of dough in the mixing bowl:
No-knead bread – mixed
It looks much more promising after rising for 18 hours:
No-knead bread – 18 hour rise
The recipe calls for a large heavy pot, which produced a long-disused nickel-plated cast iron Wagner Ware No. 8 Drip-Drop Roaster from the attic:
No-knead bread – Wagner No 8 Roaster
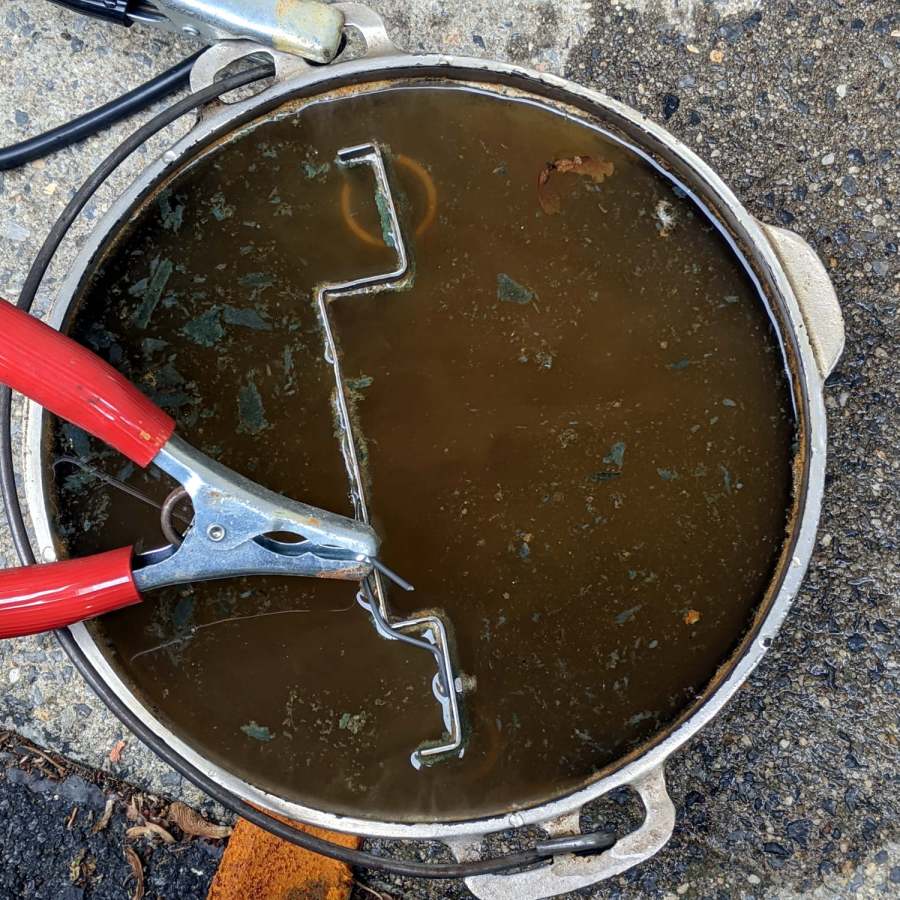
I scrubbed out the interior and used it as-found to good effect. After the cookin’ was done, a few hours of electrolytic stripping seemed in order:
No-knead bread – electrolytic pot strip
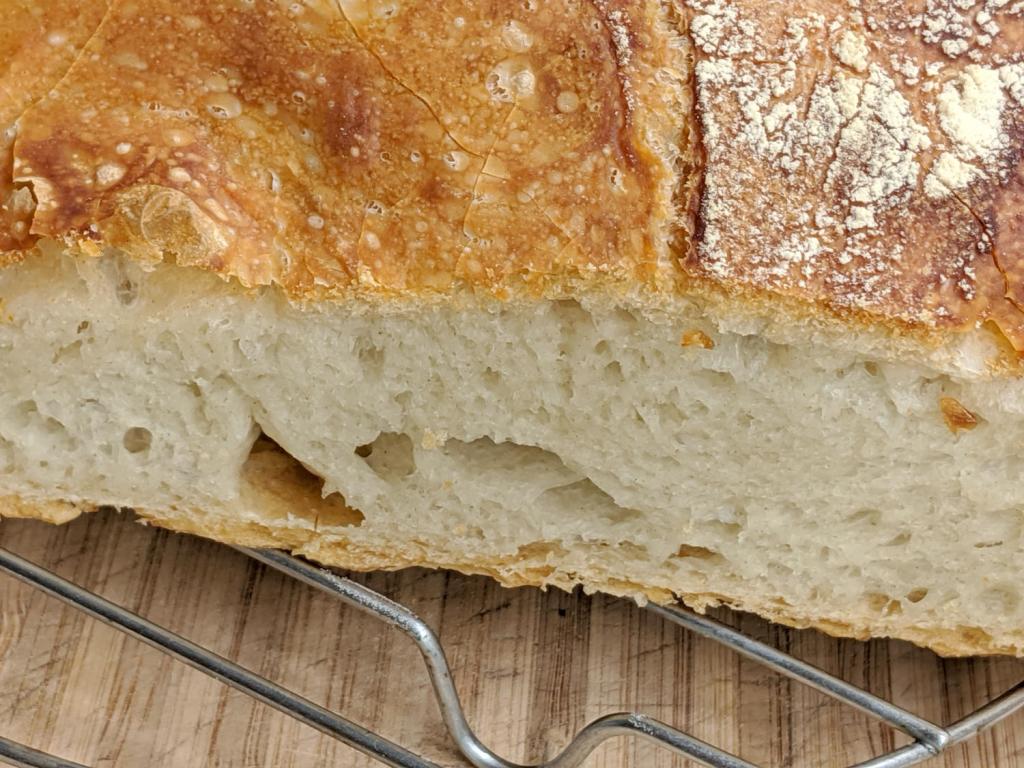
The lovely nickel plating on the outside of the pot didn’t need stripping, but the interior is once again a nice flat black surface and the next loaf should drop right out …
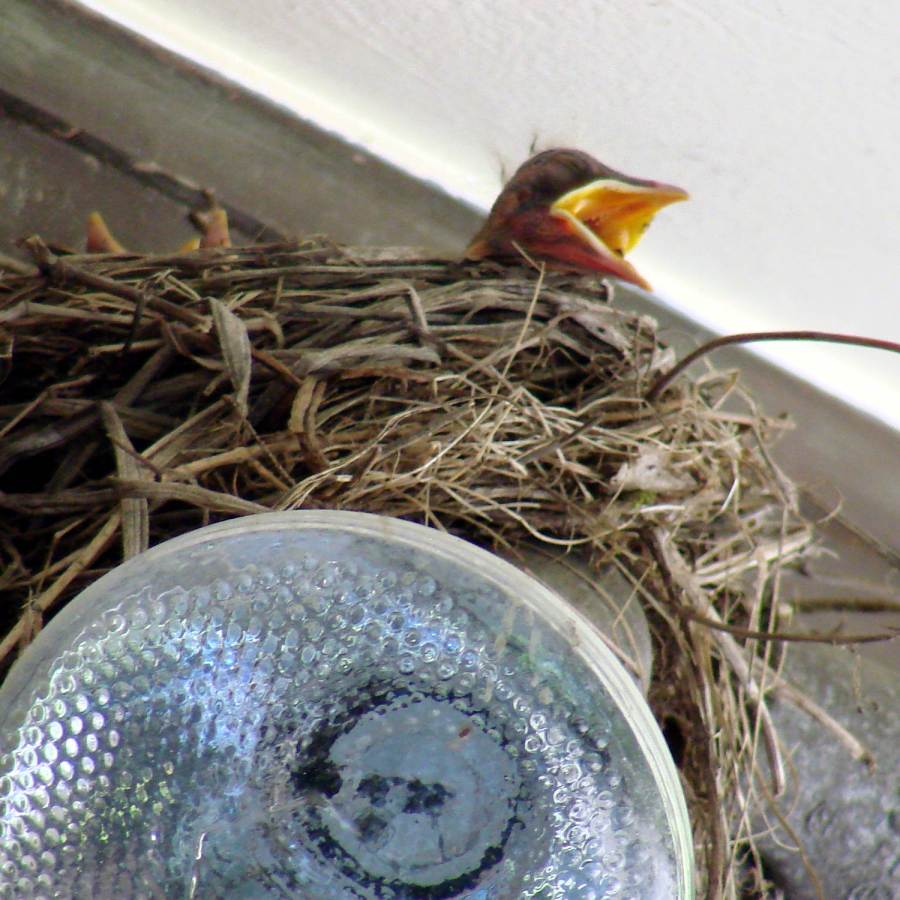
She’s surprisingly tolerant of our comings and goings, as well as garage door openings and closings:
Garage Robin Nest – robin brooding
We’re trying to stay out of her way as much as possible.
The gallery pix come from my phone, held against the soffit over the nest, and aimed entirely by feel, while standing on the Greater Ladder. If I had access to the top of the soffit, I’d drill a webcam hole, but …
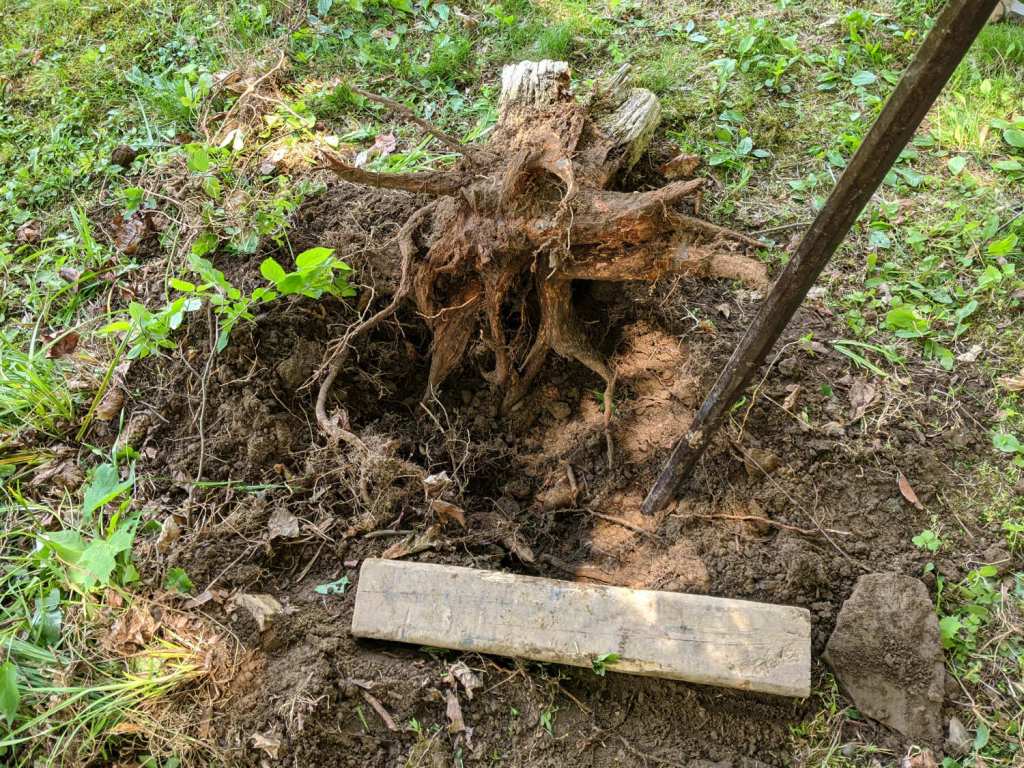
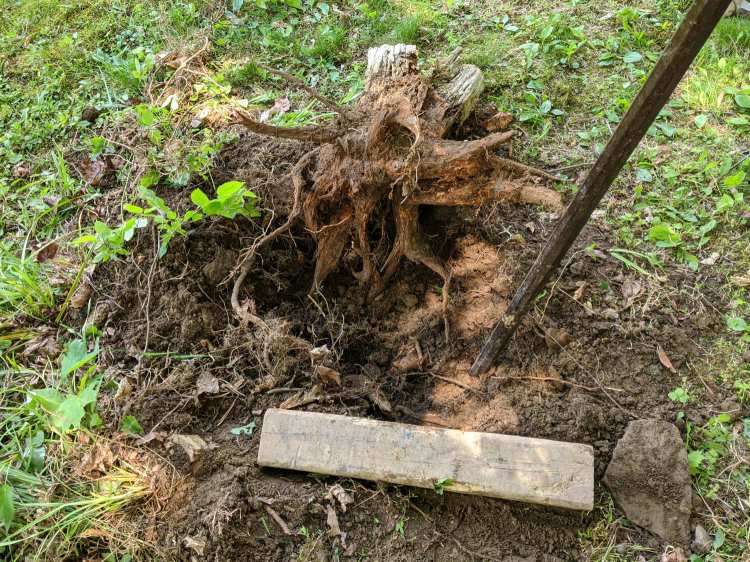
The previous owners apparently surrounded a cedar (?) tree with a ring of large, decorative rocks. The tree vanished long before we arrived, with the stump accreting random stones, bricks, and similar impedimenta ever since; my first task involved (re)moving a couple hundred pounds of rocky debris.
After using the stump as a fulcrum for that steel bar to break the rotted roots and loosen the surrounding soil, it’s out and away:
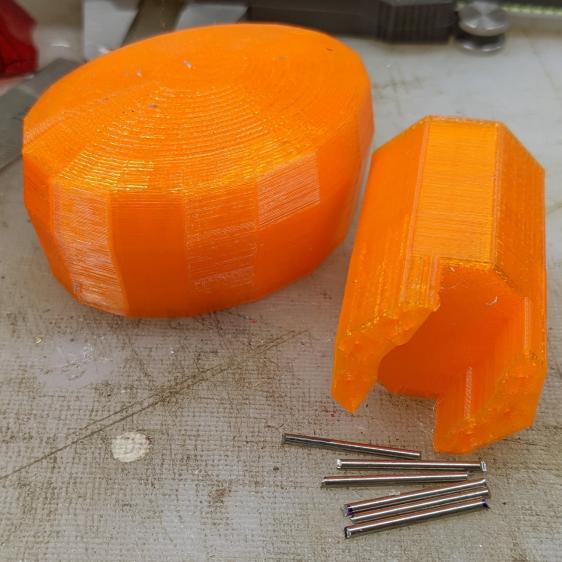
Although Jason’s comment suggesting carbon-fiber reinforcing rods didn’t prompt me to lay in a stock, ordinary music wire should serve the same purpose:
Hose Valve Knob – cut pins
The pins are 1.6 mm diameter and 20 mm long, chopped off with hardened diagonal cutters. Next time, I must (remember to) grind the ends flat.
The solid model needs holes in appropriate spots:
Hose Valve Knob – Reinforced – Slic3r
Yes, I’m going to put round pins in square holes, without drilling the holes to the proper diameter: no epoxy, no adhesive, just 20 mm of pure friction.
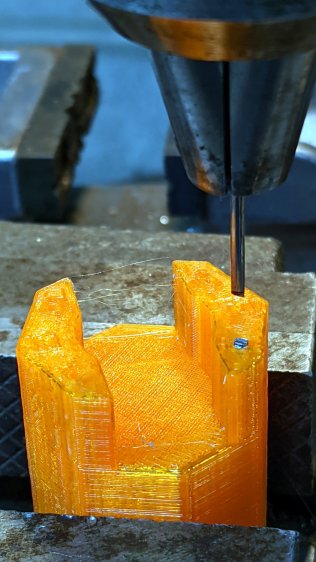
The drill press aligns the pins:
Hose Valve Knob – pin ready
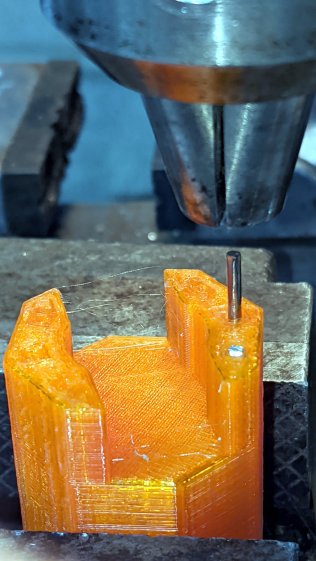
And rams them about halfway down:
Hose Valve Knob – pin midway
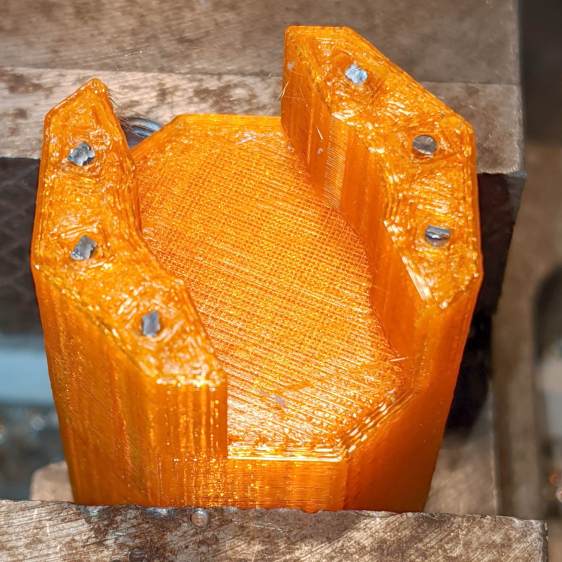
Close the chuck jaws and shove them flush with the surface:
Hose Valve Knob – pins installed
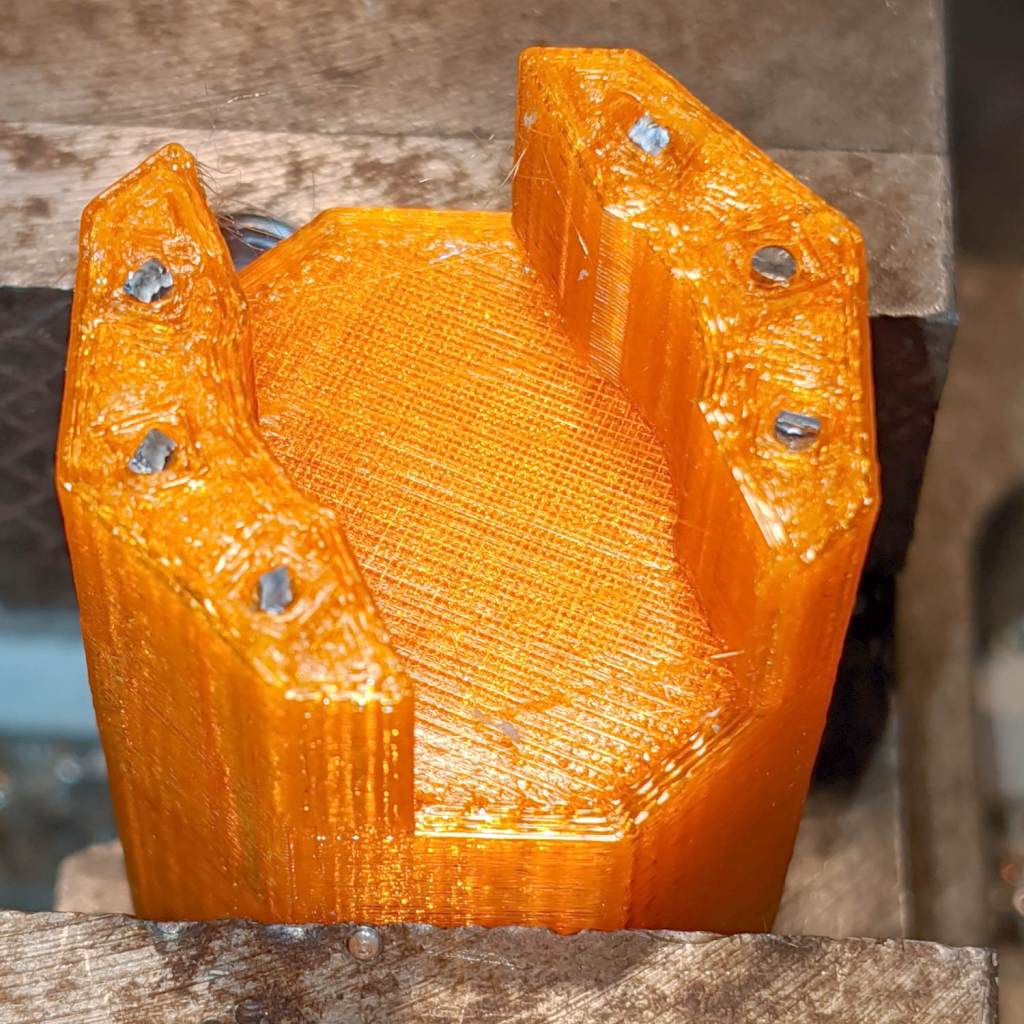
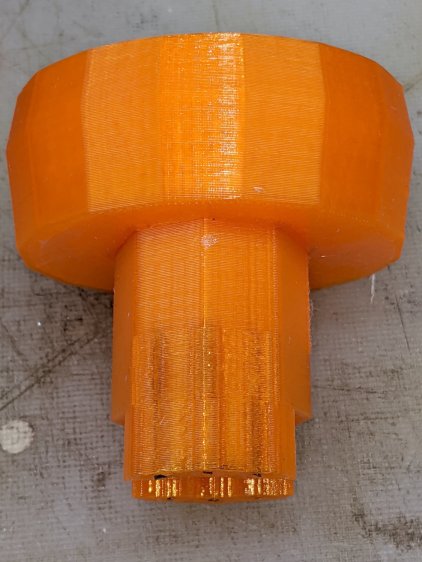
You can see the pins and their solid plastic shells through the wrench stem:
Hose Valve Knob – assembled
Early testing shows the reinforced wrench works just as well as the previous version, even on some new valves sporting different handles, with an equally sloppy fit for all. No surprise: I just poked holes in the existing model and left all the other dimensions alone.
This file contains hidden or bidirectional Unicode text that may be interpreted or compiled differently than what appears below. To review, open the file in an editor that reveals hidden Unicode characters.
Learn more about bidirectional Unicode characters