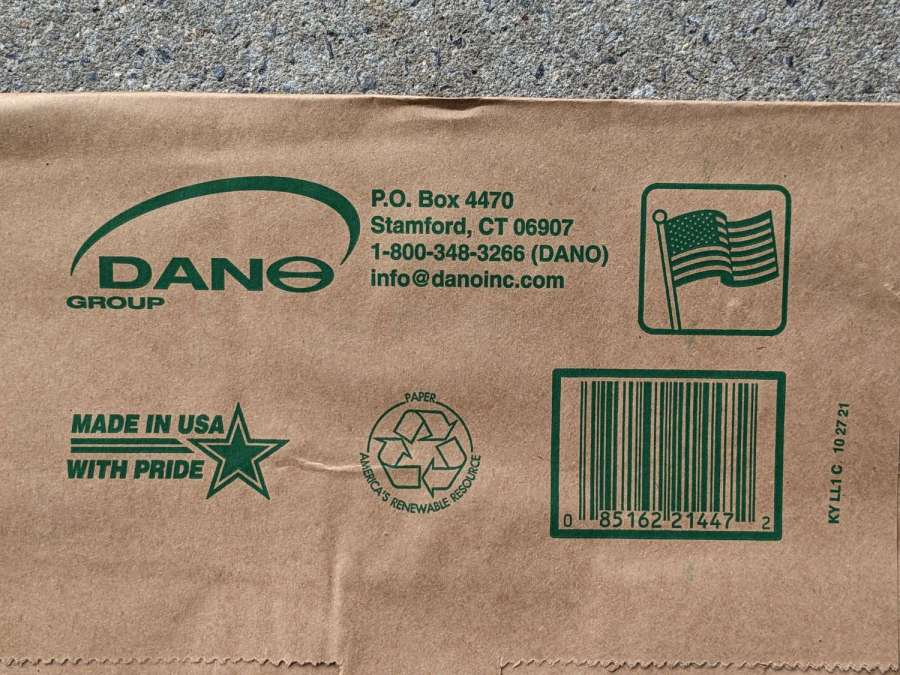
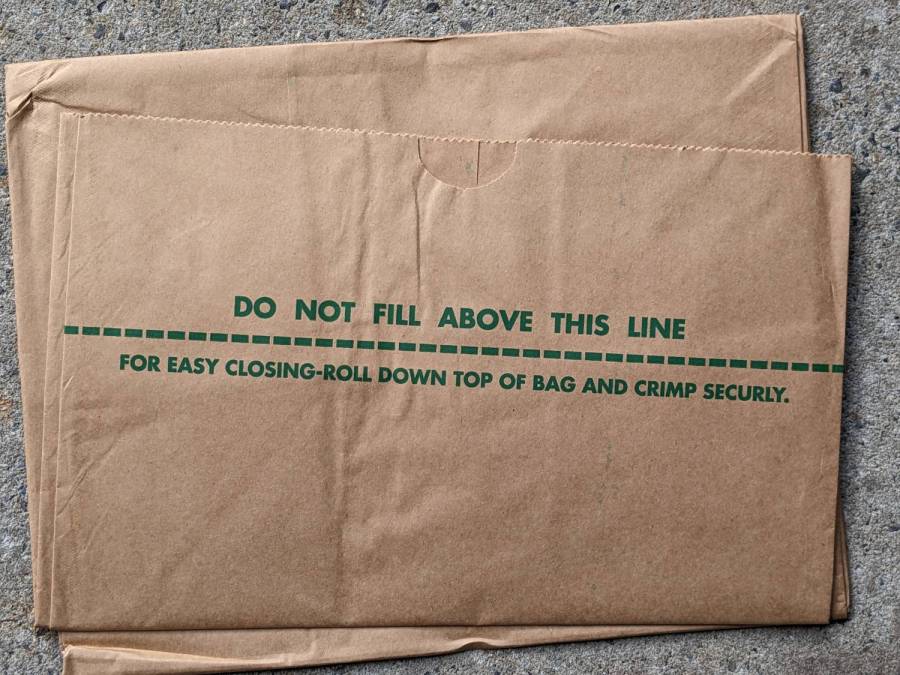
The data plate at the bottom of the the leaf bags we get from the town seems intended to set expectations at a certain level:
Which is immediately belied by the situation at the other end of the bag:
OK, it’s just a typo that could happen to anyone, but it first appeared last year and seems to be continuing. Possibly the Town of Poughkeepsie bought a lot of bags and we’re working through the stack.
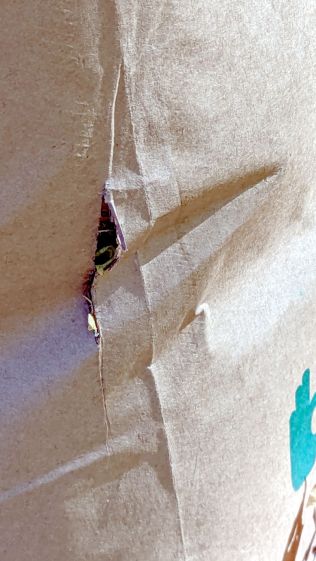
However, the built-in gashes along the sides of some bags were a new feature this year:

Perhaps a misalignment in the folder or stacker:

Enough bags had slices, perhaps four in some ten-packs, to justify keeping the packing tape dispenser at hand while we were shredding up a storm:
Which frosted Mary pretty severely, as she recycles the used bags as garden path pavers after distributing their contents as mulch, so she’ll be stripping plenty of tape next year.
Although I’m not privy to the Town’s dealings, Dano’s chart suggests the bags cost about 40¢ in truckload lots, about as much as Lowe’s charges for similar bags in retail five-packs. Surprisingly, you can also buy the same Lowe’s bags from Amazon for a lot more, suggesting some folks live much further from a Lowe’s than we do.