Long ago, I gave Mary a box of 100 empty bobbins for her Kenmore 158 sewing machine, with the intent she would never again have to unwind a bobbin to put new thread on it. This worked so well I did the same thing for her Juki, with the result she needed somewhere to store all those filled bobbins.
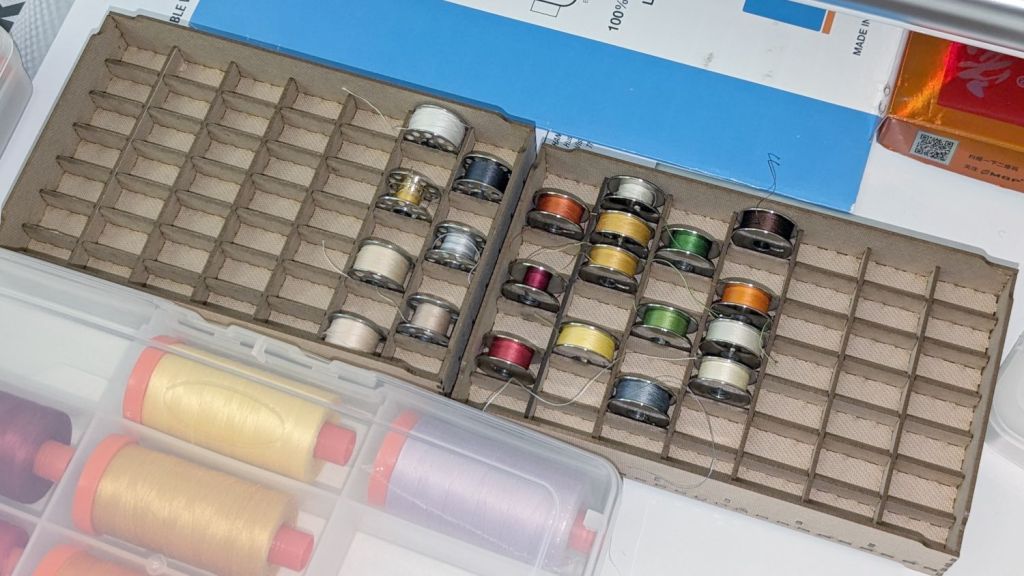
Her work table has a shallow drawer, so we tried this out:
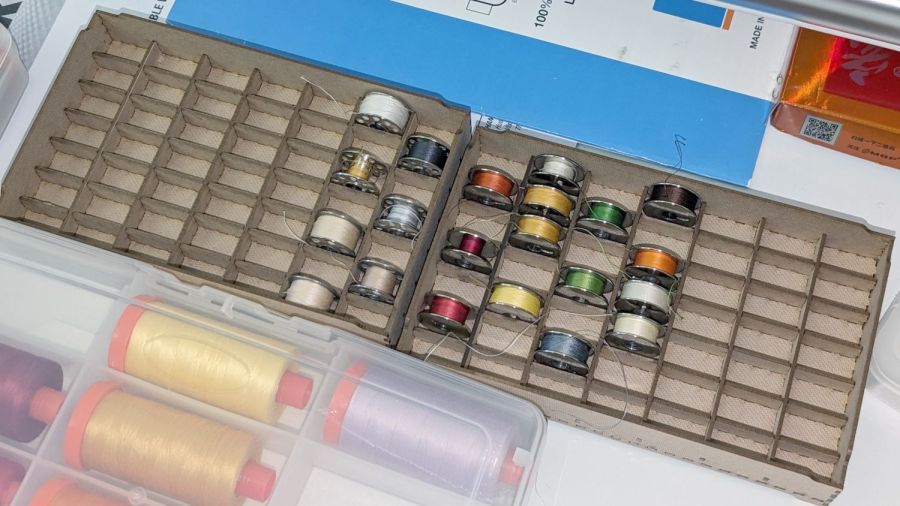
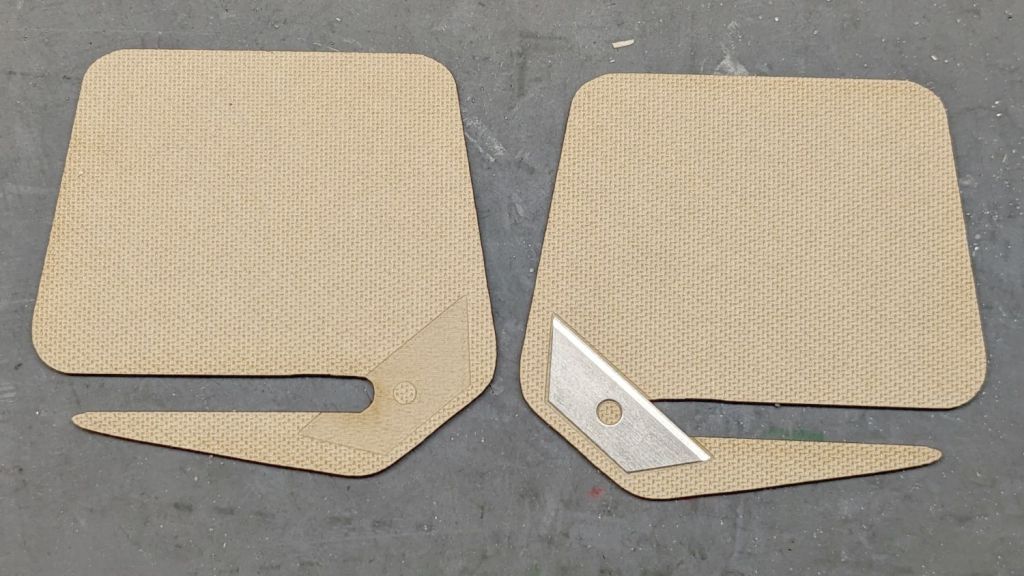
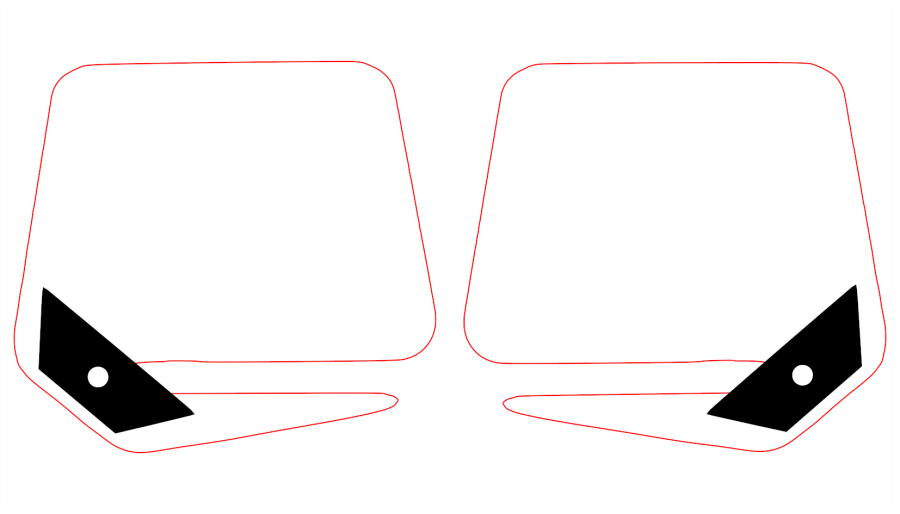
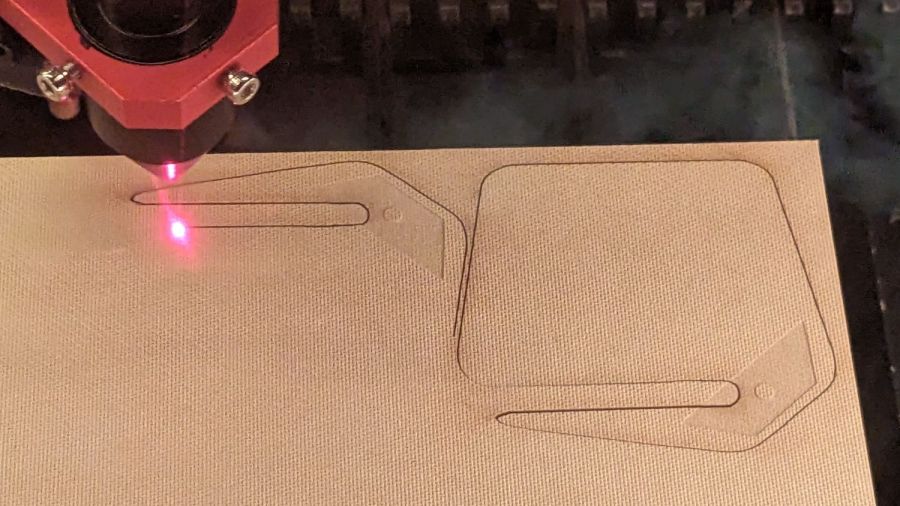
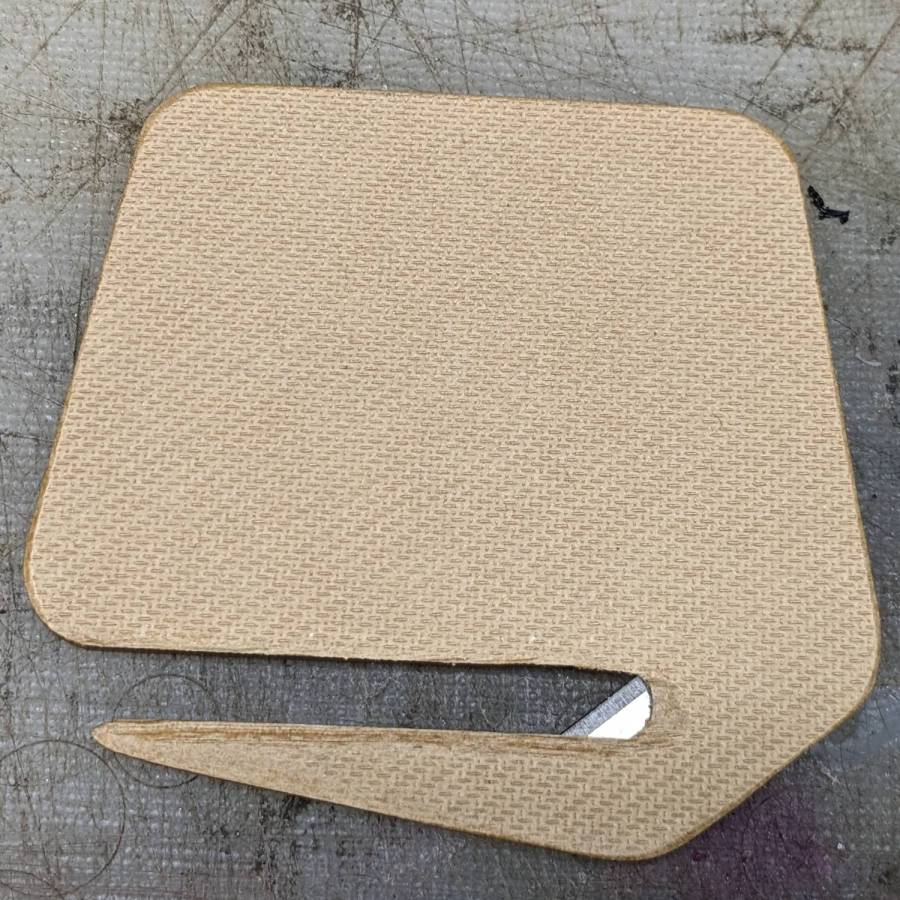
They’re a matched set cut from 1.5 mm TroCraft Eco:
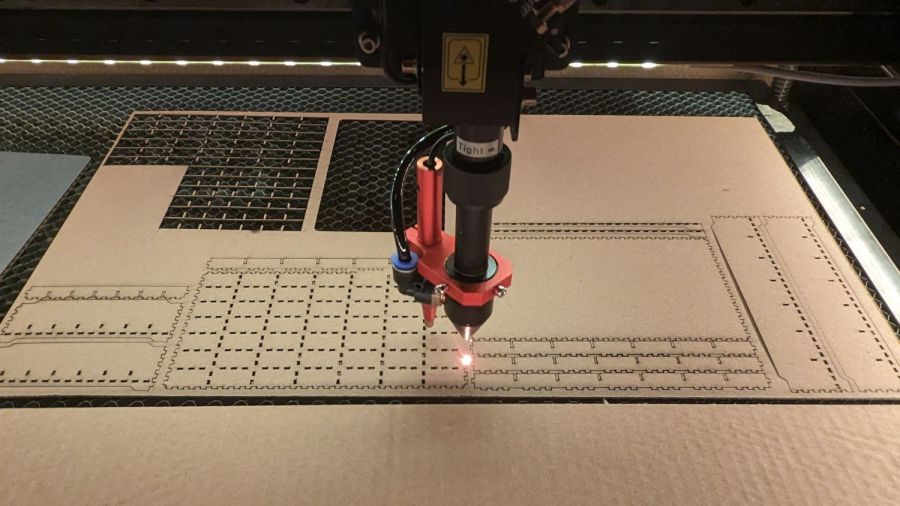
Watching all those little rectangles fall out just never gets old:
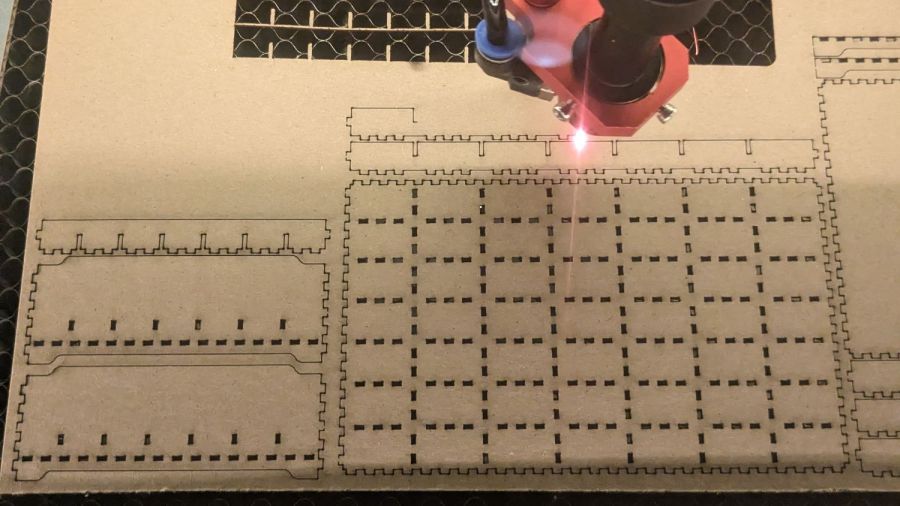
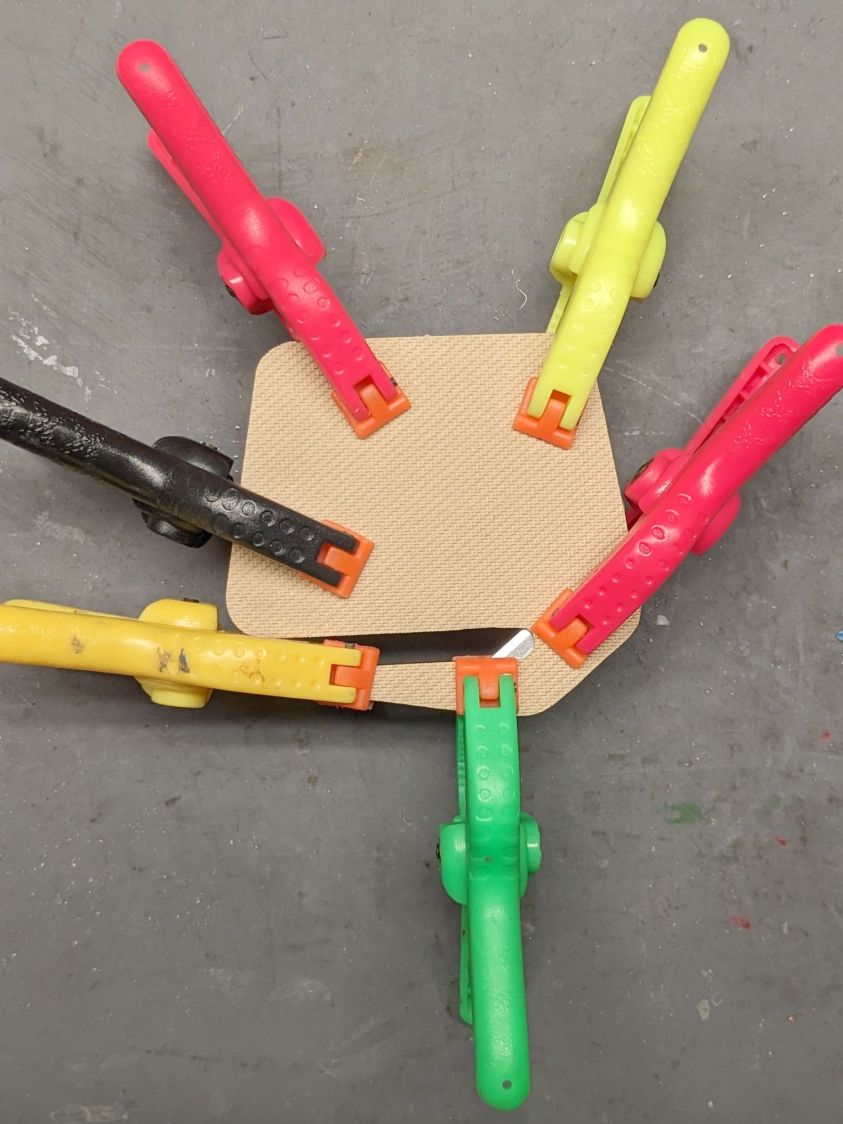
I ran off a test tray in ordinary chipboard that works just as well, but lacks the pleasant appearance and feel of the TroCraft. Clear 1.5 mm acrylic would probably work, at the cost of requring a much neater glue job where the dividers meet the walls.
The spacing is a bit tight to pluck a bobbin from its slot between two others, but now she has enough space to arrange them as needed, with empty spaces around the most-used colors. I offered to carpet the drawer with bobbin trays, but she suggested waiting until these fill up.
The well-stuffed URL specifying the tray:
http://festi.info/boxes.py/TypeTray?FingerJoint_angle=90.0&FingerJoint_style=rectangular&FingerJoint_surroundingspaces=0.5&FingerJoint_bottom_lip=0.0&FingerJoint_edge_width=1.0&FingerJoint_extra_length=0.0&FingerJoint_finger=2.0&FingerJoint_play=0.0&FingerJoint_space=2.0&FingerJoint_width=1.0&Stackable_angle=60&Stackable_bottom_stabilizers=0.0&Stackable_height=2.0&Stackable_holedistance=2.0&Stackable_width=4.0&Hinge_grip_percentage=0&Hinge_outset=0&Hinge_pinwidth=0.5&Hinge_style=outset&Hinge_axle=2.0&Hinge_grip_length=0&Hinge_hingestrength=1&CabinetHinge_bore=3.2&CabinetHinge_eyes_per_hinge=5&CabinetHinge_hinges=2&CabinetHinge_style=inside&CabinetHinge_eye=1.5&CabinetHinge_play=0.05&CabinetHinge_spacing=2.0&Lid_angle=90.0&Lid_hole_width=0&Lid_second_pin=0&Lid_second_pin=1&Lid_spring=both&Lid_style=rectangular&Lid_surroundingspaces=2.0&Lid_bottom_lip=0.0&Lid_edge_width=1.0&Lid_extra_length=0.0&Lid_finger=3.0&Lid_play=0.05&Lid_space=2.0&Lid_width=1.0&Click_angle=5.0&Click_bottom_radius=0.1&Click_depth=3.0&RoundedTriangleEdge_height=50.0&RoundedTriangleEdge_r_hole=2.0&RoundedTriangleEdge_radius=30.0&RoundedTriangleEdge_outset=1.0&Mounting_d_head=6.5&Mounting_d_shaft=3.0&Mounting_margin=0.125&Mounting_num=2&Mounting_side=back&Mounting_style=straight+edge%2C+within&HandleEdge_height=20.0&HandleEdge_hole_height=75.0&HandleEdge_hole_width=40%3A40&HandleEdge_on_sides=0&HandleEdge_on_sides=1&HandleEdge_radius=10.0&HandleEdge_outset=1.0&sx=21*7&sy=12*7&h=20.0&hi=10.0&outside=0&bottom_edge=s&top_edge=S&back_height=0.0&radius=0.0&gripheight=30&gripwidth=00&handle=0&thickness=1.65&format=lbrn2&tabs=0&debug=0&labels=0&reference=00&inner_corners=corner&burn=0.04
Which can now be specified as the biggest QR code I’ve ever seen:
That makes my eyes hurt …


