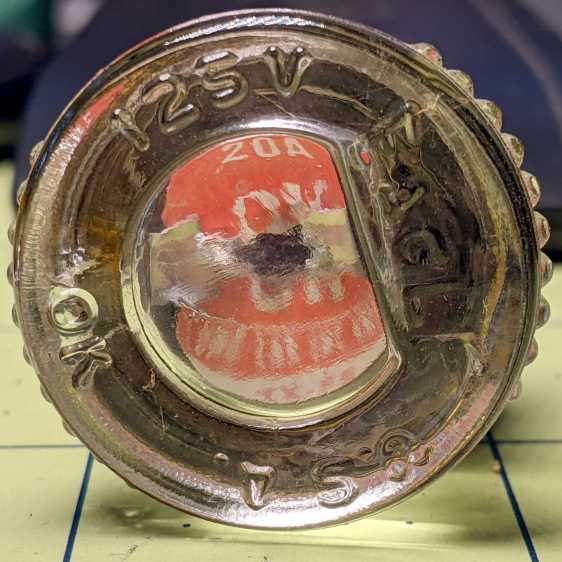
Start with the amber side marker light sporting a cataract and distorted beam:

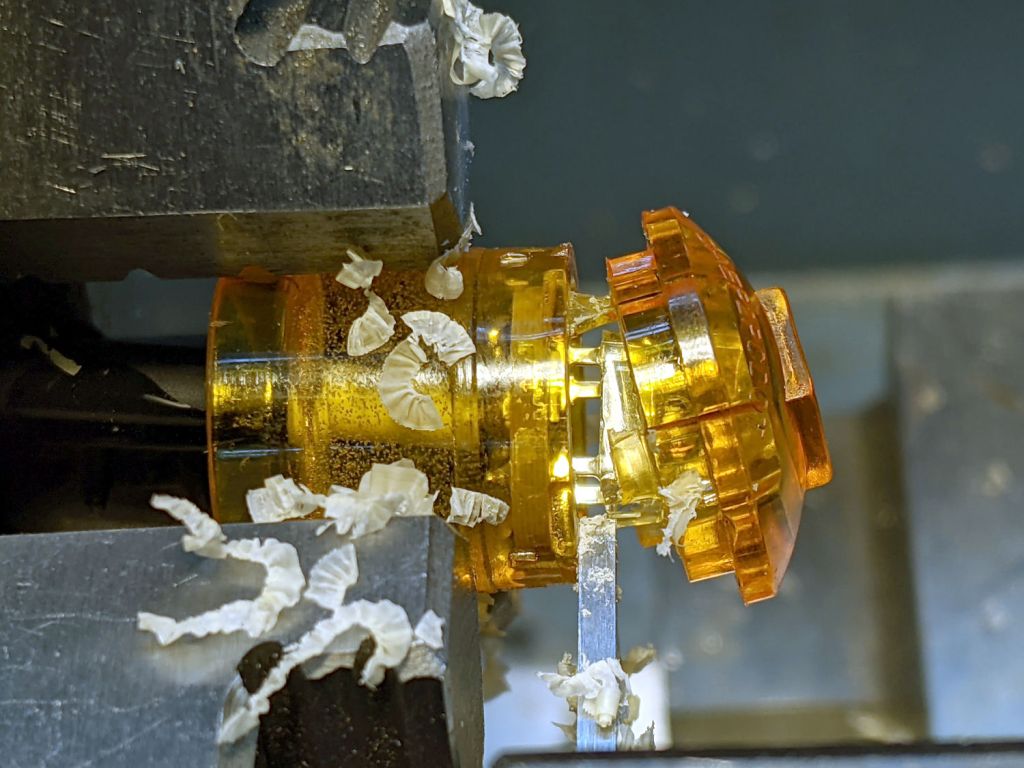
Part off the lens:

The cut is just in front of the PCB and went slowly to avoid clobbering the SMD resistors very near the edge.
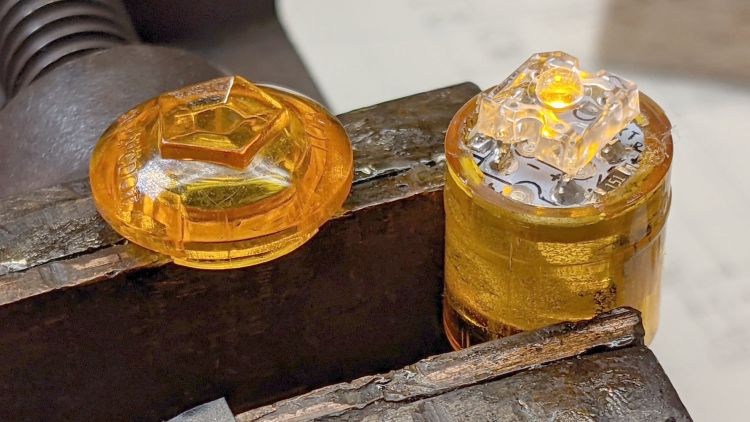
The cataract turned out to be crud adhered to the LED lens:

Brutal surgery removed the LED and installed a replacement:
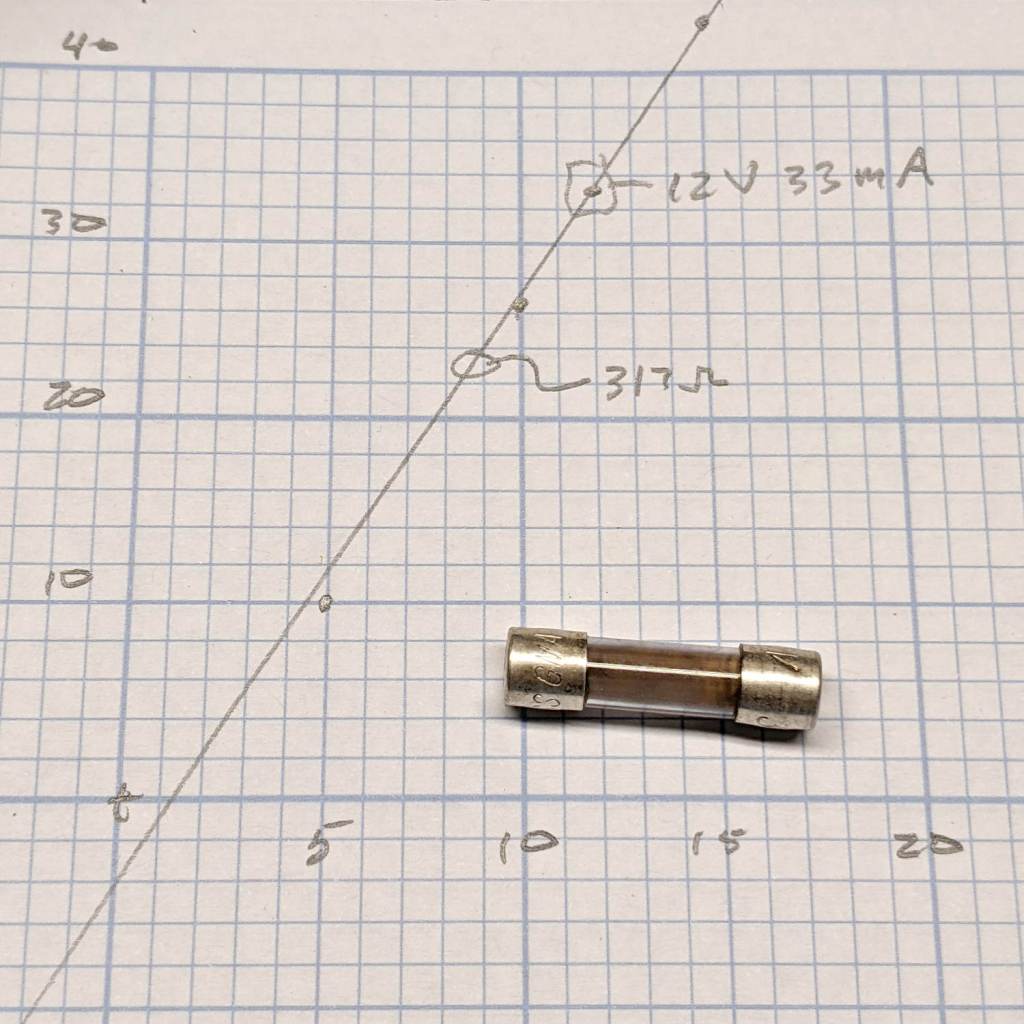
The PCB had two 150 Ω SMD resistors for use with 12-ish V automotive batteries. While I had the hood up, I removed one and shorted across its pads to make the LED work with the 6 V switched headlight supply from the Bafang motor.
In round numbers, 6 V minus 2.2 V forward drop divided by 150 Ω is about 25 mA. The original LED ran at 35-ish mA, but it’s close enough.
Glue the lens back in place:

The bubbly stuff is solid epoxy from the original assembly, which is why removing the PCB is not an option.
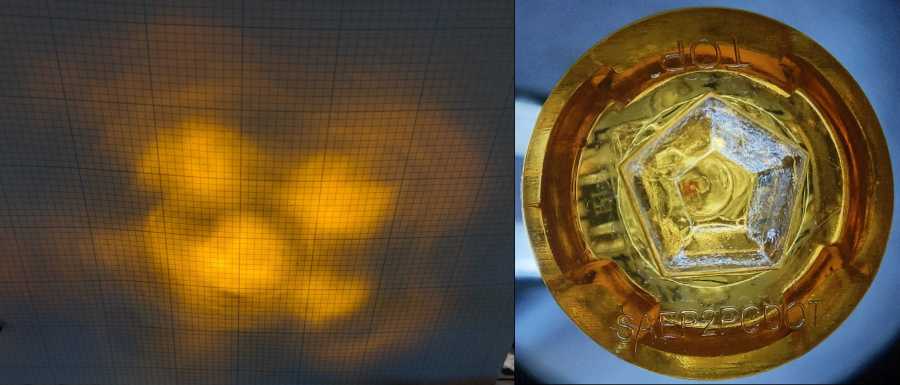
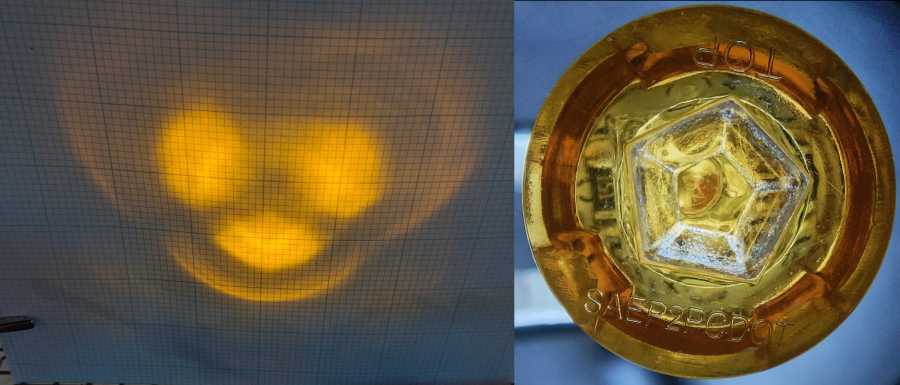
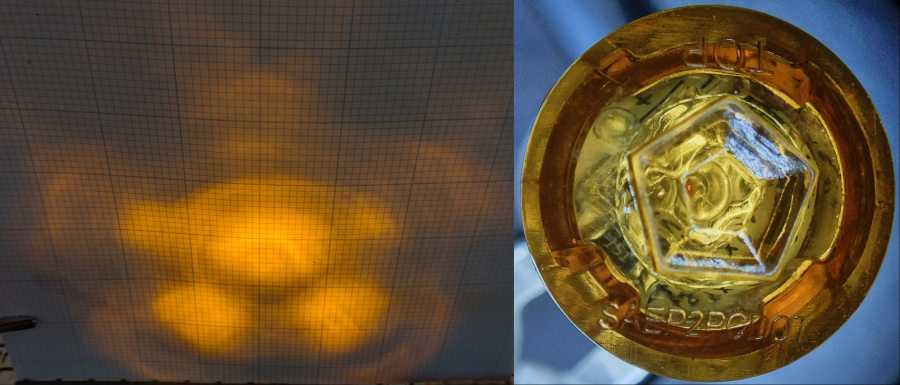
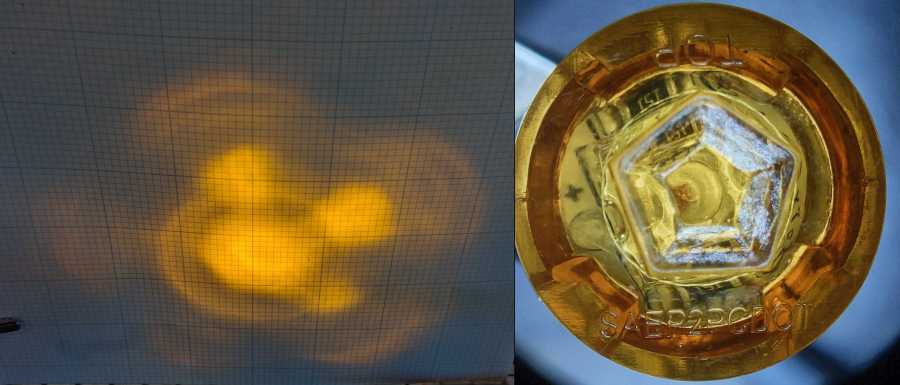
The new LED is no more off-center than any of the others:

It does, however, sit much closer to the lens, due to the ring of plastic I cut away to get inside. As a result, the beam is mostly a single centered lobe with only hints of the five side lobes; there isn’t much waste light from the side of the LED into those facets.
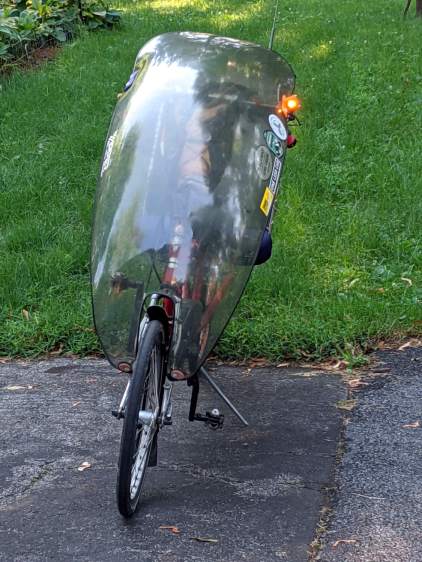
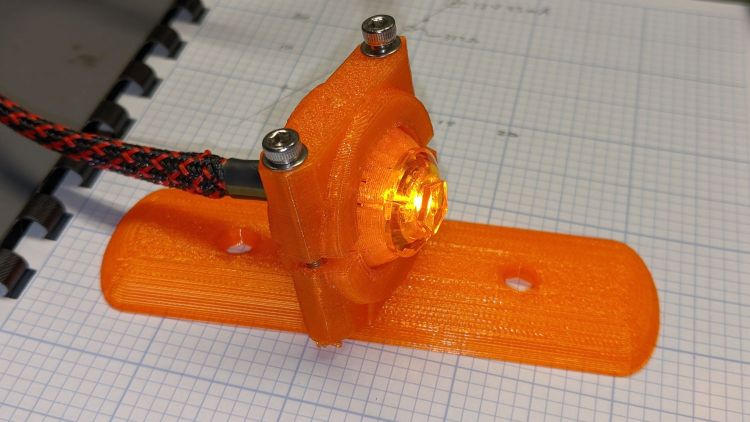
Replace the one I originally put in the new fairing mount:

However, it’s still not much more than a glowworm in the daytime, so we need more firepower …