It turns out that the various Avahi daemons performing the magick between whatever.local names and dotted-quad 192.168.1.101 addresses for Raspberry Pi descend into gibbering madness when confronted with:
- One name corresponding to multiple IP addresses
- One IP address used for multiple MAC addresses
- Multiple names for one IP address
- Multiple names for one MAC address
- Multiple IP addresses for one MAC address
- Multiple MAC addresses for one IP address
- Any and all combinations of the above at various times
The least of the confusion involved an incorrect IP address linked to a familiar name pulled from deep history by a baffled daemon doing the best it can with what it thinks it knows. Despite what I concluded, rather early in the process, there’s no real error, other than my performing what amounted to a self-inflicted fast-flux nameserver attack.
Anyhow, I devoted the better part of an afternoon to sorting out the mess, which involved labeling all the streaming radio players with their MAC addresses and rebooting them one-by-one to allow all the daemons time to recognize the current situation:

That label corresponds to the Pi 3’s on-board WiFi adapter.
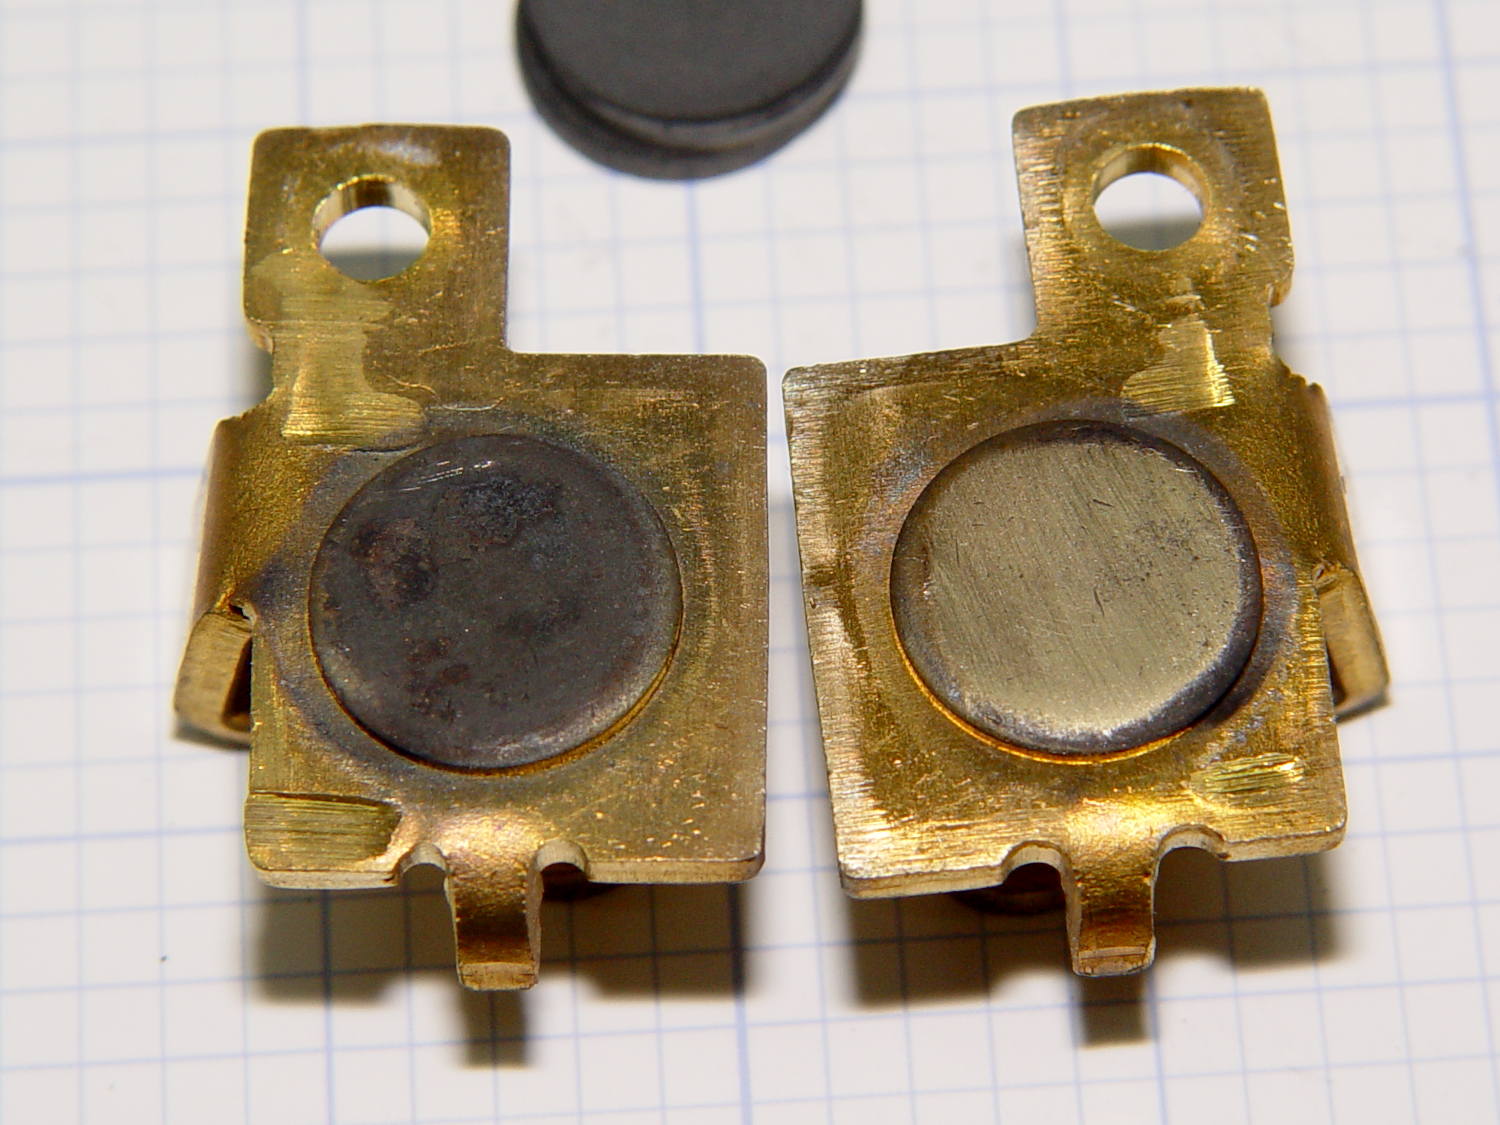
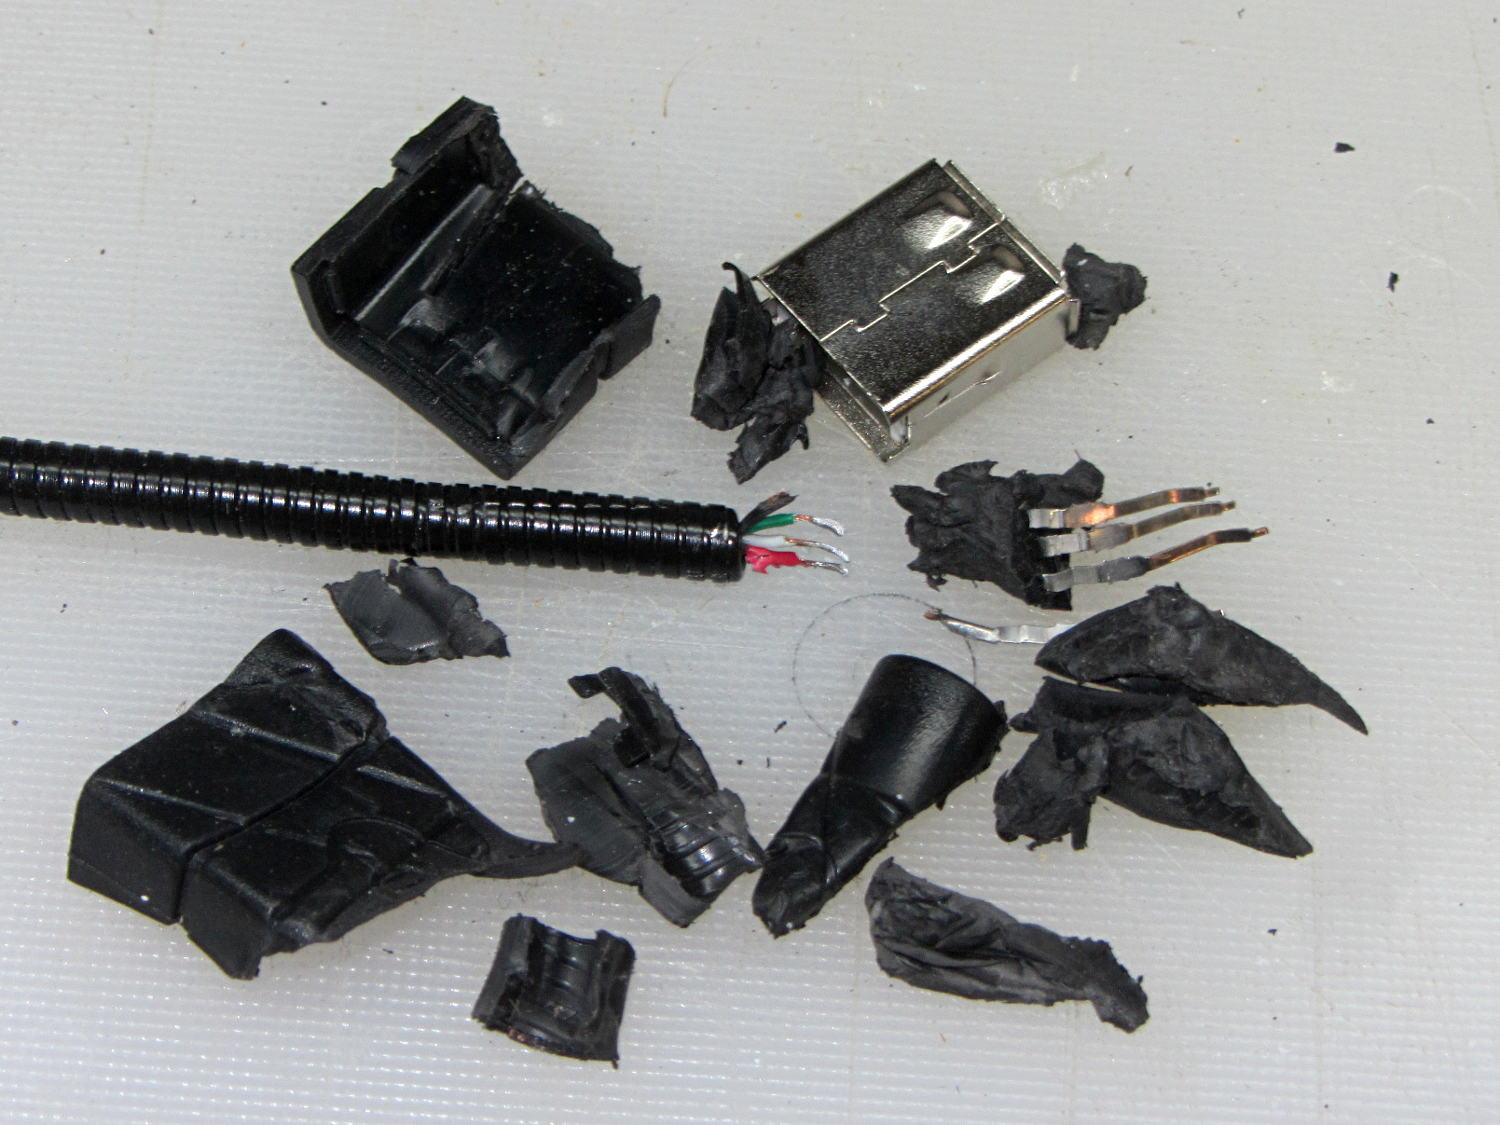
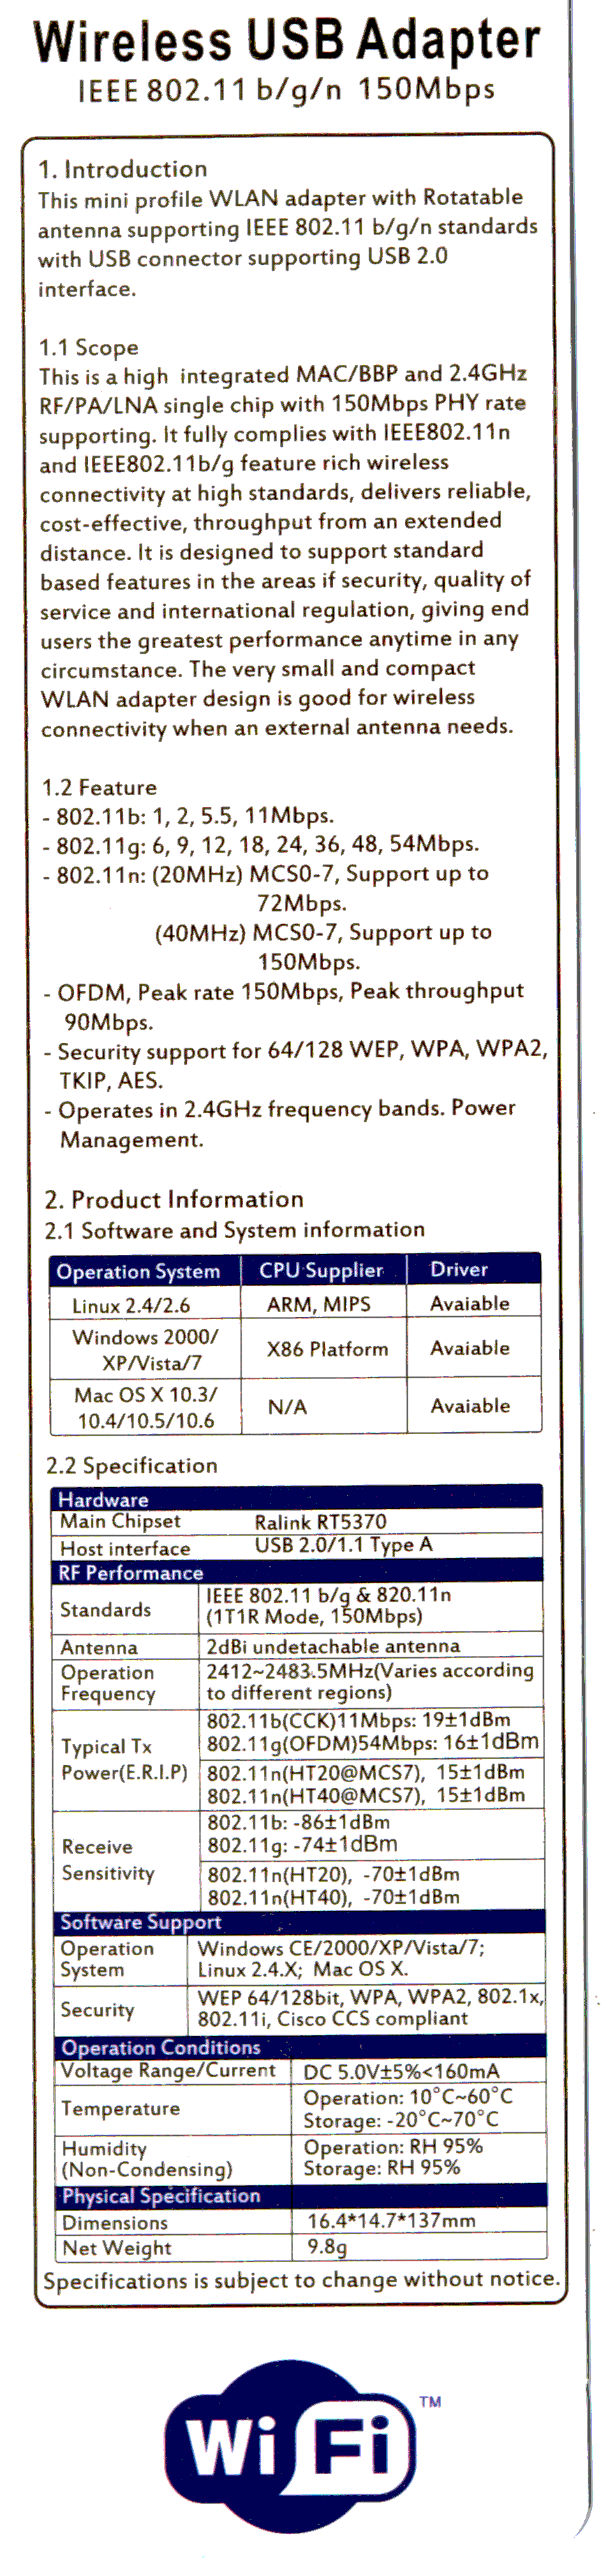
For Pi 2 boxen, the MAC address travels with the WiFi adapter jammed into a USB port:

I didn’t label the (unused) Ethernet jacks, figuring I’d solve that problem after it trips me up.