Ed Nisley's Blog: Shop notes, electronics, firmware, machinery, 3D printing, laser cuttery, and curiosities. Contents: 100% human thinking, 0% AI slop.
Some drivers give us absurd amounts of clearance, which is what we thought the driver of the white Jeep was doing:
New Jeep Reckless Driving – Jeep passing
Some drivers give us very little clearance, either deliberately or though negligence, which is what I thought the driver of the silver Subaru was doing:
New Jeep Reckless Driving – Subaru close pass
Reviewing the videos revealed a different story that could have ended very badly for everyone involved.
Moving back in time, we crossed the bridge over the Wappingers creek, which has two southbound lanes. The left lane is dedicated to left turns onto Red Oaks Mill Road and the right lane is for through traffic southbound on Rt 376:
New Jeep Reckless Driving – Red Oaks Mill bridge
I had noticed oncoming drivers in the northbound lane were moving far over to the fog line, but (unseen by me) they were definitely swerving off the road:
New Jeep Reckless Driving – swerve 1
It seems the Jeep driver crossed the bridge in the left lane and continued straight through, passing the solid line of vehicles in the right lane behind us. You can see the top of the Jeep’s windshield peeking out behind the Subaru, with minimal clearance to the black car swerving out of the way:
New Jeep Reckless Driving – swerve 1 clearance
There’s not much shoulder on that side of the road, but the driver of the white Honda is using it all:
New Jeep Reckless Driving – swerve 2
With all the oncoming traffic out of the way, the Jeep driver now accelerates in the wrong lane:
New Jeep Reckless Driving – passing 1
And passes the Subaru just behind us:
New Jeep Reckless Driving – passing 2
The license plate looks like JAE-7751, early in the “J” plate series, so that’s a shiny new Jeep.
Being passed at close range in an obviously no-passing zone caused the Subaru driver to flinch in our direction:
New Jeep Reckless Driving – Subaru clearance
Unsurprisingly, the Jeep driver ran the red light at the top of the hill, presumably to avoid being stopped directly in front of us.
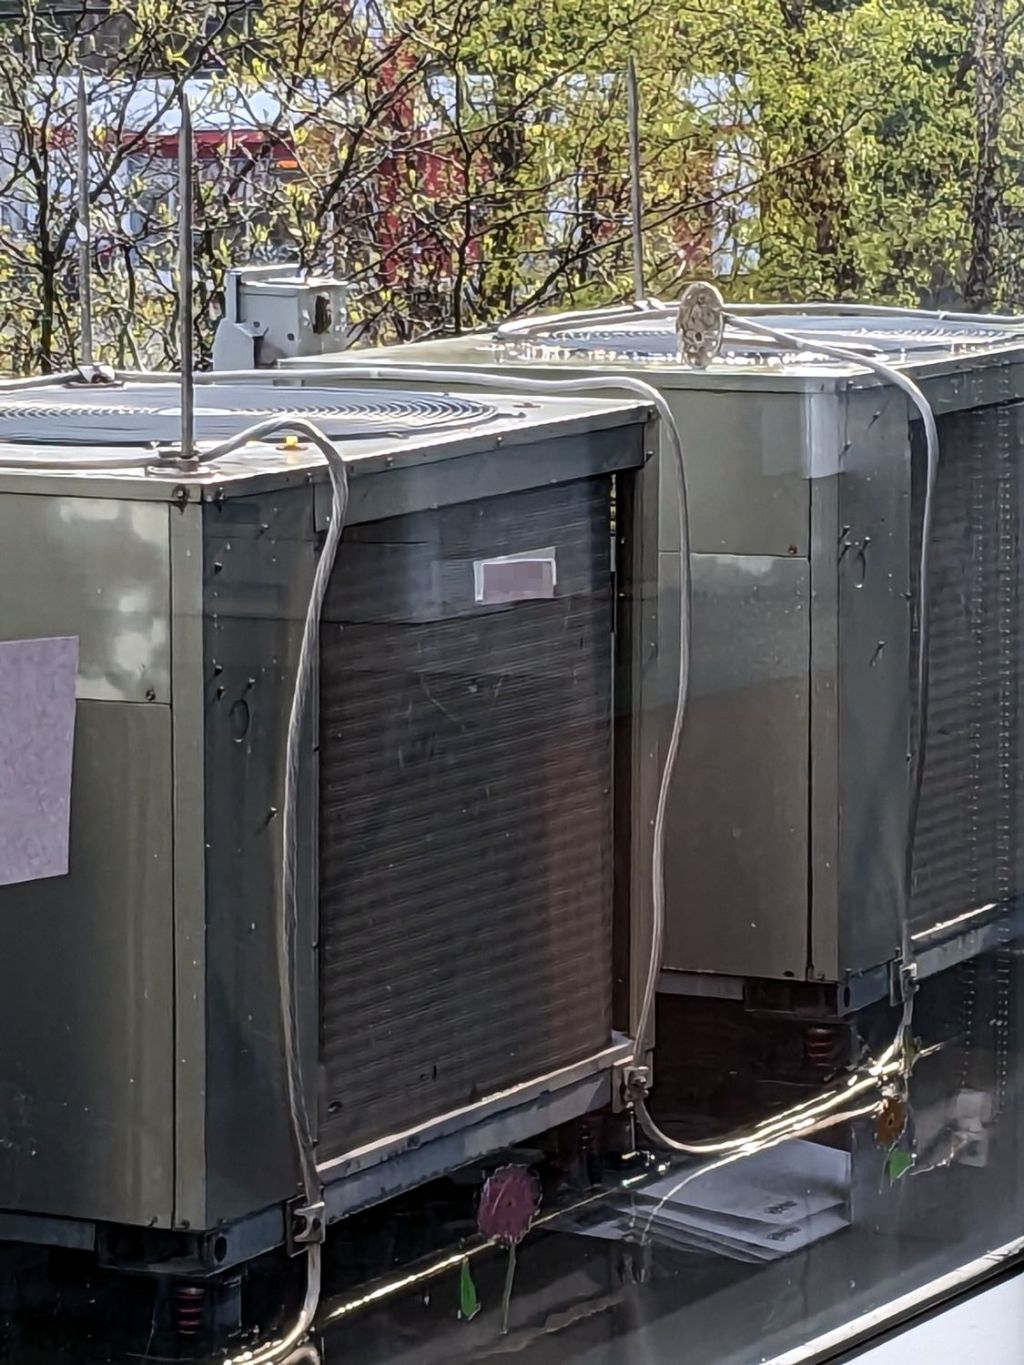
Each air conditioning unit has a pair of lightning rods atop it, with their aluminum grounding cables securely clamped to the steel frame underneath.
The rod reclining on its side caught my eye. Perhaps its fat cable wasn’t relaxed enough during installation, although I thought those wide bases would be firmly screwed to the unit’s steel top. Of course, that could be the only one without screws.
The building extends another three stories upward from that roof, but our experience suggests lightning strikes where it will.
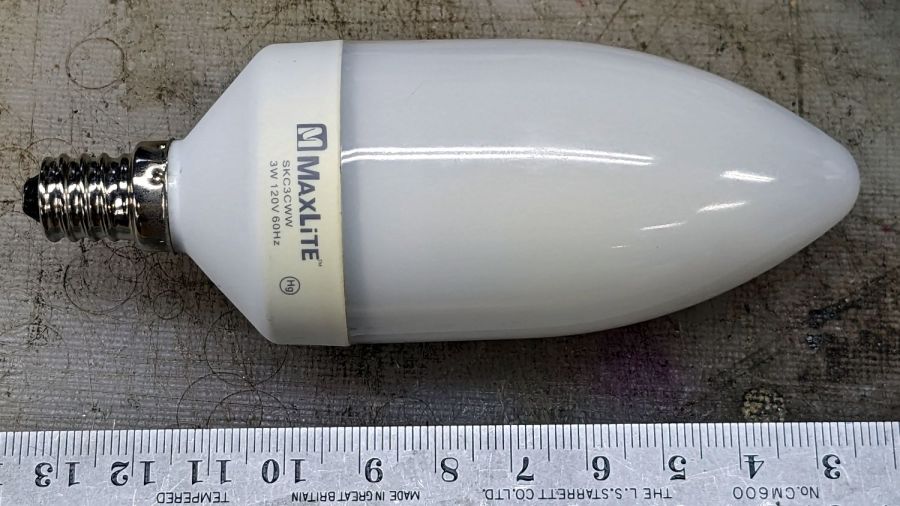
The bathroom ceiling fixture has a nightlight position that we use occasionally, but eventually the little 7 W Christmas Tree bulb failed and I installed this hulk from a box of CFL bulbs a friend scrapped out after switching to LED bulbs:
MaxLite CFL – overview
I never tested whether it actually drew 3 W, but, hey I could feel good. Right? Right?
Anyhow, this one failed after a few years, too. The “bulb” envelope looked like it might make an attractive blinkie or glowie, so I decided to harvest it.
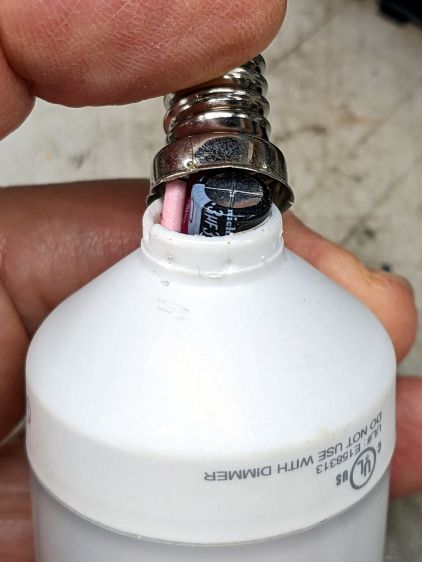
The candelabra screw base felt loose and popped off with a push:
MaxLite CFL – overflow cap
Perhaps they chose the envelope before finalizing the circuitry?
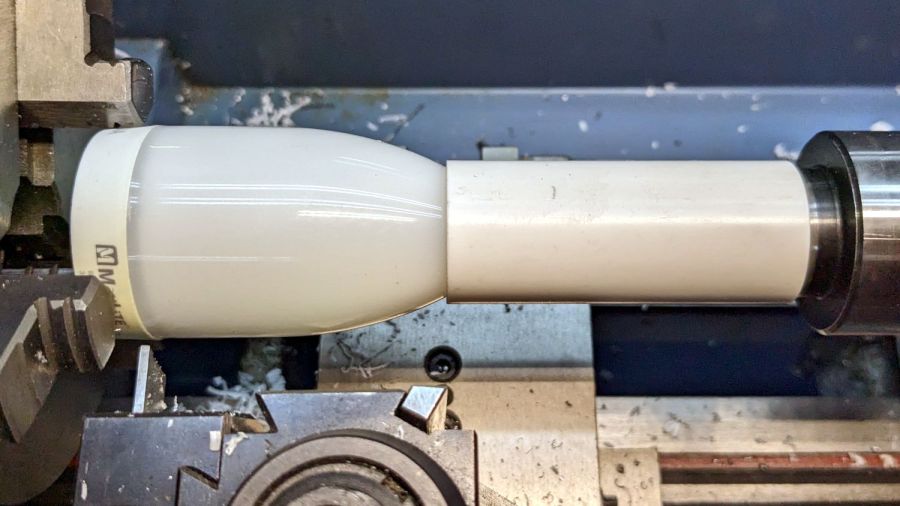
This is why you need a lathe in your shop:
MaxLite CFL – lathe cutting
It wasn’t particularly well centered, so that was done dead slow and finished with a few hand turns of the chuck. Obviously, I need a crank for the spindle.
The rest of the circuitry is pretty well packed under that tall cap:
MaxLite CFL – circuitry
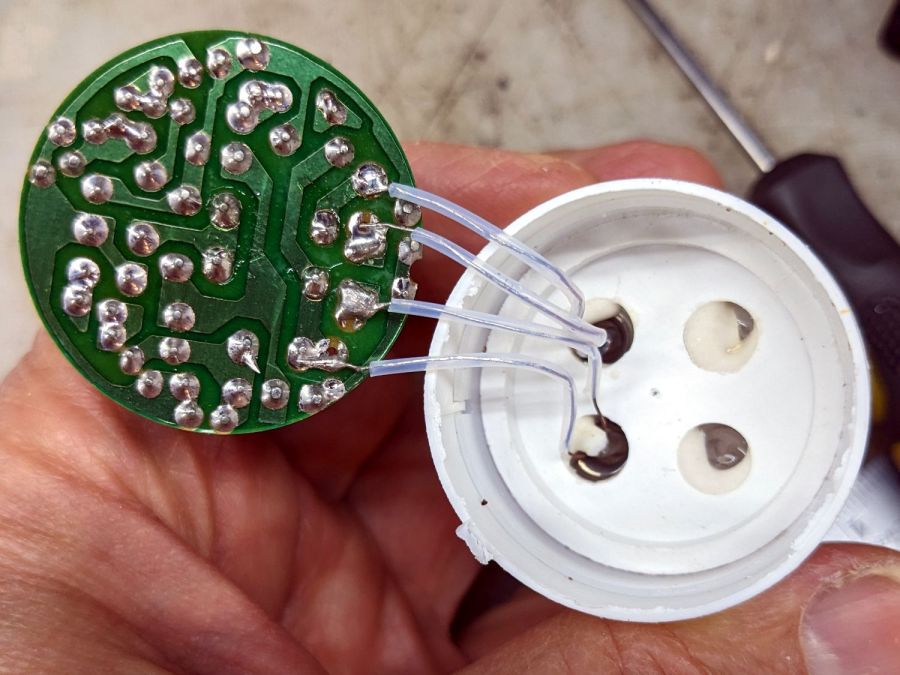
Pulling the PCB out revealed the tube wiring:
MaxLite CFL – tube wires
Cut the wires and chuck it up again:
MaxLite CFL – envelope turning setup
Turn dead slow again until it breaks through:
MaxLite CFL – envelope breakthrough
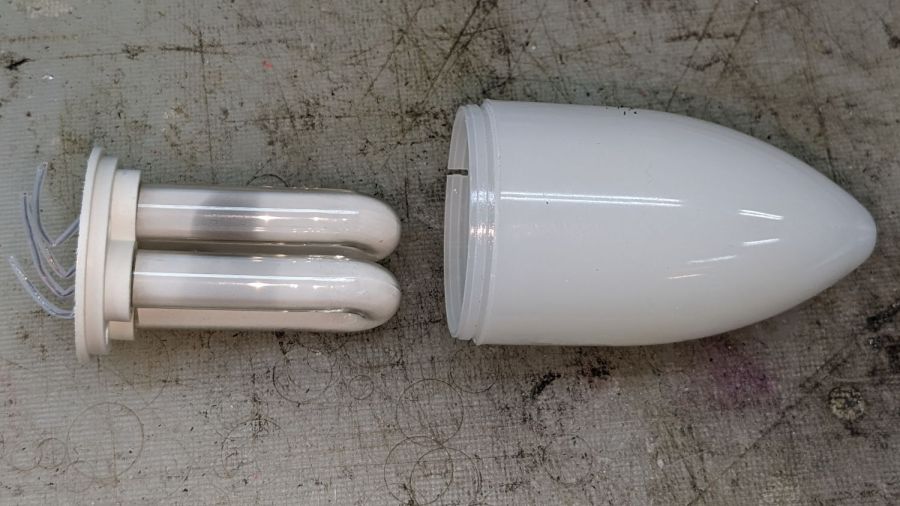
Then finish by hand:
MaxLite CFL – tube and envelope
It’s too cute to throw out, but … sheesh you can see why recycling this stuff is so difficult.
For whatever it’s worth, I replaced it with a 3 W LED candelabra bulb that is way too bright.
The trail camera uses two parallel banks of four series AA cells to get enough oomph for its IR floodlight. I’m not convinced using bucked lithium AA cells in that configuration is a Good Idea, but it’s worth investigating.
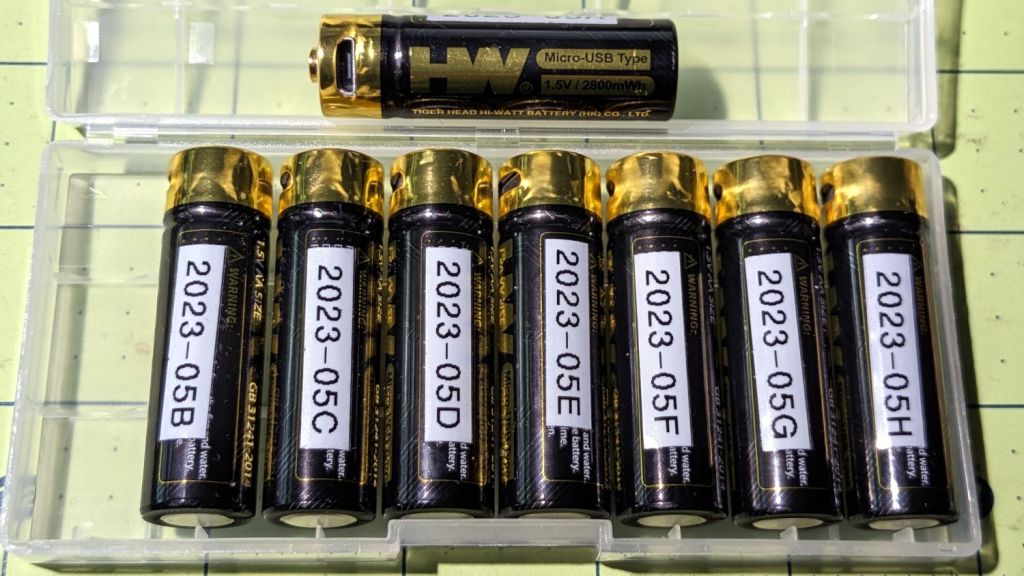
These are labeled HW, rather than Fuvaly, because it seems one cannot swim twice in the same river:
HW bucked Li AA cells
In any event, they come close to their claimed 2.8 W·hr capacity:
HW bucked Li AA – 2023-05
The lower pair of traces (red & black) are single cells at 2.7-ish W·hr, the blue trace is a pair at 5.4 W·hr, and the green trace is a quartet at 9.8 W·hr. Surprisingly close, given some previous results in this field.
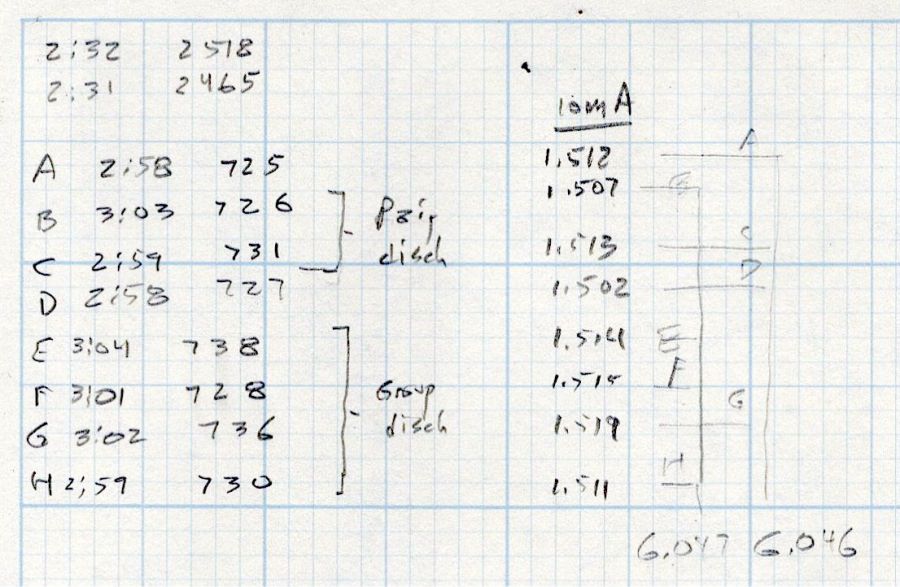
Recharging the cells after those tests shows they all take 3 hours ± a few minutes to soak up 730 mA·hr ± a few mA·hr, so they’re decently matched.
Measuring the terminal voltage with a 10 mA load after that charge lets me match a pair of quartets to 1 mV, which is obviously absurd:
HW bucked Li cells – initial charge 2023-05-05
The numbers in the upper left corner show the initial charge of four cells at a time required the same time within a minute and the same energy within 4%.
Sticking them in the trail camera must await using up the current set of alkaline AA cells.
Bonus: a lithium fire in a trail camera won’t burn down the house.
After all, pictures like this are definitely worth the hassle:
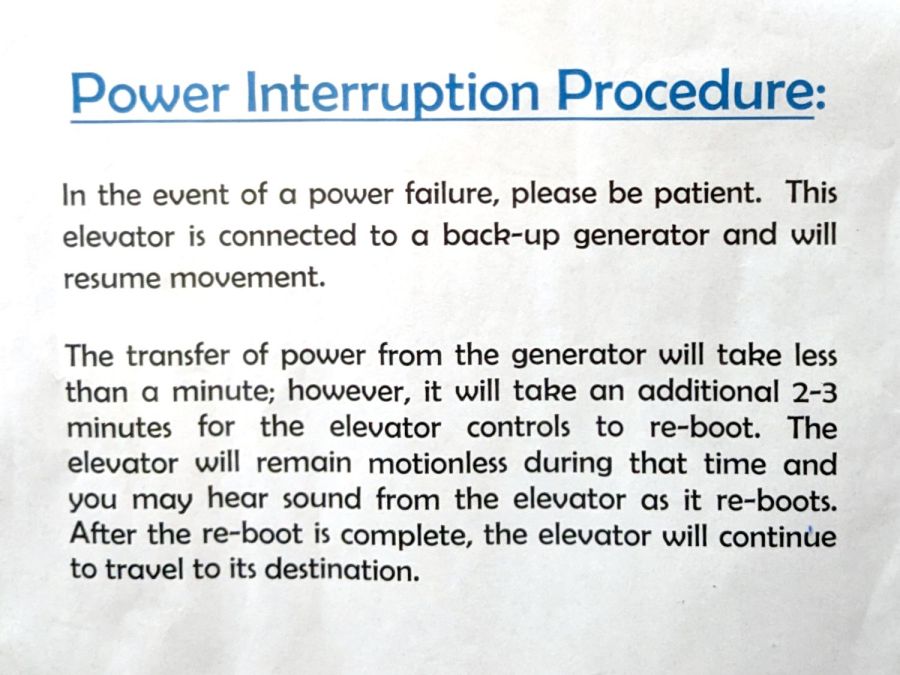
I read these reassuring instructions in the elevator of a different building:
Elevator power failure instructions
I’d be mildly unsurprised to discover the elevator controls also handle the interior lighting, invariably putting me in the dark while the thing reboots. At least the paper would remain readable, because phones can become flashlights under duress.
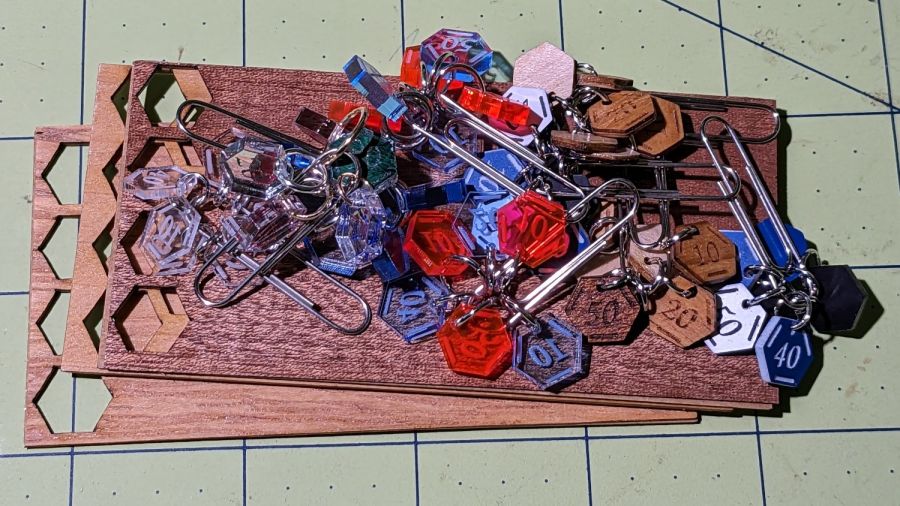
Our Young Engineer knits during rare moments of downtime and sketched an idea for stitch counters to mark progress between those moments. There being nothing like a new project to take one’s mind off all of one’s previous projects:
Stitch Counters – overview
These are more along the lines of feasibility / material tests than finished products, so you’ll see plenty of rough edges.
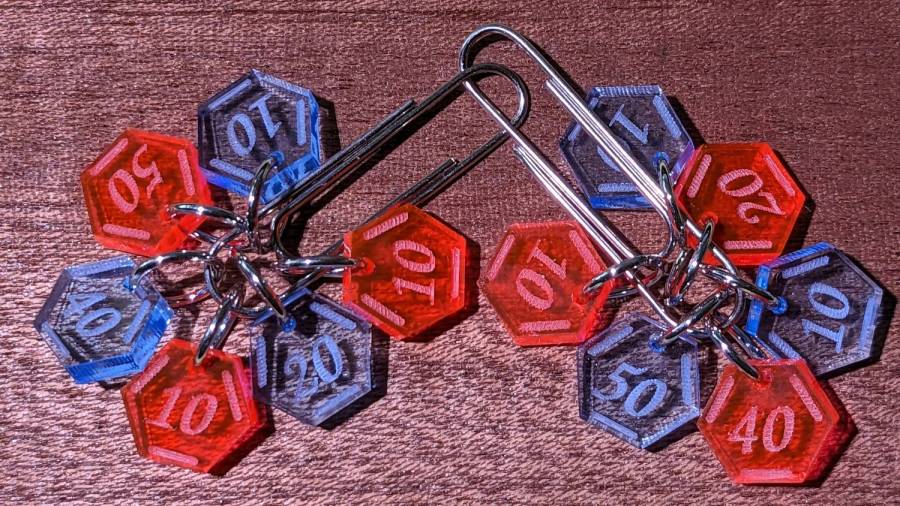
Prior to doing this, we agreed that 3 mm material was probably too thick, particularly given the small scale: the hexagons are 10 mm edge-to-edge with a 1.5 mm hole for the jump ring.
The jump rings are (mostly) 8 mm OD, which may or may not be the right diameter for all possible knitting needles.
The count sequence goes 10 20 10 40 50 10 with alternating colors:
Stitch Counters – red and blue
Those came from 3 mm red and blue transparent acrylic, looking entirely too much like candy. Cutting two identical layouts from two different materials, then swapping a few counters, gives me two related-but-different sets. This idea is also subject to revision.
I like the set of 3 mm acrylic mirror counters colored with Sharpie:
Stitch Counters – mirror
Alas, the unprotected mirror backing won’t survive long in the real world and Sharpie ink tends to stress-crack the acrylic. Bonding a thin colored sheet / gel filter to the back with an adhesive sheet in between would work, although I don’t look forward to the fiddly alignment. Bonus: sticky edges are a nonstarter in this application.
A setup error produced a set of unmarked counters that might still come in handy for something:
PXL_20230507_150124595 – Stitch Counters – blue blank
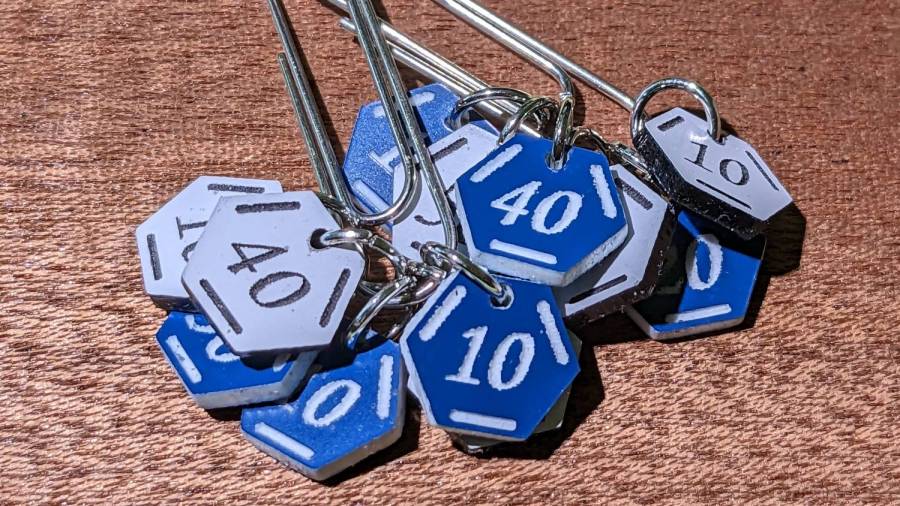
Trolase acrylic 1/16 inch = 1.5 mm sheets produce the most visible legends, in a relentlessly industrial sort of way:
Stitch Counters – Trolase
Those have a single thin layer atop a white or black base sheet, but three-layer 1.5 mm Trolase sheets with matching top and bottom colors (cladding on a white core) would look better.
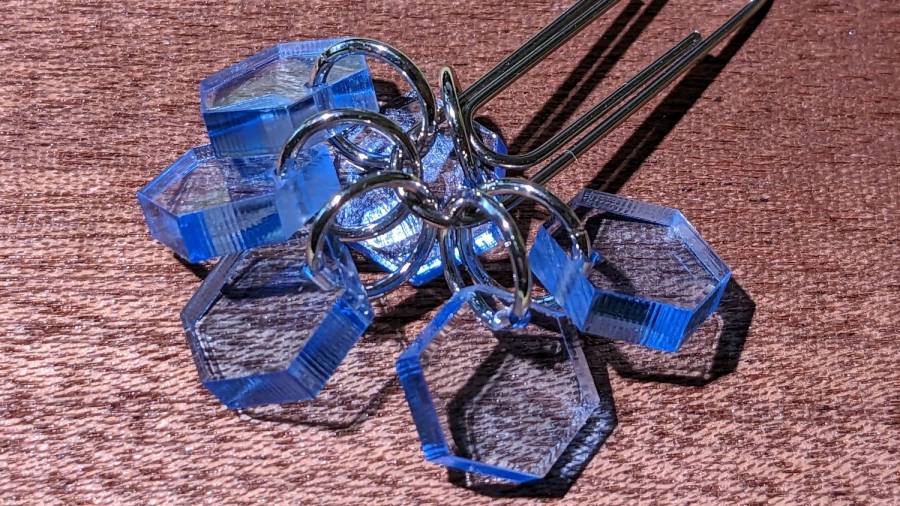
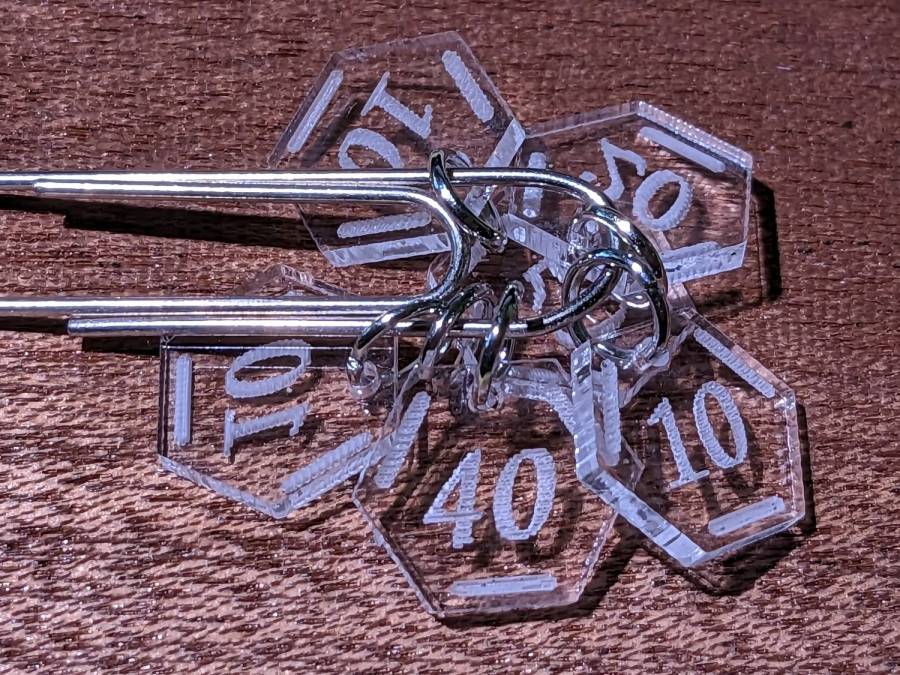
If you can’t decide on a color, go clear:
Stitch Counters – clear
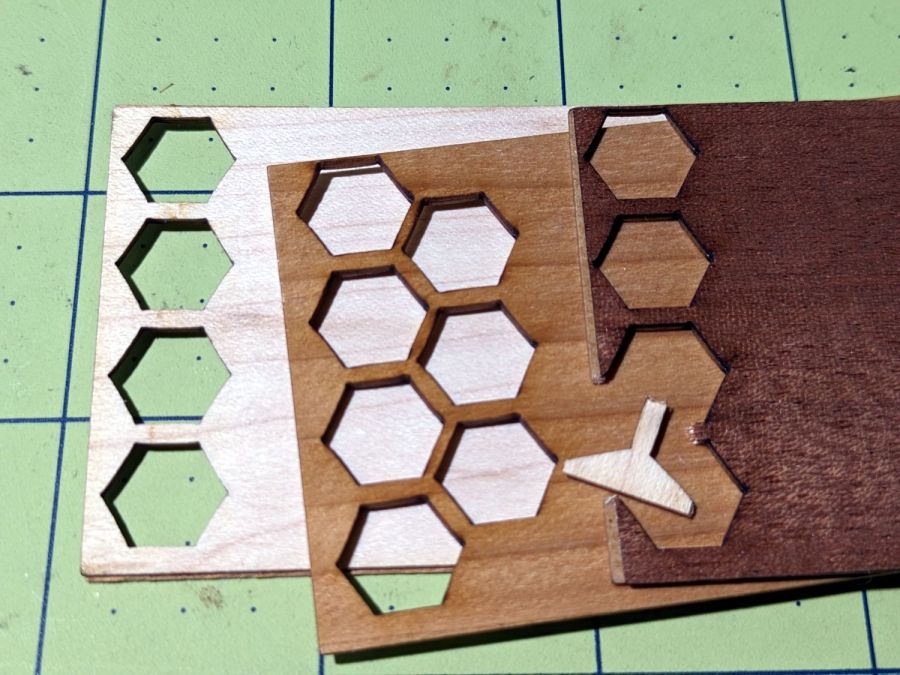
All of those appear on a background of some thin DIY plywood:
Stitch Counters – veneer plywood sheets
The bottom sheet is very pale veneer that came with a layer of genuine 3M 468 transfer tape with 200MP adhesive. I stuck three different veneers on three 100×50 mm rectangles of the stuff to make 1.5 mm thick “plywood”. The adhesive sheet provides lateral strength, not the wood fibers, so it’s not quite as easy to tear as the broken fragment would suggest.
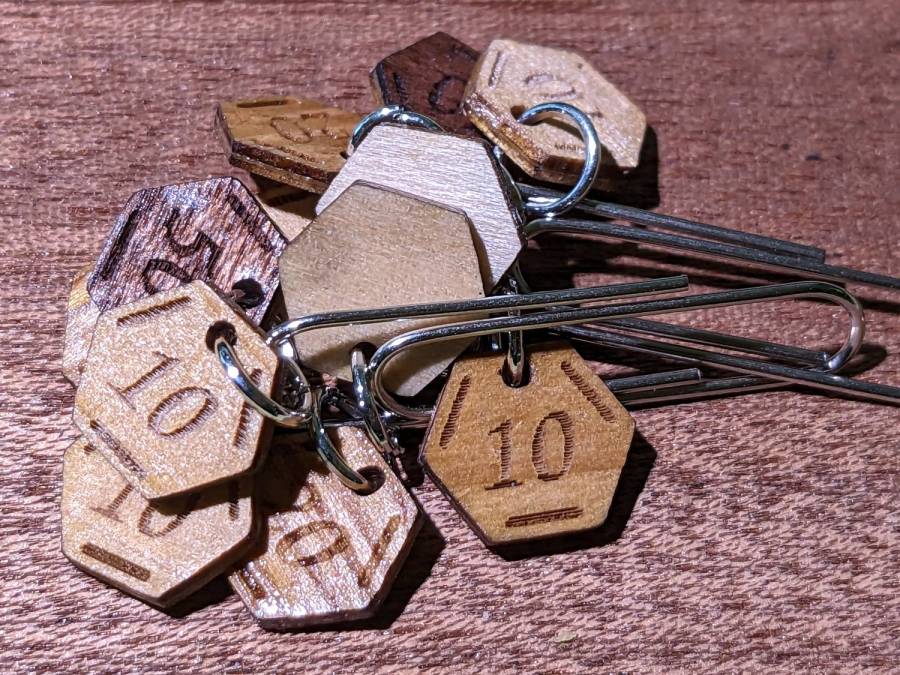
The results look passable, although there’s room for improvement:
Stitch Counters – veneer plywood
After engraving & cutting, I slathered them with clear polyurethane finish and hung them up to dry:
Stitch Counters – wood finish curing
I like the effect, but using the pale veneer for the bottom layer made them look identical from that side. Worse, two of the three top layer veneers had nearly identical colors (one has more grain) after the finish cured.
More thought seems in order, but at least I’ve explored some of the solution space.