Ed Nisley's Blog: Shop notes, electronics, firmware, machinery, 3D printing, laser cuttery, and curiosities. Contents: 100% human thinking, 0% AI slop.
I’ve been using YAGV (Yet Another G-Code Viewer) as a quick command-line Guilloché visualizer, even though it’s really intended for 3D printing previews:
YAGV previewer.png
Oddly (for a command-line program), it (seems to) lack any obvious keyboard shortcut to bail out; none of my usual finger macros work.
A quick hack to the main /usr/share/yagv/yagv file makes Ctrl-Q bail out, thusly:
diff yagv /usr/share/yagv/yagv
18a19
> import sys
364a366,367
> 		if symbol==pyglet.window.key.Q and modifiers & pyglet.window.key.MOD_CTRL:
> 			sys.exit()
I tacked the code onto an existing issue, but yagv may be a defunct project. Tweaking the source works for me.
The Ubuntu 18.04 LTS repo has what claims to be version 0.4, but the yagv GitHub repository (also claiming to be 0.4) includes code ignoring G-Code comments. Best to build the files from source (which, being Python, they already are), then add my Ctrl-Q hack, because my GCMC Guilloché generator adds plenty of comments.
Our room in a pretty good motel (pronounced “No Pets Allowed”) had the light on the wall above the beds plugged in thusly:
Motel outlet 1
Next to the other bed was the outlet for the between-the-beds nightstand with lamp and clock radio plugs:
Motel outlet 2 – side
Which looked not-so-bad from the side, but not-so-good from the top:
Motel outlet 2 – top
It’s all fun and games until you grope for your metal-frame glasses in the middle of the night and they fall off the nightstand … hasn’t happened yet, but it’ll be spectacular when it does.
I think the original beds were narrower, with more clearance around the outlets, but we’ll never know. Those Panera Bread outlets pose similar problems.
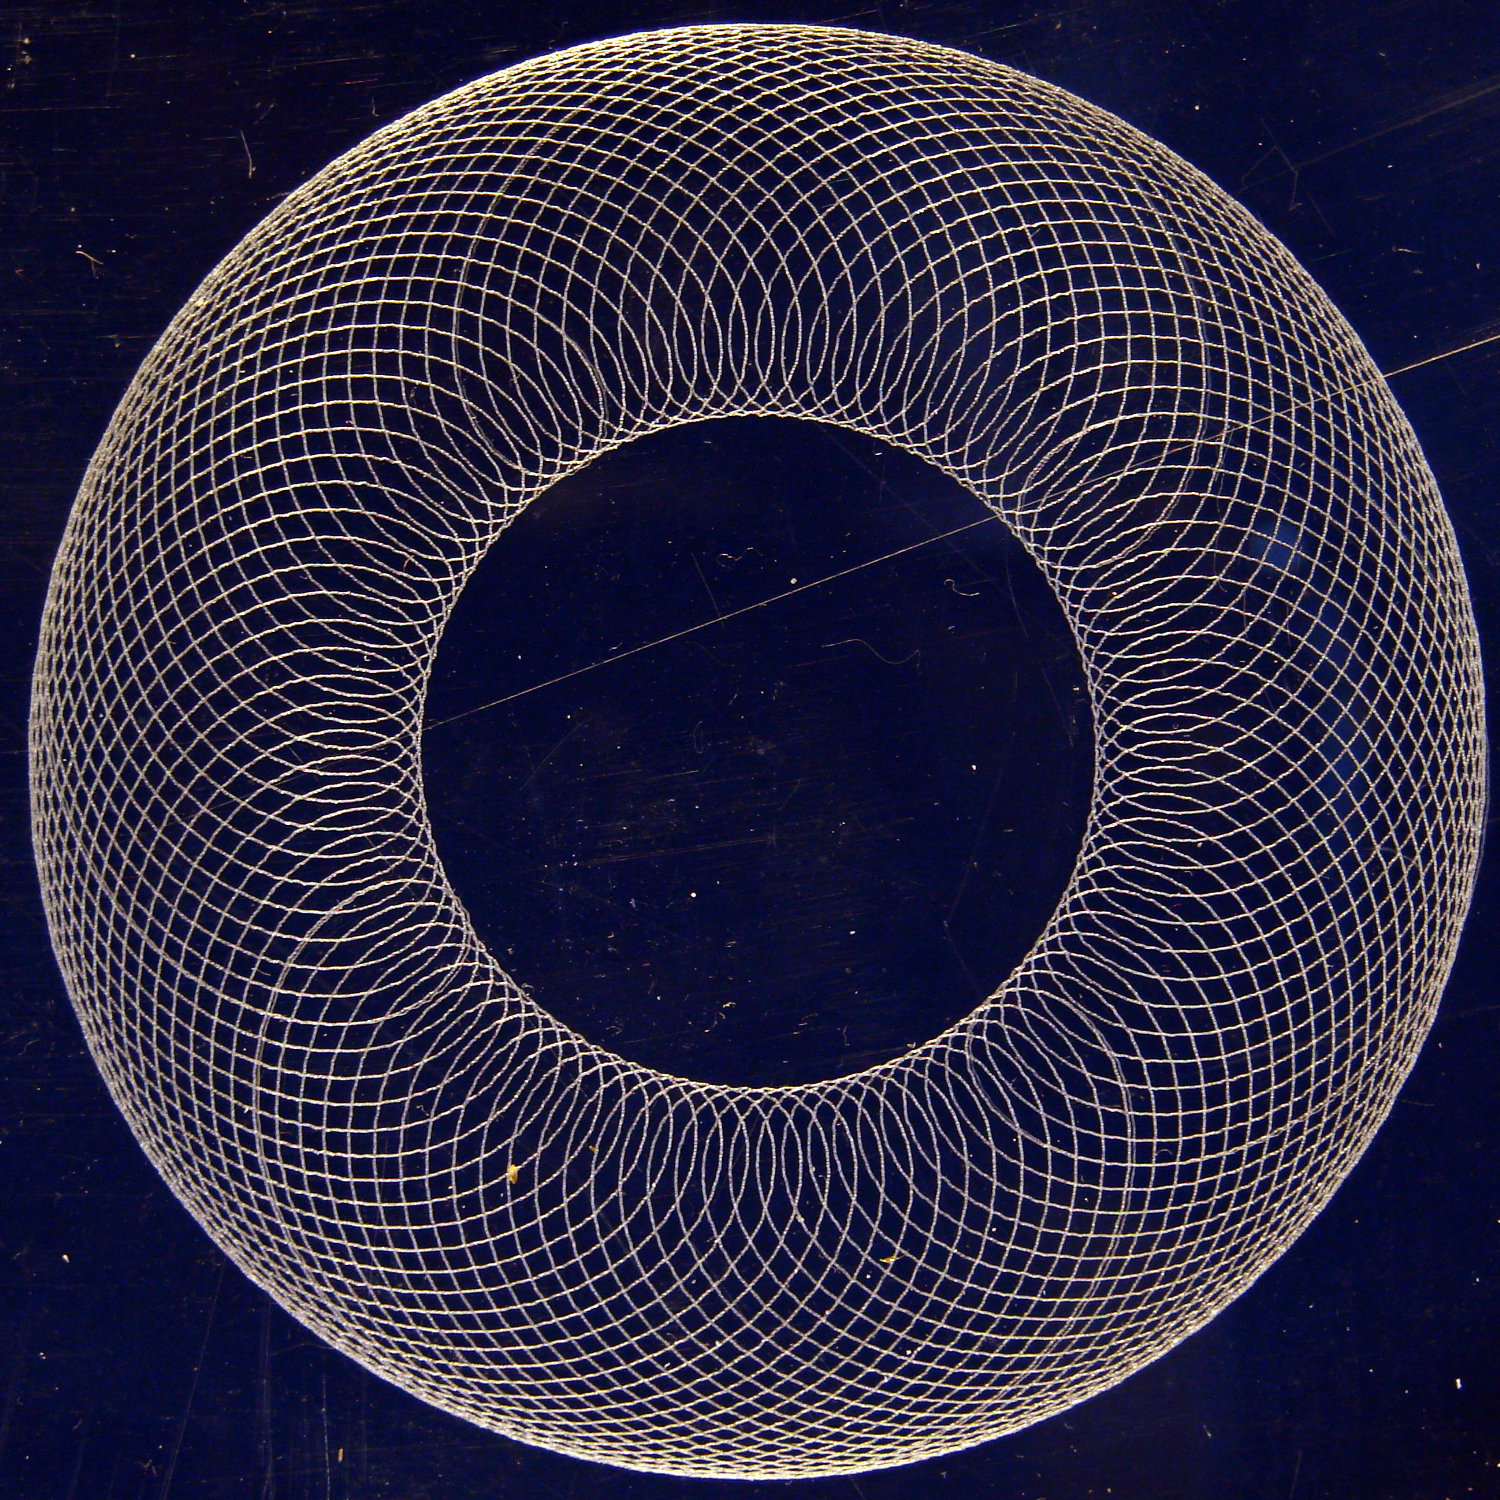
That’s side-lit against a dark blue background. The long scratch and assorted dirt come from its protracted stay in the scrap pile.
If you look closely, you’ll see a few slightly wider loops, which came from a false start at Z=-0.1 mm.
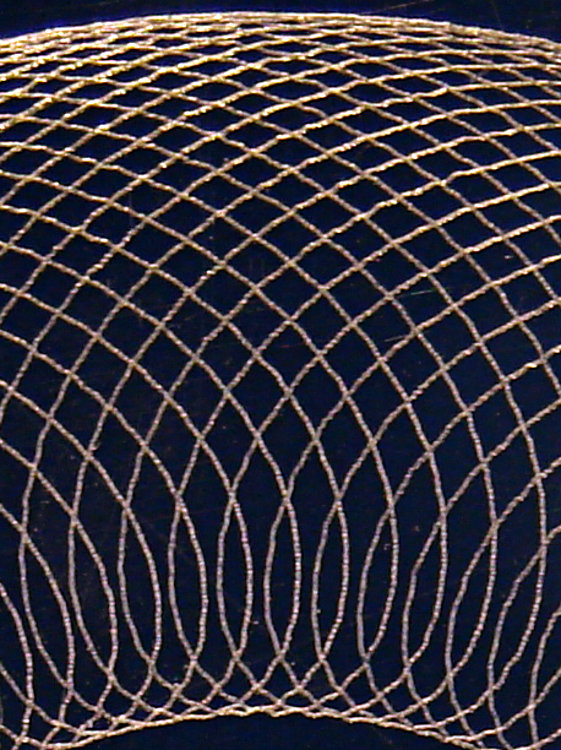
Engraving at -0.5 mm looked pretty good:
Guilloche 540237875 – engraved at -0.50mm – detail
Despite an angular resolution of 2°, the curves came out entirely smooth enough. The gritty scratchiness resulted in a pile of chaff covering the engraved area; perhaps some oil or lube or whatever would help.
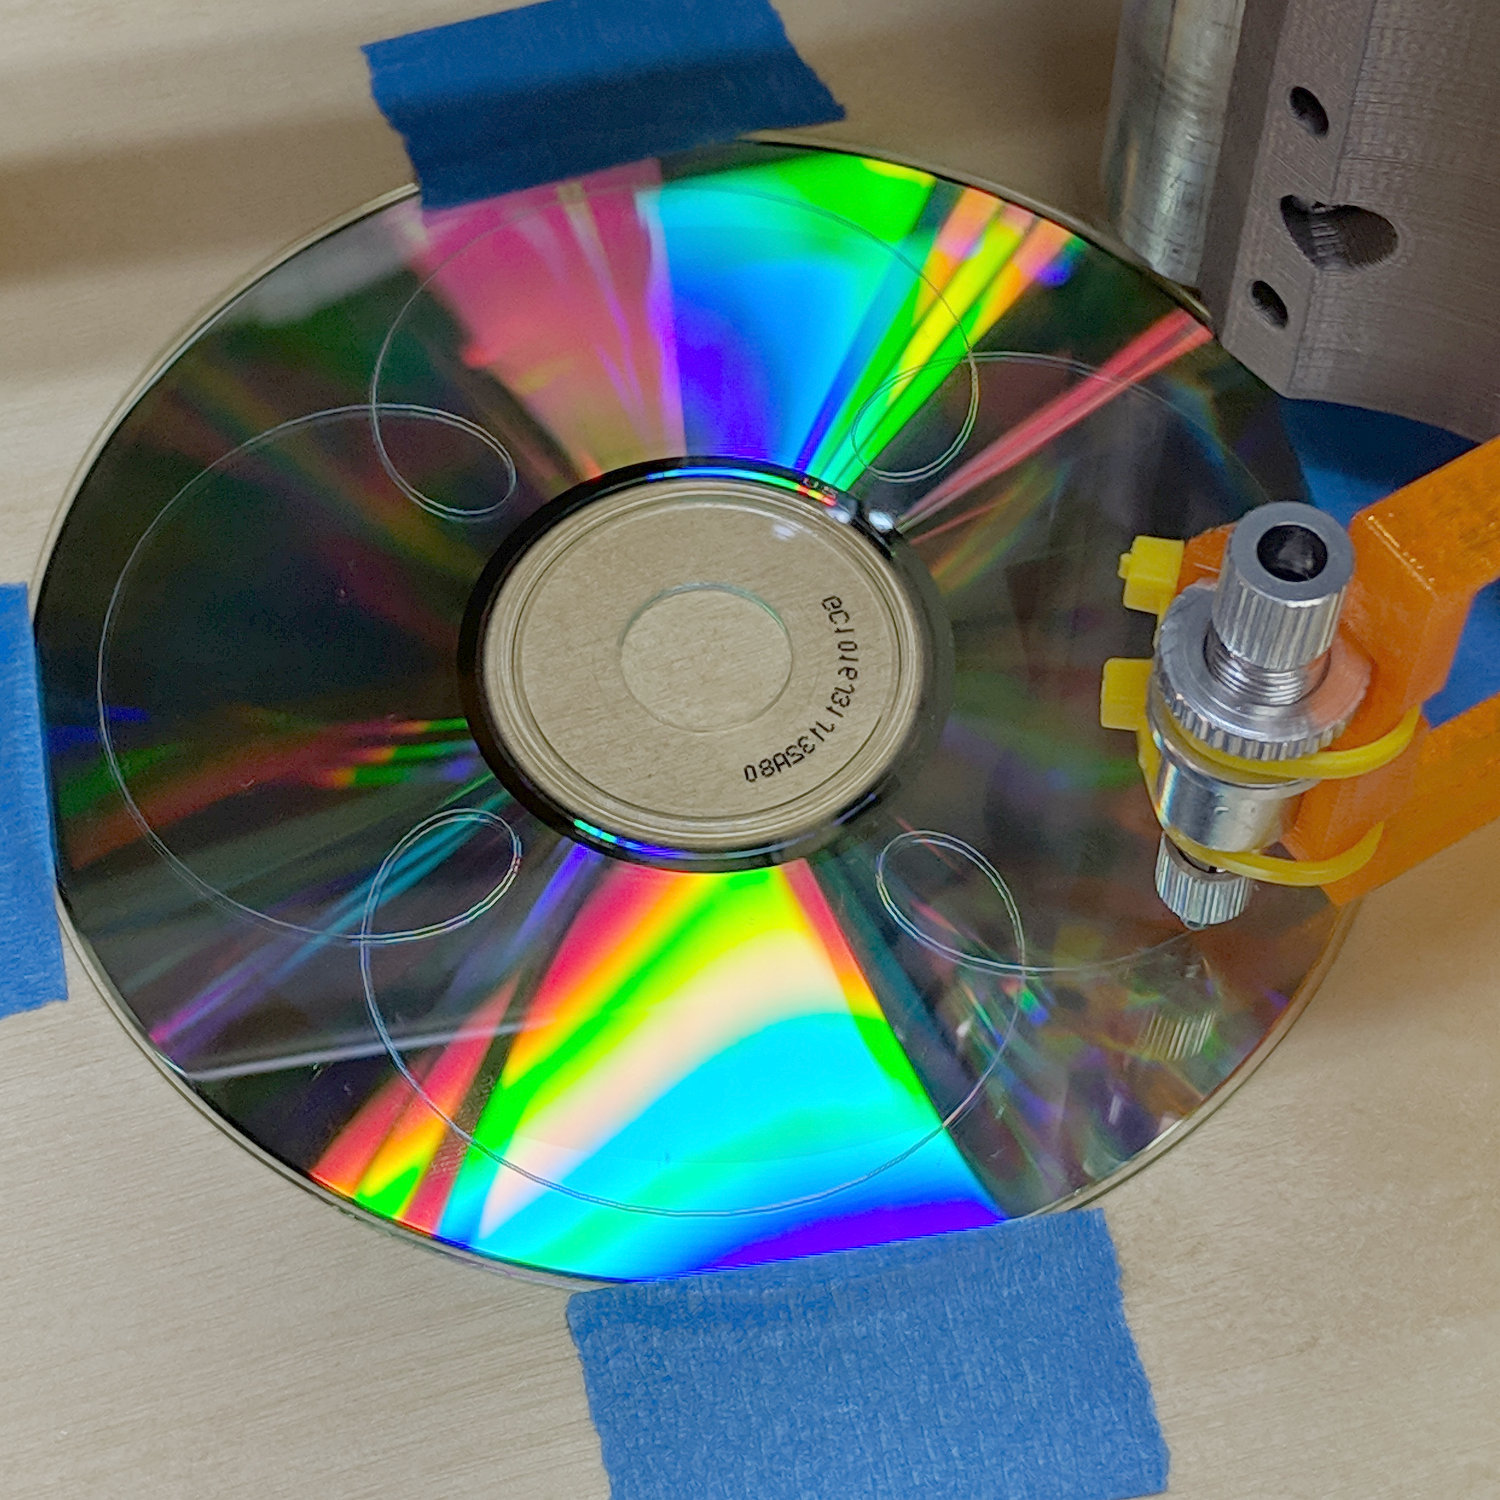
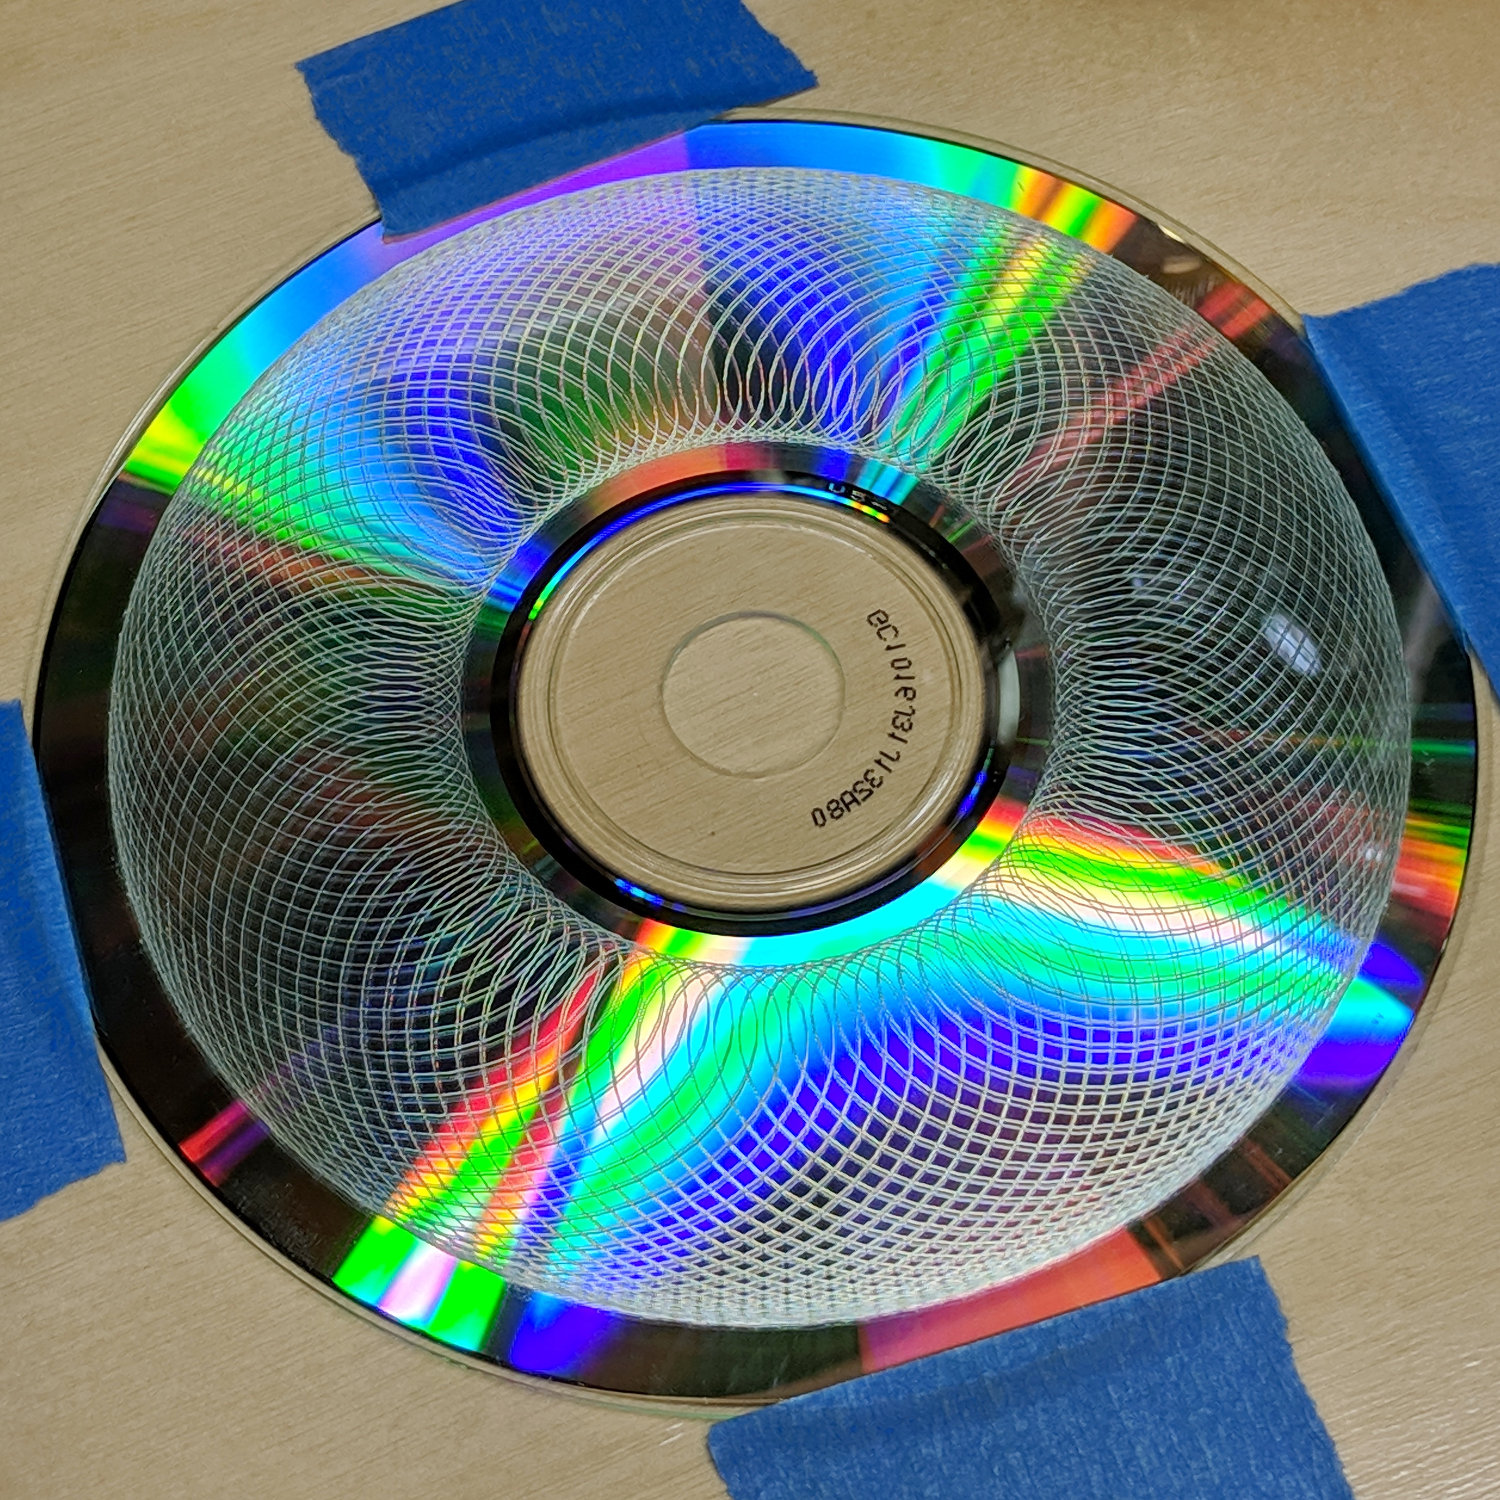
Rescaling the pattern to fit a CD platter worked fine, too:
Guilloche 540237875 – CD engraving
Polycarbonate seems to deform slightly, rather than scratch, leaving the final product with no chaff at all:
In this case, the doubled lines come from the reflection off the aluminized lower surface holding all the data.
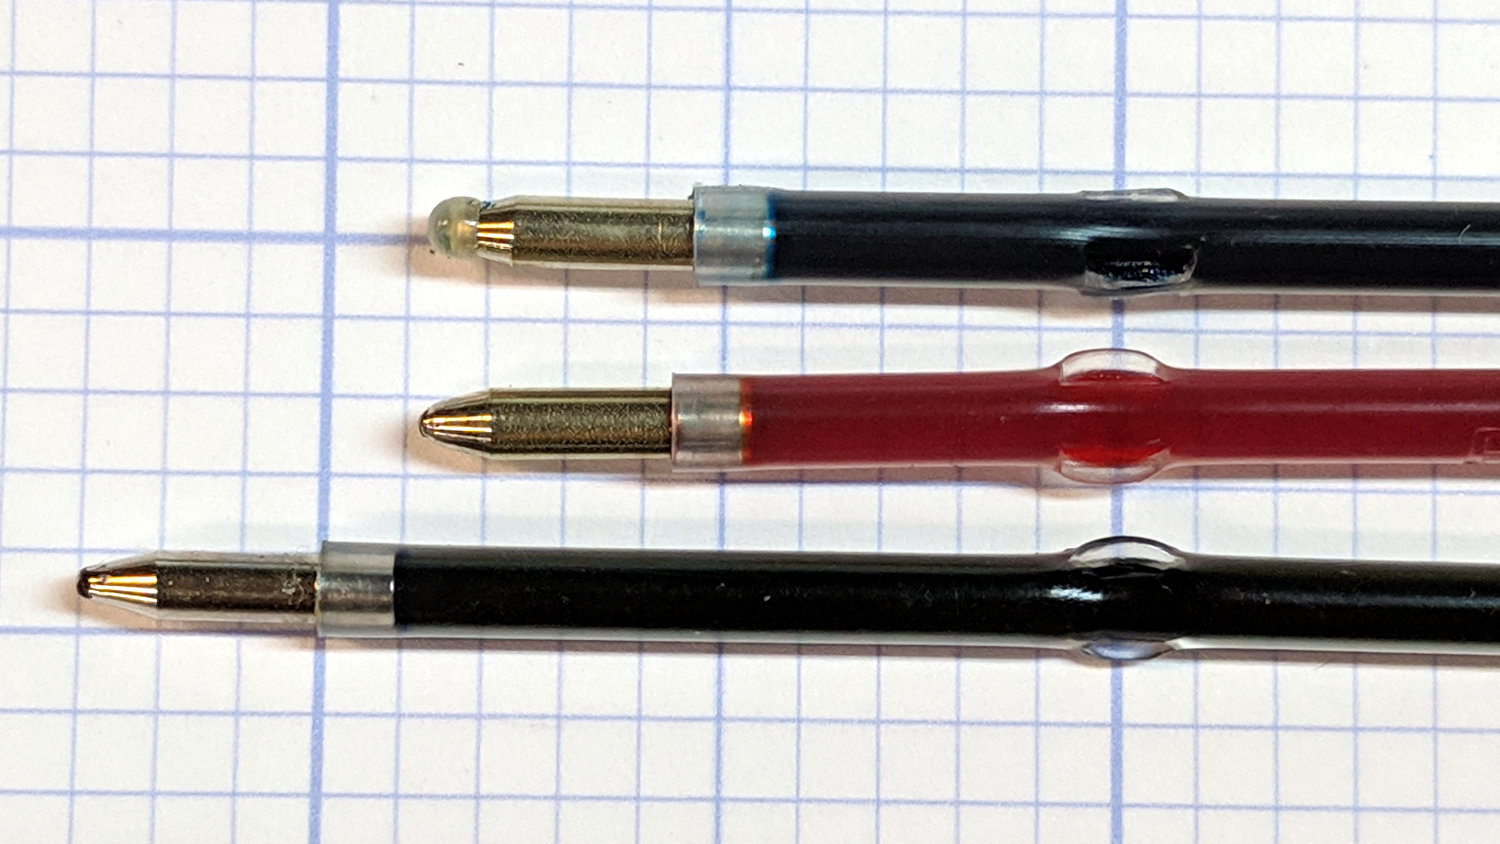
The three collet pen holders I got a while ago came with ink cartridges:
Collet pen holder
So I bought three bucks worth of a dozen pens to get pretty colors, whereupon I discovered they didn’t fit into the collet. Turns out the locating flanges aren’t in the same place along the cartridges:
The flanges on the top cartridge have been shaved down perilously close to the ink, but it now fits into the collet.
Bonus: a dozen fairly stiff springs that are sure to come in handy for something!
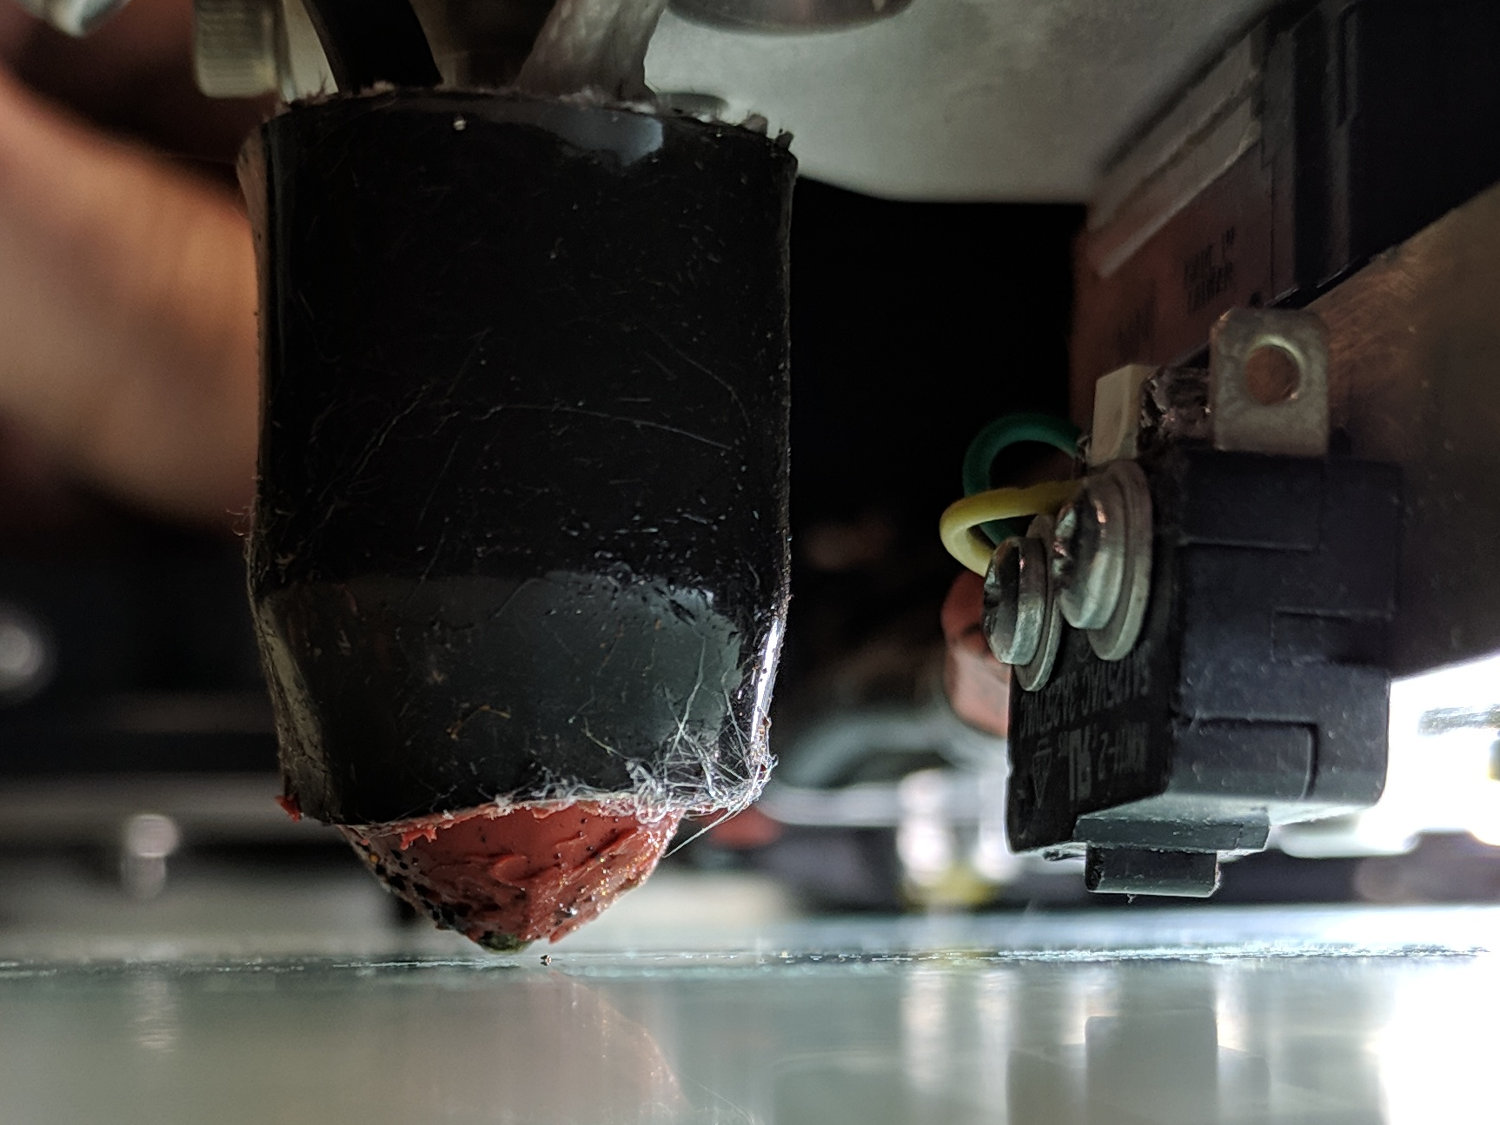
After nearly four years of dangling a bare millimeter above the nozzle, the lever on the relocated Z-Axis switch finally snagged a stray thread and got bent out of shape. I un-bent it, but finally decided it was time to get more air between the nozzle and the switch actuator.
Prying the ends outward with a thumbnail releases a pair of snaps and the cover pops off to reveal the innards:
M2 Z-Axis – microswitch interior
The spring-loaded innards will launch themselves into the far corners of your shop, so be gentle as you slide the lever out and reinstall the side plate with a pair of clicks.
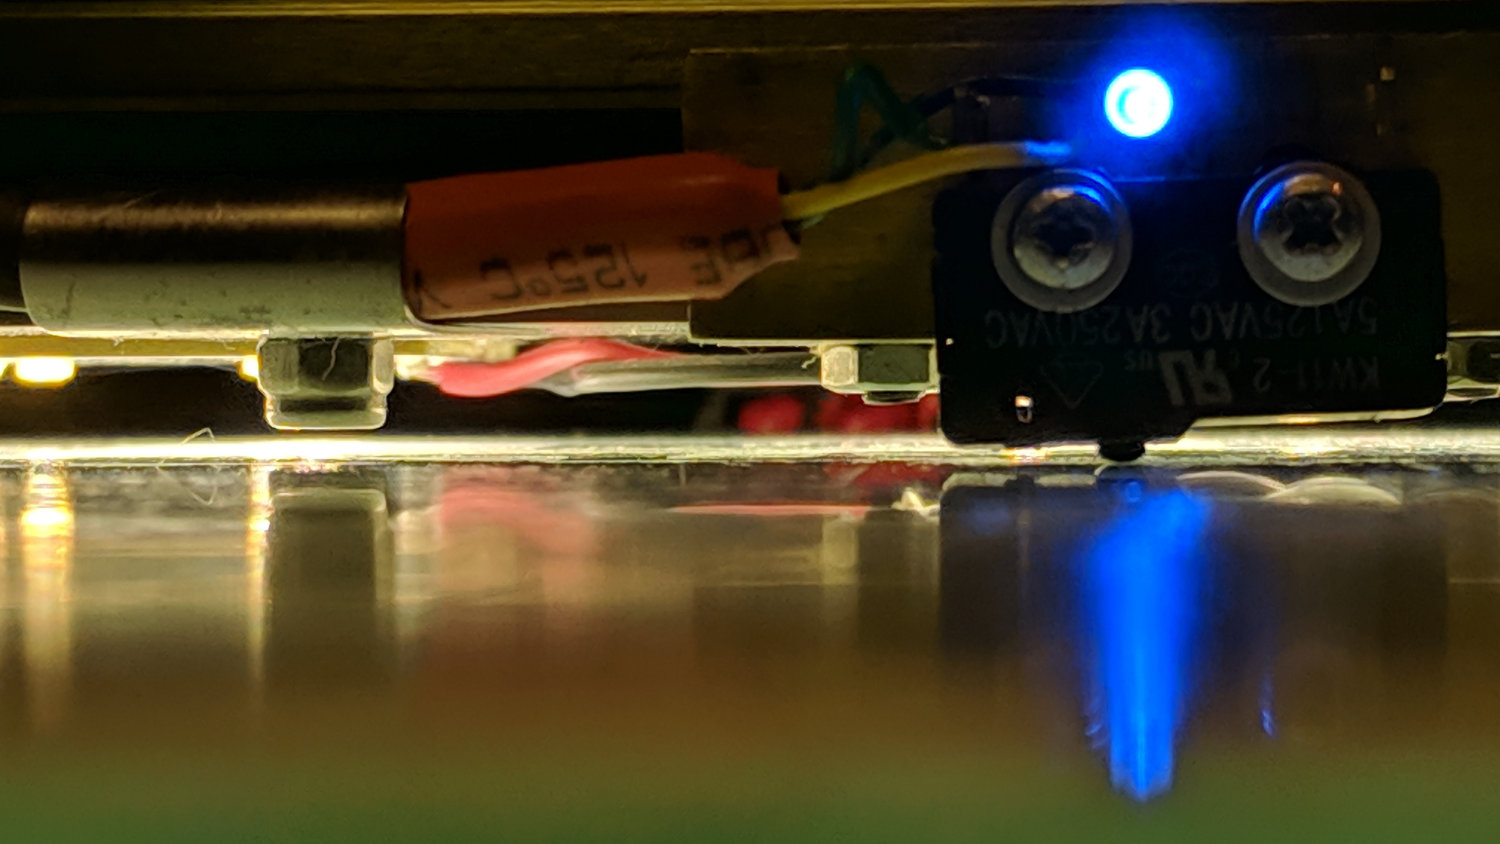
I filed the screw holes in my homebrew brass angle plate into slots, so as to get some adjustability, remounted the switch on the X-axis gantry, and tuned for best clearance:
M2 Z-Axis – bare microswitch vs nozzle
It looks a bit more canted than it really is.
There’s about 1.6 mm of Z-axis distance between the nozzle and the switch, which should suffice for another few years.
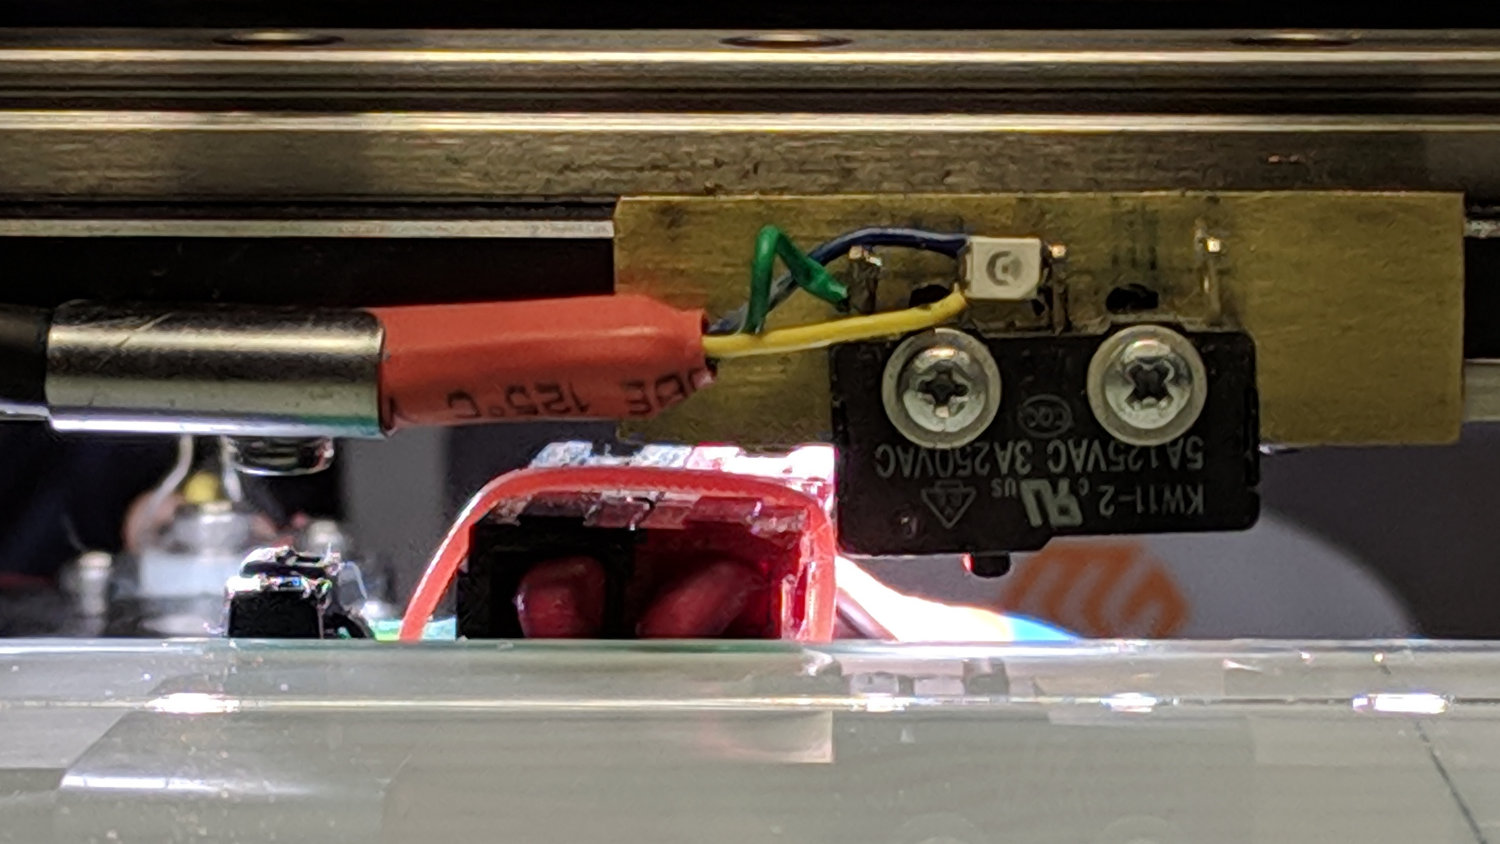
The view from the front shows a slight angle, too:
M2 Z-Axis – activated
There’s a millimeter or so below the nuts holding the X-axis linear slide in place, because the original 18 mm M3 SHCS are now 16 mm long (having shotgunned the metric SHCS and BHCS situation some time ago) and the washers are gone.
They’re all nylon lock nuts except for the one just to the left of the switch, providing barely enough clearance for the Powerpole connectors on the hotrod platform:
M2 Z-Axis – platform connector clearance
With the nozzle off the platform to the far right side, Z-axis homing proceeded normally. Manually jogging to Z=+5.0 mm left 2.6 mm of air under the nozzle, so I reset the offset in EEPROM to -2.4 = (2.6 – 5.0) mm:
M206 Z-2.4
M500
The first calibration square came out at 2.91 mm, so I changed the offset to -2.3 mm, got a 2.80 mm square with a firmly squished first layer, changed it to -2.5 mm, and got a 3.00 mm square for my efforts.
An array of five squares showed the platform remains level to within +0.05 / -0.07 mm:
M2 Platform Alignment Check – 2019-02-06
I defined it to be Good Enough™ and quit while I was ahead.
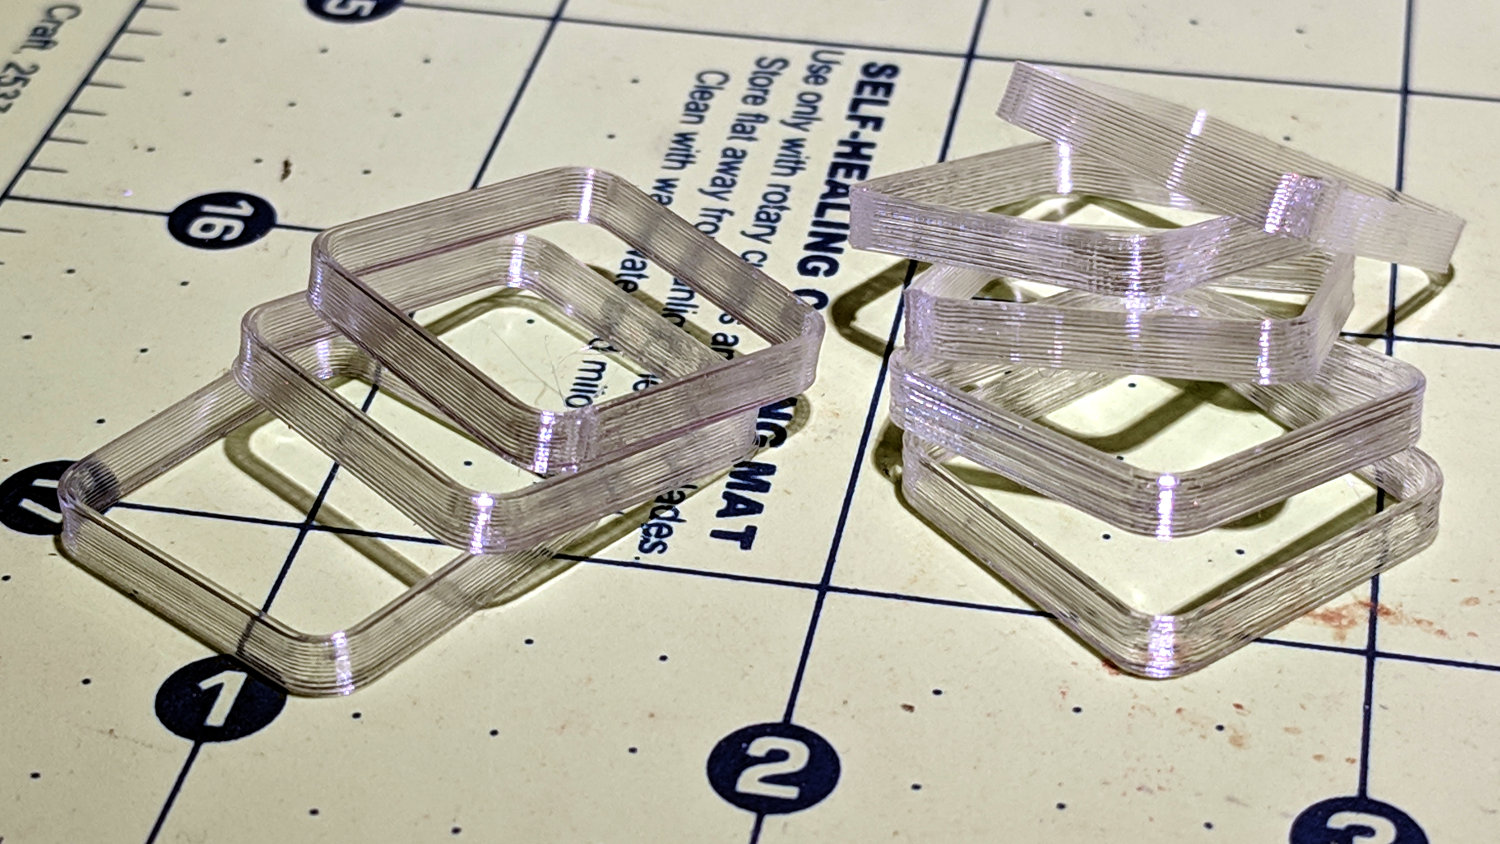
The bottom two squares in the left pile have squished first layers. The rest look just fine:
M2 Z-Axis – switch offset calibration squares
The whole set-and-test process required about 45 minutes, most of which was spent waiting for the platform to reach 90 °C in the 14 °C Basement Laboratory.
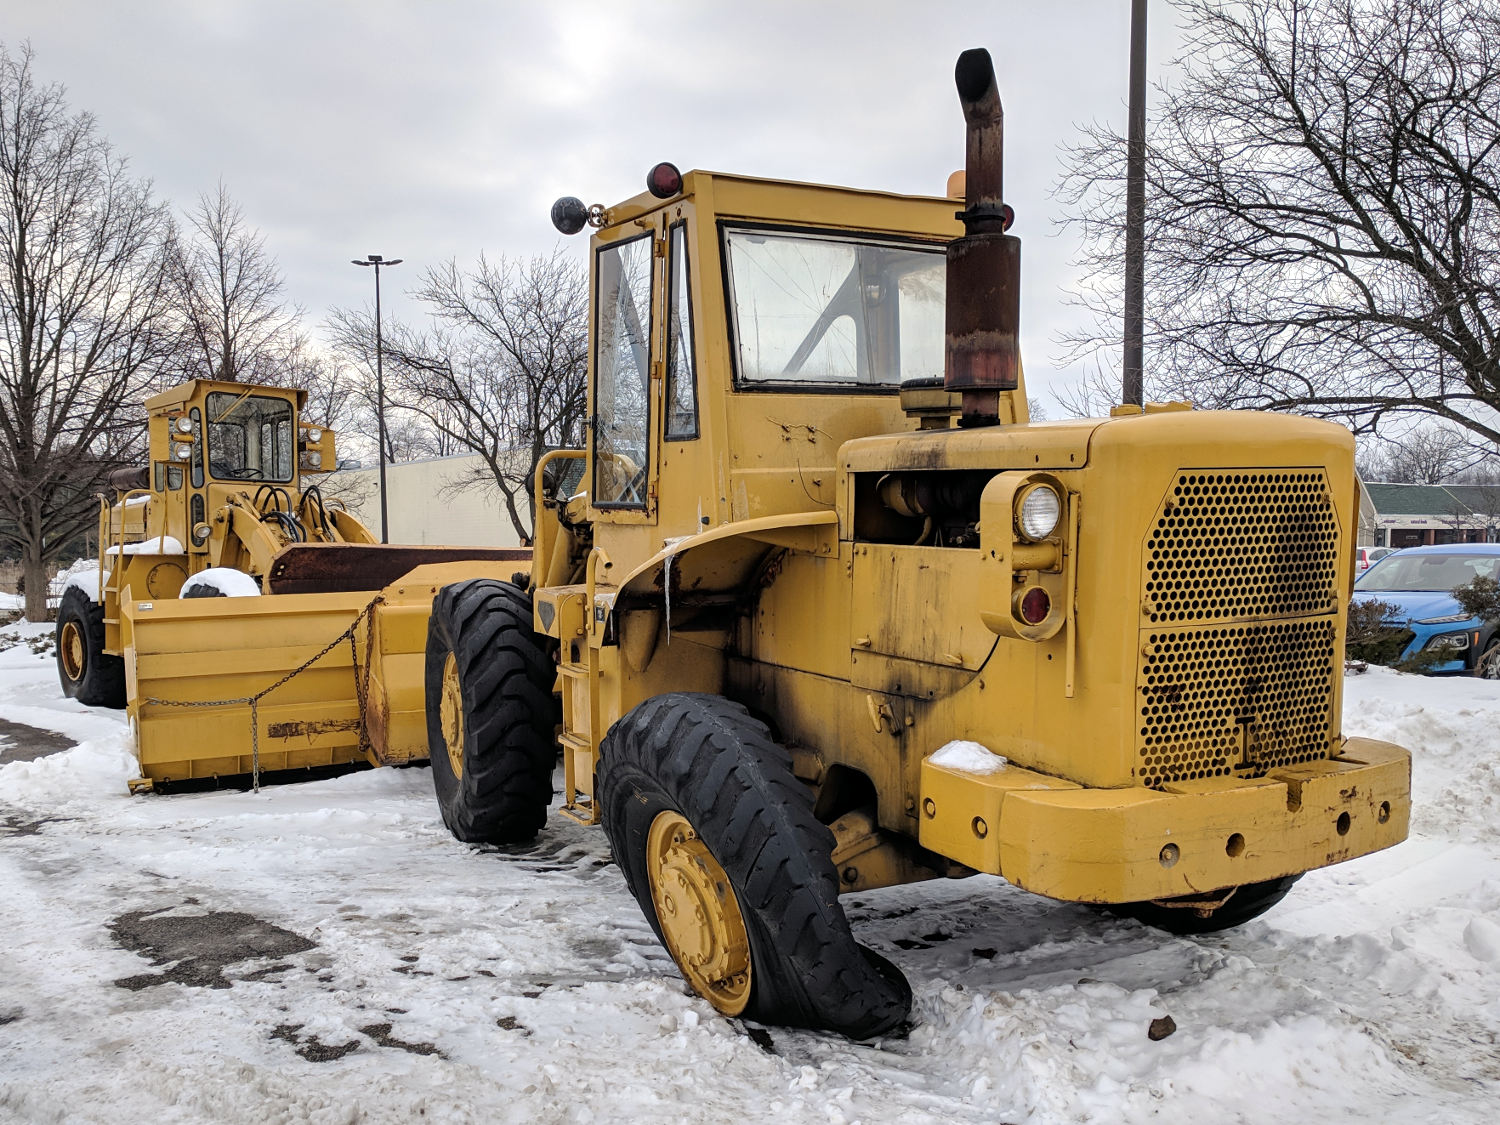
Aaand this front-end loader will require more than the patch kit and CO2 inflator from my bike pack before it’s back in service:
Front-end loader with flat tire
The local yellow iron inventory spends most of the winter snoozing in shopping mall parking lots, waiting to clear the snowfall. It’s been a light year so far, which is fine with me.