Late in last winter’s snowfall, our MTD snowthrower / snowblower ran low on get-up-and-go mobility, so I resolved to check inside before the next snowfall. What with one thing and another, time passed until, a few days before the first major snowfall of this winter season, I opened the bottom cover and found this mess:

Oops.
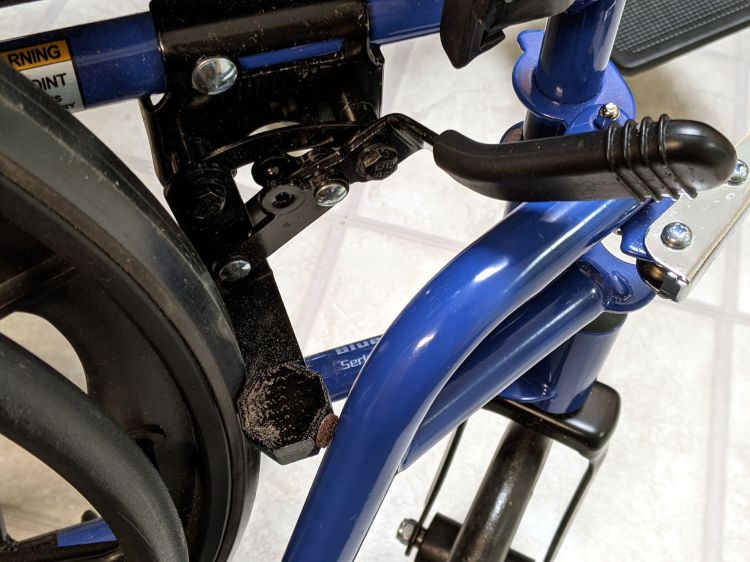
A diagram from the manual identifies the components:
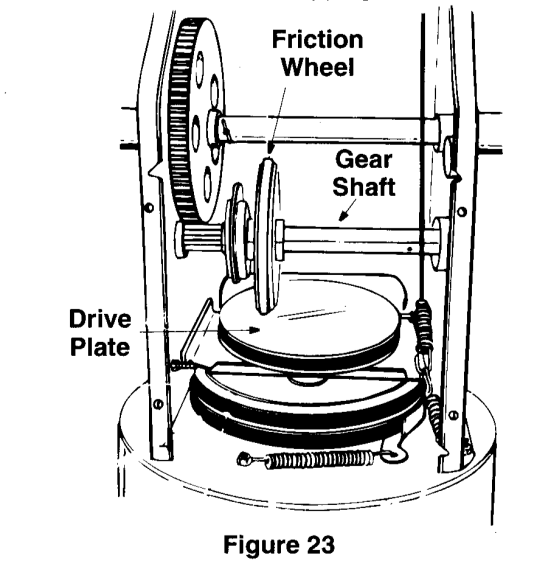
The 8 HP gas engine spins the drive plate, which transfers some of those horses through the rubber tire on the friction wheel to the gear shaft, which turns the axle attached to the wheels. The shift lever (not shown) moves the friction wheel along the shaft to change the “gear ratio” setting the ground speed, with five positions to the right of the plate center going forward and two on the left going in reverse.
It’s a modern implementation of the classic Lambert friction drive transmission from a century ago. Cheap, effective, nothing wrong with it other than requiring regular inspection and preventive maintenance.
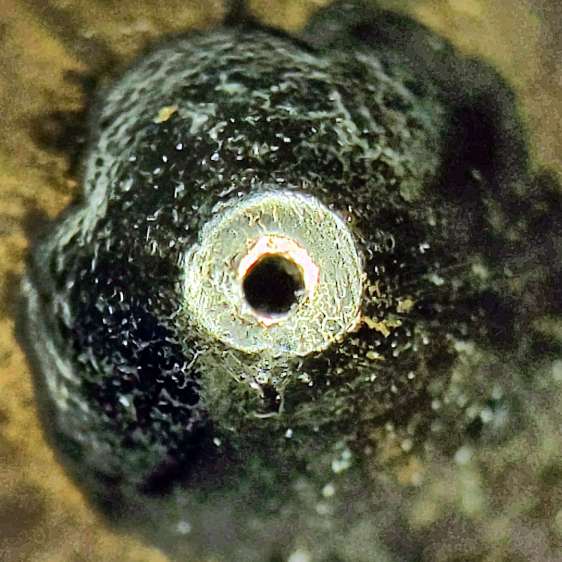
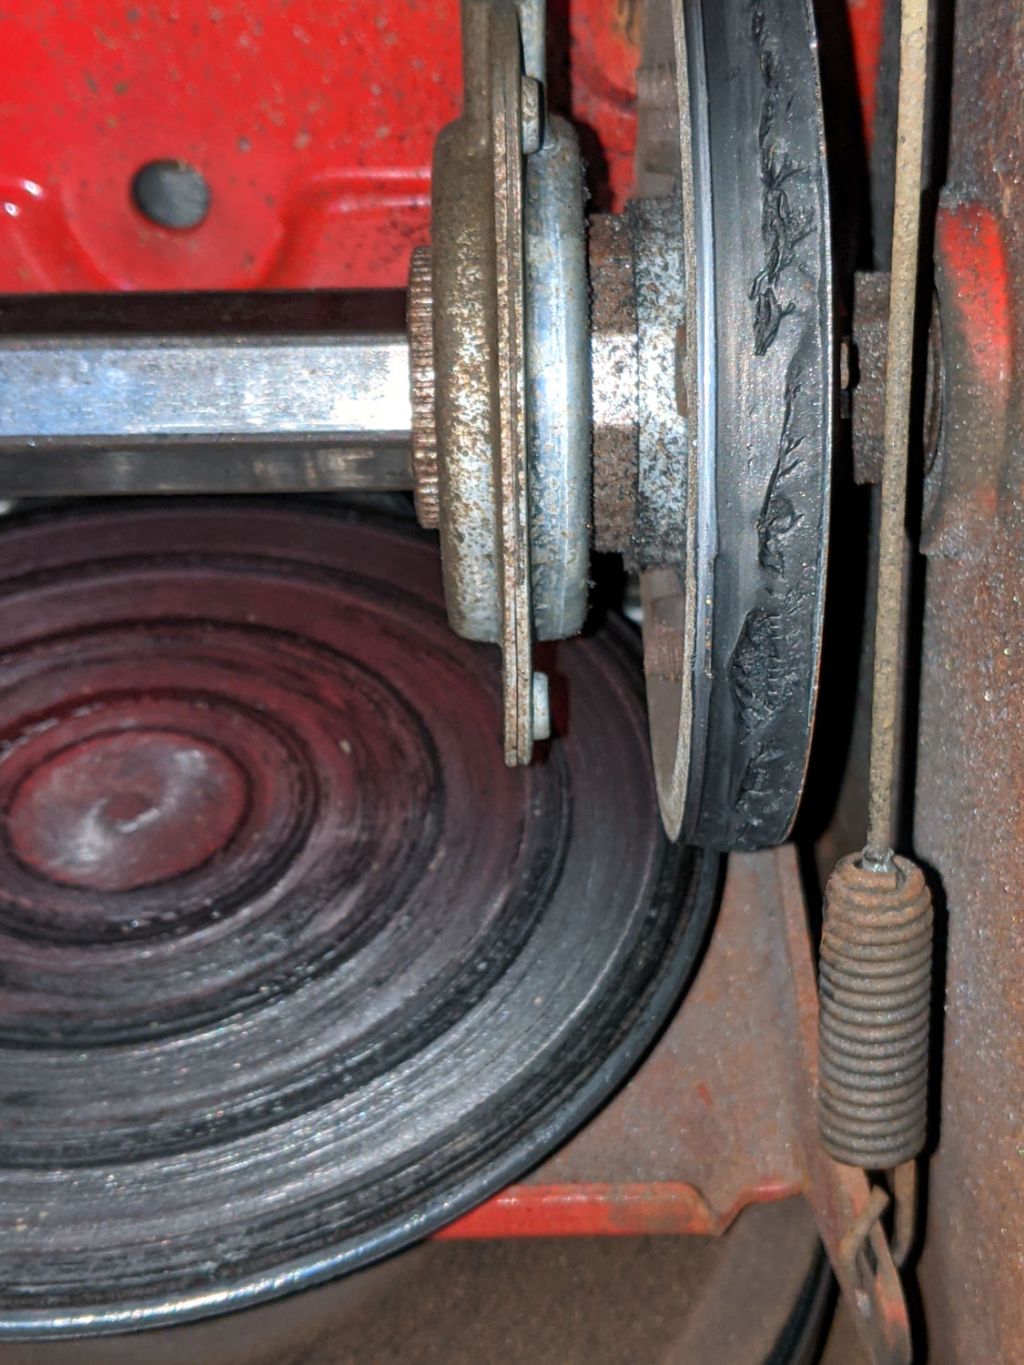
Unfortunately, the rubber tire seems undersized for the task and had completely worn away, leaving its steel rim to chew on the drive plate:

Of course, you’re supposed to inspect the situation more regularly than I (and, most likely, anyone) ever have. I vaguely recall replacing the tire once before and, being that type of guy, ordered two to have a spare on the shelf. Anyhow, it was in fine shape the last time I checked to see what shape it was in.
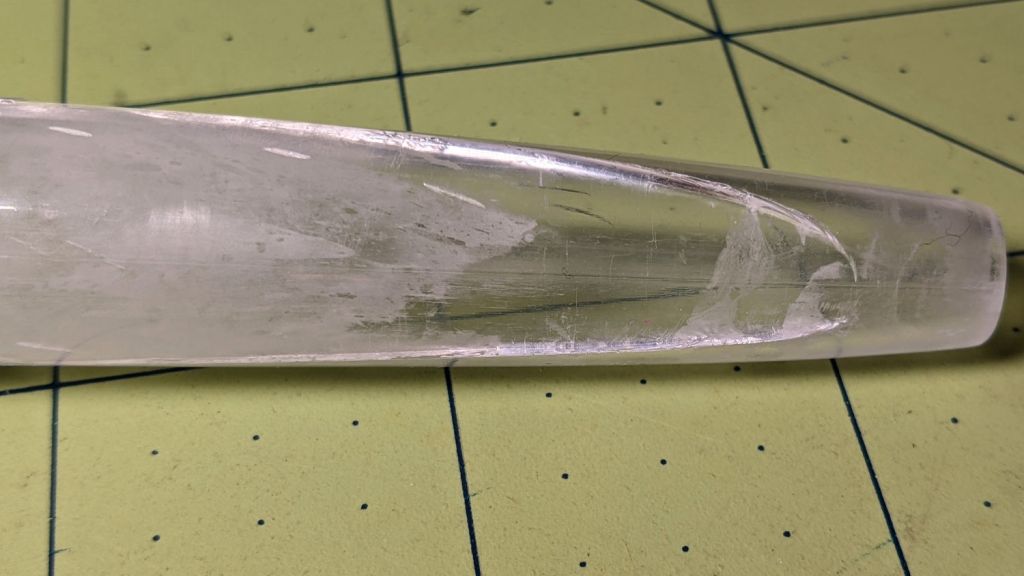
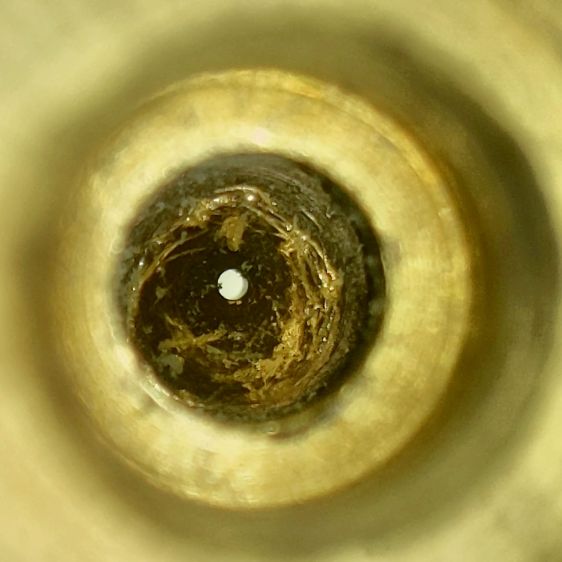
The manual recommends loosening (but not removing) the hex nut on the left side of the gear shaft:

Then “lightly tap the hex nut to dislodge the ball bearing”. Well, it’s a nylon lock nut, not a plain hex nut, which means pounding the crimp holding the nylon ring on the nut will destroy it. I whacked the end of the shaft with a plastic hammer to no avail, removed the nut & washer, and gave it a few careful shots with a 2 lb ball peen hammer, also to no avail.
The basic problem comes down to having the bearing mounted in what’s basically a sheet metal wall of no particular substance: banging on the shaft deflects the wall and moves the bearing along with the shaft. As far as I could tell, the shaft was stuck inside the bearing race, so I soaked it in pentrating oil while pondering the next step overnight.
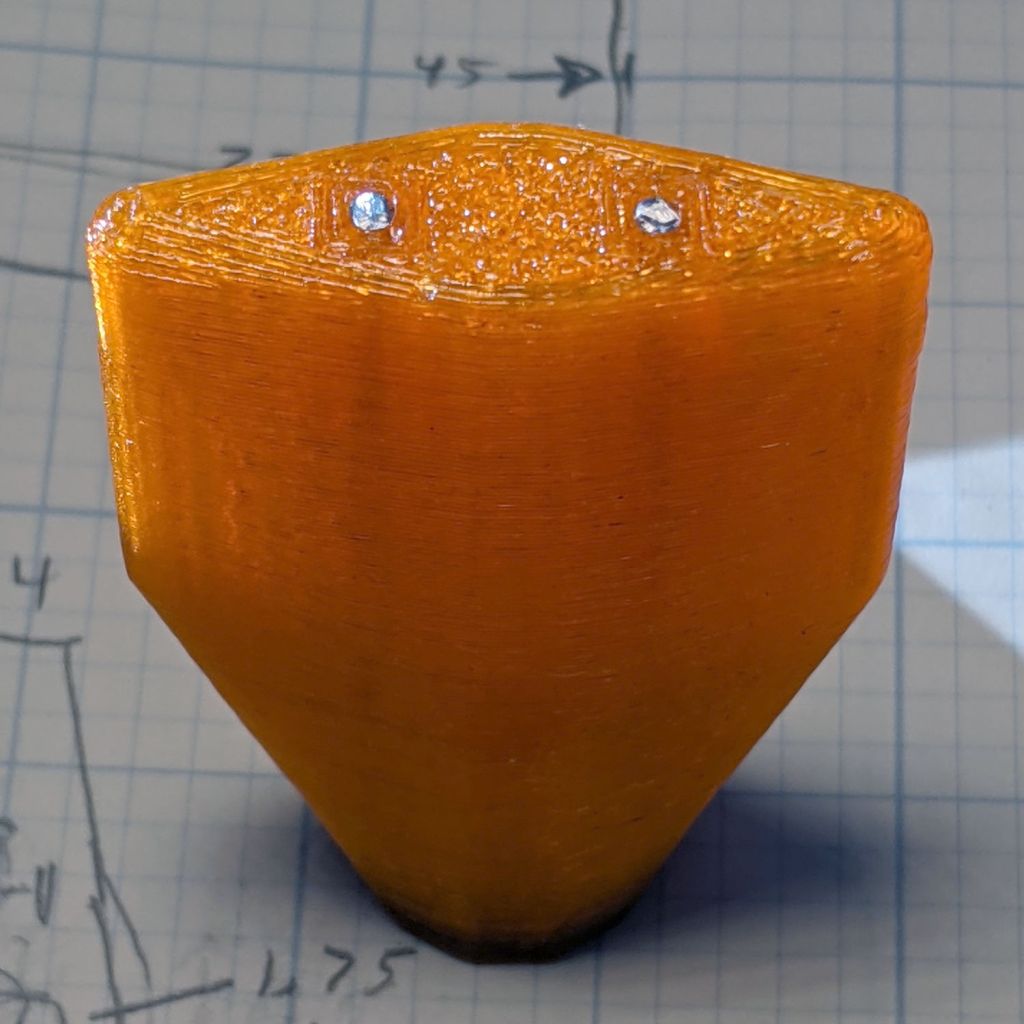
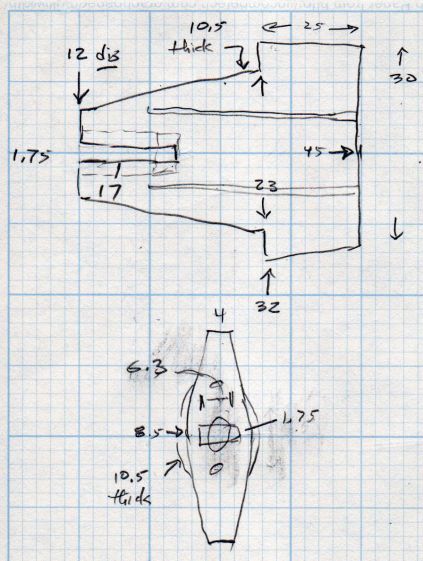
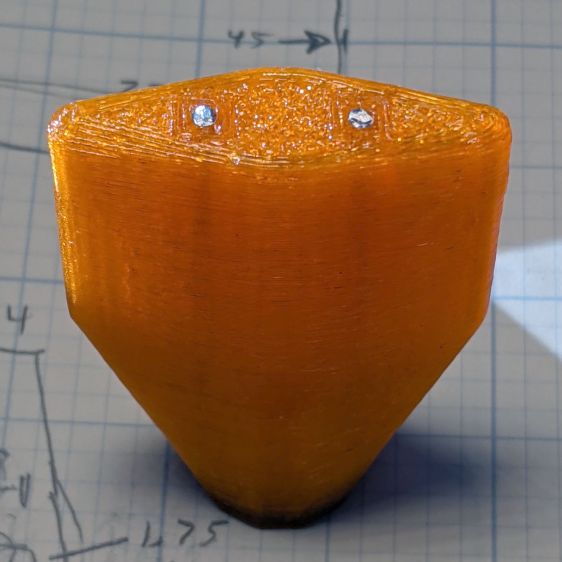
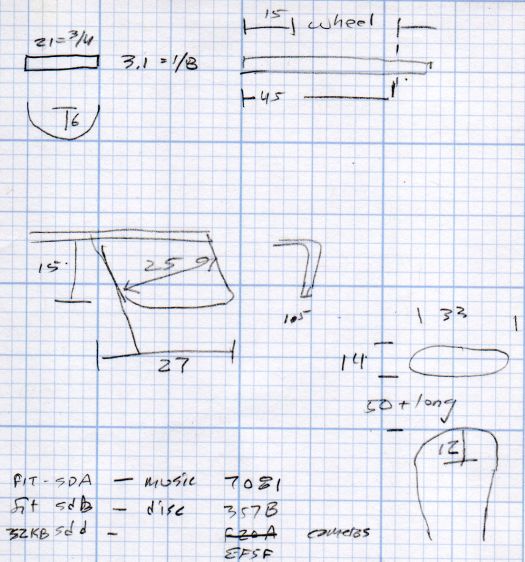
A few more shots with the hammer convinced me that wasn’t going to work and would likely damage the threads, so I made a pair of Special Service Tools:
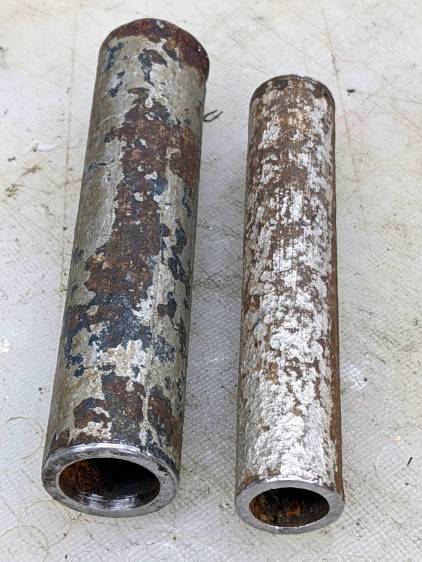
The smaller one fits around the threaded end of the shaft and inside the inner race to apply the impact directly to the shaft instead of the threads. The larger one fits on the inner race itself, in the expectation I would need to persuade it, but it wasn’t necessary. They both started life as iron pipe, covered in what looks like aluminumized paint for no reason we’ll ever know, and faced in the lathe.
The combination of penetrating oil, a proper SST, and some diligent whacking popped the shaft out of the bearing without damage. The friction wheel assembly then slid off the shaft with no resistance and the shaft and right-side bearing slid easily out of the frame. Once in the shop, gentle filing knocked the rust & burrs off the shaft and let it slide freely into the bearing.
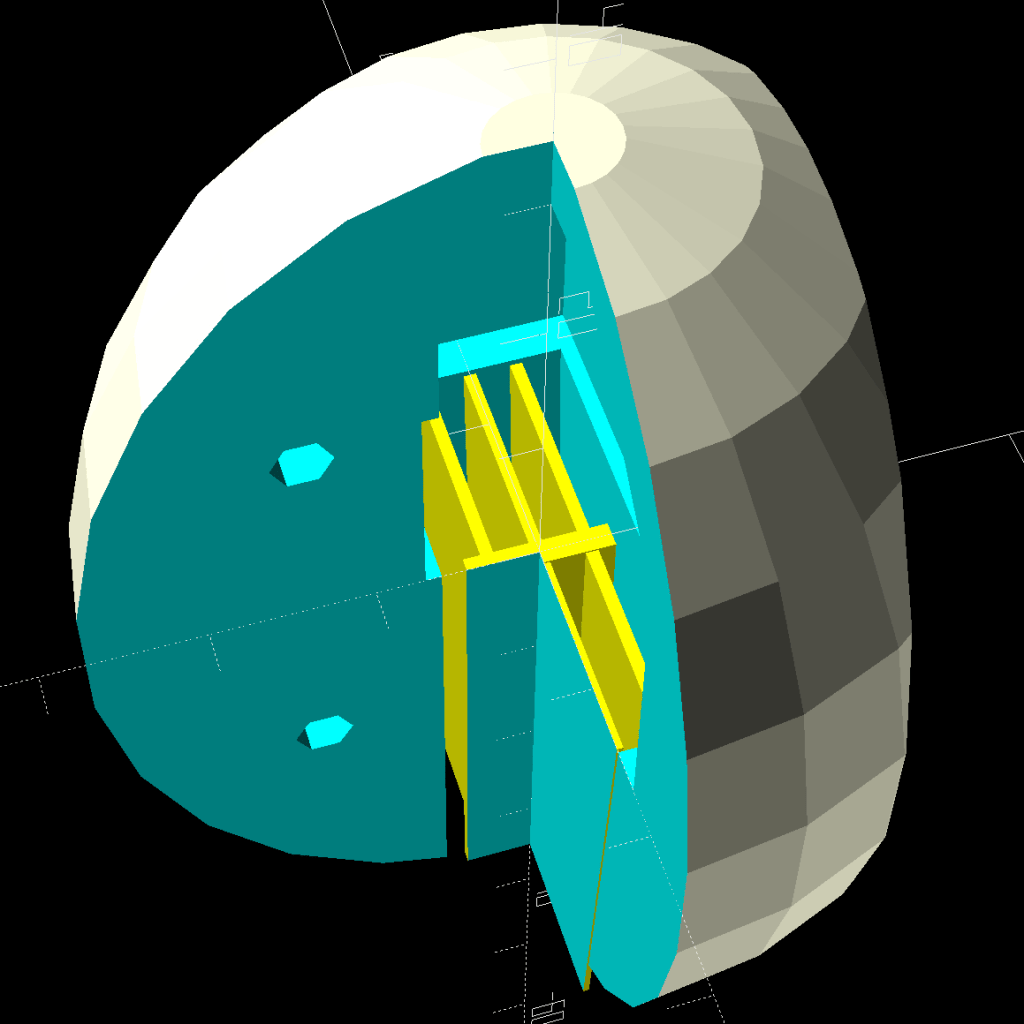
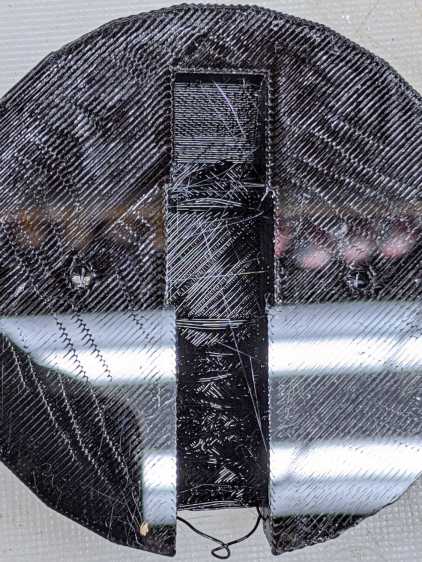
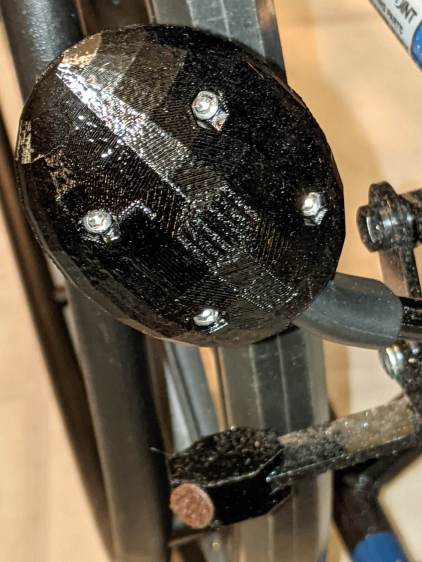
The friction wheel clamps the tire with six bolts, three from each side so MTD can use a single part number for the halves:

It came apart easily, the new tire went on easily, the drive assembly went back together easily, and the blower cleared more than a foot of snow from the driveway:

Nothing can make maneuvering a snowblower easy, alas.
I briefly thought of refacing the drive plate, but I’m pretty sure it comes heartbreakingly close to Tiny Lathe’s limited swing. With two spare tires on the shelf, should the scarred plate chew up the new tire in one season, I’ll make better measurements.