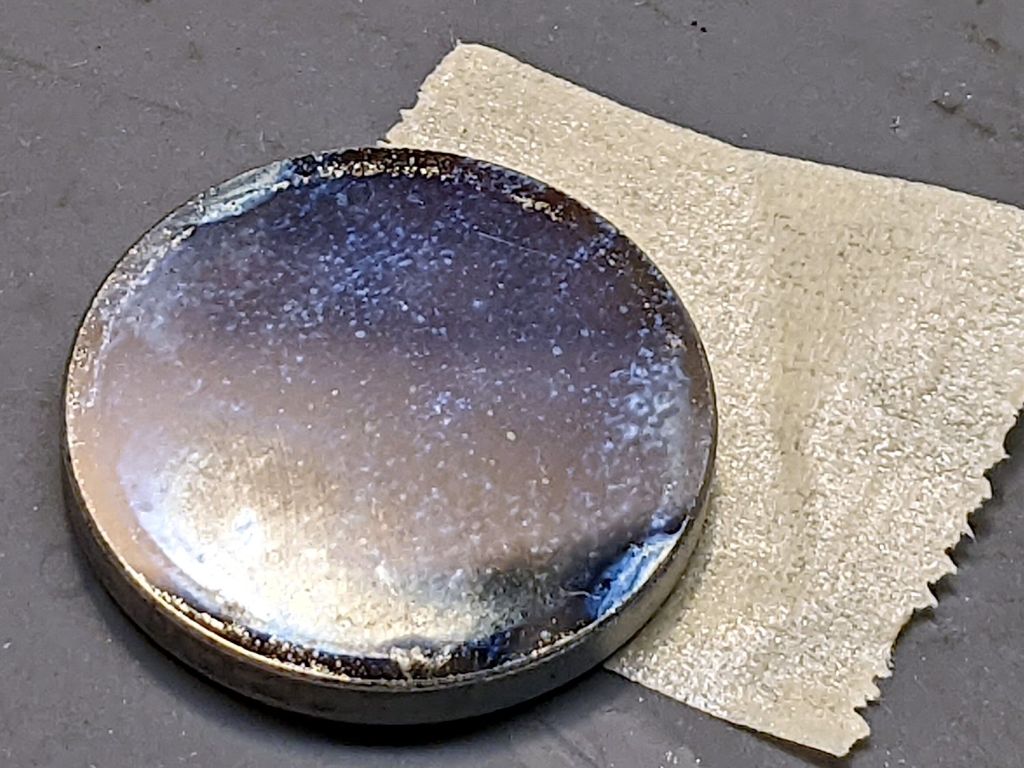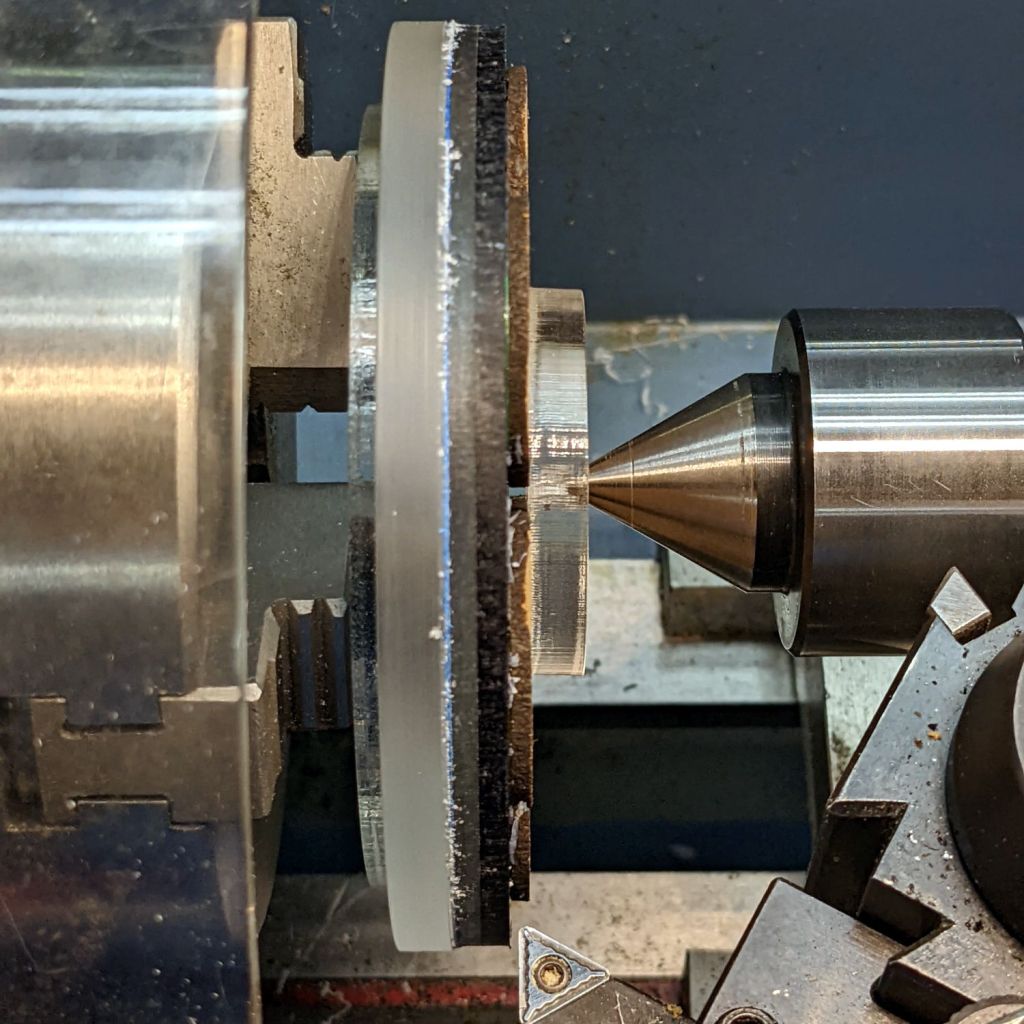
Although I could turn the coaster fixture’s OD, the lathe jaws are slightly longer than the fixture is thick:
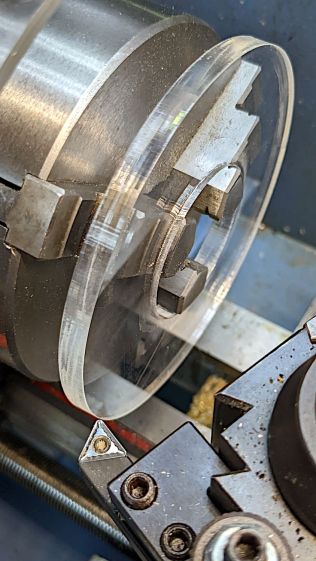
So the fixture needs a spacer:
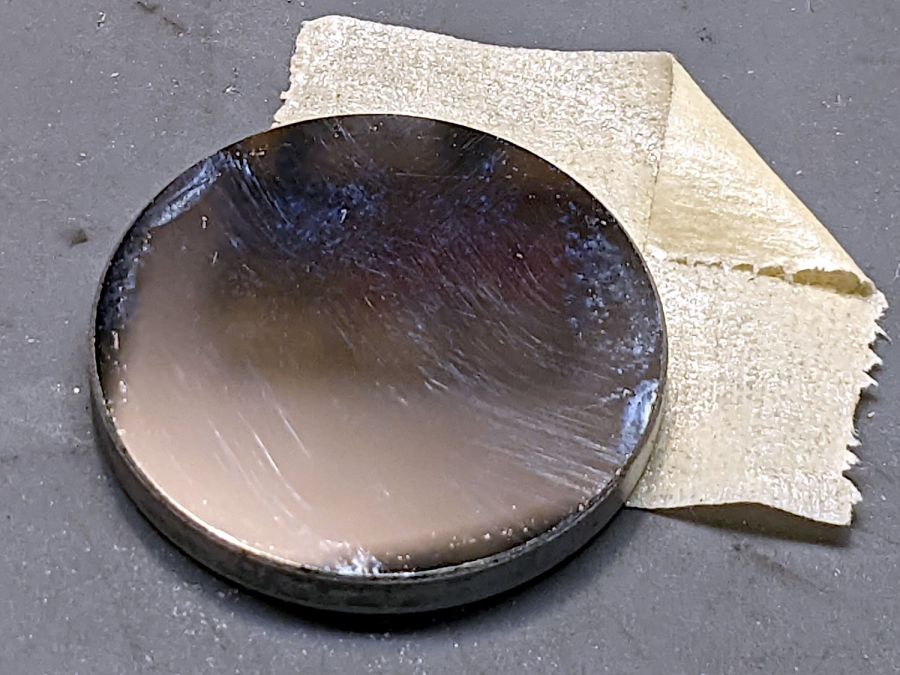
The ID is bigger and the OD is smaller than the fixture, so it won’t get in the way of further proceedings:

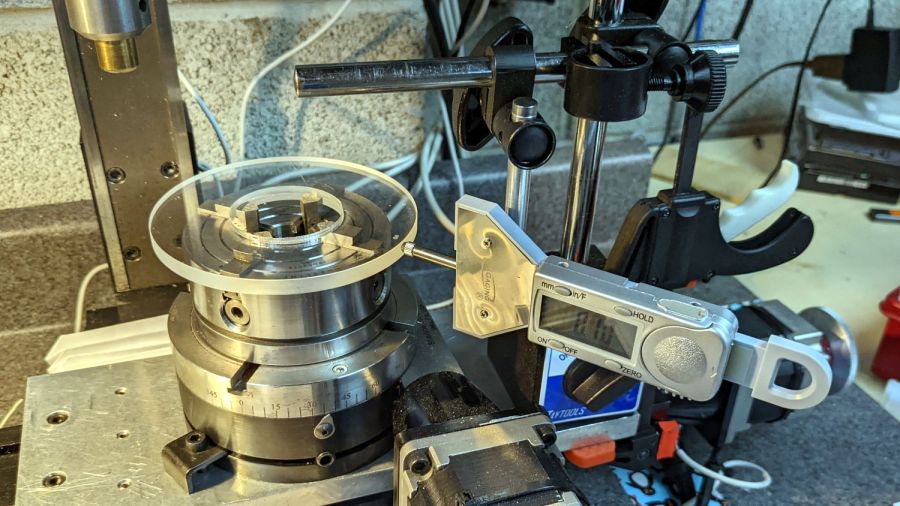
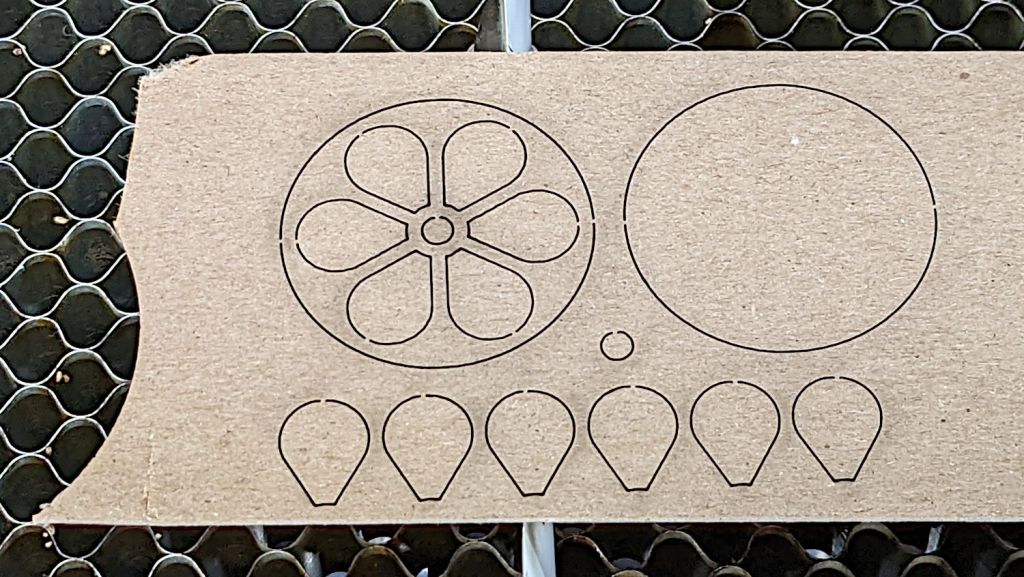
The pad on the live center came from the cookie cut from the fixture, with a just slightly off-center 3 mm hole poked into it to hold the point away from the coaster.
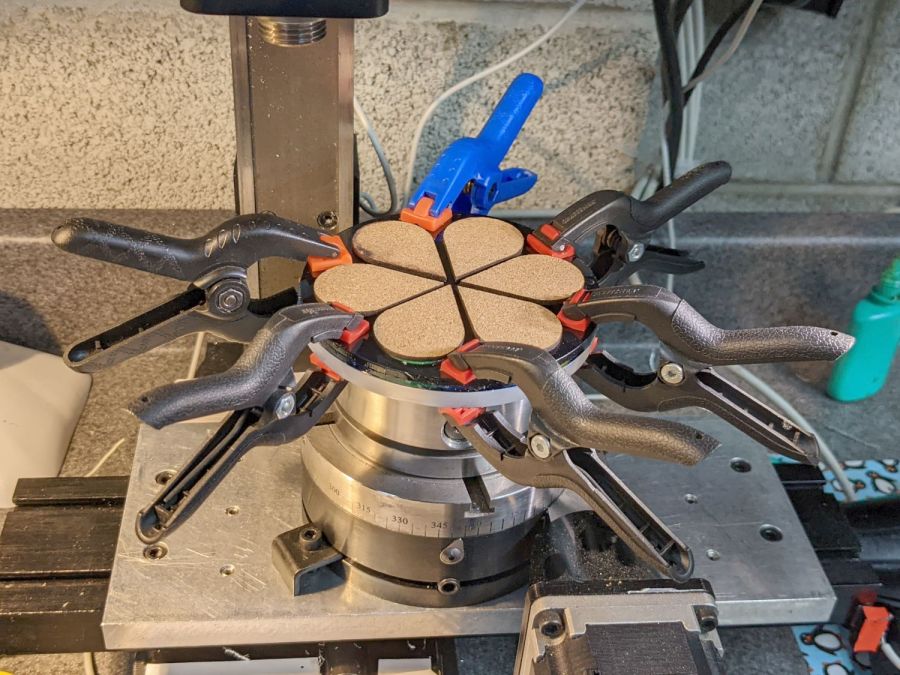
A ring of carpet tape on the fixture provides traction holding the coaster in place:

That turned out to be more trouble than it was worth; scissoring a pair of strips to fit the OD works just fine.
In any event, the live center applies enough pressure to keep the adhesive happy.
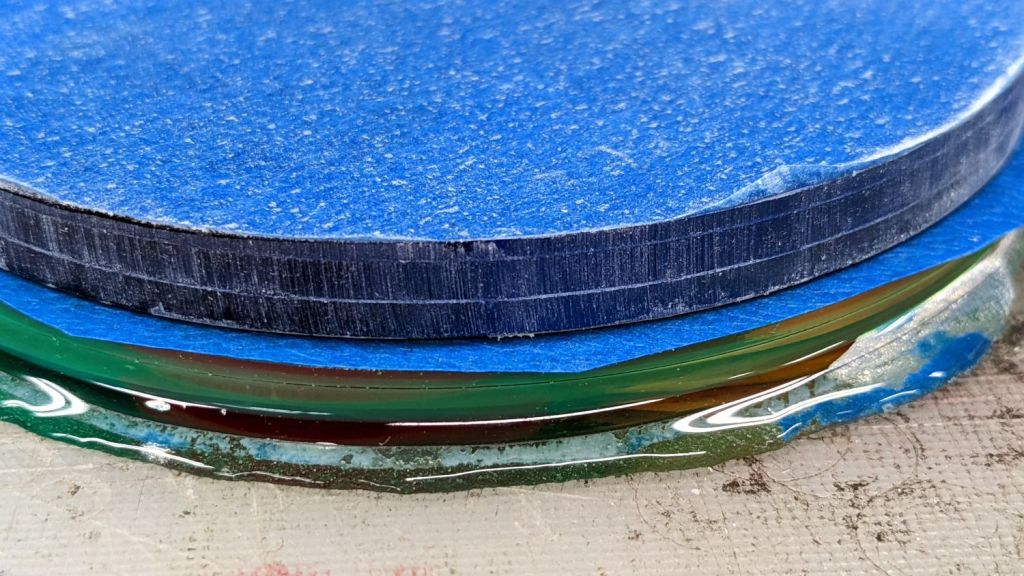
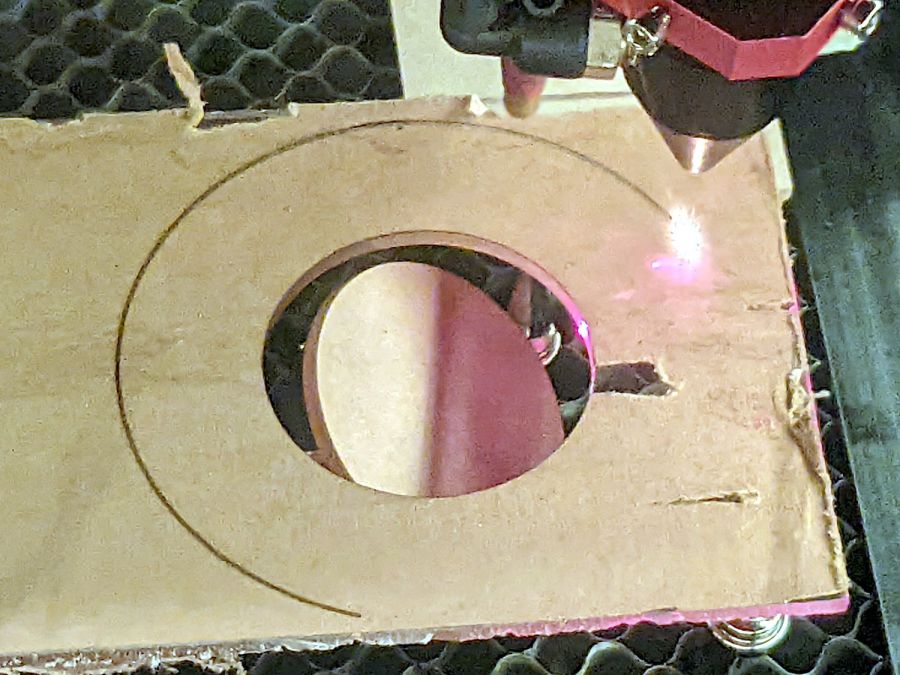
The fixture disk is sacrificial, so it now has a notch around its front face where the cutter cleared the coaster.
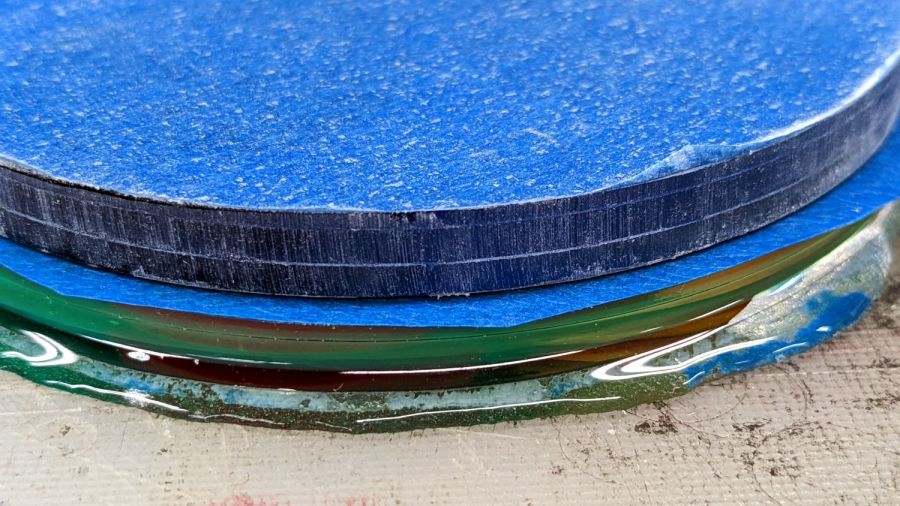
Although I intended to shim the fixture against the chuck jaws to center the coaster, my first attempt at manually centering the thing on the fixture was Close Enough™ that I just turned the OD to see how well the whole process worked:
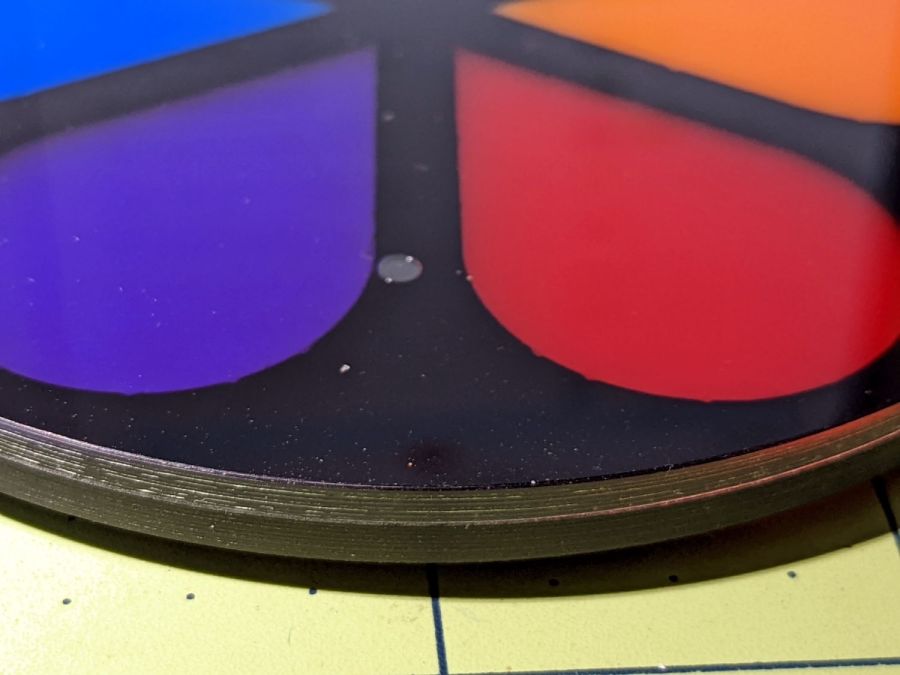
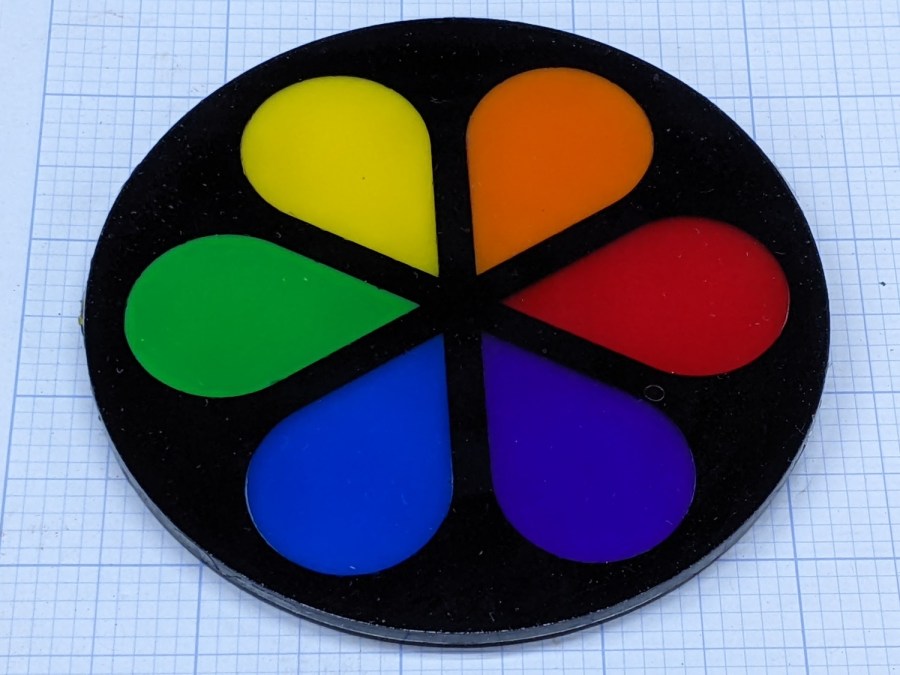
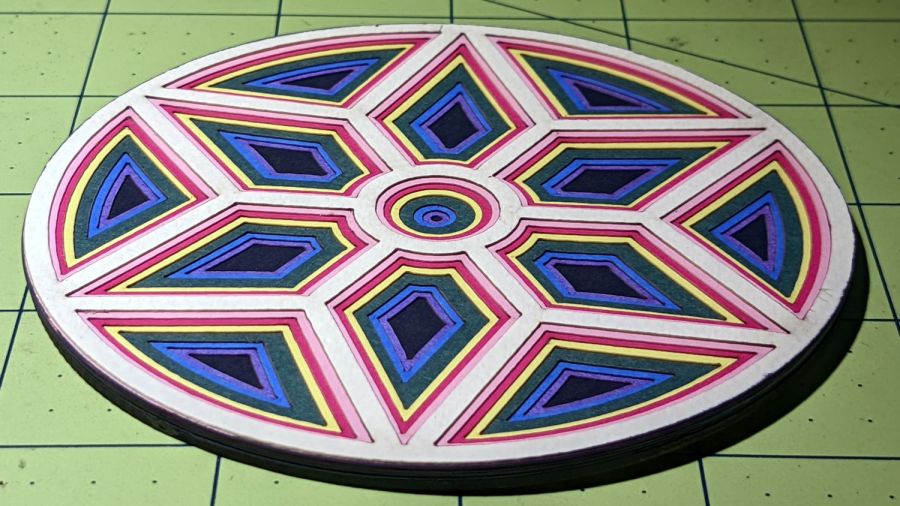
The edge finish is arguably not Good Enough™, but it looks much better in person. In particular, the difference between the transparent acrylic top layer and the black acrylic frame around the petals is much more prominent in the photo, perhaps due to scatter from the overhead desk light.
This was the original crash test dummy acrylic coaster, so more care will be in order for the next set. In particular, shimming the fixture requires removing and replacing it for each adjustment, which can easily become a non-converging process.
Next up: I like little chucks …