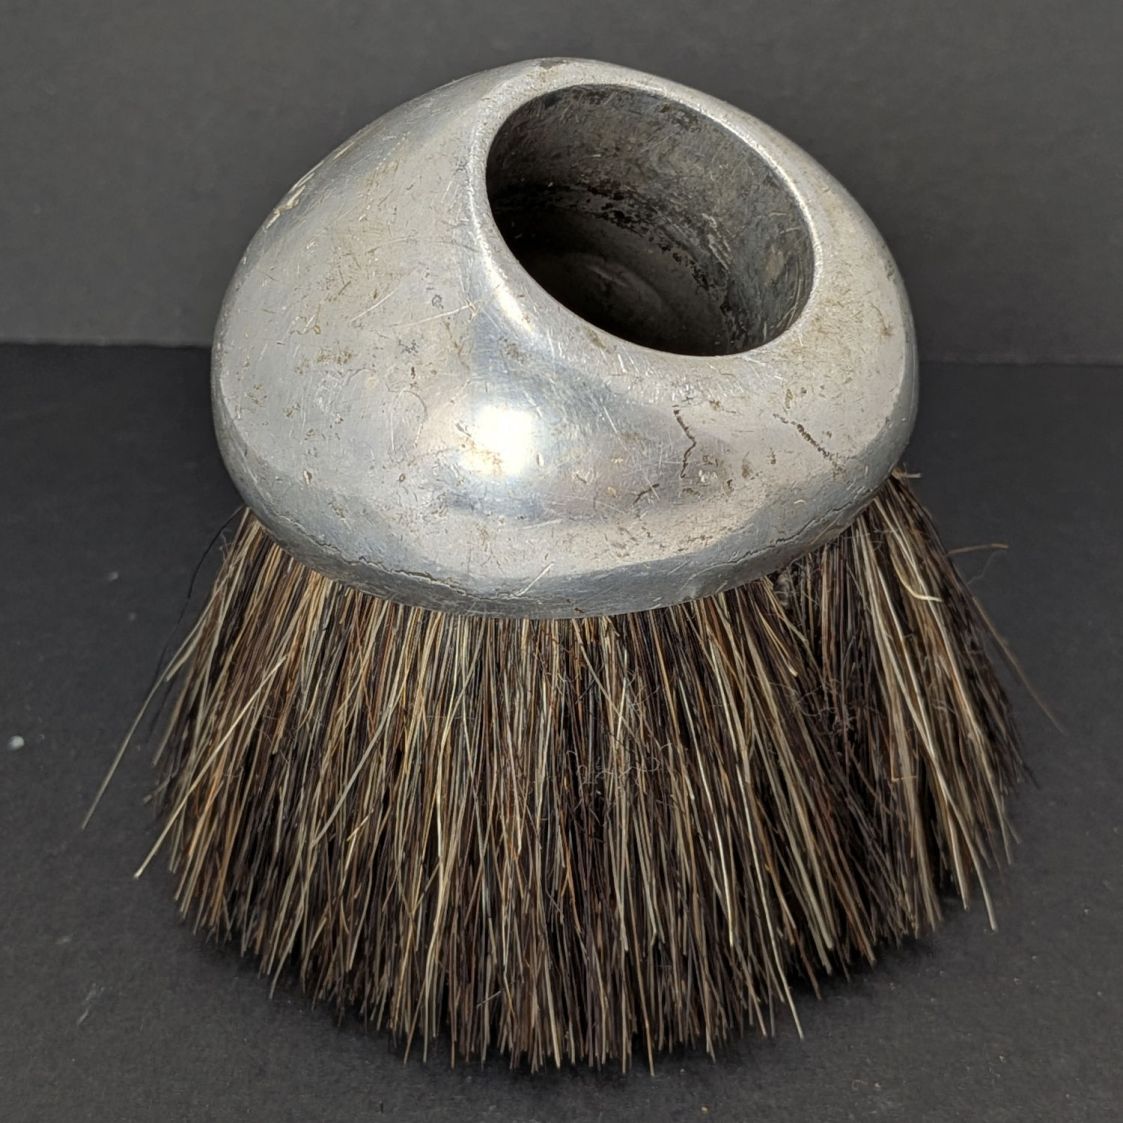
The Electrolux Model G vacuum cleaner that Came With The Previous House™ has a dust brush attachment resembling a creature from a deep sea trench:
Those bristles recently fell out during a cleaning session:
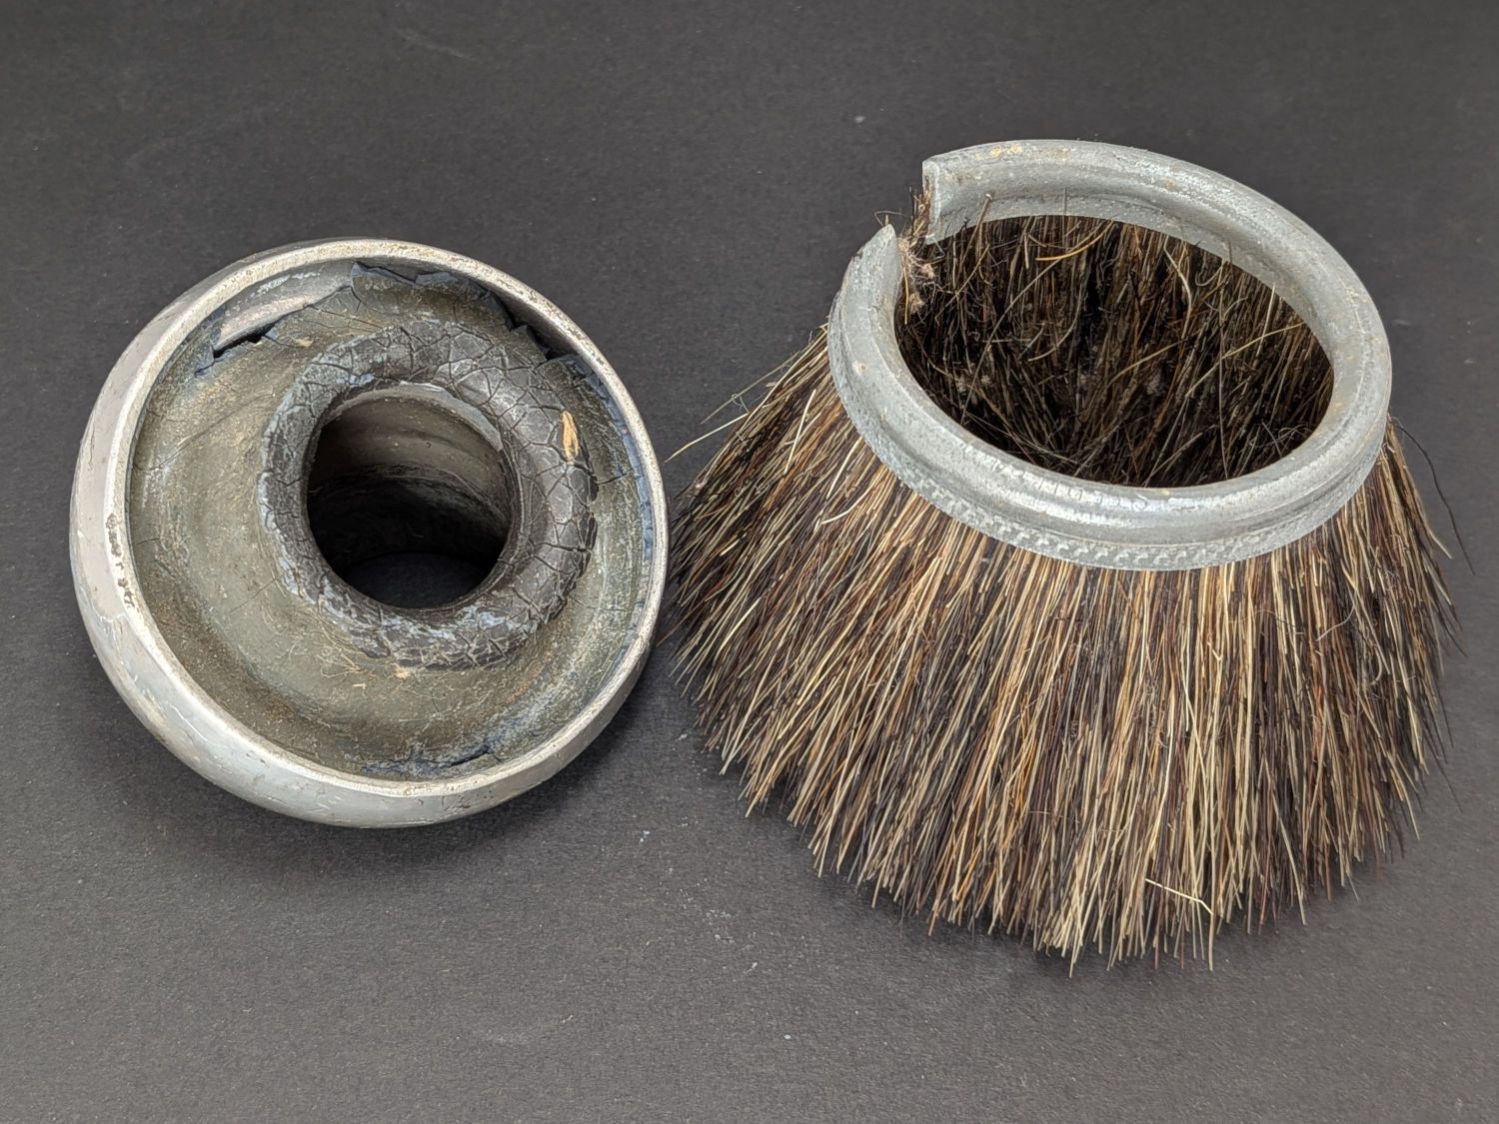
I will never know their backstory, but the rough-cut metal ring strongly suggests they’re a replacement for the original Electrolux bristles. Given that the Model G dates back to the early sixties, that puppy has been around for six decades and counting.
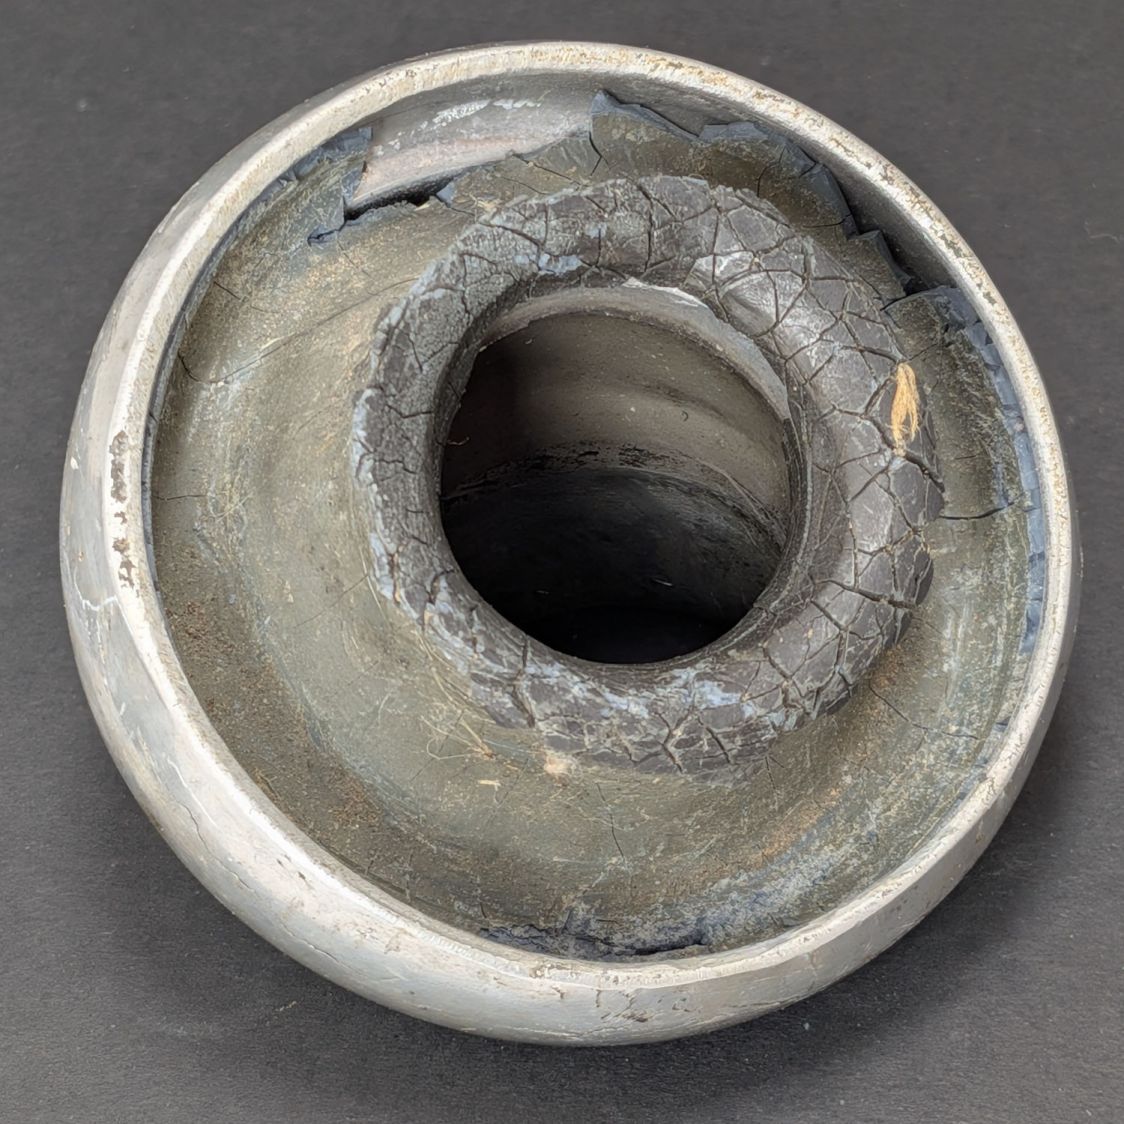
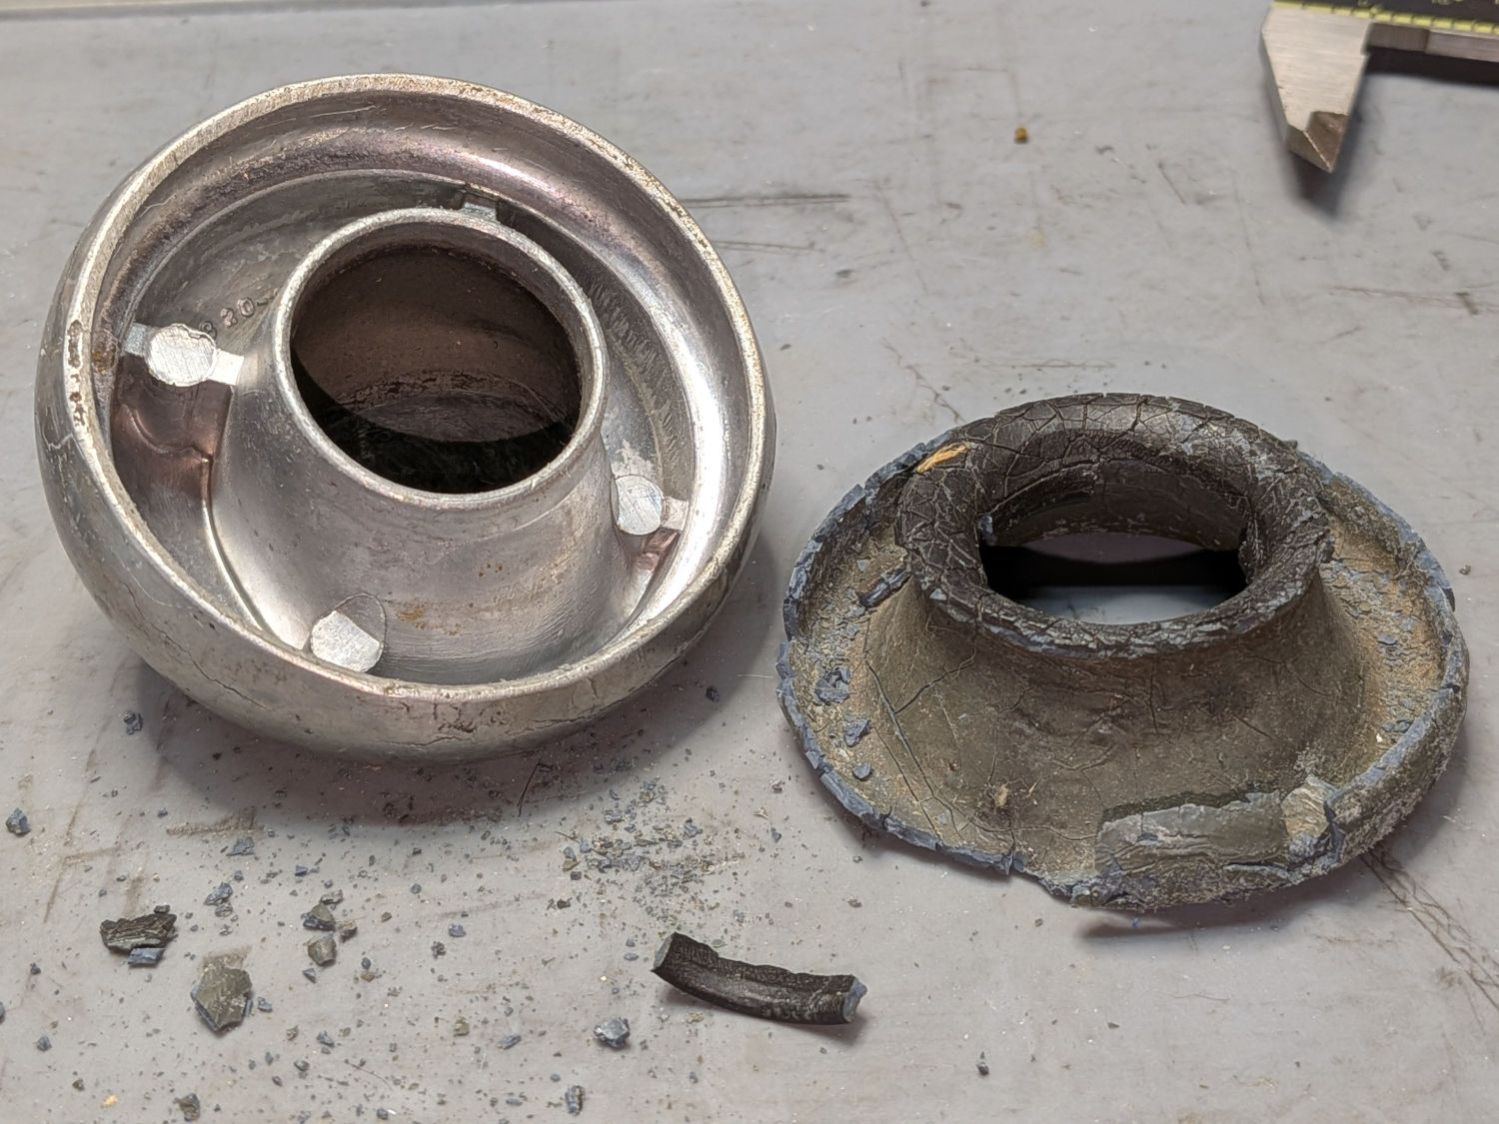
The rubber insert in the aluminum ball had long since fossilized:
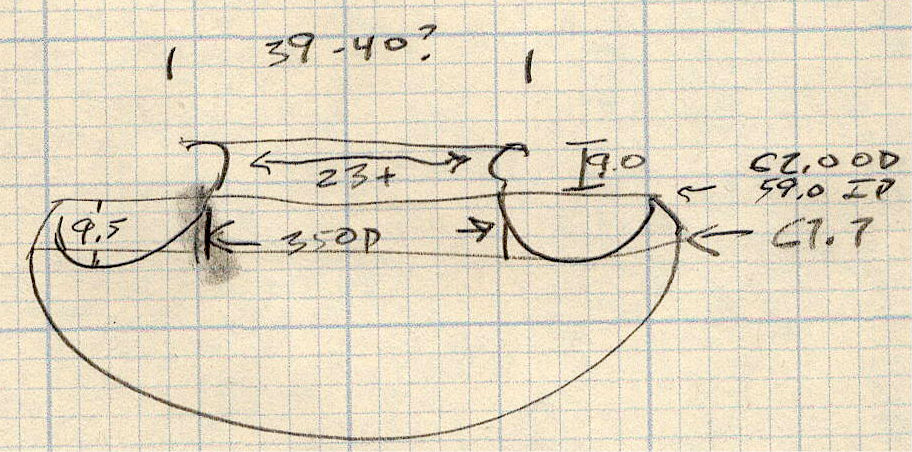
Not knowing if it would come out in approximately one piece, a doodle records whatever dimensions I could measure:
Surprisingly, it remained just flexible enough:
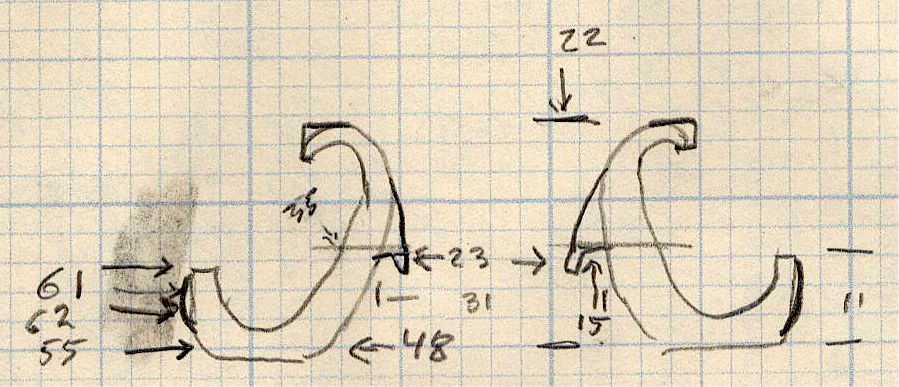
So I could measure a few more rubber dimensions:
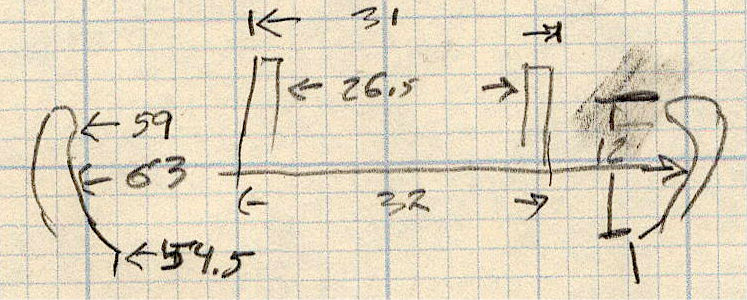
And ball dimensions:
After screwing around drawing Beziér curves for maybe half an hour, I realized a crude polygonal approximation would work perfectly well when 3D printed in TPU with a 0.8 mm nozzle:
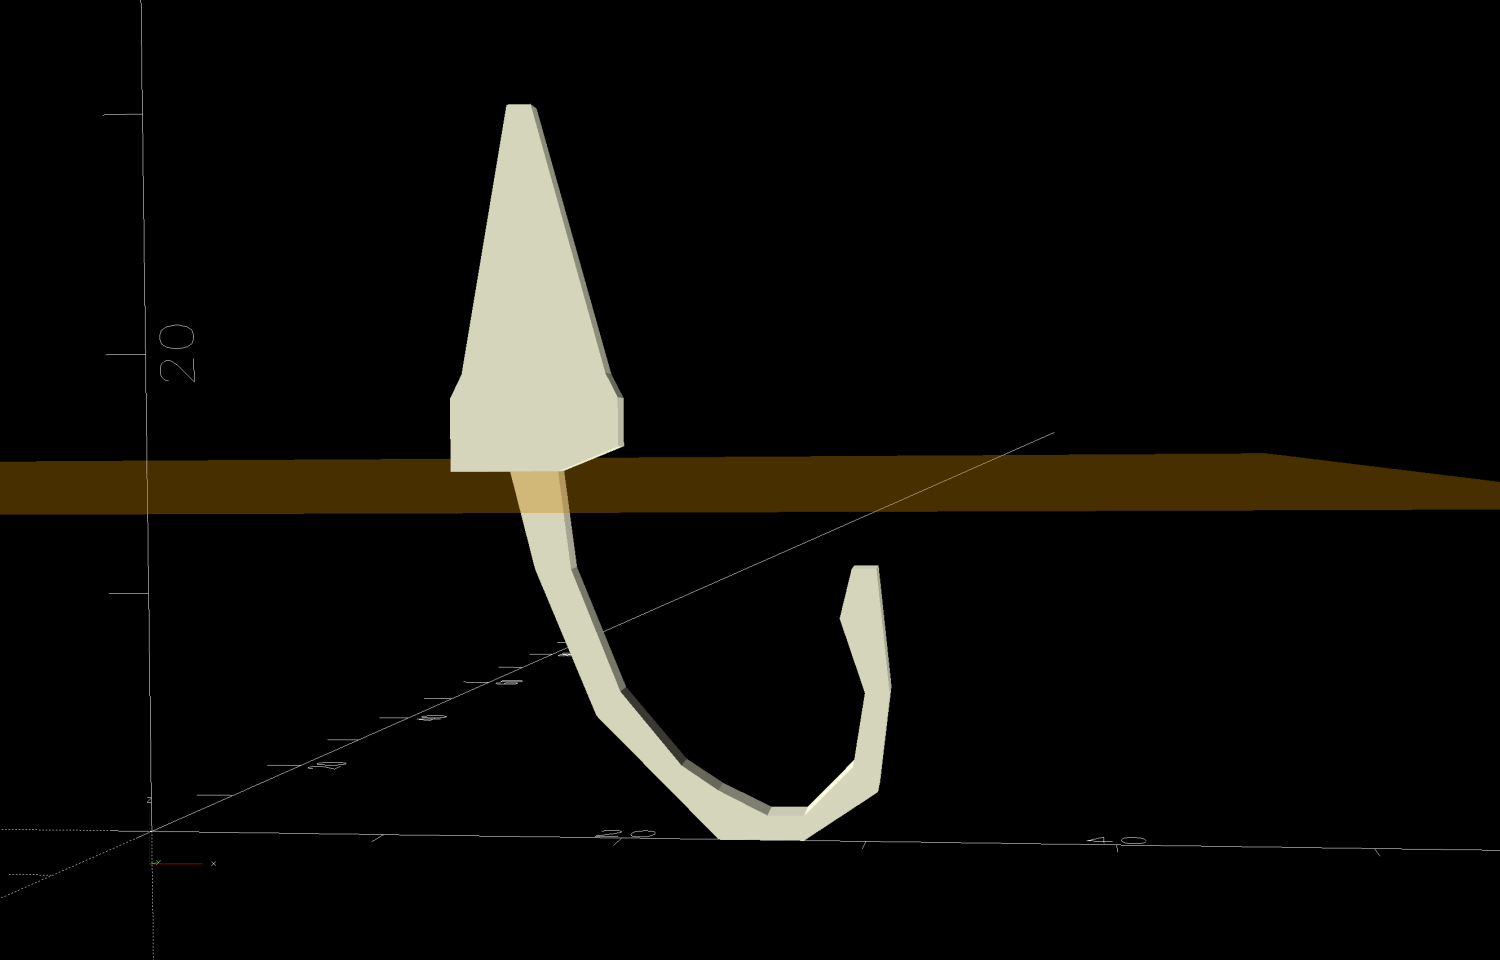
Which had the compelling advantage I could exactly specify the points and tweak them for an exact fit:
SplitHeight = 15;
SplitCube = [100,100,SplitHeight - Protrusion];

NozzleHeight = 15 + SplitHeight;          // above top of ball nozzle

Pts = [
  [61,11],[62,6],[61,2],[55,0],[48,0],    // outside bottom
  [38,5],[33,11],
  [31,SplitHeight],[26,SplitHeight],      // atop ball nozzle rim
  [26,18],[27,19],[31,NozzleHeight],[33,NozzleHeight],    // bristle reinforcement
  [39,19],[40,18],[40,16],
  [35,SplitHeight],
  [36,11],[40,6],                         // inside bottom
  [45,3],[48,2],[52,1],[55,1],
  [59,3],[60,6],[58,9],[59,11],                  // brush metal rim seat
  [61,11],
];
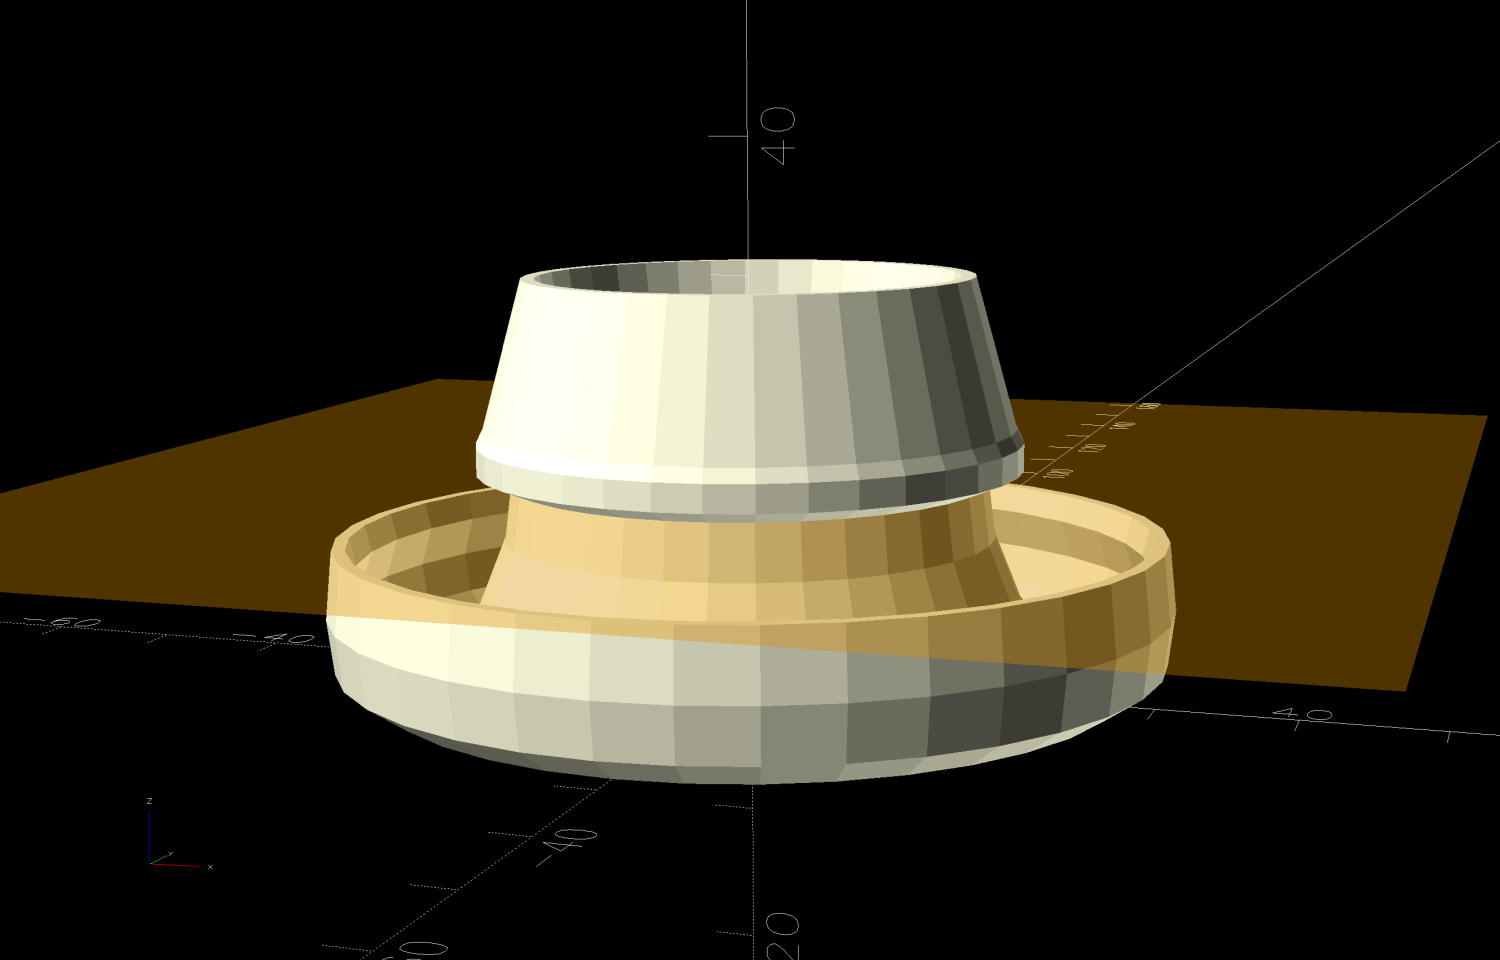
Turn those points into a polygon, spin it into a ring, and add a ghostly plane to show where the model separates into printable halves:
if (Layout == "Show") {
    scale([0.5,0.5,1.0])
      rotate_extrude(angle=Slice,start=0,convexity=5) polygon(Pts);
    up(SplitHeight)
      color("Orange",0.2)
        cuboid([100,100,Protrusion],anchor=BOTTOM);
}
The scale() compensates for the list of points having easily measured real-life diameters, but the polygon() must be at the radius away from the origin; you could divide all the X axis coordinates in the list by two. Dimensions along the Z axis remain unchanged.
Like this:
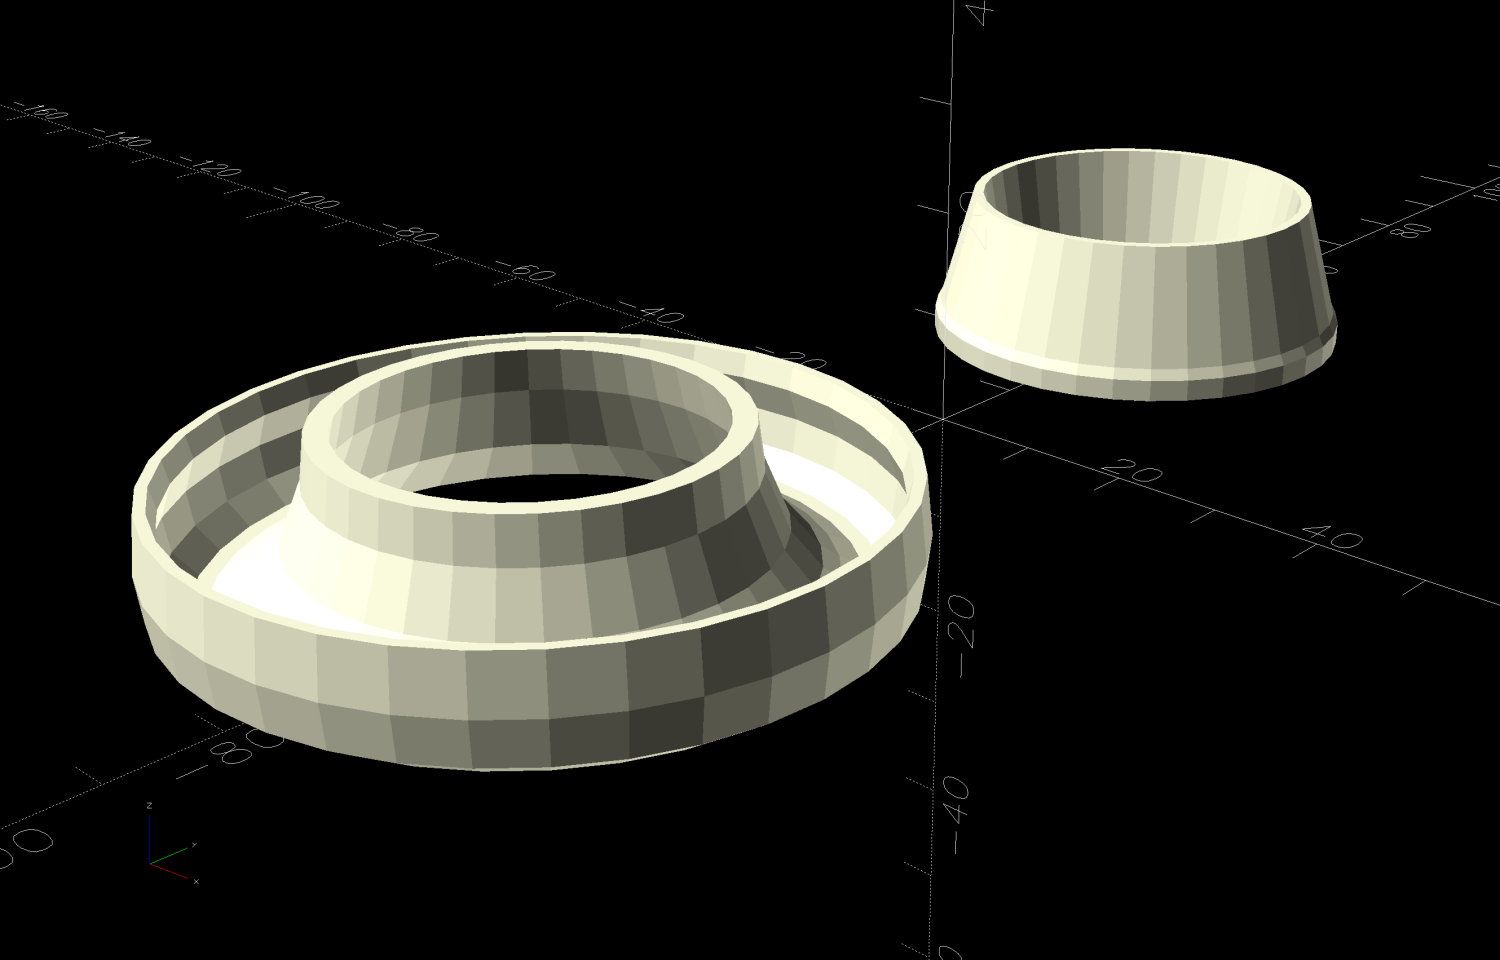
Split it along the ghostly plane into printable parts:
if (Layout == "Build") {
  fwd(50)
    intersection() {
      scale([0.5,0.5,1.0])
        rotate_extrude(convexity=5) polygon(Pts);
      cuboid(SplitCube,anchor=BOTTOM);
    }
  back(30)
    intersection() {
      down(SplitHeight)
        scale([0.5,0.5,1.0])
          rotate_extrude(convexity=5) polygon(Pts);
      cuboid(SplitCube,anchor=BOTTOM);
    }

}
Like this:
Run the model through PrusaSlicer, install the 0.8 mm nozzle in the MK4, load TPU filament, let the magic happens, then dab JB PlasticBonder urethane adhesive around the mating rim of the bottom part:
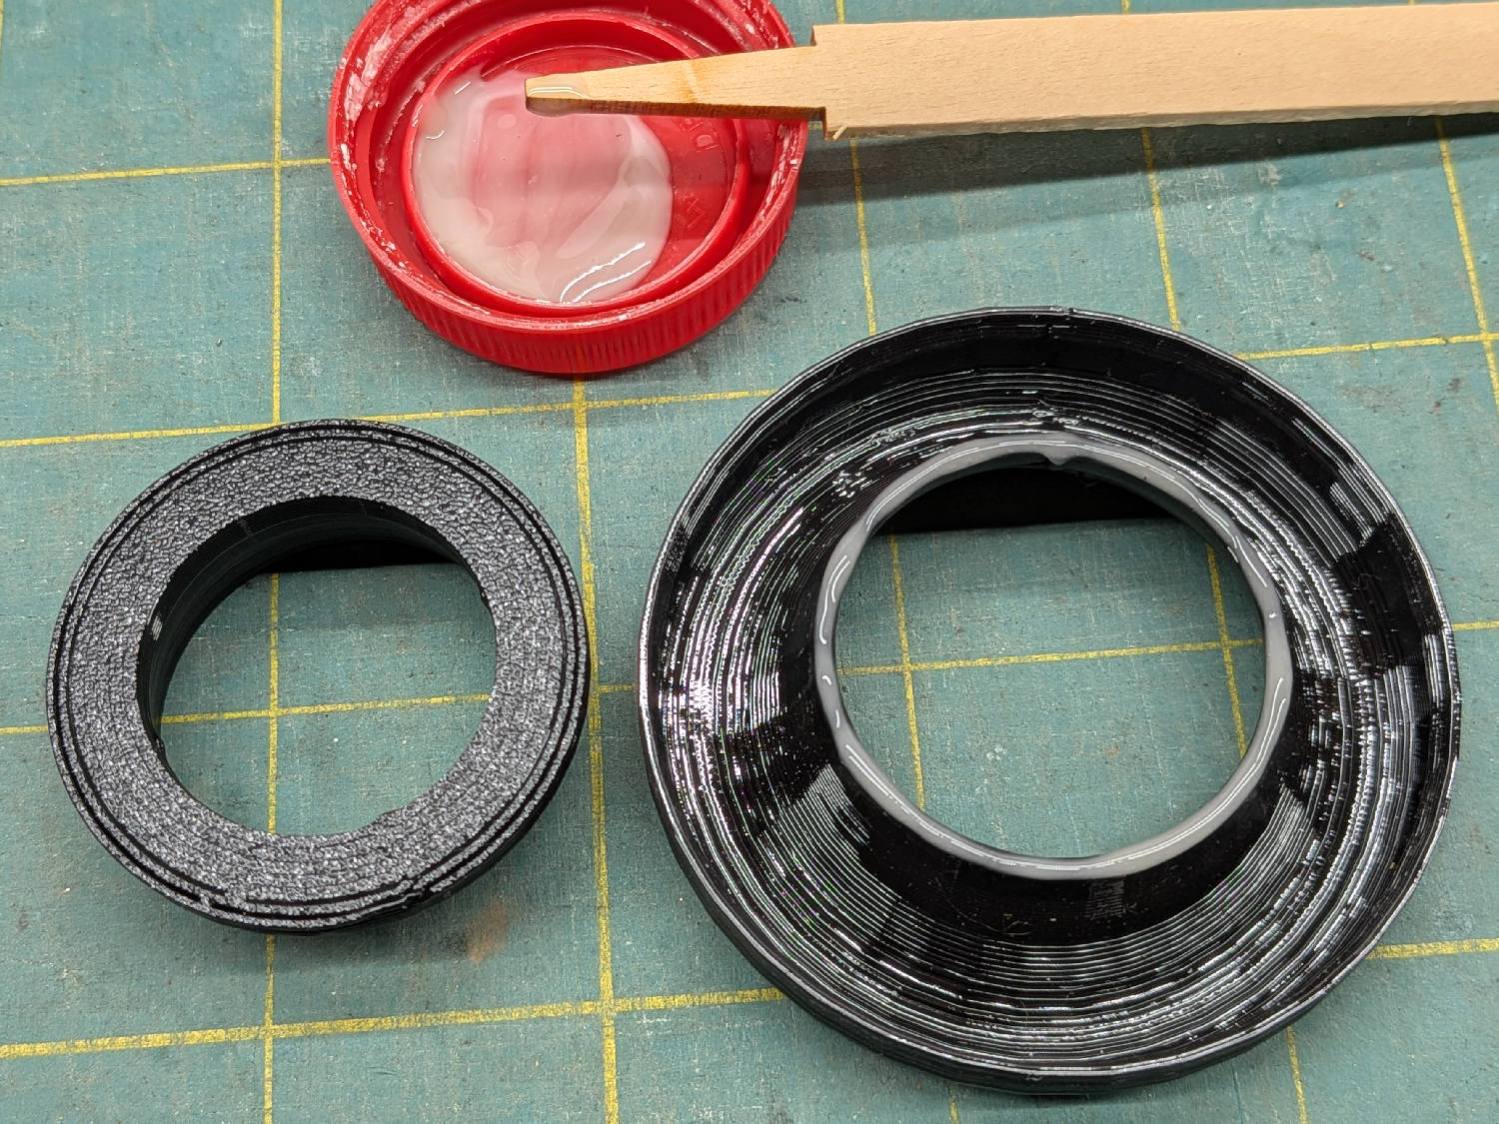
Yeah, black would be more better, but tan is fine.
Flip it over, eyeballometrically center the gooey ring in the wide rim of the nozzle, and let it cure.
Which eventually looks like it grew that way:
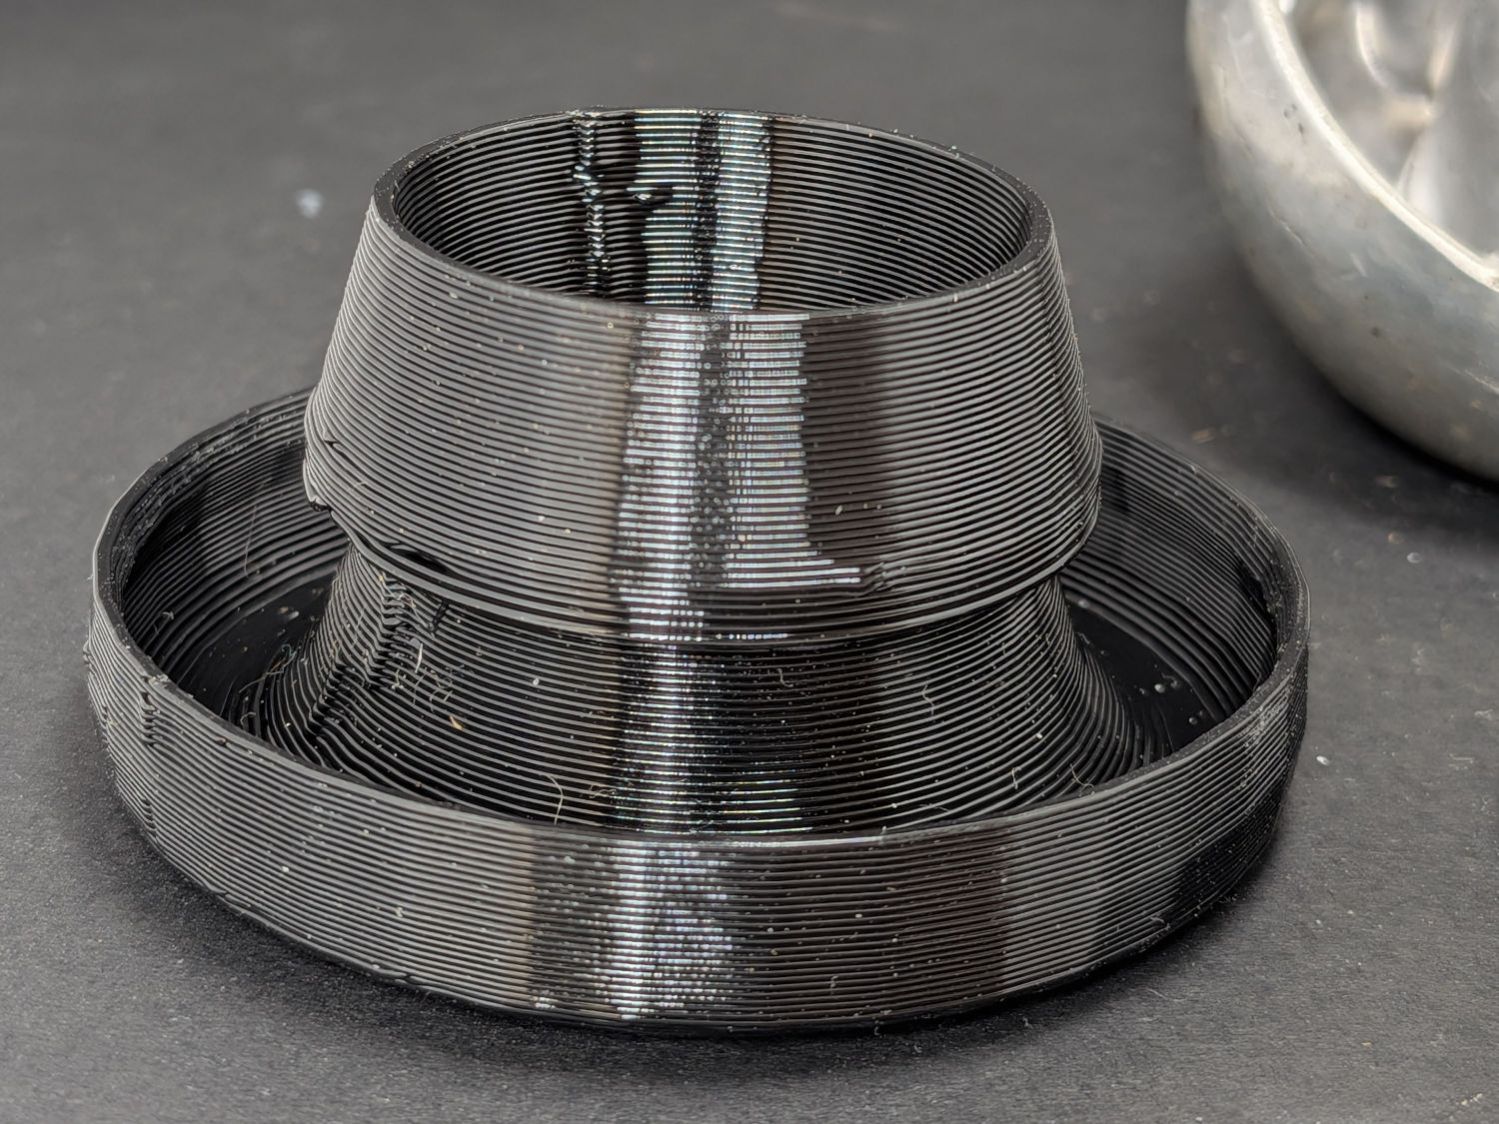
See? Crude low-poly models FTW!
As usual, however, it takes two to make a thing go right:
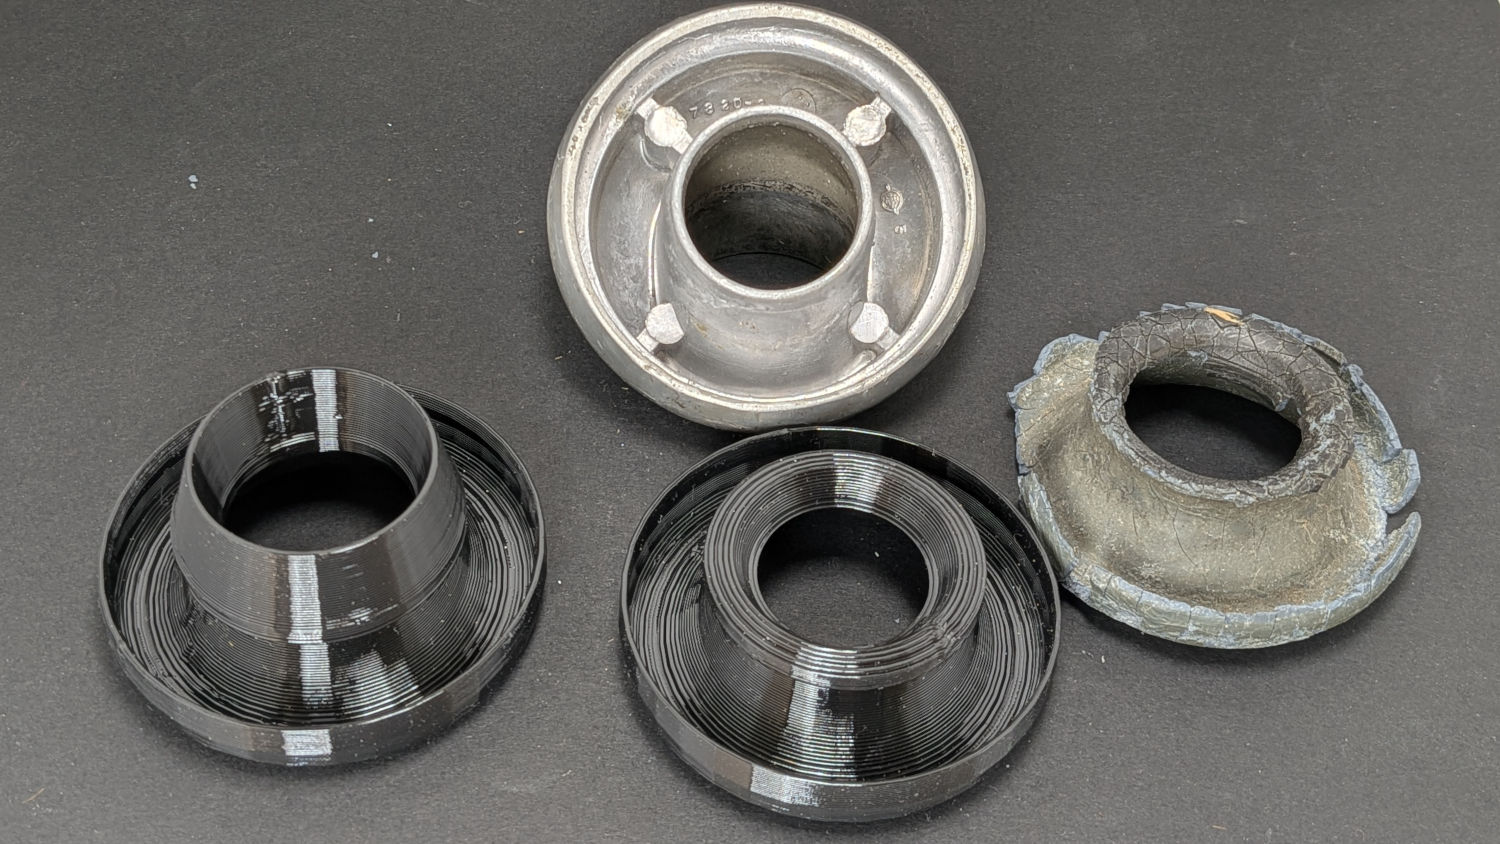
The first pass in the center front showed the outer rim needed a deeper recess to grip the metal ring around the bristles; I’m sure I could pry the bristles out of the second version if lives depended on it.
I added the elongated nozzle to stand halfway up inside the bristles to keep them from collapsing inward under suction:
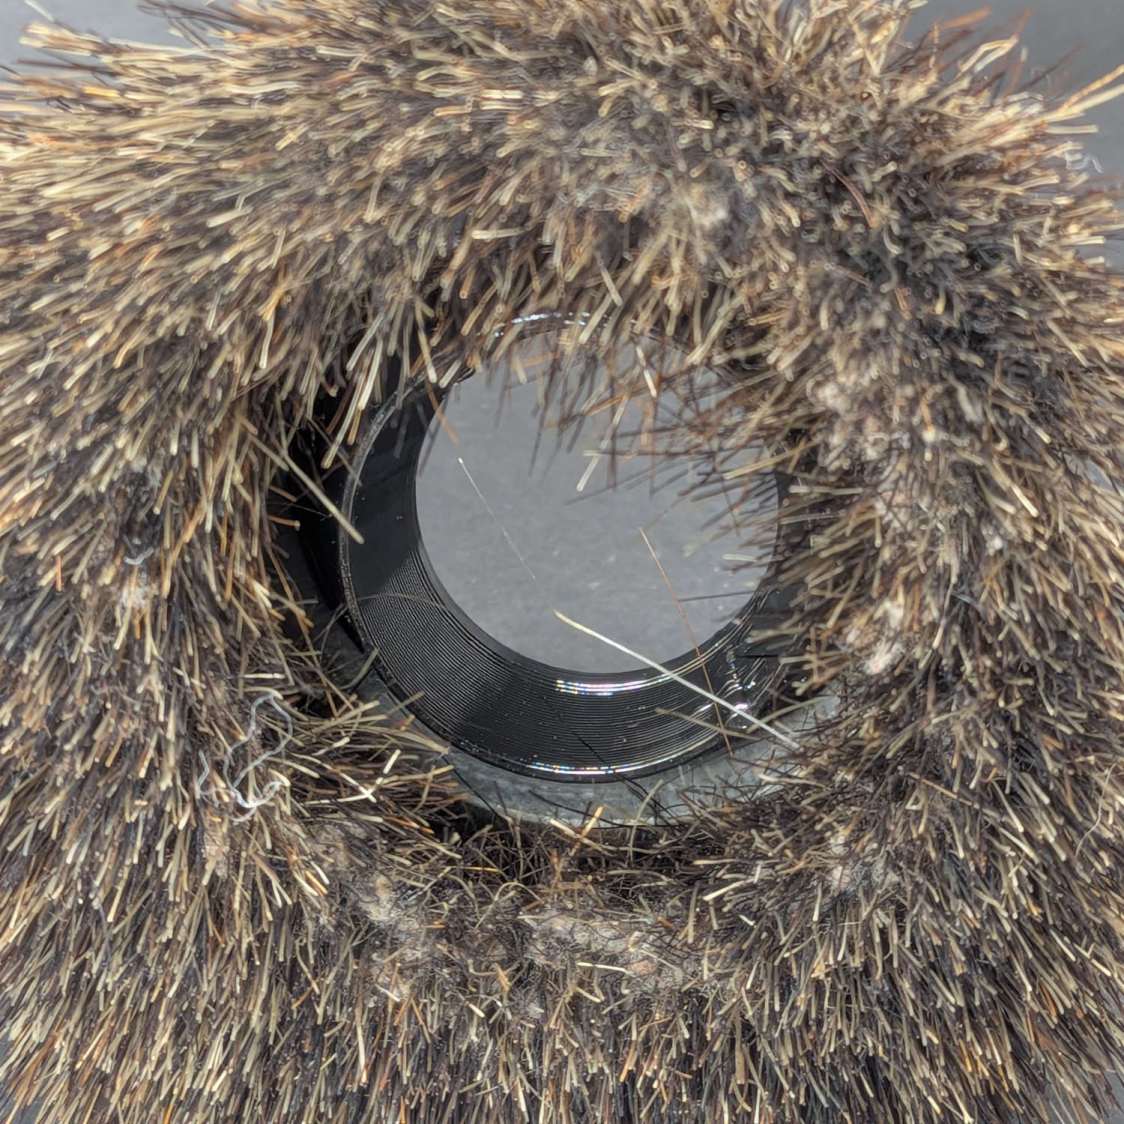
It’s definitely better than it was!
Might last another half-century; the original Electrolux vacuums are survivors.


Spam comments get trashed, so don’t bother; you’re not as clever as you think. Comment moderation may cause a delay.