With all the layers laid out, duplicating and plunking one in the middle of the LightBurn workspace looks like this:
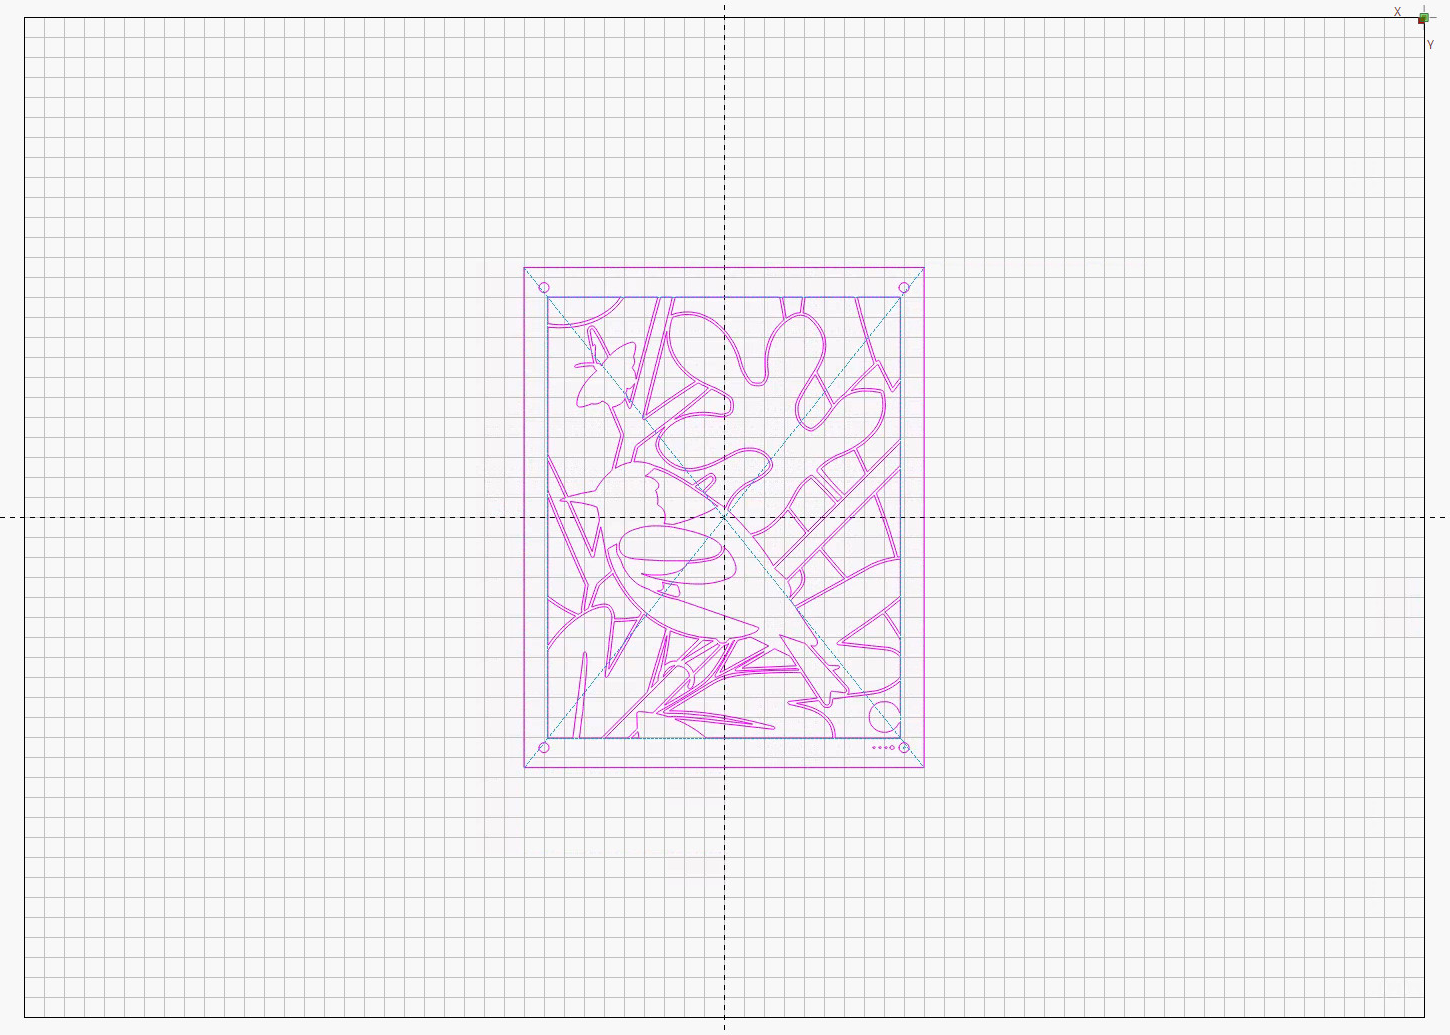
In Absolute Coordinates mode the laser will cut it at the center of the platform, so put a sheet right there:
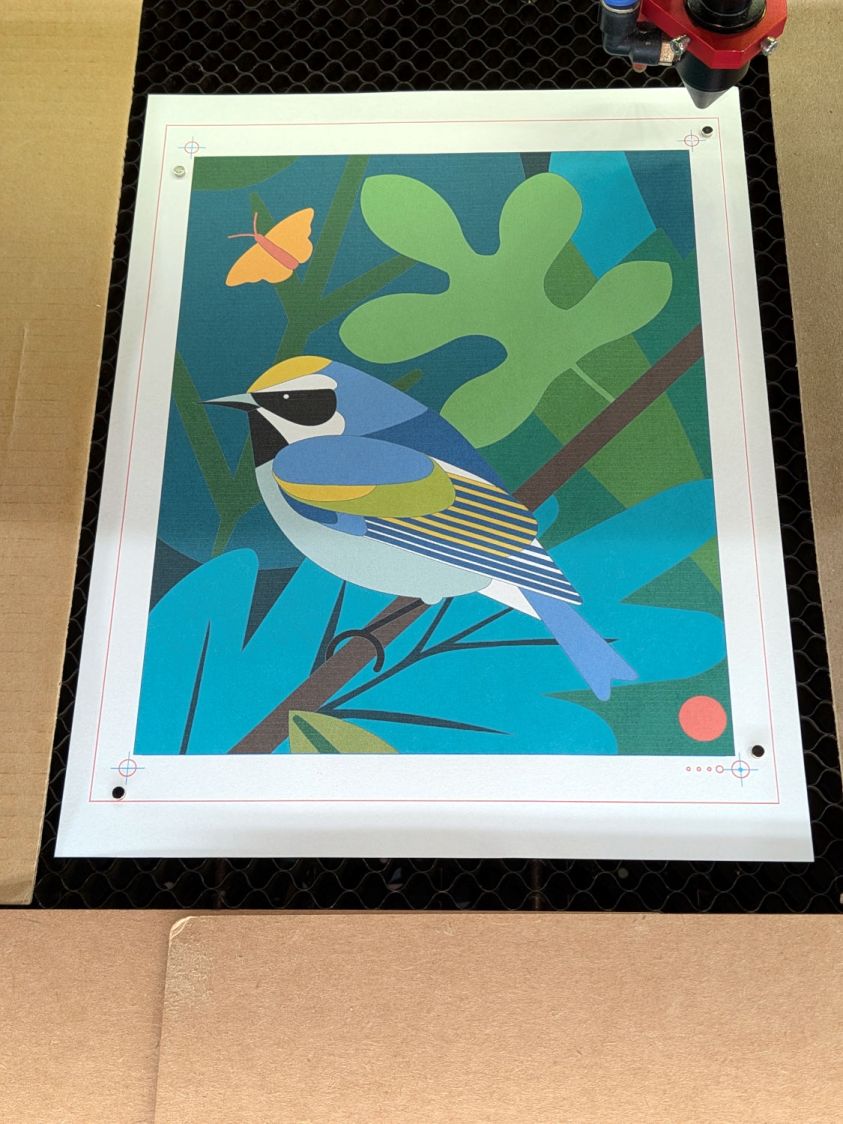
The Position Laser tool puts the laser head at a selected location in the design, with the picture showing it at the center of the upper right target. The trick is to slide the paper on the platform to put that target directly under the red-dot pointer:
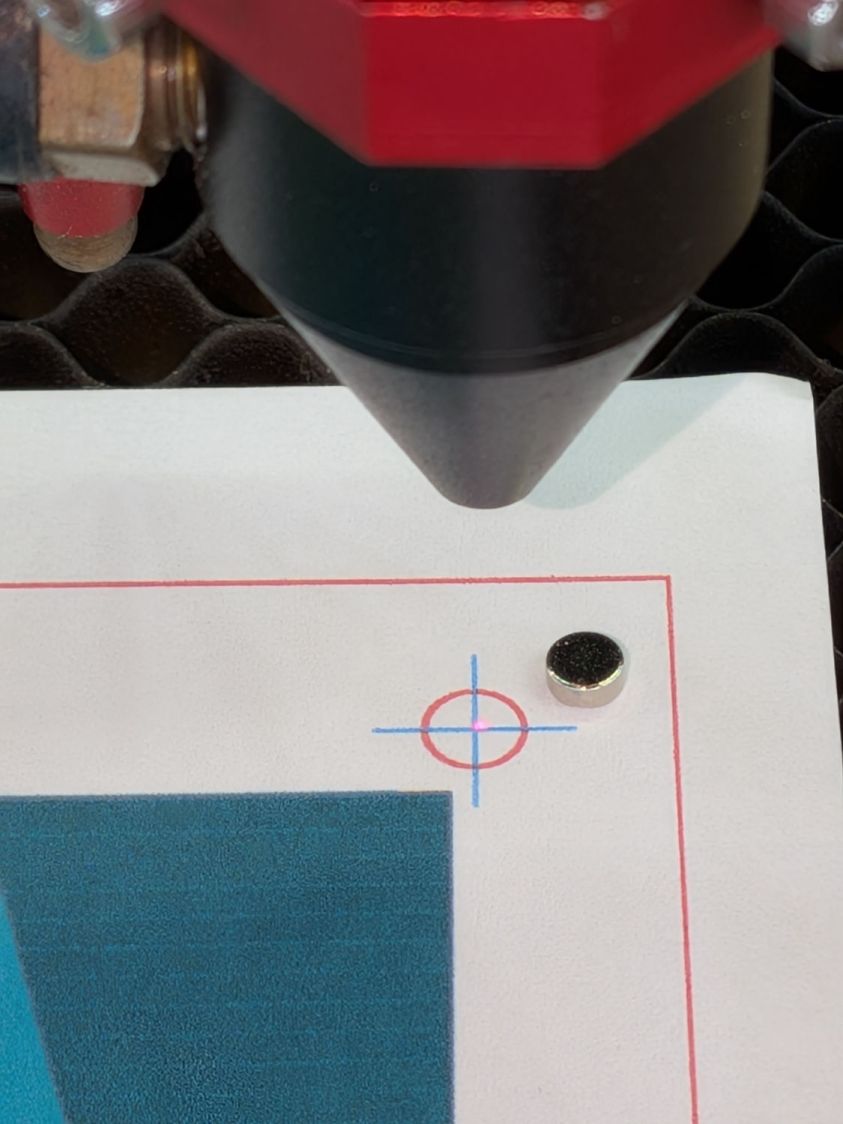
I occasionally fire a test pulse to verify the CO₂ laser hits the red dot:
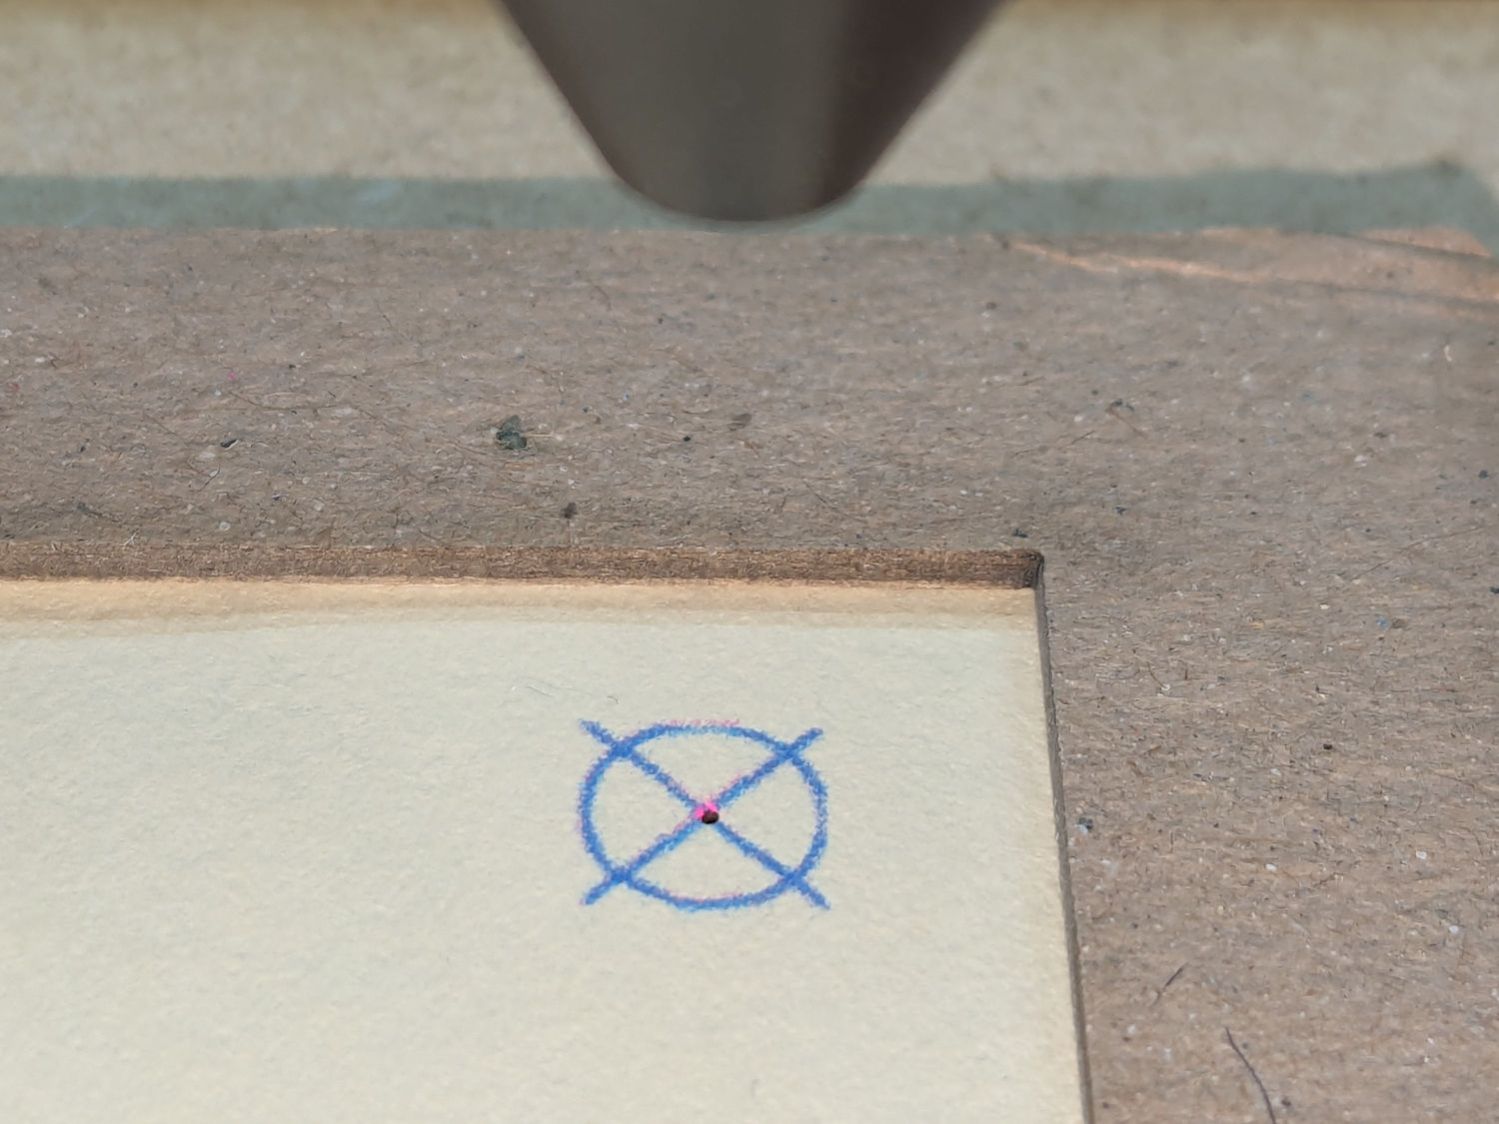
Do the same for the target in the lower left corner, rotating the paper around the upper right target, and iterating until both targets match.
Because the printer does not produce accurately sized output, this can happen:
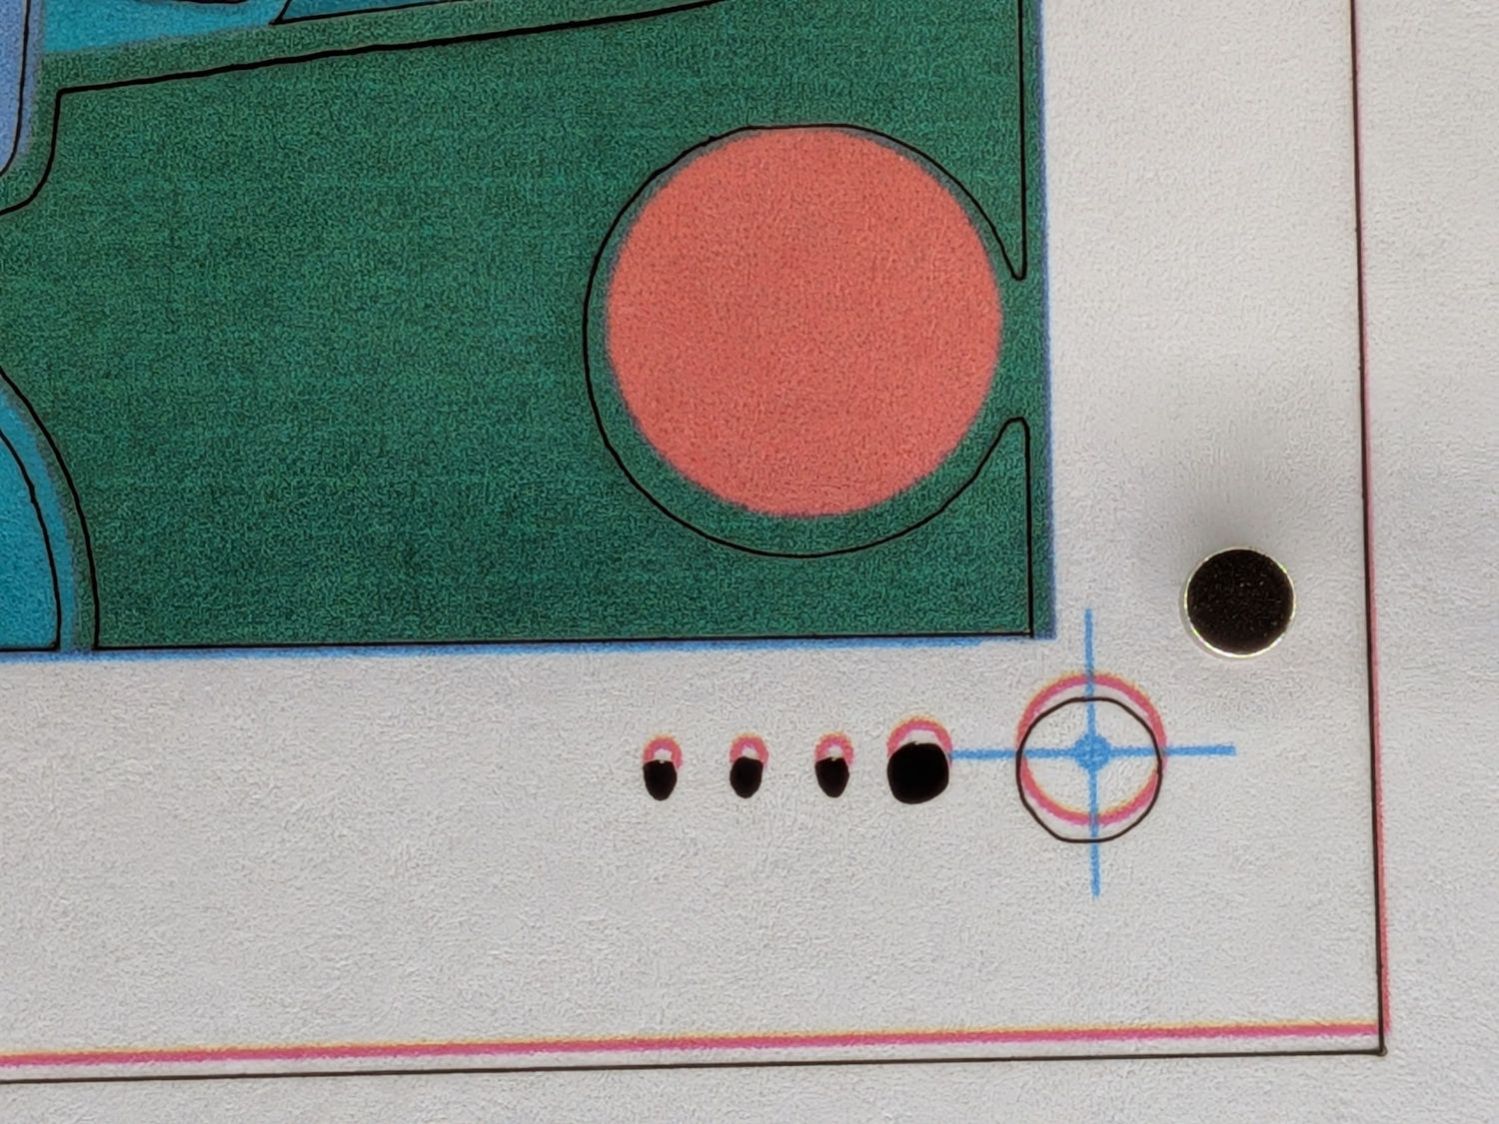
You’ll get a hint of the problem when it’s impossible to put the targets under the the laser head at the lower targets, although it may look close enough to work.
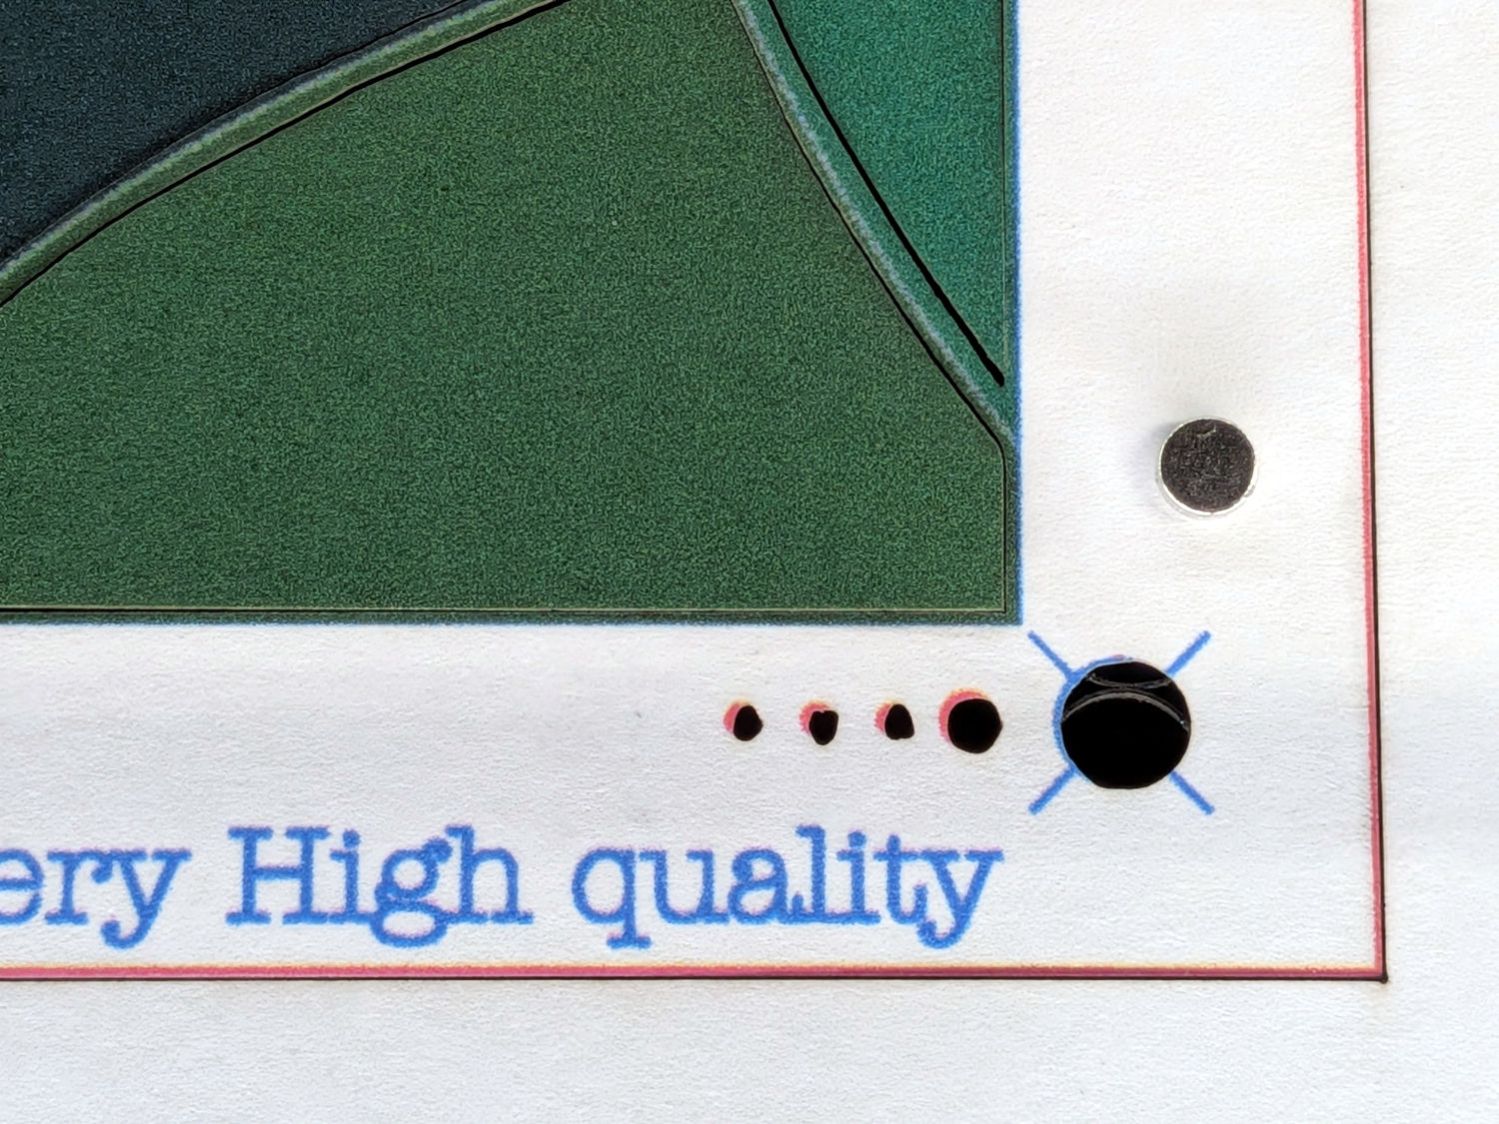
That offset was on plain paper with the output scaled by 100.3% vertically. Applying the same scaling (to the Happy Bird picture, but with the same page template) and printing on Art Cover paper produces this result:
Eventually, I can find a suitable scale factor to make the printed image come out right and the cuts align properly:
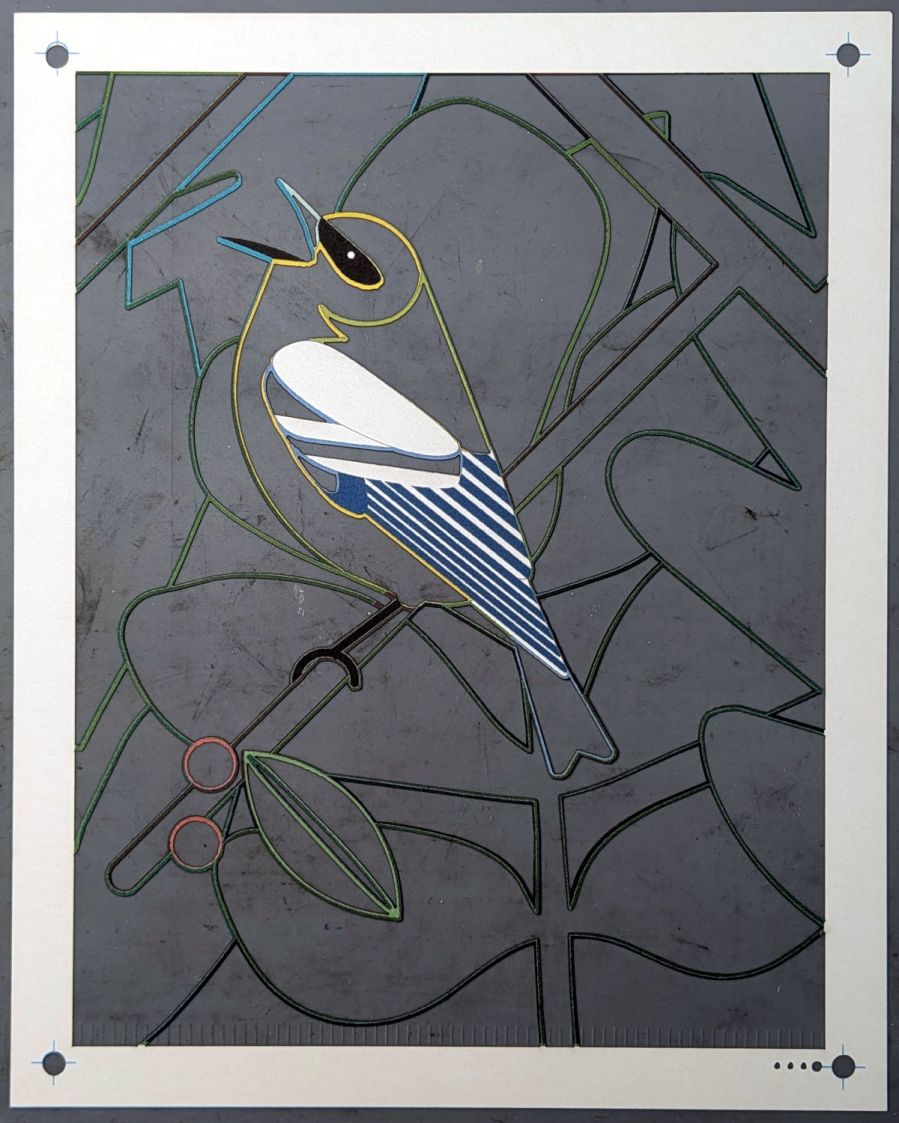
Those tenuous paper strands show why I couldn’t use the Letter page fixture and had to cut the sheets directly on the honeycomb: the weight of the uncut sections distorted the remaining sheet beyond belief. The squat silver cylinders in the pictures are neodymium magnets holding the paper flat on the honeycomb.
All the other layers have trivial positioning, because the cuts need not line up with anything on the sheet:
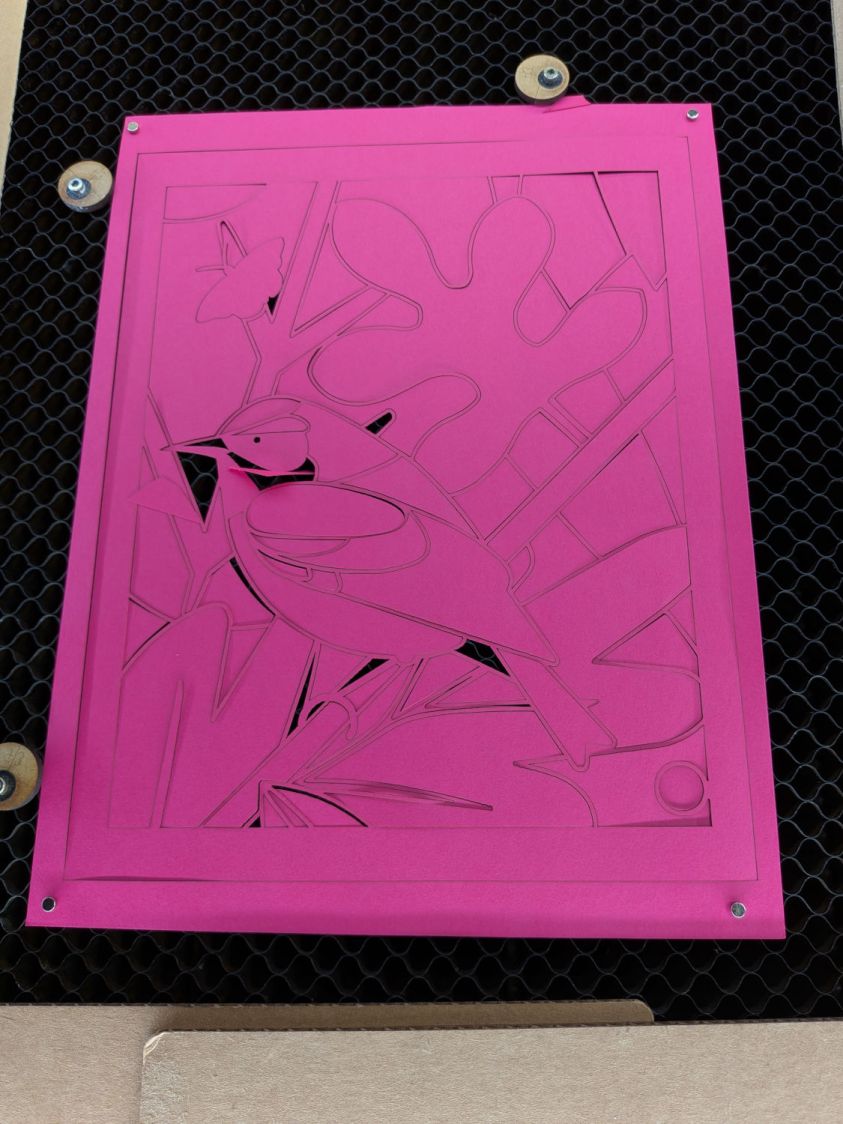
Just frame the first layout, center the sheet around it, set the MDF stops to kiss the edges of the paper, and all the other sheets will come out just fine.
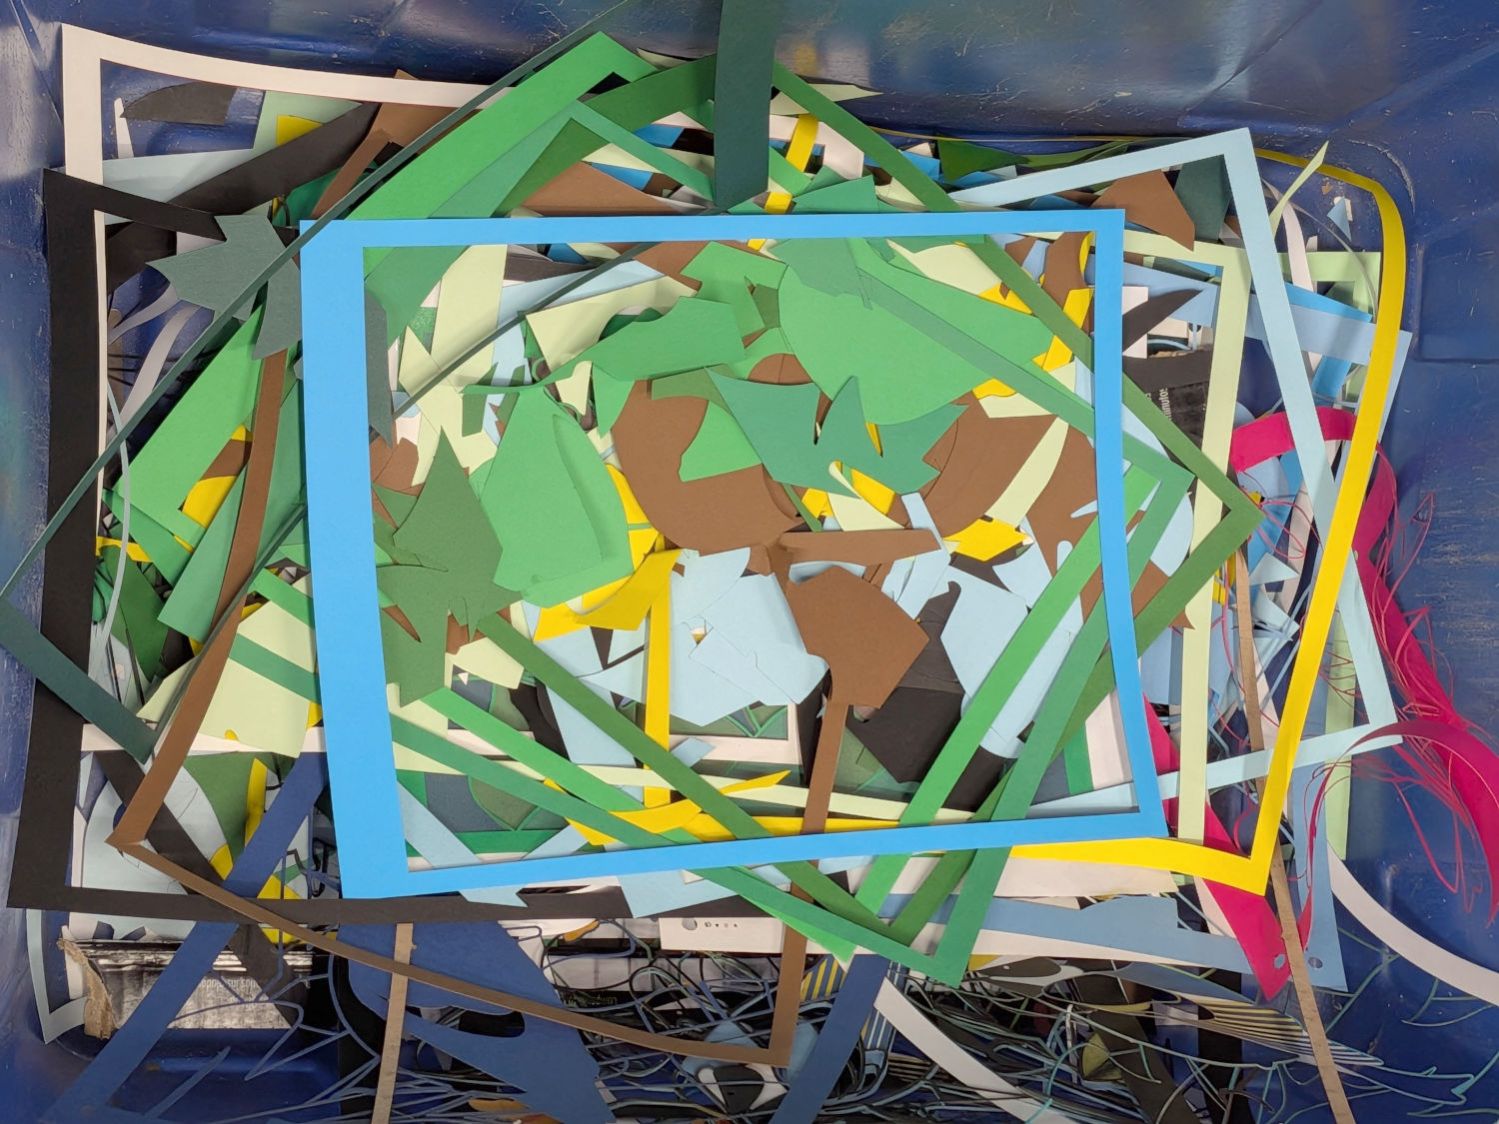
One side effect of all this cutting is the happiest scrap bin ever:
With all the layers cut out, assemble them face-down in the gluing fixture, align the black mask on the front by hand, put the stack into a suitable frame, and it’s ready to show off:
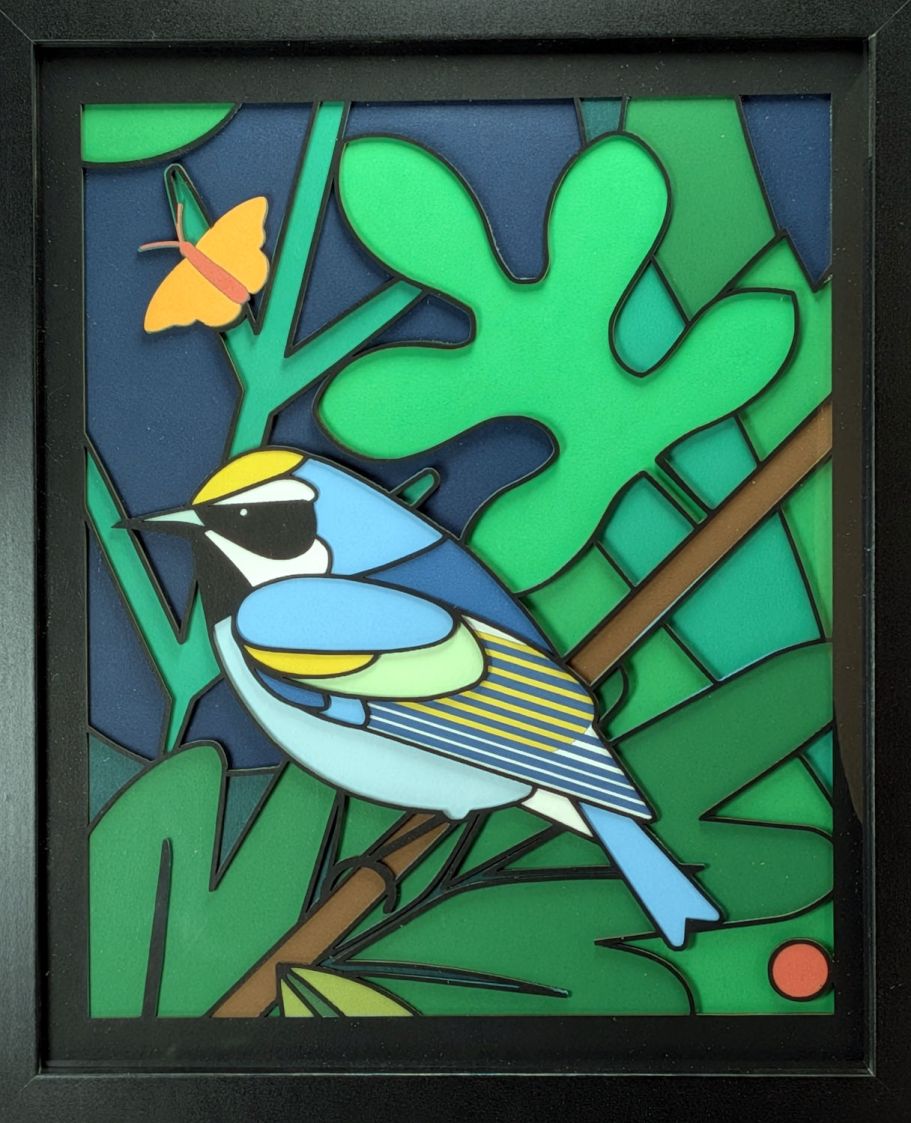
That wasn’t exactly easy, but next time I can make different mistakes.


Spam comments get trashed, so don’t bother; you’re not as clever as you think. Comment moderation may cause a delay.