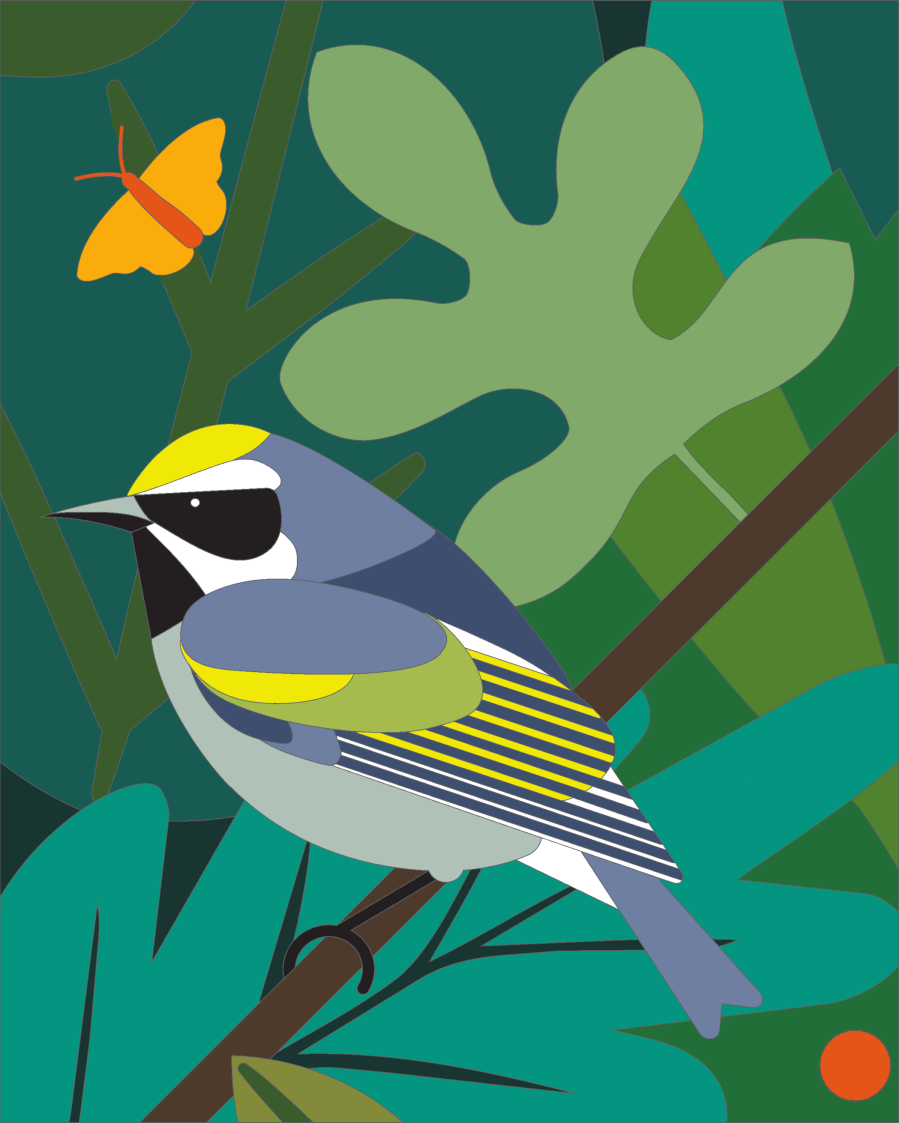
Processing the original PDF of a Cornell Painted Warbler produces a PNG image:
And an SVG file with shapes matching the regions to be cut out:
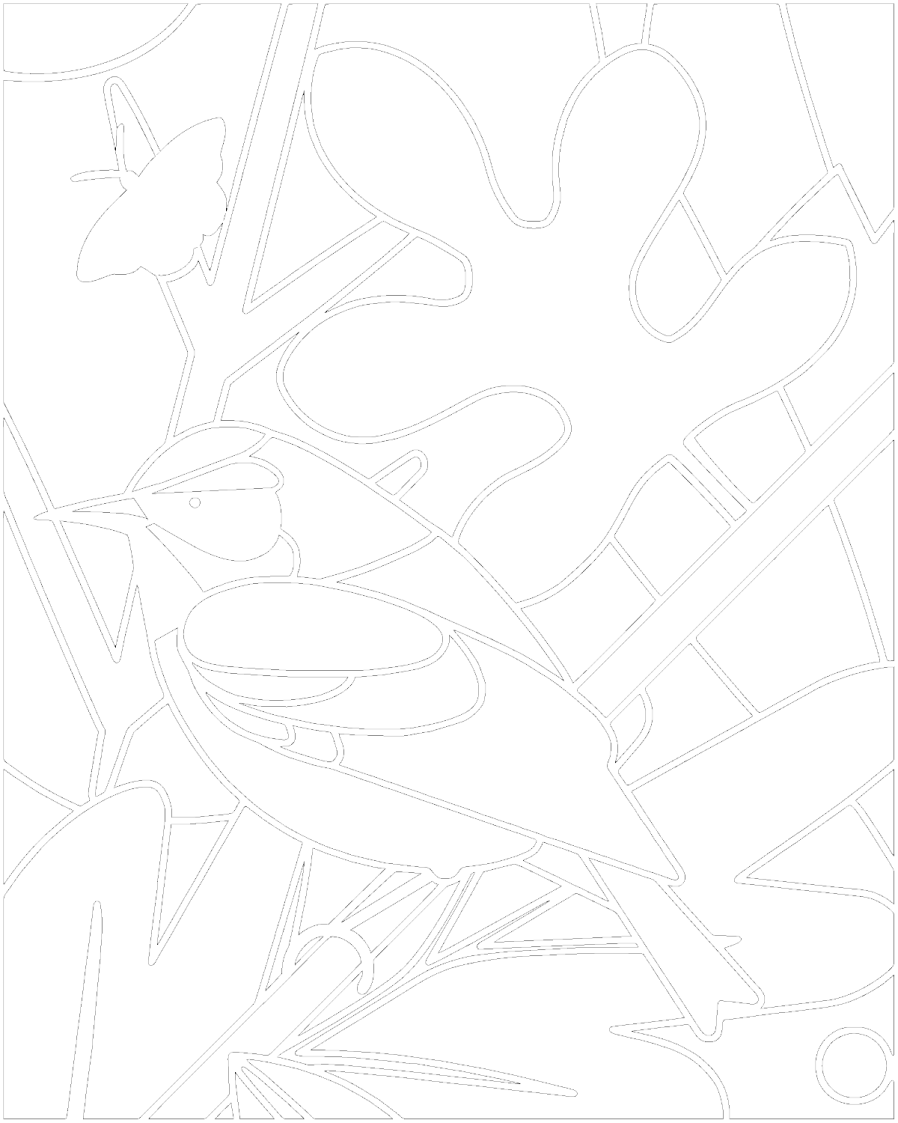
Both of those derive from the same PDF page, cropped to emphasize the bird, then scaled to match the 172×220 mm rectangle in the middle of the LightBurn template corresponding to the alignment fixture:
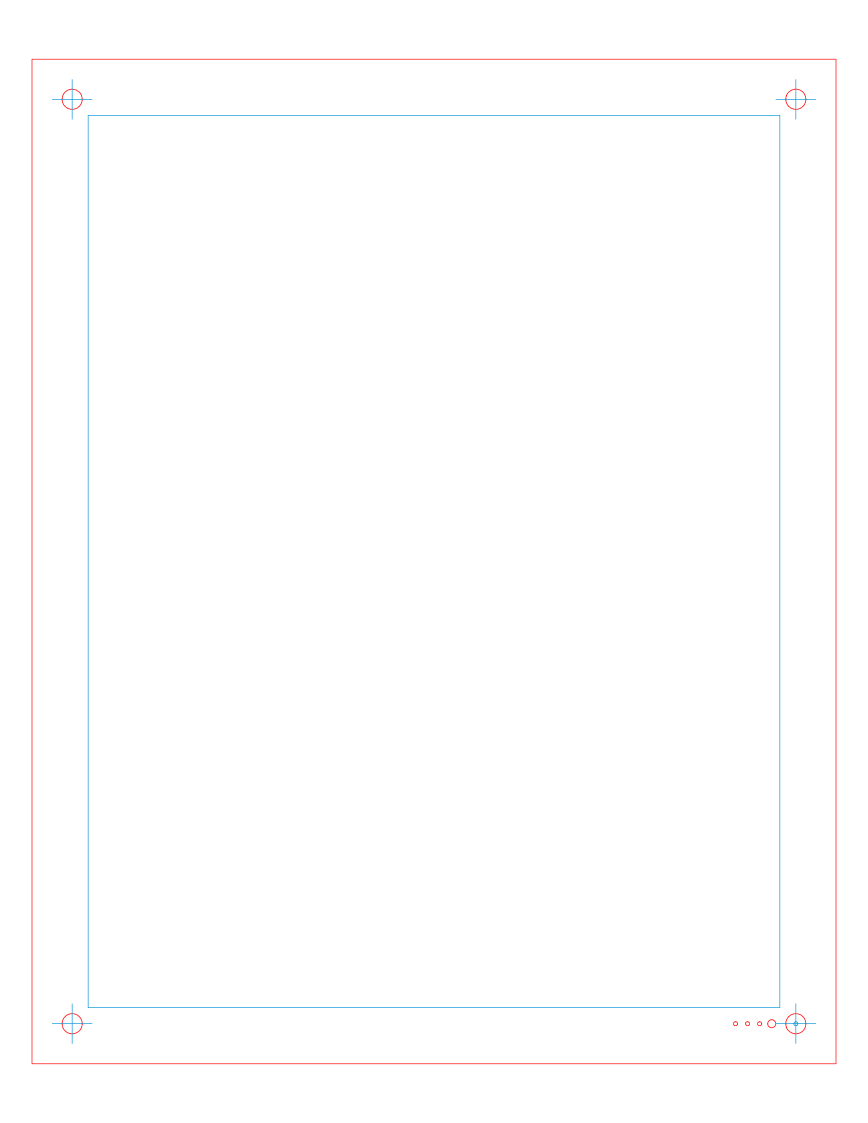
A key point: the blue outline around the image must be centered within the red outline marking the sheet cutout, because that dramatically simplifies the overall alignment process.
Protip: Crop the image in GIMP with a fixed aspect ratio of 172:220 before scaling the result to match the 172×220 frame, then derive both the PNG and SVG from the result.
The alert reader will recall the SVG shapes exclude the 6 pixel = 0.5 mm border closing the outlines, so the overall SVG size is 1 mm smaller than the PNG image. This will not be a problem, for reasons to become obvious.
Because Inkscape can handle both SVG shapes and color PNG images (LightBurn turns them into grayscale):
- Export the LightBurn template as an SVG
- Open with Inkscape
- Make the
Toollayer elements visible - Import the PNG
Without further ado, the PNG is automagically centered in both the blue and red rectangles:
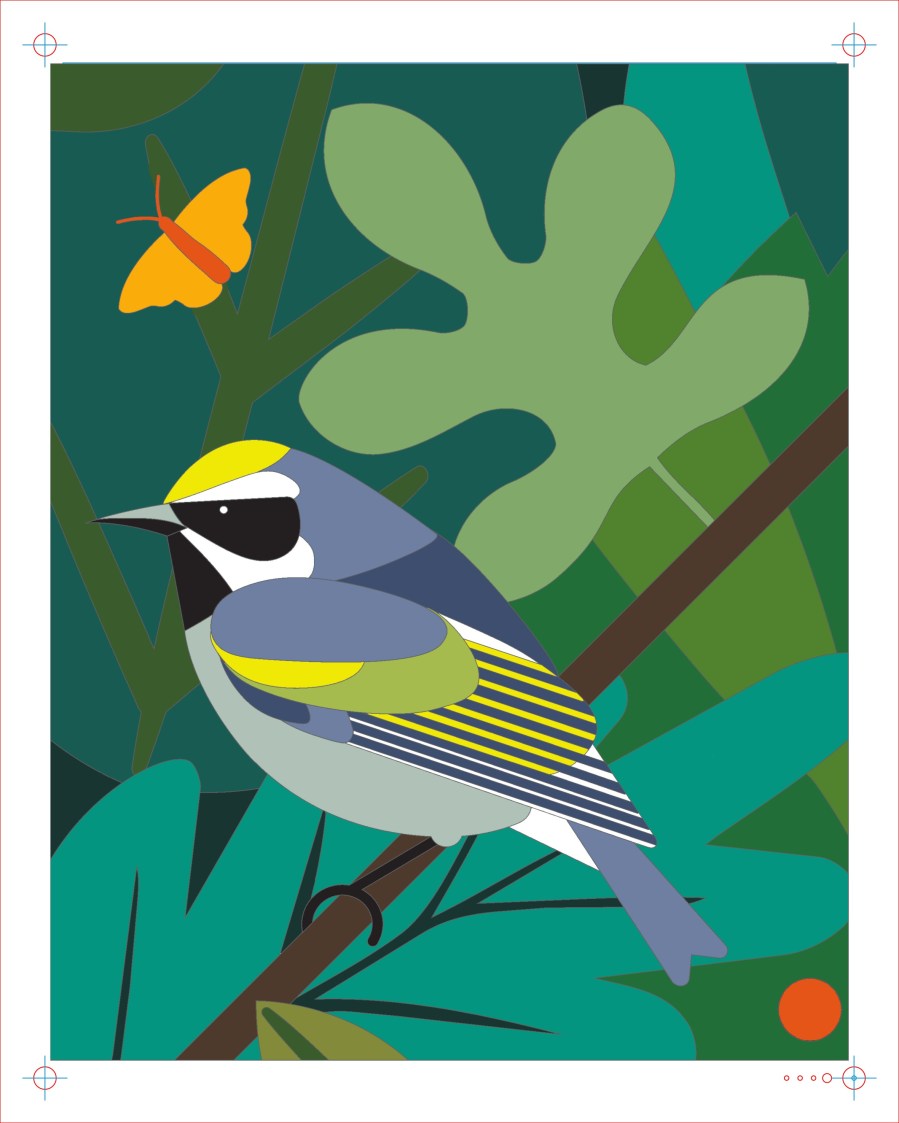
Print it, measure the vertical and horizontal distances between the corner target centers, scale the overall image to make the printed result come out exactly right, then iterate until satisfied. Scaling it 100.3% vertically worked for what’s called Art Cover paper printed with Stationery High Quality in an Epson ET-3830 printer. Your mileage will be different.
Protip: Save the unscaled page as an Inkscape SVG, because the scale factor(s) depend on the paper / print quality setting / moon phase and you will print it several times under different conditions.
In LightBurn:
- Tweak a copy of the sheet template to eliminate the corner holes & suchlike
- Import the Black Mask SVG into LightBurn
- Drag-n-drop it at the center of the template
- Set the speed / power to cut black Art Cover paper
Which becomes the Black Mask layer:
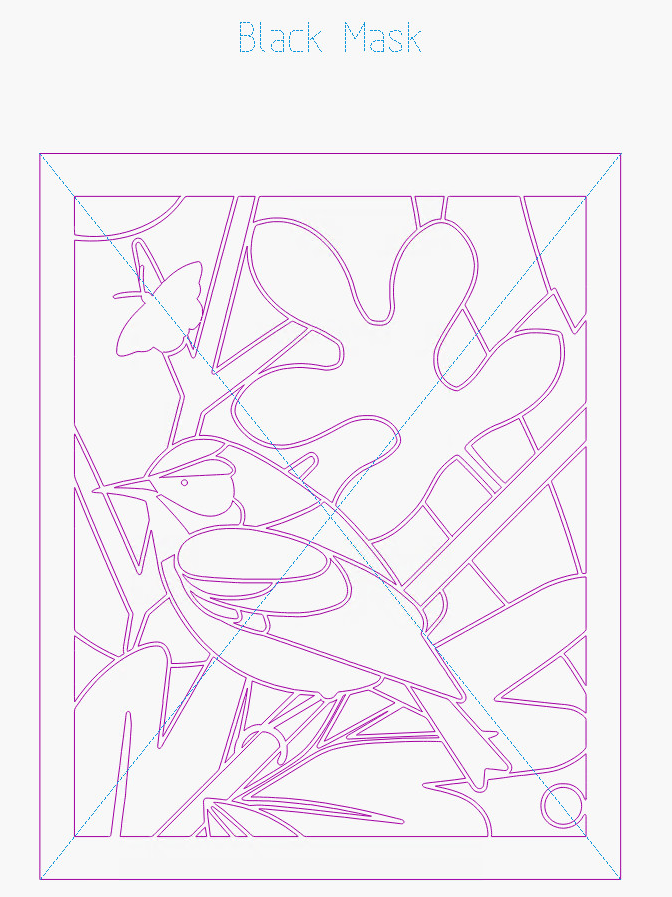
The alert reader will note the slightly different template layout: it’s been undergoing continuous process improvement and I’m not re-capturing all the details.
The Black Mask SVG contains all the shapes-to-be-cut, so it forms the basis for all the sheets under the top mask. Drag-n-drop a copy of the Black Mask SVG at the center of a copy of the template, ungroup it, delete the outlines of all the shapes on the printed layer, and set the speed / power for ordinary Art Cover paper:
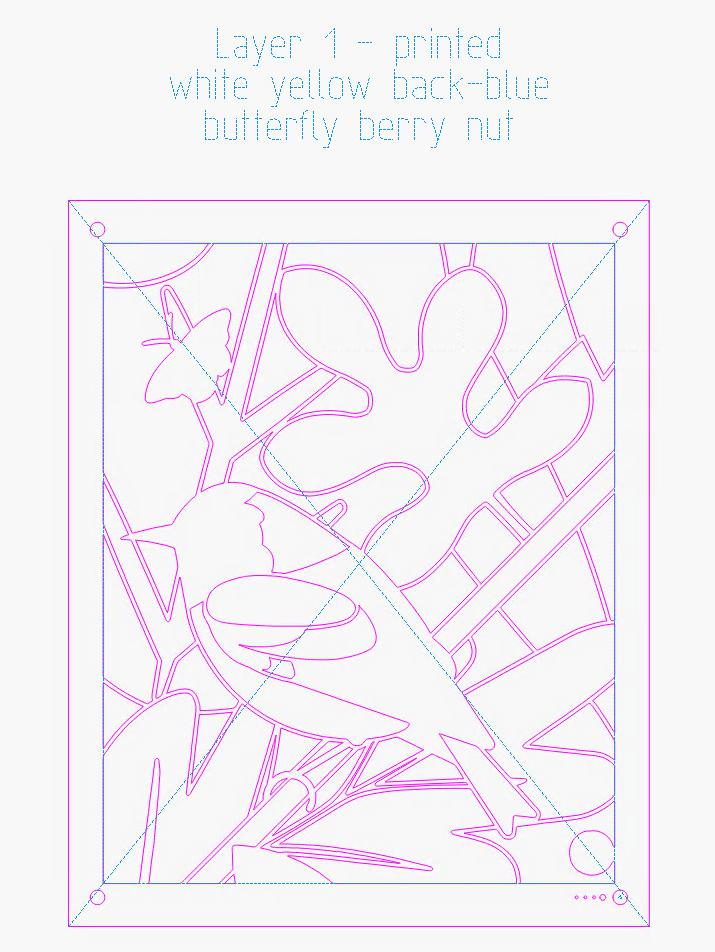
The shapes on each layer will be the same as the one above it, minus whatever shapes have the color of that layer. After you finish each layer, select all its shapes, duplicate them, drop them at the center of the next sheet template, and iterate.
Or just set up a line of templates spaced (say) 240 mm apart using the Grid Array tool:
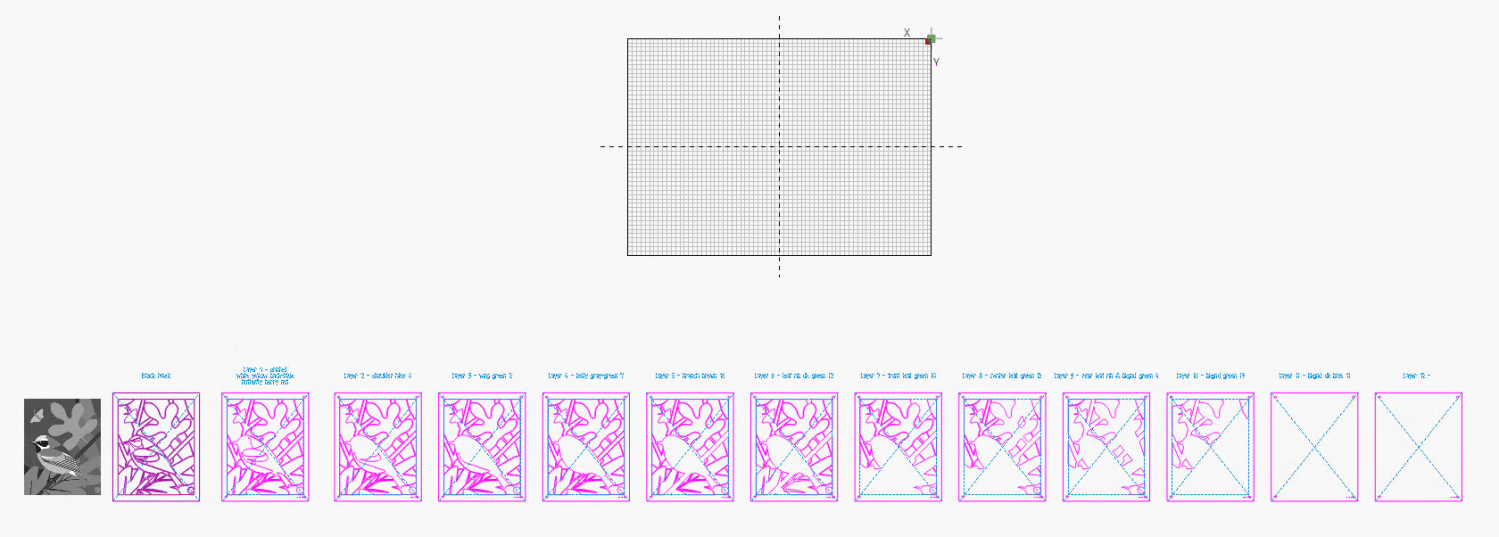
If you’re so inclined, set up their binary layer number holes:

Then:
- Select the finished shapes in one layer
- Duplicate them (
Ctrl-D) - Use the
Numeric Editstoolbar to subtract 240 mm from their current location - Which causes them to appear exactly centered in the next template to the right without any drag-n-drop action
Because my CO₂ laser has a Ruida controller and homes in the rear-right corner:
- X coordinates increase to the left
- Y coordinates increase to the front
You can get used to anything if you do it enough and your coordinates will likely be different.
Protip: Adding a description of each layer’s contents / color will be of great assistance when you select the paper.
The end result of all that will be a set of sheet layouts ready to cut:
- Select one entire sheet template + bird shapes
- Duplicate it with
Ctrl-D - Center the dupe on the LightBurn workspace with
P(notCtrl-P, which will send it to your printer)
The next piece of the puzzle: correctly aligning a Letter piece of paper with those shapes …


Spam comments get trashed, so don’t bother; you’re not as clever as you think. Comment moderation may cause a delay.