The cart in Mary’s Vassar Farm plot returned in need of repair:
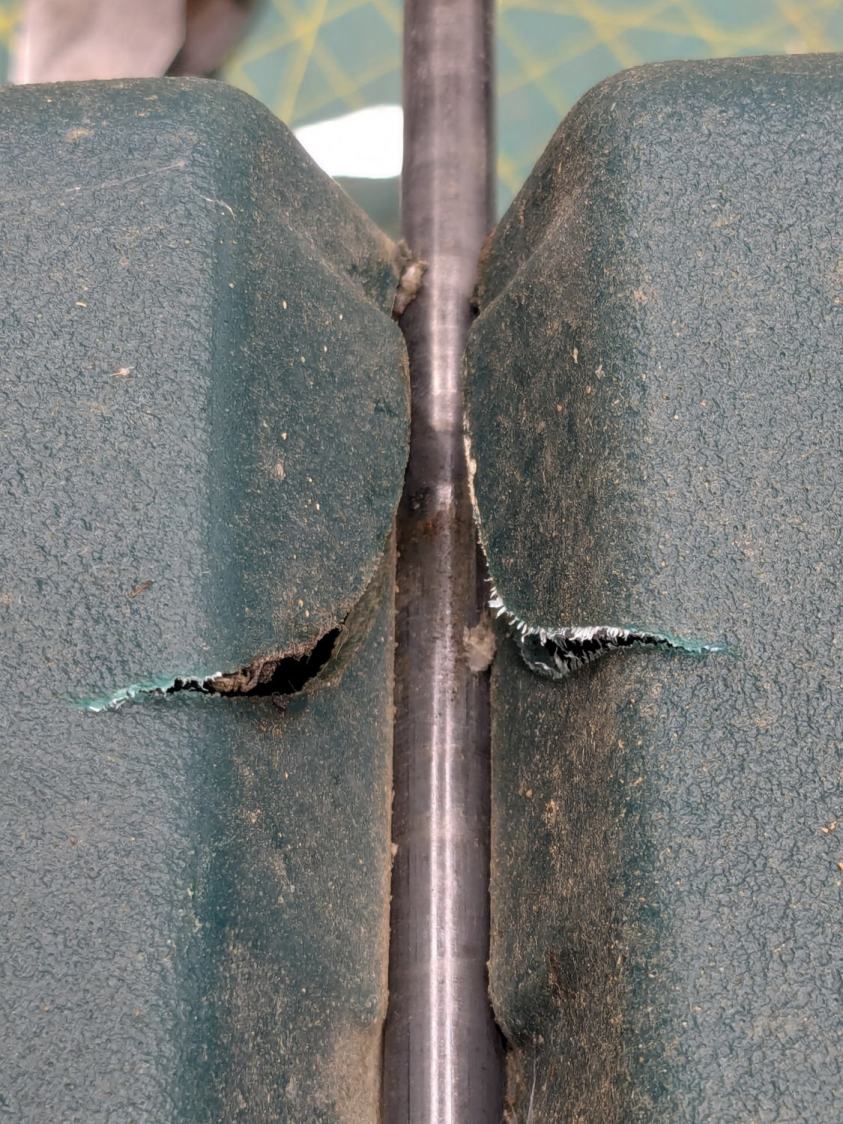
Those fractures near the end of the axle let the axle erode the side wall:
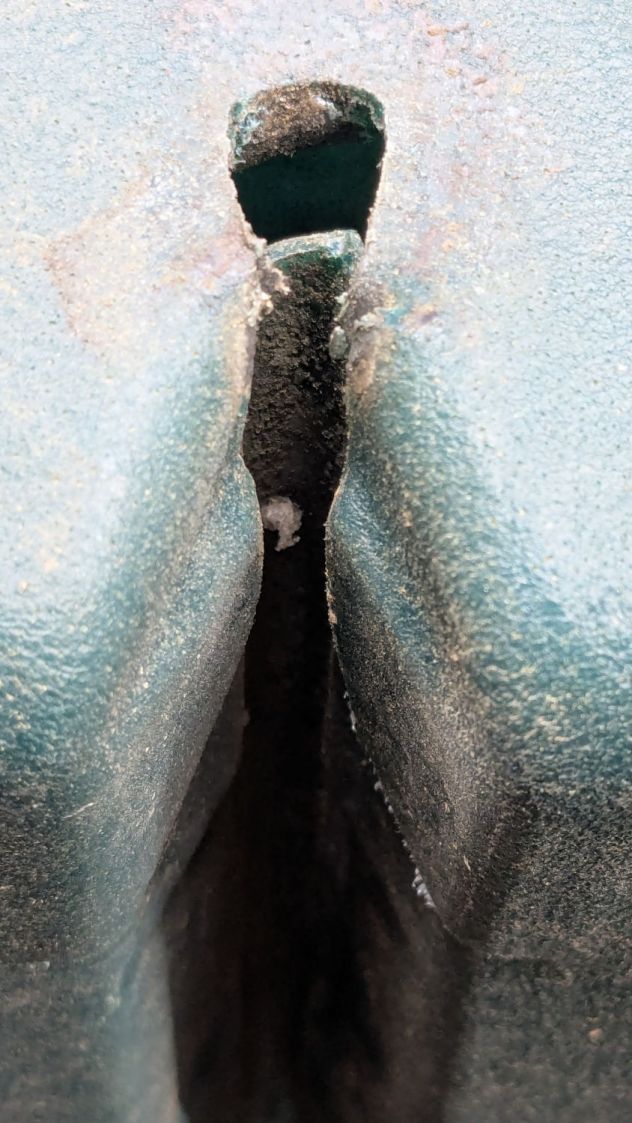
This will obviously require some sort of reinforcement on the body holding the axle, but the first challenge involved getting the wheels off the axle:
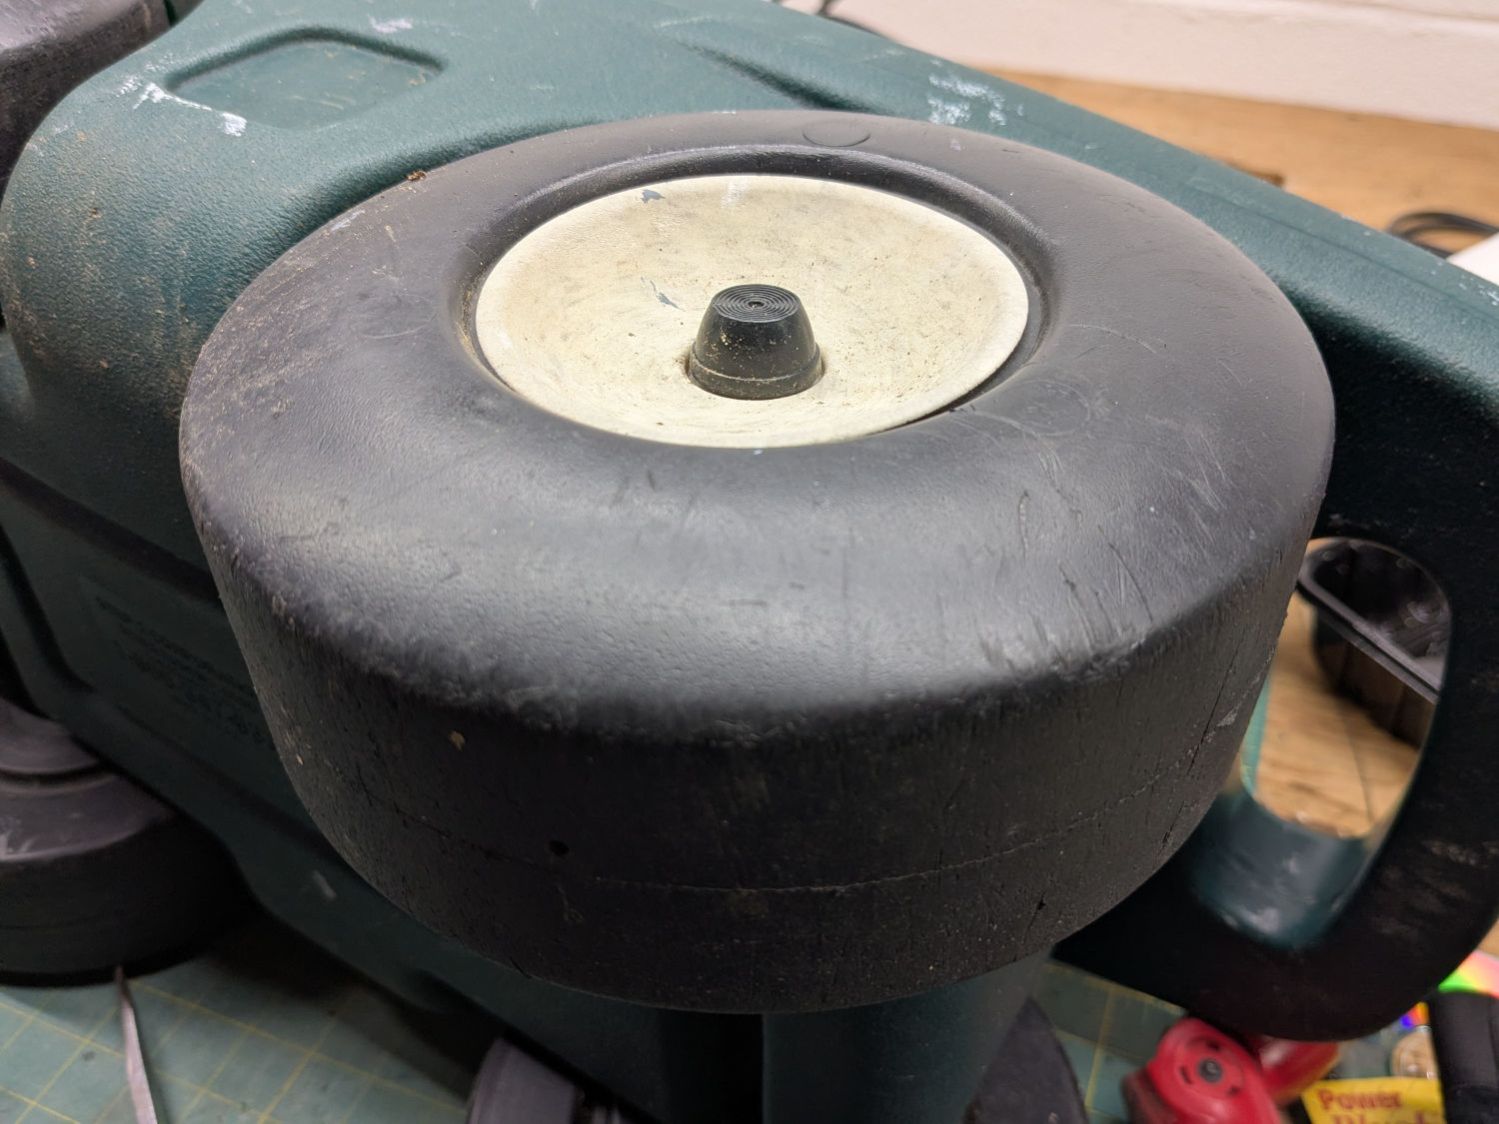
Some brute force revealed the hub covers snapped over an install-only locking fastener:
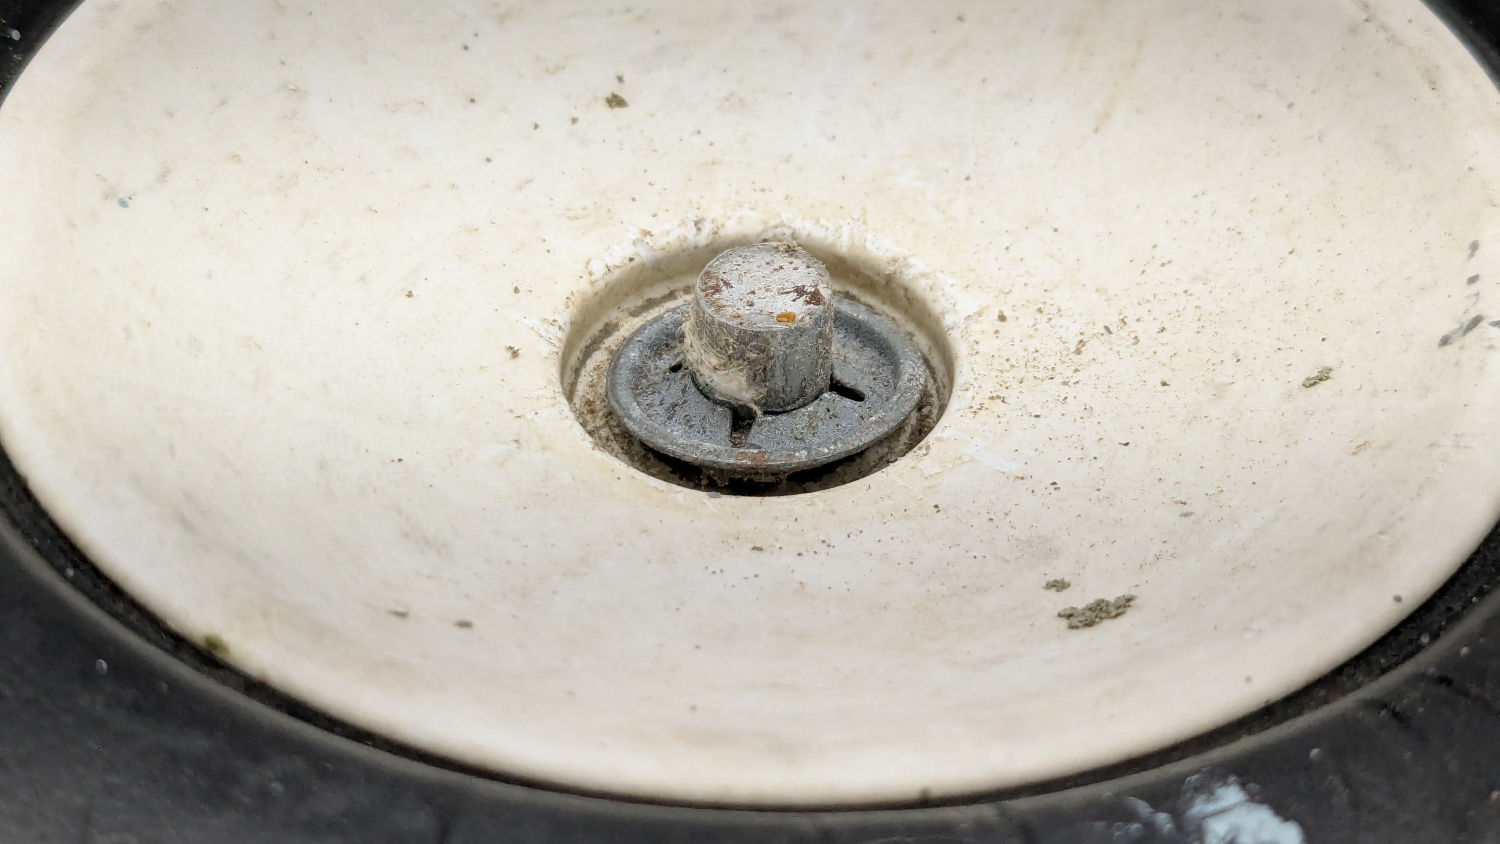
More brute force cut those fasteners (a.k.a. star-lock washers) to get the wheels off the axles.
While contemplating the situation, a box of 606 bearings (as used in the PolyDryer auto-rewind spindles) failed to scamper out of the way and produced a victim fitting perfectly on the 8 mm axle:

I regard such happenstance as a message from the Universe showing I’m on the right track. The alert reader will note the axle should not rotate, but does sport scars showing it’s done some turning in the recent past, so the bearing may not be a completely Bad Idea™.
Finding a Lexan snippet exactly as thick as the bearing suggested bolting a plate across the side of the body to support the bearing, like this:
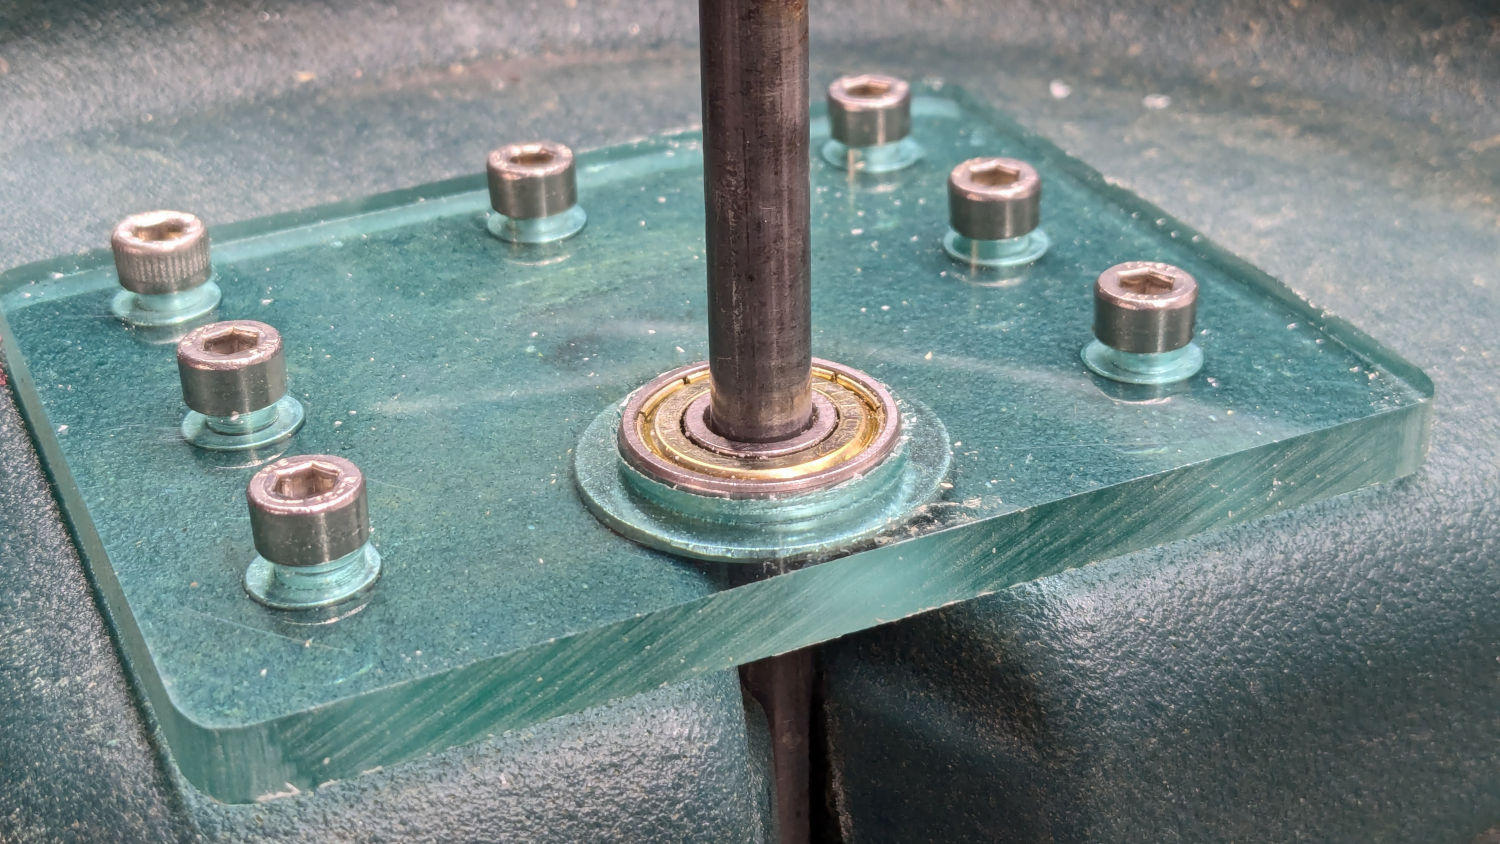
Some layout work in LightBurn produced a template to mark the body for hand-drilling the holes:
In retrospect, that was a mistake. I should have:
- Laser-cut an MDF sheet to make a drill jig
- Drilled one hole and inserted a screw
- Drilled the rest of the holes in exactly the right places
Instead, three of the holes in that nice Lexan sheet ended up slightly egg-shaped to adjust for mis-drilled holes in the body.
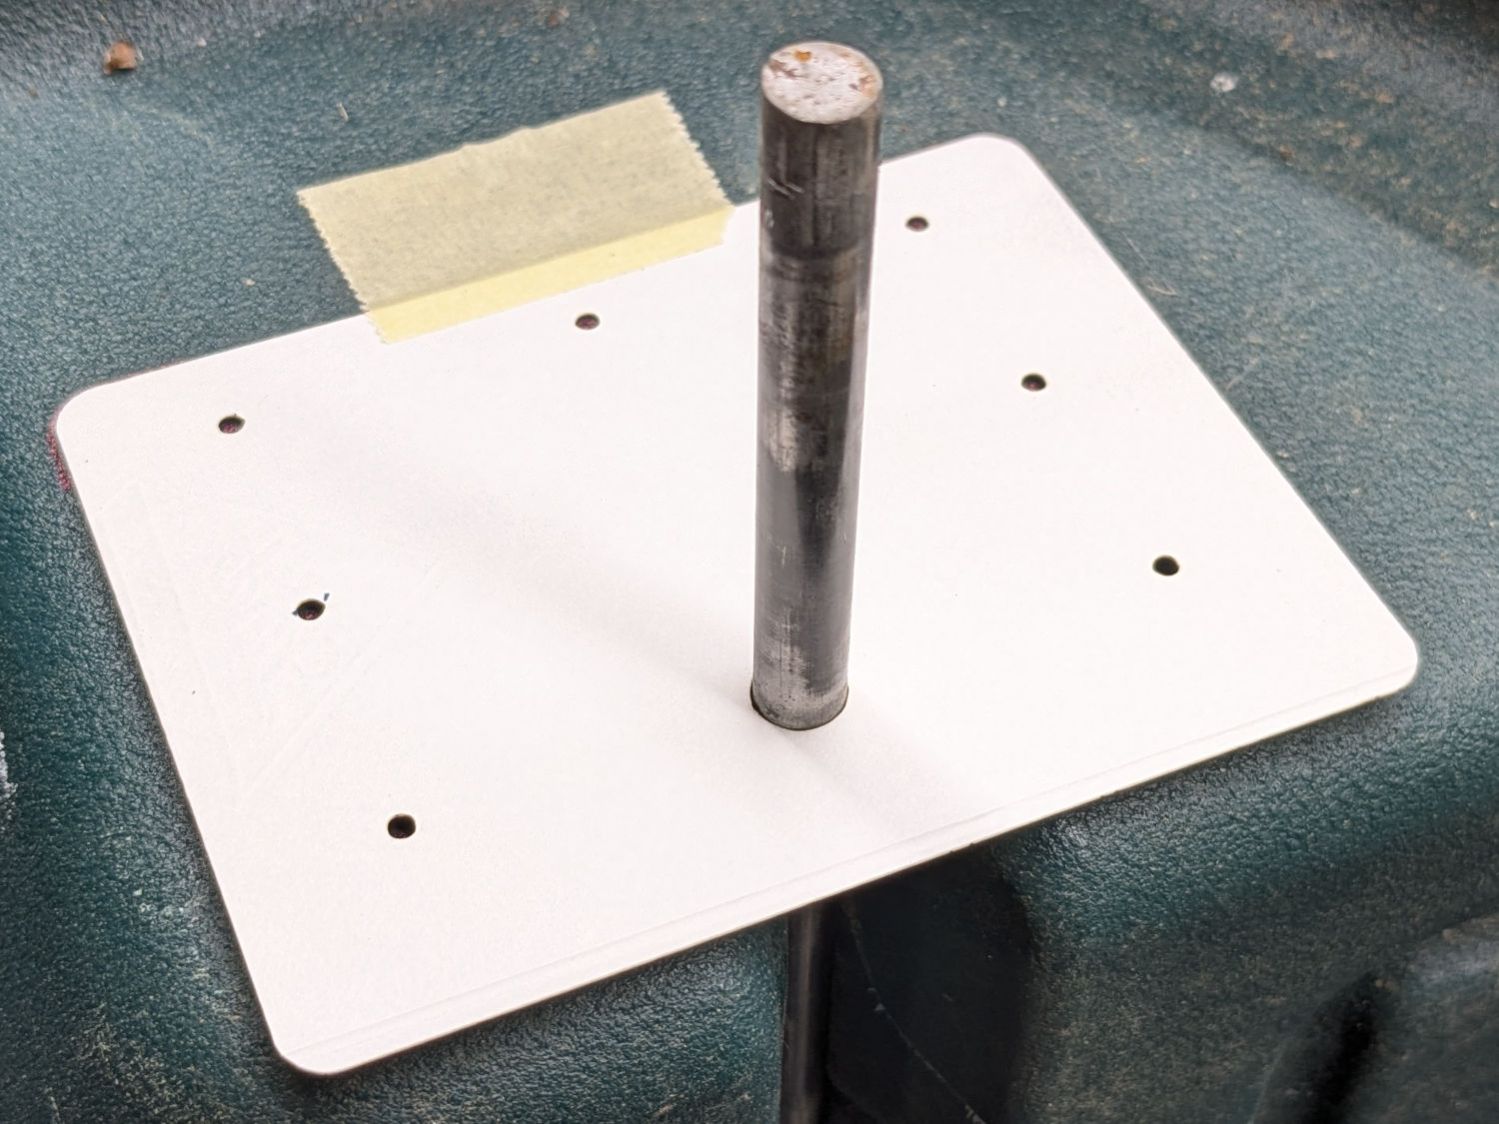
Lexan does not laser-cut well at all, so that sheet was drilled to suit after using the template to mark the holes:
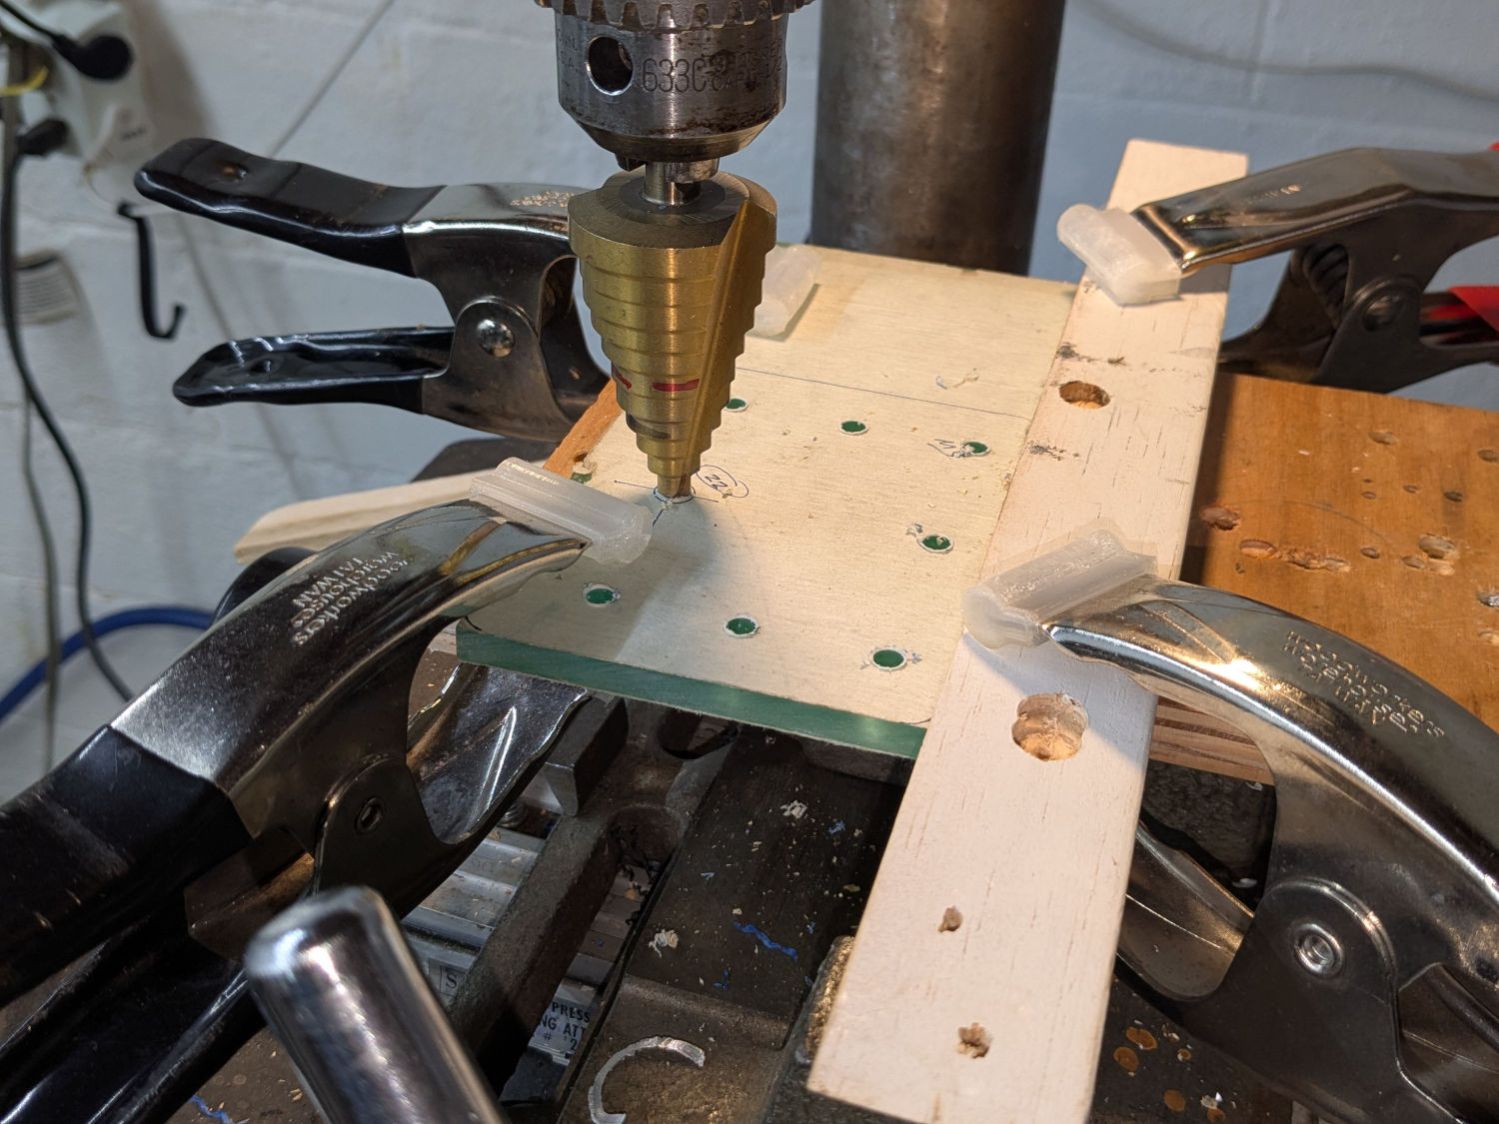
Then it got bandsawed / belt-sanded into shape.
I squeezed 5 mm rivnuts into whatever fiber-reinforced plastic they used for the body, which worked better than I expected. They’re intended for sheet metal, so I set the tool for 5 mm compression and they seem secure. I hope using plenty of screws across a large plate will diffuse the stress on each screw.
Then I threaded the axles and used acorn nuts:
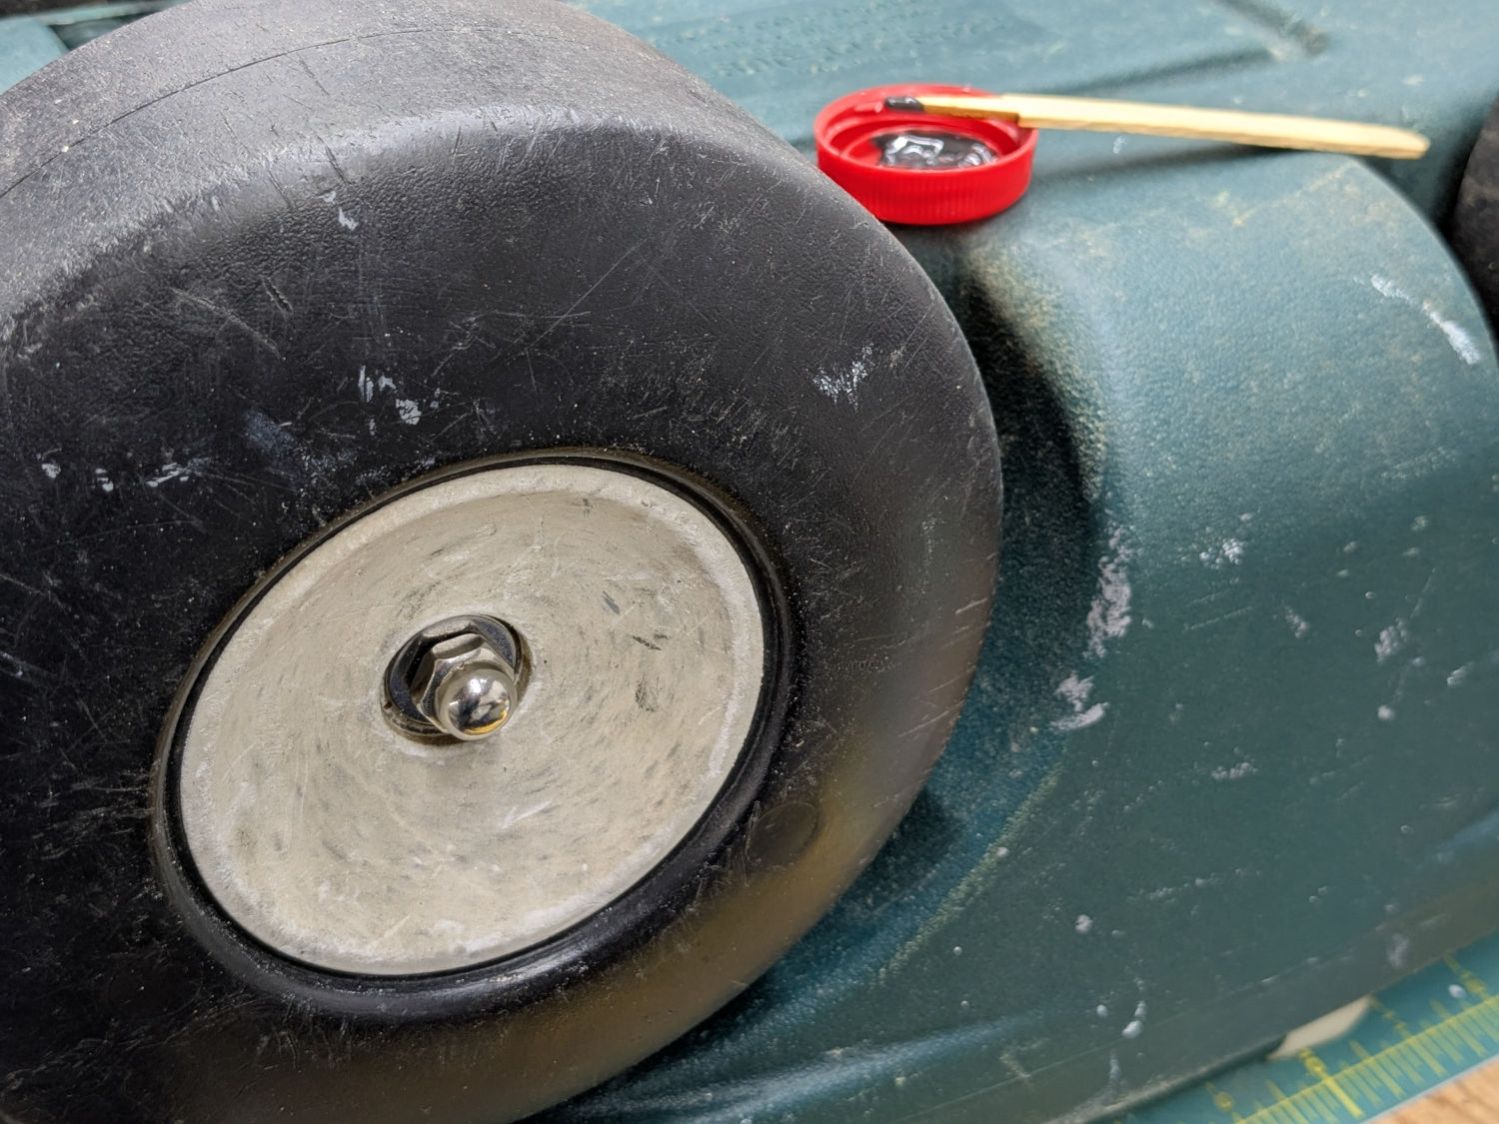
In this situation, I regard JB KwikWeld epoxy as “removable with some effort”, as opposed to the destruction required with those star-lock washers. High-strength Locktite might also be suitable, but I do not anticipate ever having to remove these again for any reason and do not want the nuts to fall off in the garden.
The re-replaced seat conjured from a cafeteria tray continues to work fine, as do its 3D printed hinges.
It’ll reside in the shed until Spring rolls around …

Spam comments get trashed, so don’t bother. Comment moderation may cause a delay.