The running lights have the same general structure as before and fit into the same front and rear holders:
I made the recess slightly deeper to provide a bit more protection to the lens:
The lenses have a 10° beam angle, so a few more millimeters of sidewall doesn’t intercept much light.
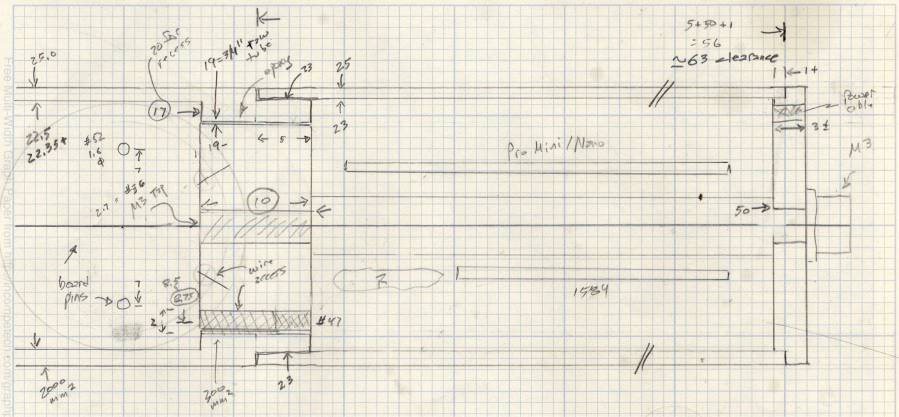
The layout doodle grew a few more notes:
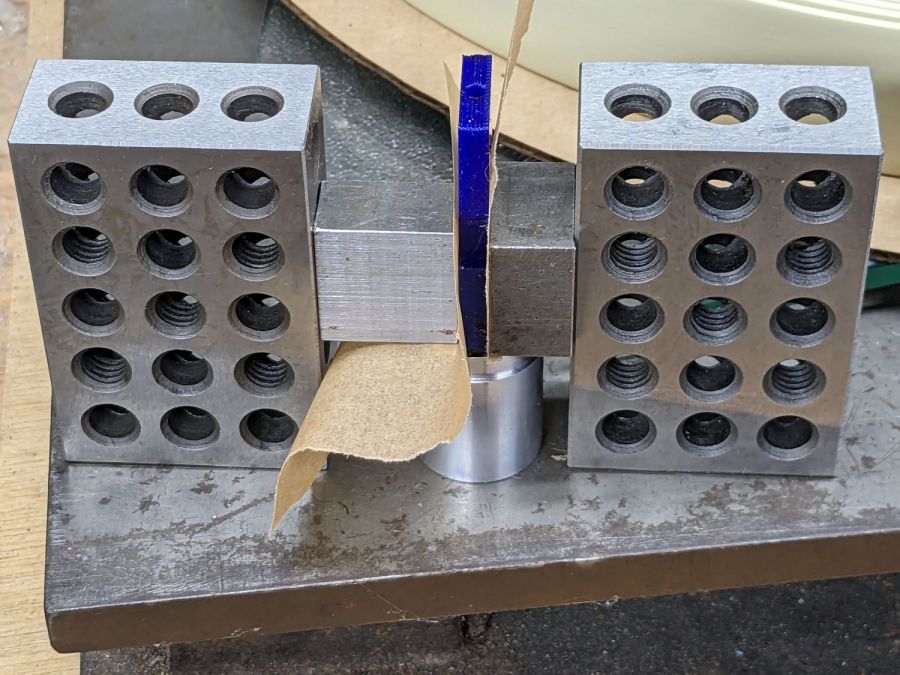
I had the good idea of boring the tube, knurling the rod, then epoxying the two together before cutting the rod:
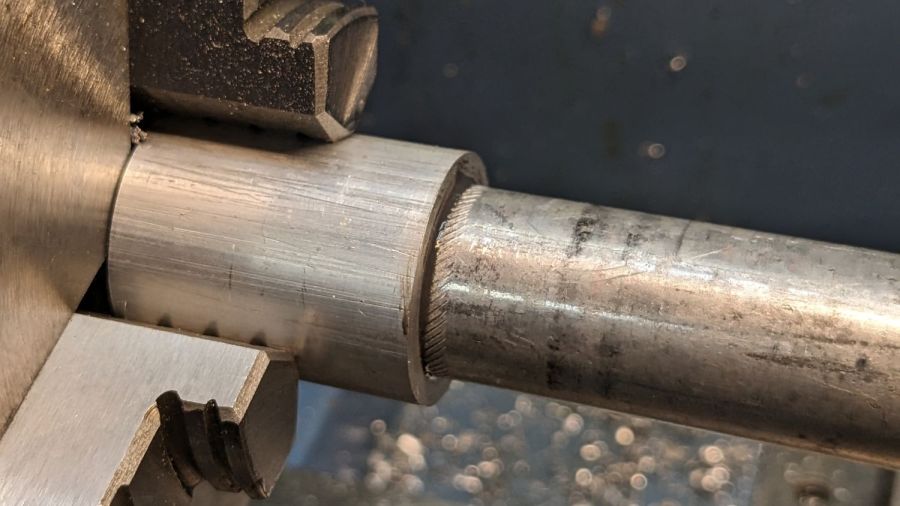
Which let the lathe hold them in perfect alignment during curing:
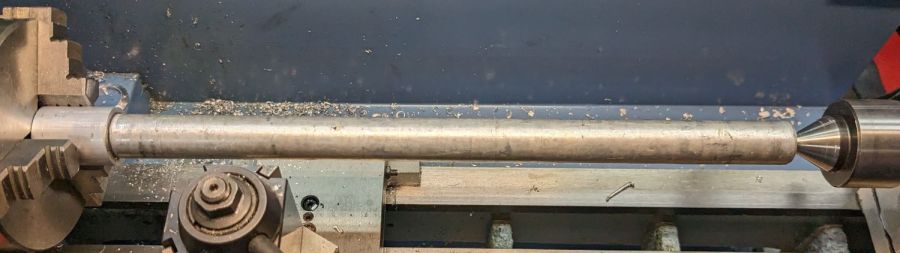
The rod fits through the lathe spindle and I intended to use it as an arbor while turning the tube exterior, then cut the finished heatsink off flush.
Which really good idea lasted until the next morning, when I looked at the setup and immediately cut the rod flush with the tube. Because reasons, perhaps excess blood in my caffeine stream.
So I had to finish the heatsink on hard mode right up against the chuck:
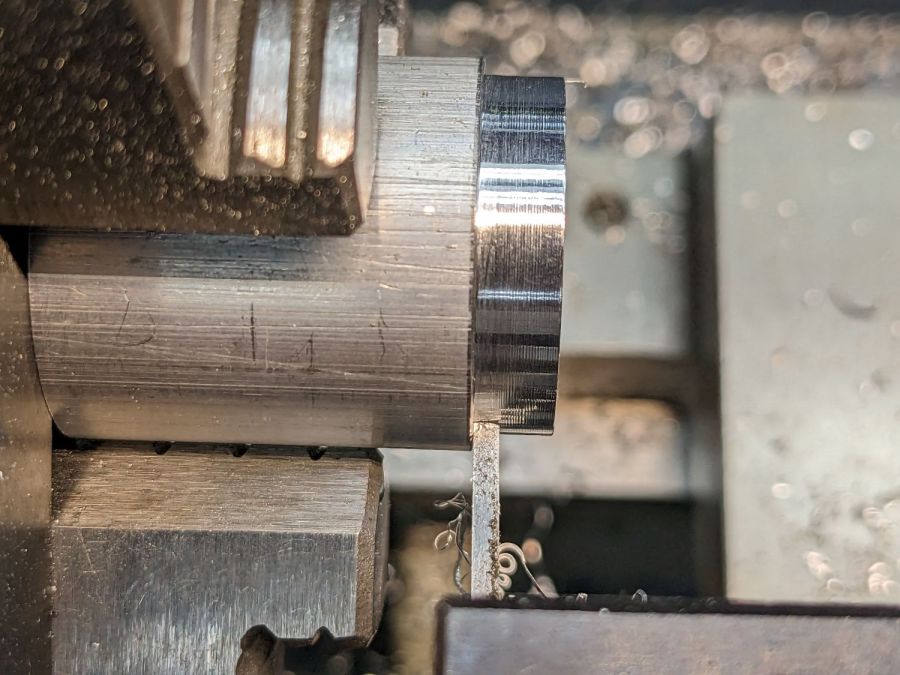
Flipping it around and gripping that little rebate to skim the OD down to 25 mm seemed fraught with peril, so I stabilized the open end with a chuck and plenty of oil; the live center was just too big around for the job.
Dang, I hate it when I screw up a nice plan.
Then drill various holes on the Sherline and epoxy the circuit support plate:
After boring the PVC pipe to 23 mm ID, I made a pair of Delrin fixtures to simplify turning the exterior to 25 mm before parting it off:
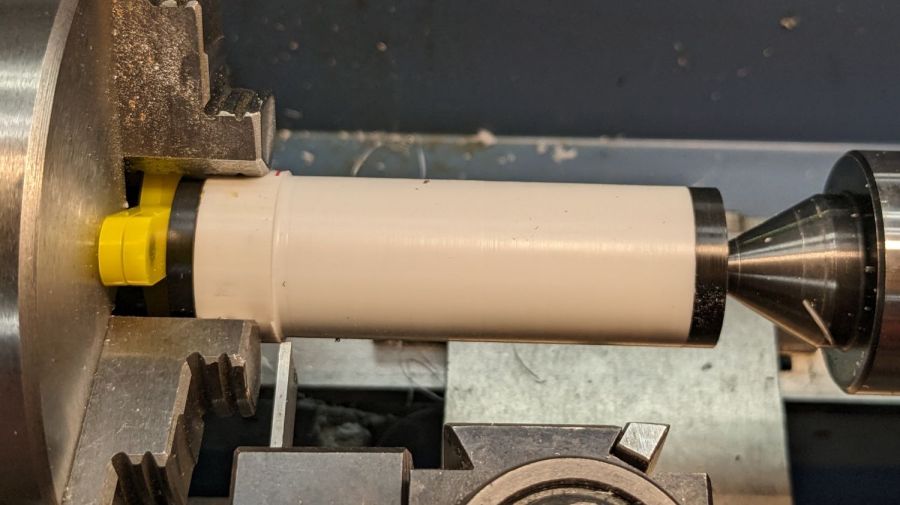
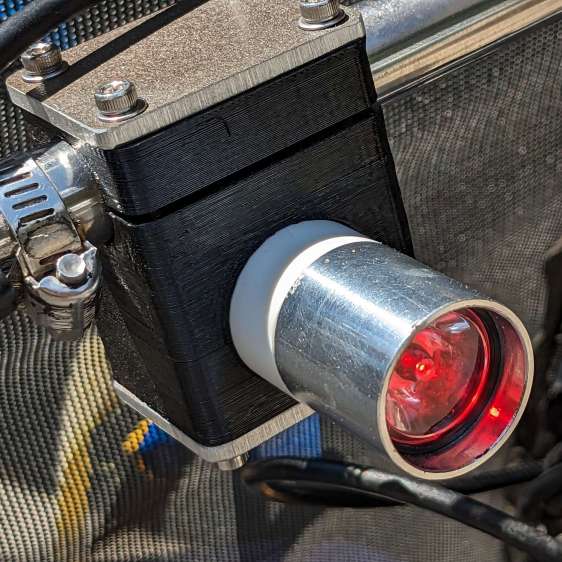
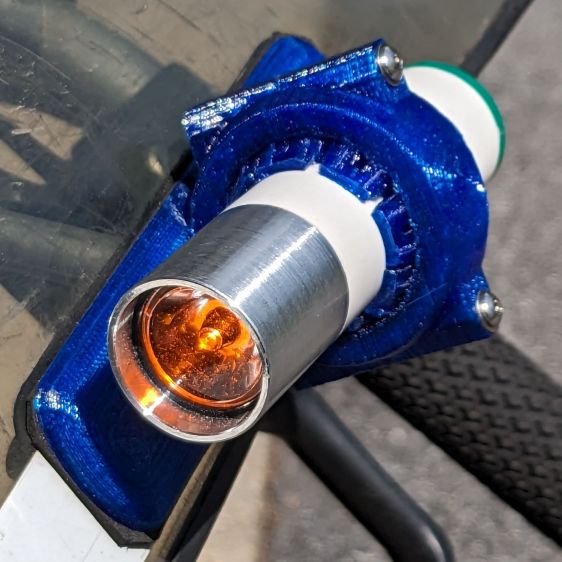
The PVC is so thin the Arduino’s LEDs shine right through:
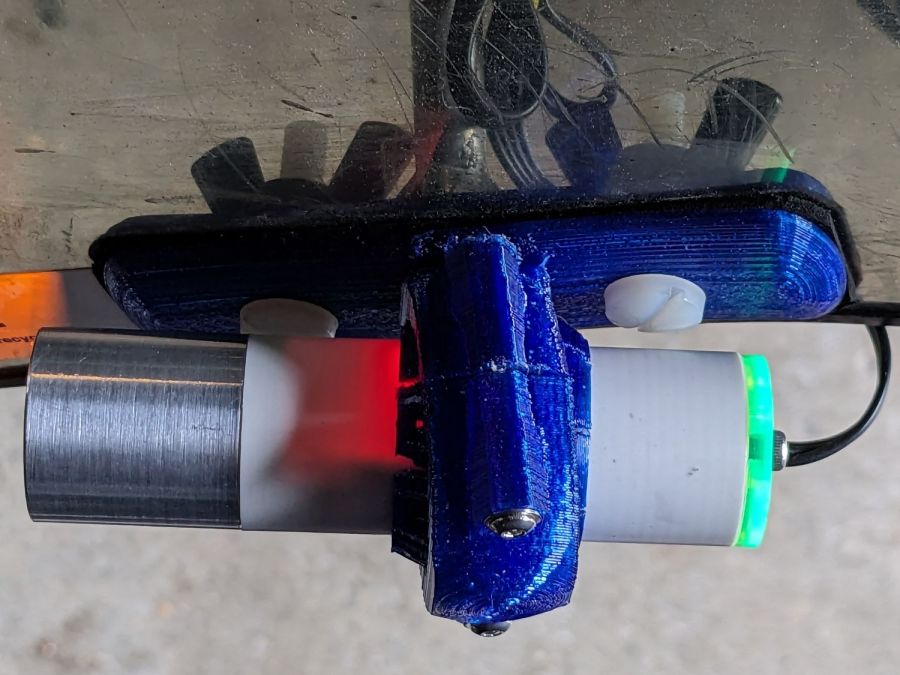
The radioactive green endcap is ordinary laser-cut fluorescent edge-lit acrylic with sunlight through the garage door on the left. I used red acrylic for the taillight to encourage their separate identities.
The knockoff Arduino Nano fits on one side of the support plate:
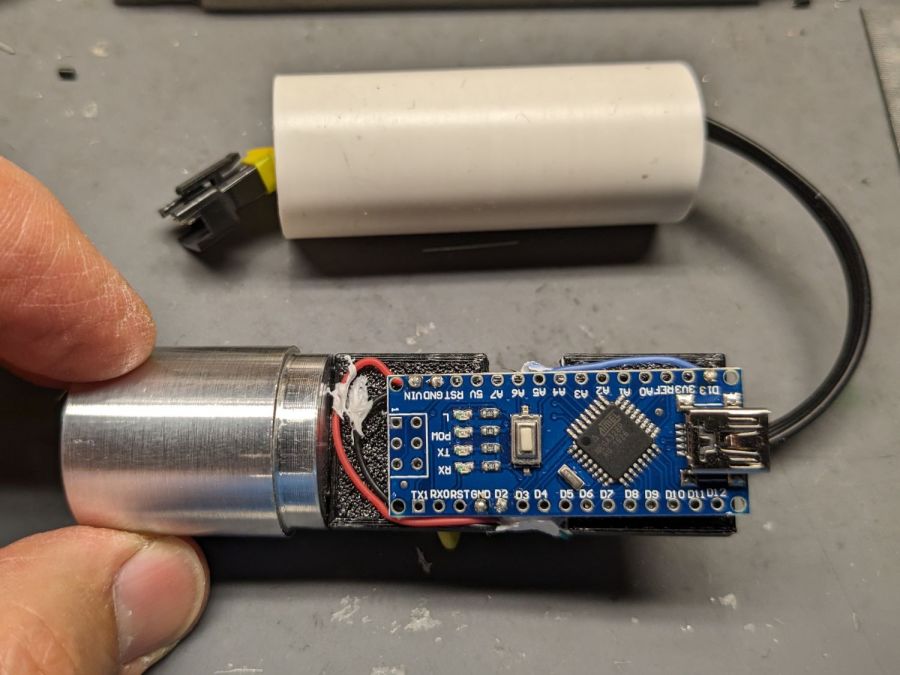
And the current regulator on the other:
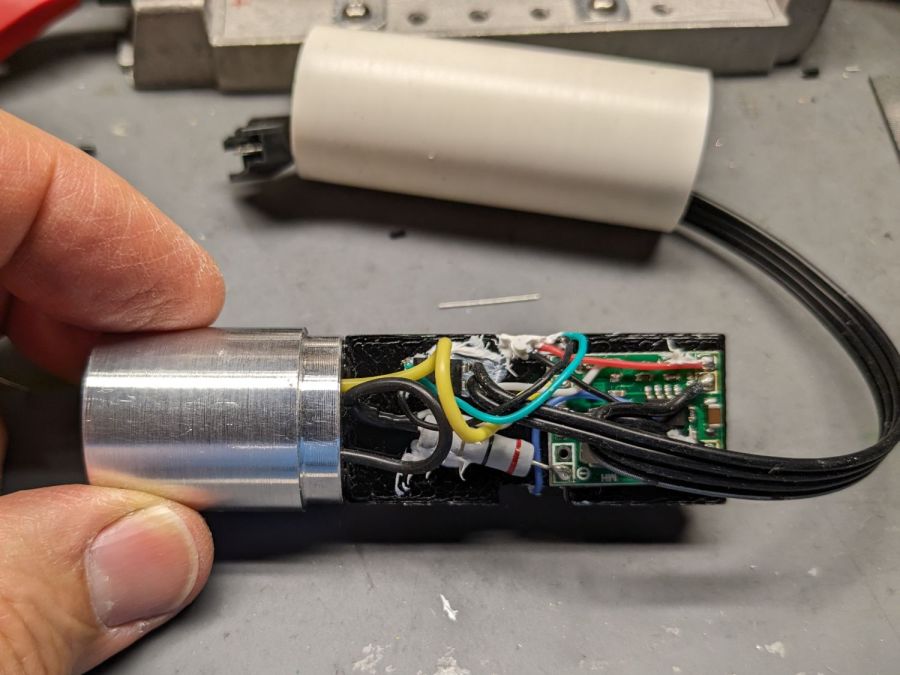
Because these run from a dedicated 6.3 V step-down regulator, rather than the Bafang controller’s headlight output, the 2.0 Ω sense resistor sets the LED current to 0.8 V / 2.0 Ω = 400 mA, which is pretty close to the LED 1 W spec.
The white blob at the end of the two ribbon cable wires is the optoisolator pulling down a pin when the LIGHT signal is active, telling the firmware to stop the normal blink pattern and just turn the LED on all the time. This will come in handy if I ever do any night riding.
The LED is epoxied to the aluminum shell (with metal-filled JB Weld) and the whole affair never gets more than comfortably warm even with the LED running constantly.
I think they came out All Good™, despite various blunders along the way.
