The mailing tube arrived with contents intact, although the USPS inlet scanning didn’t work and the tube pretty much teleported across several states without leaving any tracking data behind. The recipient suggested several modifications to the caps:
Review of user experience of tube end:
The ribs on the endcap are very good at holding the cap on, so much so that I had to use a prying implement to remove it, which cracked the flange.
Would consider less depth on the cap, and possibly another layer on the flange.
Some continuous process improvement (a.k.a OpenSCAD hackage) produced a swoopy threaded cap with thumb-and-finger grips:

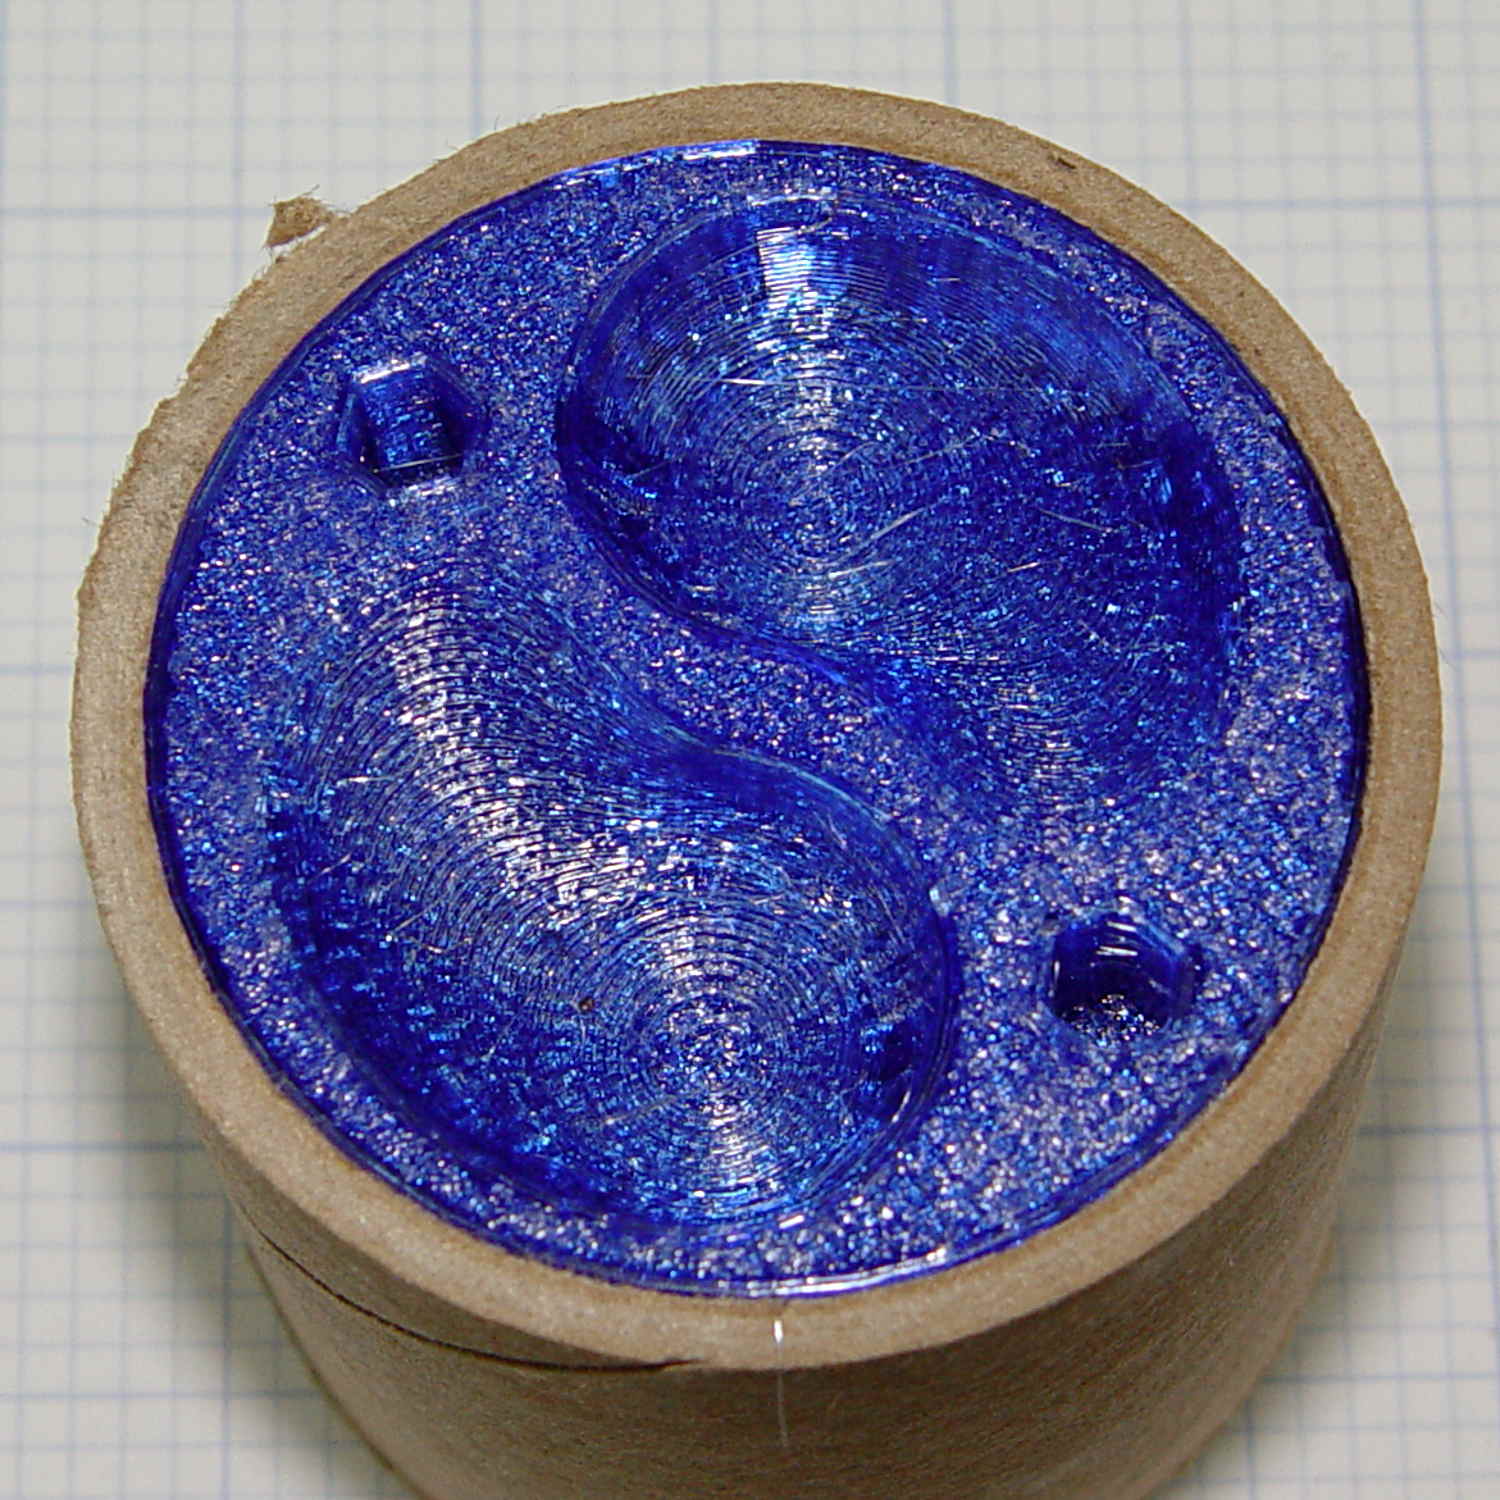
The finger grips are what’s left after stepping a sphere out of the cap while rotating it around the middle:

That worked out surprisingly well, with the deep end providing enough of a vertical-ish surface to push against.
The two hex holes fit a pin wrench, because the grips twist only one way: outward. The wrench eliminates the need for a flange, as you can now adjust the cap insertion before slathering packing tape over the ends. Man, I loves me some good late binding action!
A three-start thread seemed like overkill, but was quick & easy. The “thread form” consists of square rods sunk into the cap perimeter, with one edge sticking out:
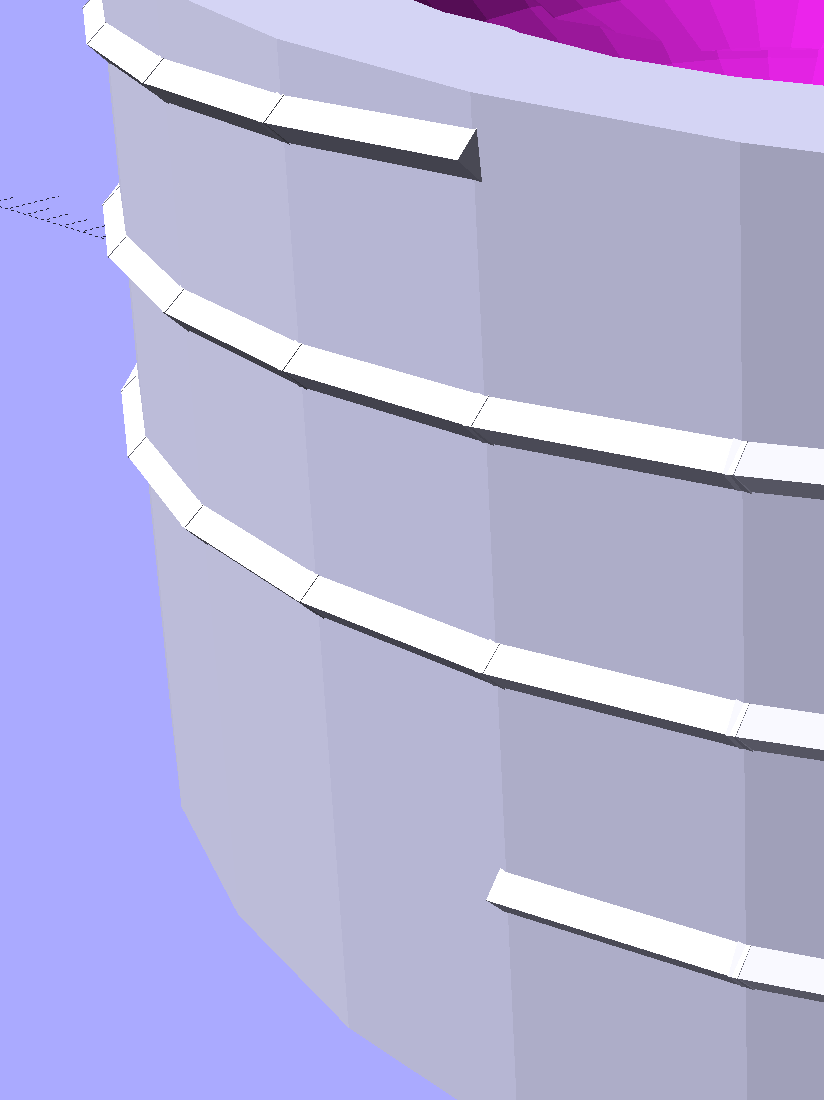
They’re 1.05 times longer than the cap perimeter facets to make their ends overlap, although they’re not tapered like the ones in the broom handle dingus, because it didn’t (seem to) make any difference to the model’s manifoldhood.
Not needing any endcaps right now, I built one for show-n-tell:
The OpenSCAD source code as a GitHub Gist:
| // Mailing tube end cap | |
| // Ed Nisley KE4ZNU – June 2017 | |
| Layout = "Build"; | |
| Model = "Screw"; | |
| //- Extrusion parameters – must match reality! | |
| ThreadThick = 0.25; | |
| ThreadWidth = 0.40; | |
| function IntegerMultiple(Size,Unit) = Unit * ceil(Size / Unit); | |
| Protrusion = 0.1; | |
| HoleWindage = 0.2; | |
| //- Screw sizes | |
| inch = 25.4; | |
| TubeID = 2 * inch; | |
| TubeWall = 0.1 * inch; | |
| CapInsert = 15.0; | |
| CapRim = 6*ThreadThick; | |
| CapWall = 3*ThreadWidth; | |
| NumFlanges = 3; | |
| FlangeHeight = 3*ThreadThick; | |
| FlangeWidth = ThreadWidth/2; | |
| FlangeSpace = CapInsert / (NumFlanges + 1); | |
| ThumbHoleOD = 20.0; | |
| ThumbHoleAngle = 100; | |
| ThumbHoleSteps = 10; | |
| SpannerPinOD = 5.0; | |
| HelixOD = 4*ThreadThick; | |
| HelixHeight = 0.75*CapInsert; | |
| HelixAngle = atan(HelixHeight/(PI*TubeID)); | |
| HelixStarts = 3; | |
| OAHeight = CapInsert + CapRim; | |
| NumRibs = 3*4; | |
| NumSides = 3*NumRibs; | |
| //- Adjust hole diameter to make the size come out right | |
| module PolyCyl(Dia,Height,ForceSides=0) { // based on nophead's polyholes | |
| Sides = (ForceSides != 0) ? ForceSides : (ceil(Dia) + 2); | |
| FixDia = Dia / cos(180/Sides); | |
| cylinder(r=(FixDia + HoleWindage)/2,h=Height,$fn=Sides); | |
| } | |
| module ScrewCap() { | |
| union() { | |
| difference() { | |
| cylinder(d=TubeID,h=OAHeight,$fn=NumSides); | |
| for (a=[0,180]) | |
| for (i=[0:ThumbHoleSteps-1]) | |
| rotate(a + i*ThumbHoleAngle/ThumbHoleSteps) | |
| translate([TubeID/4,0,-i*ThumbHoleOD/(2*ThumbHoleSteps)]) | |
| sphere(d=ThumbHoleOD); | |
| for (a=[0,180]) | |
| rotate(a – 60) | |
| translate([0.75*TubeID/2,0,-Protrusion]) | |
| rotate(0*180/6) | |
| PolyCyl(SpannerPinOD,0.75*CapInsert,6); | |
| } | |
| for (s=[0:HelixStarts-1]) | |
| for (i=[0:NumSides-1]) | |
| rotate(i*360/NumSides + 180/NumSides + s*360/HelixStarts) | |
| translate([TubeID/2 – 0.25*HelixOD,0,i*HelixHeight/NumSides + HelixOD]) | |
| rotate([90 + HelixAngle,0,0]) | |
| cylinder(d=HelixOD,h=1.05*PI*TubeID/NumSides,center=true,$fn=4); | |
| } | |
| } | |
| module PushCap() { | |
| difference() { | |
| cylinder(d=TubeID,h=OAHeight,$fn=NumSides); | |
| translate([0,0,CapWall]) | |
| cylinder(d=TubeID – 2*CapWall,h=OAHeight,$fn=NumSides); | |
| } | |
| for (i=[1:NumFlanges]) | |
| translate([0,0,i*FlangeSpace]) | |
| difference() { | |
| cylinder(d=TubeID + 2*FlangeWidth,h=FlangeHeight,$fn=NumSides); | |
| translate([0,0,-Protrusion]) | |
| cylinder(d=TubeID – 2*CapWall,h=FlangeHeight + 2*Protrusion,$fn=NumSides); | |
| } | |
| for (i=[0:NumRibs-1]) | |
| rotate(i*360/NumRibs) | |
| translate([0,-ThreadWidth,CapWall + ThreadThick]) | |
| cube([TubeID/2 – CapWall/2,2*ThreadWidth,CapInsert + CapRim – CapWall – ThreadThick],center=false); | |
| translate([0,0,CapInsert]) { | |
| difference() { | |
| cylinder(d=TubeID + 2*TubeWall,h=CapRim,$fn=NumSides); | |
| translate([0,0,-Protrusion]) | |
| cylinder(d=TubeID – 3*2*CapWall,h=2*CapRim,$fn=NumSides); | |
| } | |
| } | |
| } | |
| //- Build things | |
| if (Model == "Push") | |
| if (Layout == "Show") | |
| PushCap(); | |
| else if (Layout == "Build") | |
| translate([0,0,OAHeight]) | |
| rotate([180,0,0]) | |
| PushCap(); | |
| if (Model == "Screw") | |
| if (Layout == "Show") | |
| ScrewCap(); | |
| else if (Layout == "Build") | |
| translate([0,0,OAHeight]) | |
| rotate([180,0,0]) | |
| ScrewCap(); |

Comments
2 responses to “Mailing Tube End Caps: Screw-in Version”
So, the recipient recommended making the flange thicker, and you responded by eliminating it entirely? I’m guessing your logic consisted of replacing one affordance (that wasn’t sufficiently effective) with another.
Sometimes the customers don’t know what’s good for ’em.
Those finger grips had to be on the top side, so the flange had to go: if you can’t fix it, feature it!