Some hints and examples provided the socat incantation required to sniff serial data between my Superformula demo program (on the Raspberry Pi) and my HP 7475A plotter:
socat /dev/ttyUSB0,raw,echo=0 SYSTEM:'tee /tmp/in.txt | socat - "PTY,link=/tmp/ttyv0,raw,echo=0,wait-slave" | tee /tmp/out.txt'The out.txt file collects data from the program to the plotter, the in.txt file holds data from the plotter to the program, and both files contain exactly and only the serial data, so some interpretation will be required.
With that in hand, tweak the .chiplotle/config.py file to aim Chiplotle at the virtual serial port:
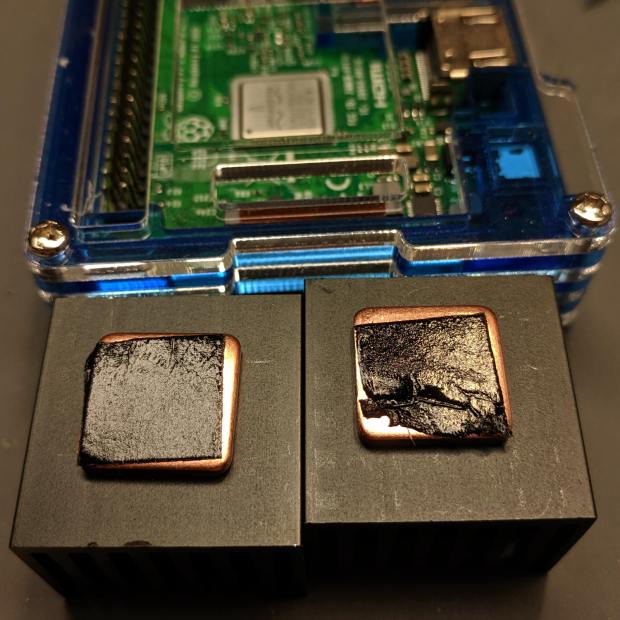
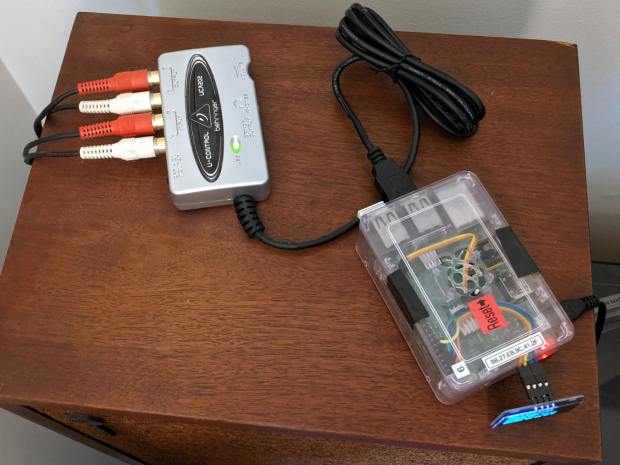
serial_port_to_plotter_map = {'/tmp/ttyv0' : 'HP7475A'}This is dramatically easier than wiring a pair of additional hardware serial ports onto the RS-232 connection between the two:

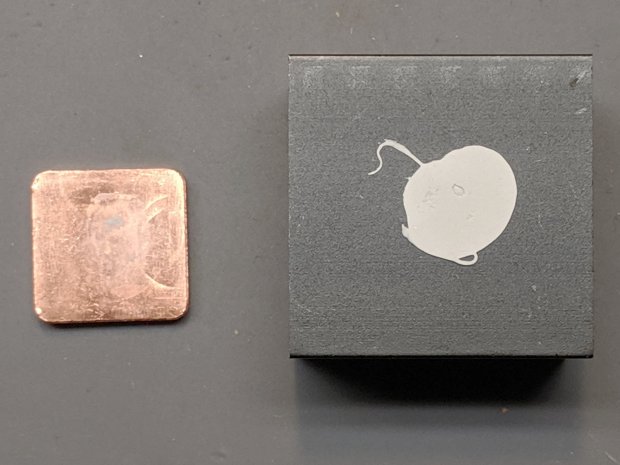
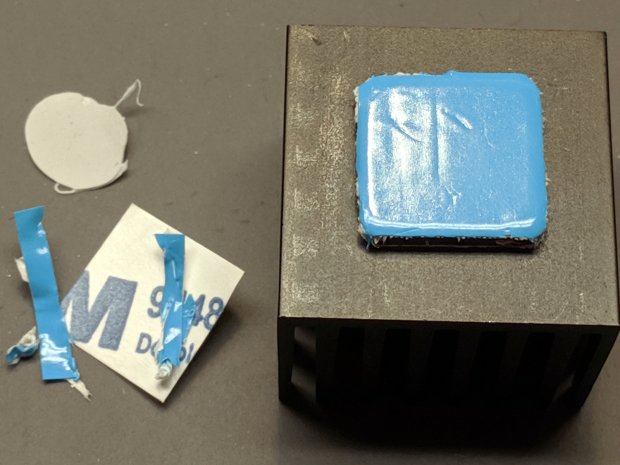
The adapter stack instantly become a custom cable, although I miss Der Blinkenlights.
The HPGL output to the plotter (out.txt) comes from the Chiplotle driver with no embedded linefeed / carriage return characters, as HPGL uses semicolon command terminators, making it one humongous line impervious to the usual text utilities. In addition, several plotter configuration commands have prefix ESC (0x1b) characters without semicolon separators. Each LB (label) command within the stream ends with a 0x03 ETX character.
While one could fix all those gotchas with a sufficiently complex sed script, I manually separated the few lines I needed after each semicolon, then converted the raw ASCII control characters to displayable Unicode glyphs (␛ and ␃), making it legible for a presentation:
head -c 1000 out.txt
␛.B
␛.(;
IN;
OW;OW;OW;OW;
␛.H200:;
SC;
OW;OW;OW;OW;
IP0,0,16640,10365;
OW;OW;
SC-8320,8320,-5182,5182;
SI0.13,0.17;
VS8;
PA5320,-4282;
SP1;
PA5320,-4282;
LBStarted 2020-01-09 18:03:57.494617␃;
SP1;
PA5320,-4382;
LBPen 1: ␃;
SP1;
LBm=1.9 n1=0.71 n2=n3=0.26␃;
SP1;
PU;
PA8320.00,0.00;
PD;
PA8320.00,0.00,
6283.71,24.59,
5980.63,46.81,
5789.79,67.98,
5648.37,88.44,
5535.22,108.34,
5440.50,127.81,
5358.77,146.89,
<<< snippage >>>
The corresponding responses from the plotter to the program (in.txt) are separated by carriage return characters (␍) with no linefeeds (␊), so the entire file piles up at the terminal’s left margin when displayed with the usual text tools. Again, manually splitting the output at the end of each line produces something useful:
1024
0,0,16640,10365
0,0,16640,10365
0,0,16640,10365
0,0,16640,10365
0,0,16640,10365
0,0,16640,10365
0,0,16640,10365
0,0,16640,10365
0,0,16640,10365
0,0,16640,10365
26
18
18
<<< snippage >>>
The first number gives the size of the serial FIFO buffer. An inexplicable ten OW; commands from deep in the Chiplotle driver code return the Output Window size in plotter units. No other commands produce any output until the plot finishes, whereupon my code waits for a digitized point from the plotter, with the (decimal) 18 indicating a point isn’t ready.
All that at 9600 bits per second …