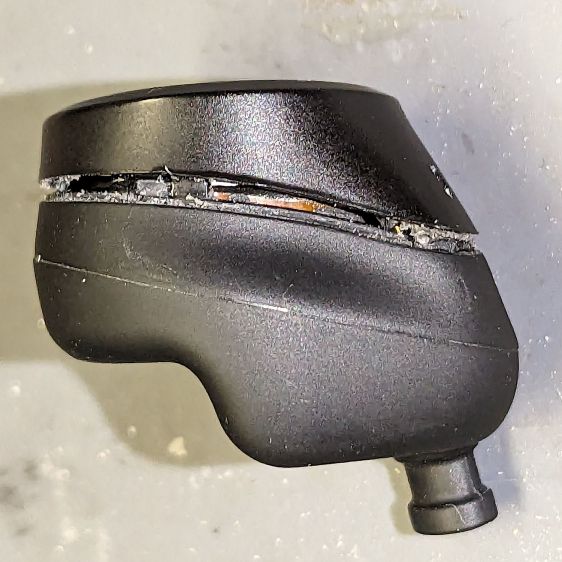
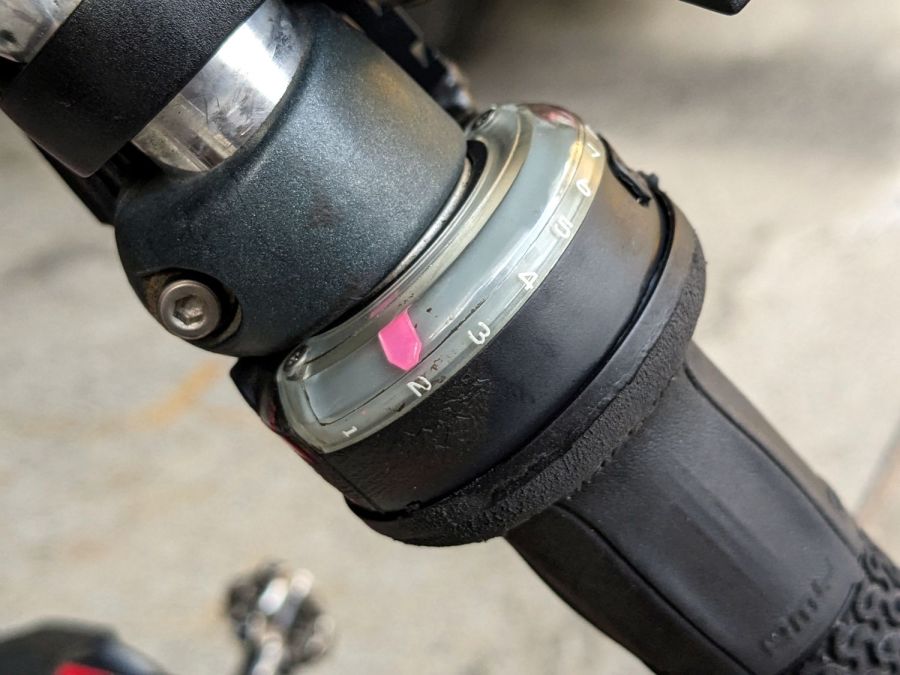
My SJCam M50 Trail Camera has had its share of problems, including water making it past the seals to corrode some connections:
I thought cleaning that mess up would solve an intermittent power problem, but the camera continued to fail immediately after being deployed and finally refused to work at all.
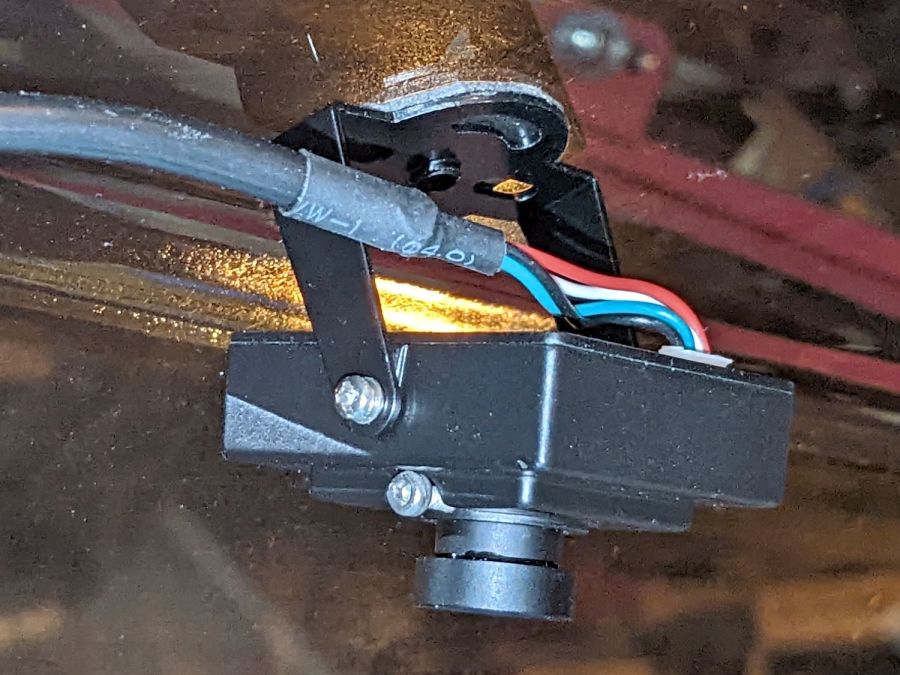
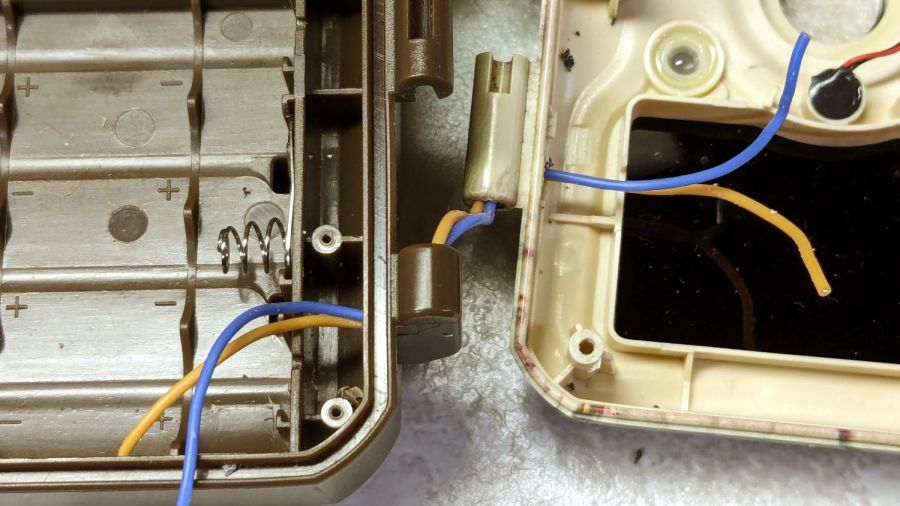
The camera case has eight (!) AA cells in one half connected to the electronics in the other half by a pair of wires that pass through the hinge between the halves:
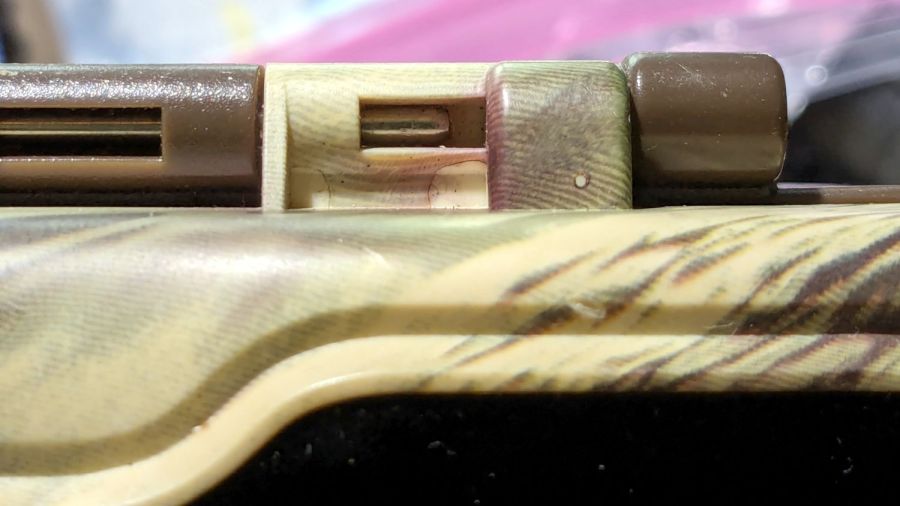
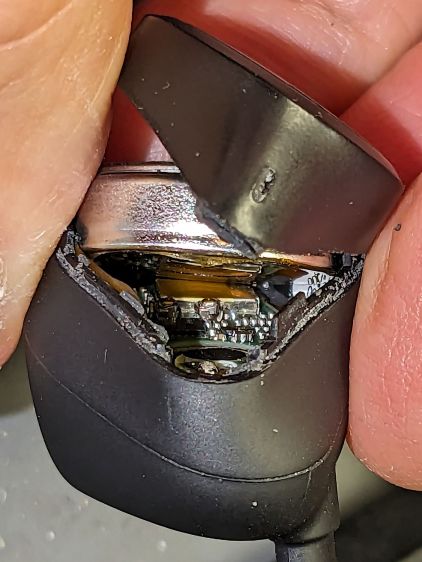
The steel rod is the hinge pivot, with the battery half wearing brown and the electronics half in lighter plastic. As you’ll see in a bit, the rod is fixed in the electronics half and the battery half pivots around it.
The two short case sections on the right contain the two wires carrying the 6 V battery power. Some gentle manipulation suggested the fault lay inside those hinge sections, which meant I had to figure out how to get them apart.
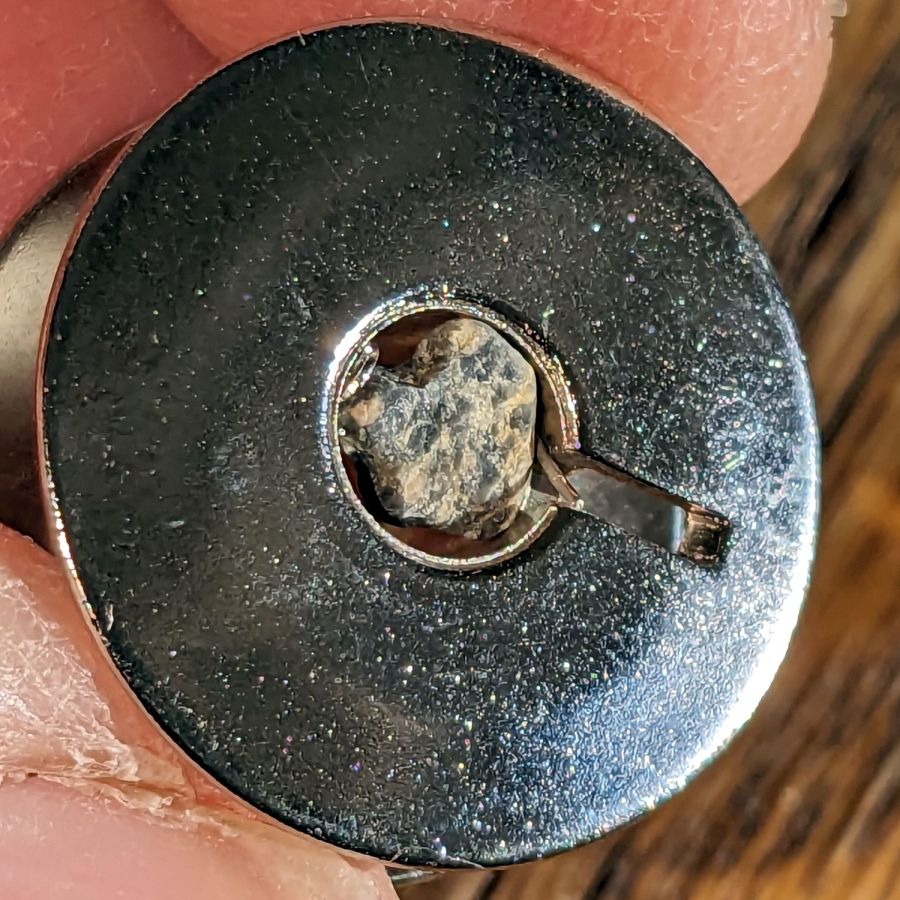
The other end of the steel rod has a knurled section jammed firmly into the electronics half, but I managed to carve away just enough plastic to expose just enough of the knurl to get just enough of a grip (yes, with a pair of genuine Vise-Grip 10WR Locking Pliers, accept no substitutes) to yoink the rod out:

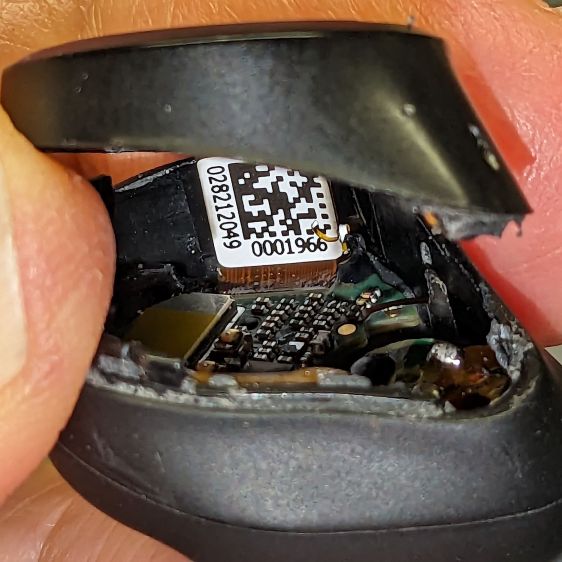
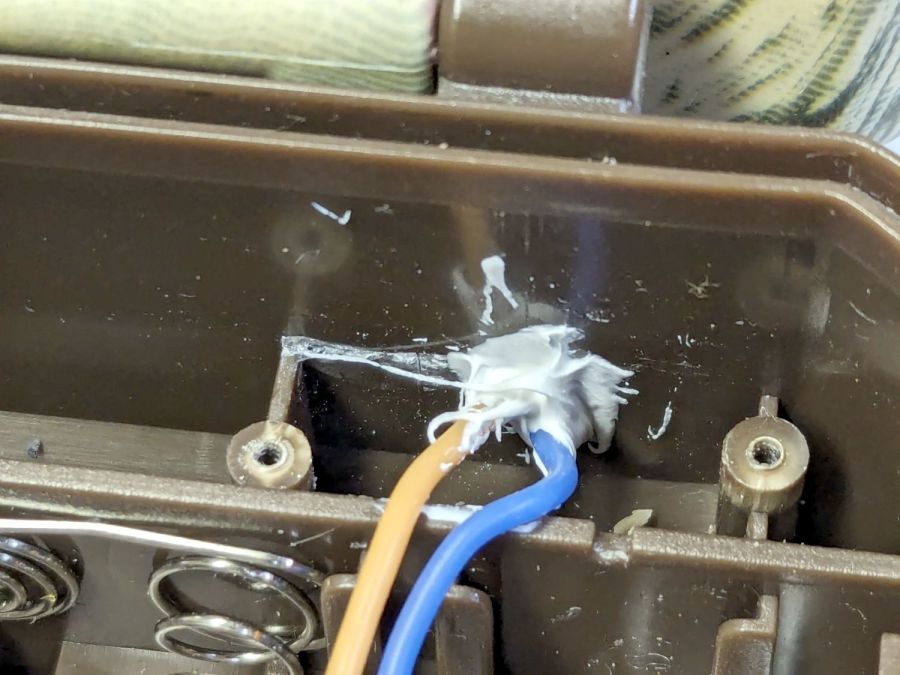
With the hinge released, the problem became immediately obvious:
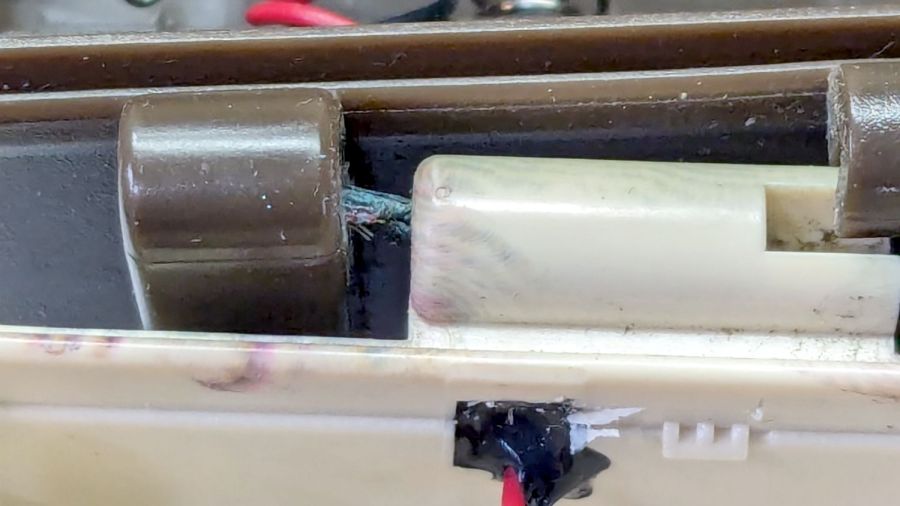
Yes, those are wire strands poking out of the hole in the left hinge section.
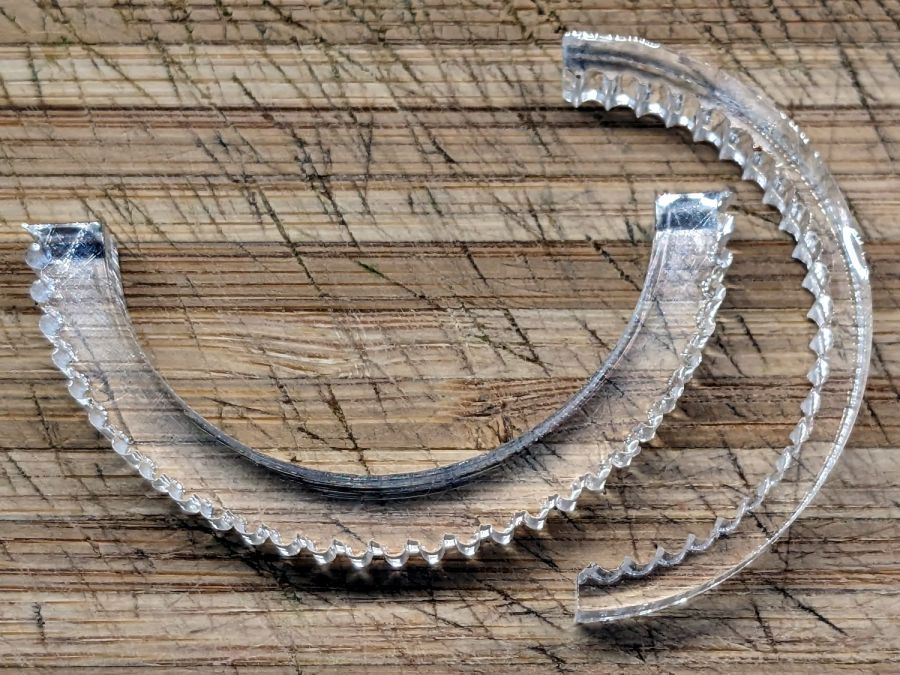
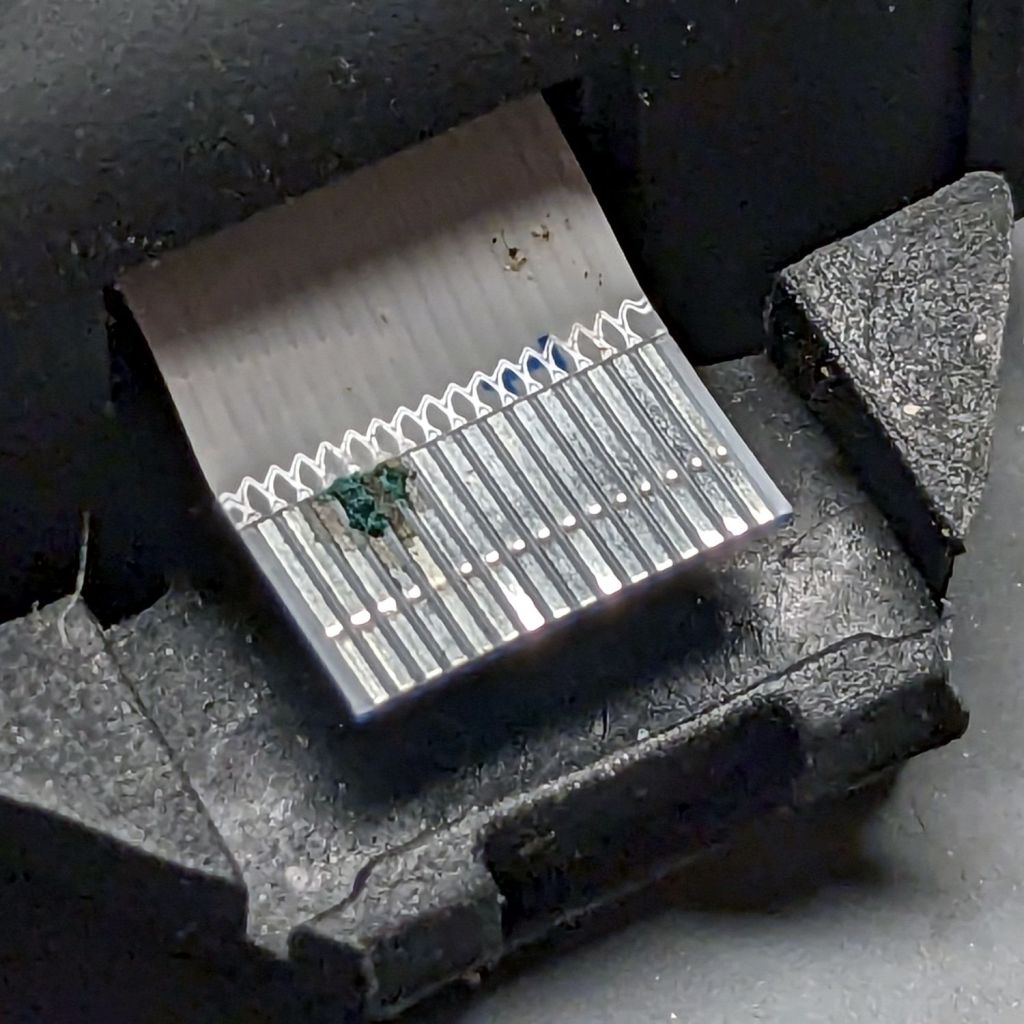
A tedious needle-nose tweezer session extracted the remains of the wires from the hinge and cleaned out the adhesive:

Although those two hinge sections are hollow with plenty of room for the wire, it seems the assembler squirted adhesive into both sections to glue the wires in place. As a result, every time I opened the case to charge the batteries, maybe two millimeters of wire twisted 180° degrees. The wonder is that it lasted as long as it did.
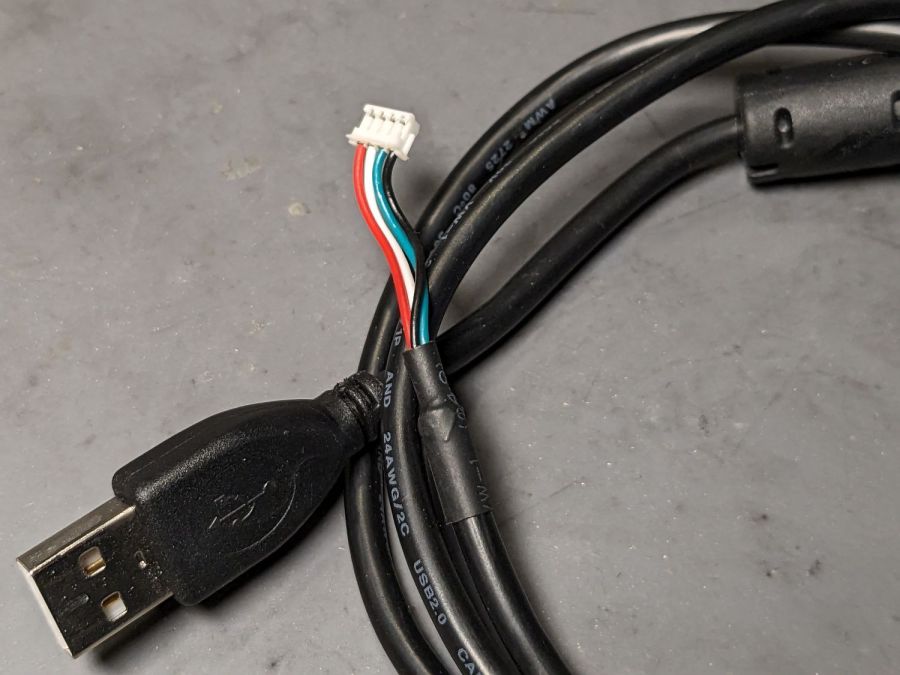
I snaked a pair of 20 AWG silicone-insulated wires through the hinge sections:
The OEM wires had PVC insulation, which is a terrible choice for wires that will undergo lots of flexing, but that’s what SJCam used.
Two untidy blobs of acrylic caulk do at least as good a job of sealing the case openings as the black gunk visible in the earlier pictures:
I left all of the wire in the hinge un-stuck, hoping the twist will distribute itself over maybe 5 mm of wire and last longer.
In anticipation of future repairs, however, I left enough of the knurled end of the hinge rod exposed to get an easy grip:

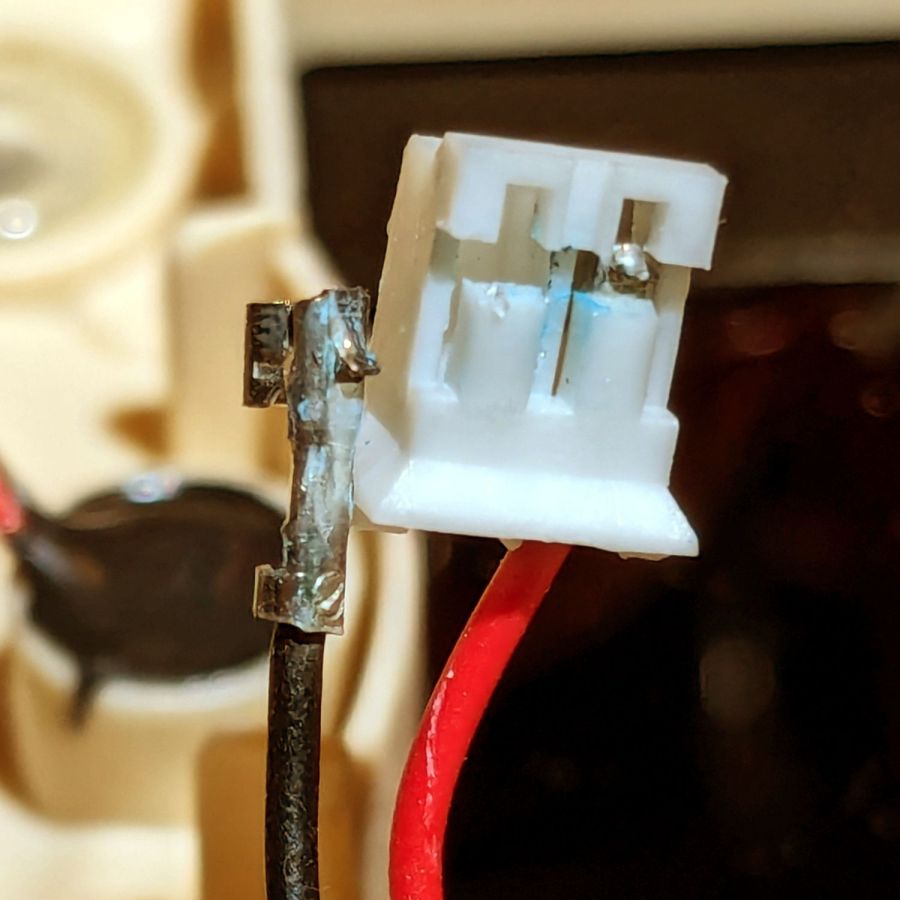
Solder the new wires to the old pads, assemble in reverse order, and it works as well as it ever did:
The alert reader will note I did not reset the camera clock after charging the batteries, a process requiring the janky SJCam app.
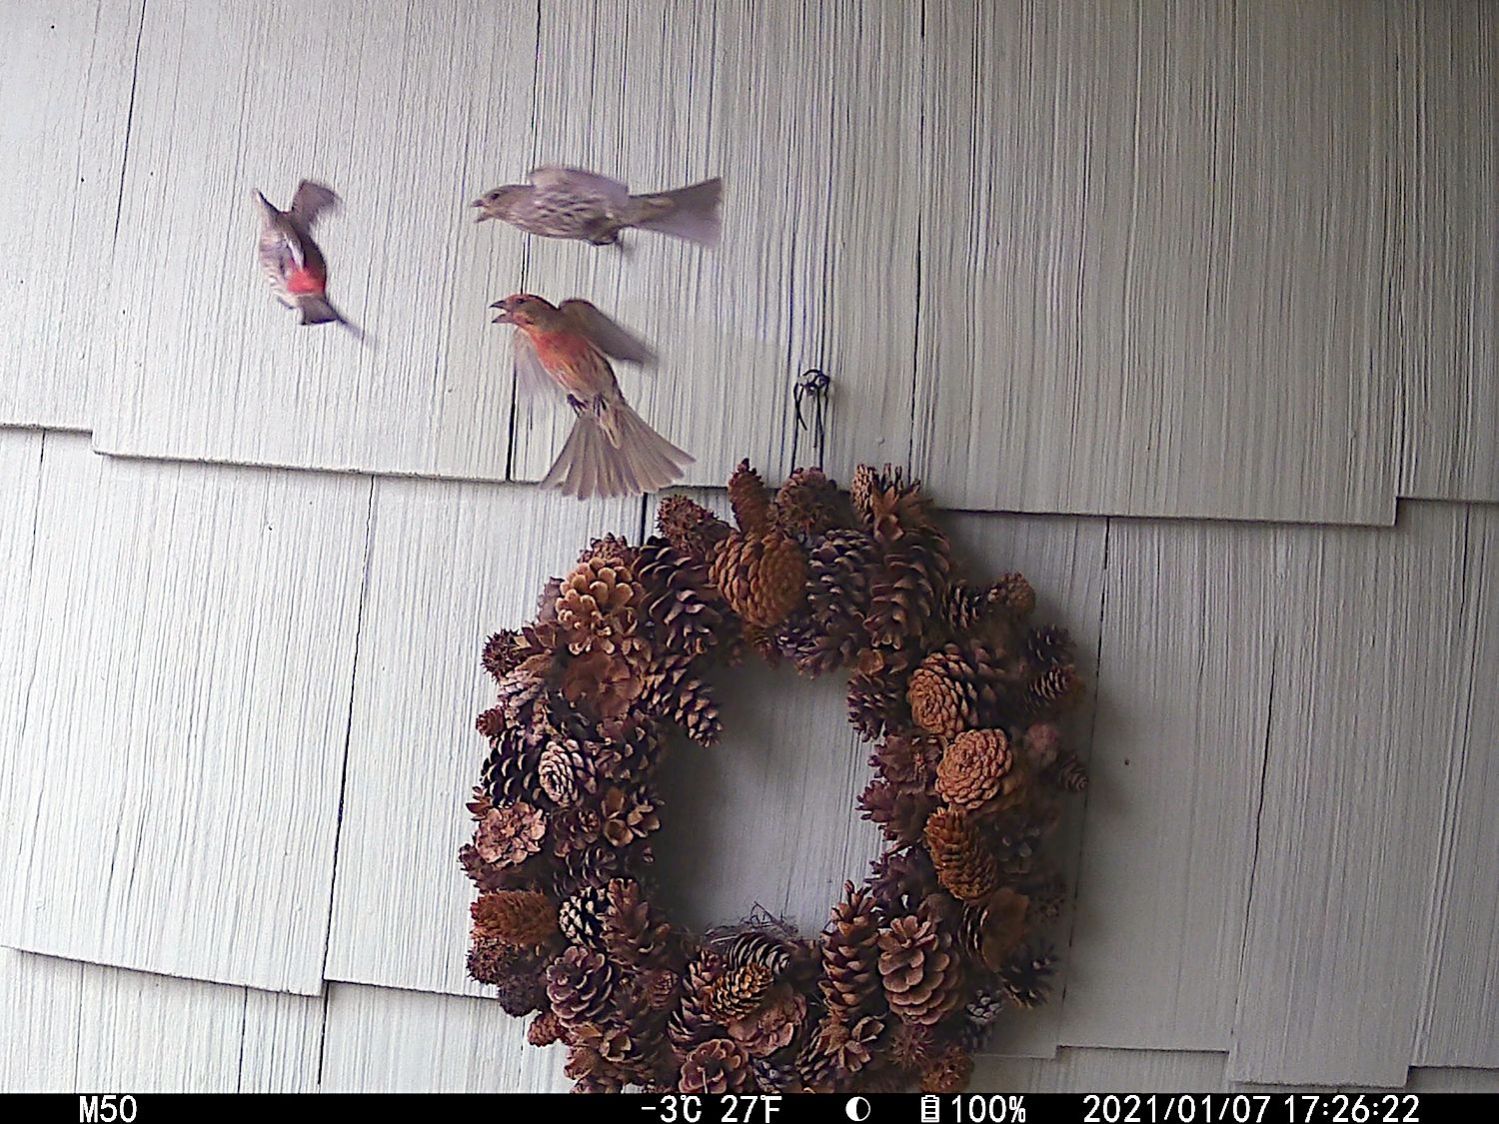
The two finches on the right have been constructing a nest in the wreath hanging at our front door. They tolerate our presence, although they’d be happier if delivery folks dropped packages elsewhere.