
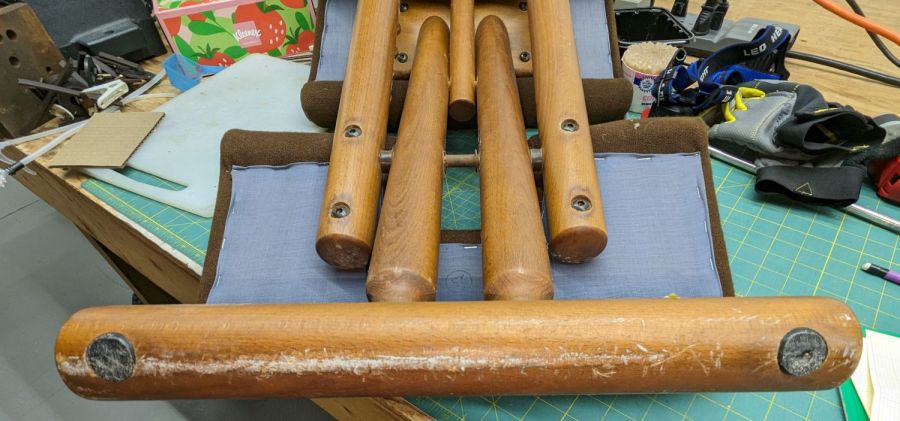
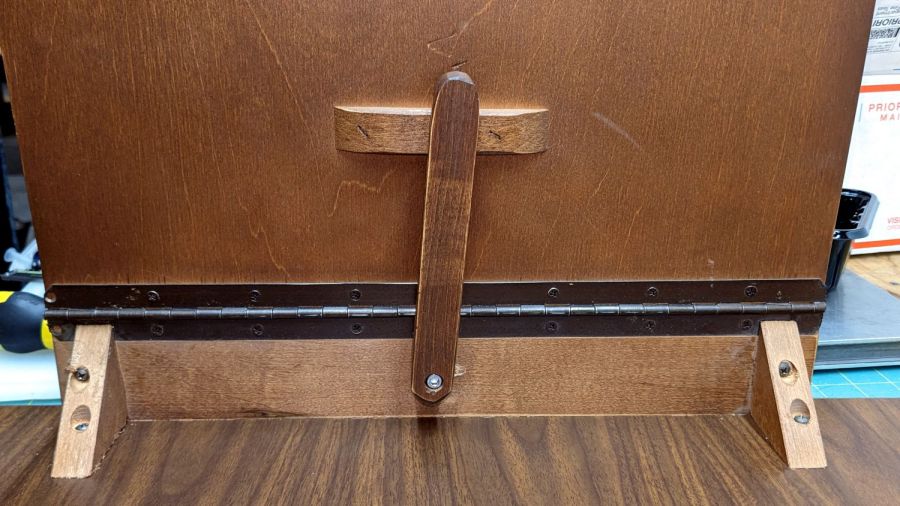
One of the folding wood chairs that Came With The House™ had a loose arm that turned out to be due to a missing chunk of wood:
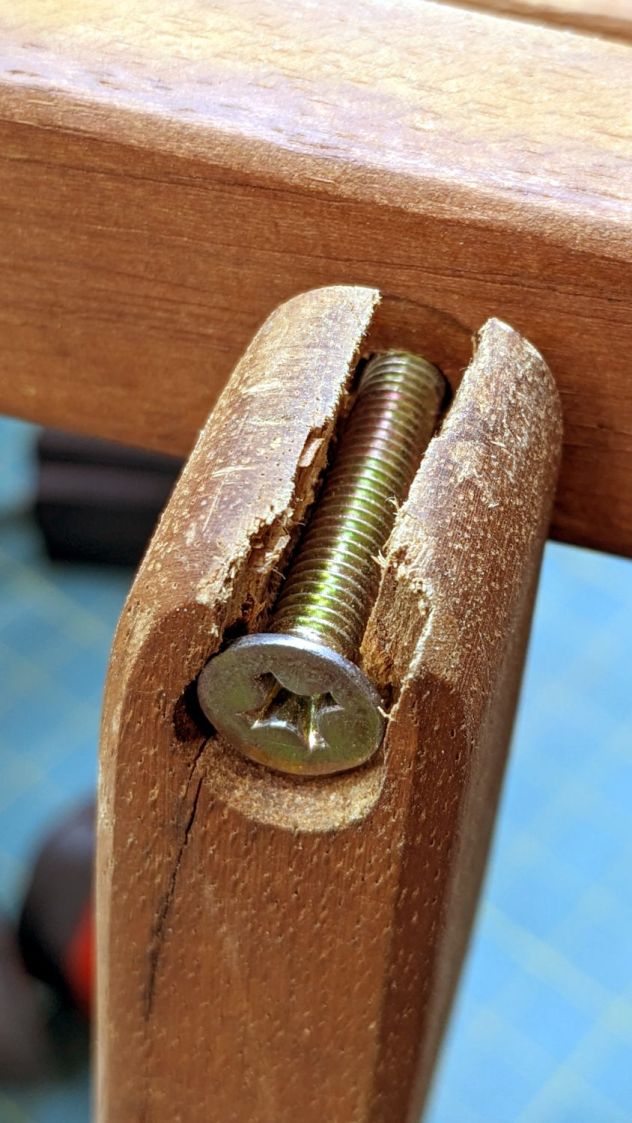
The obvious lay of the grain shows why it failed like that, surely hastened by the crack below the screw.
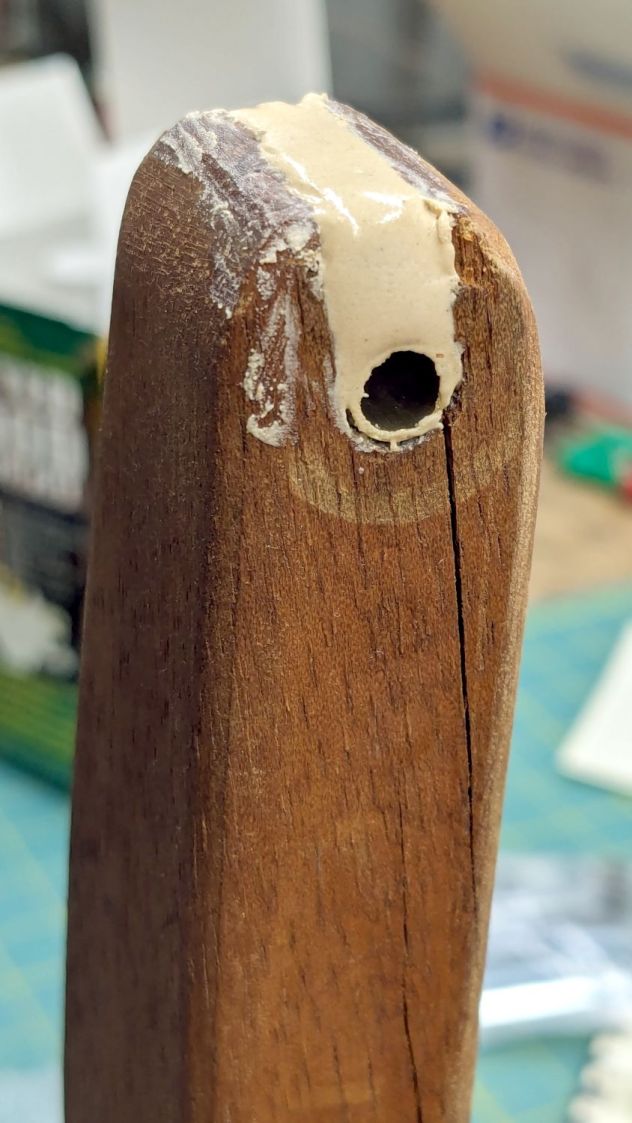
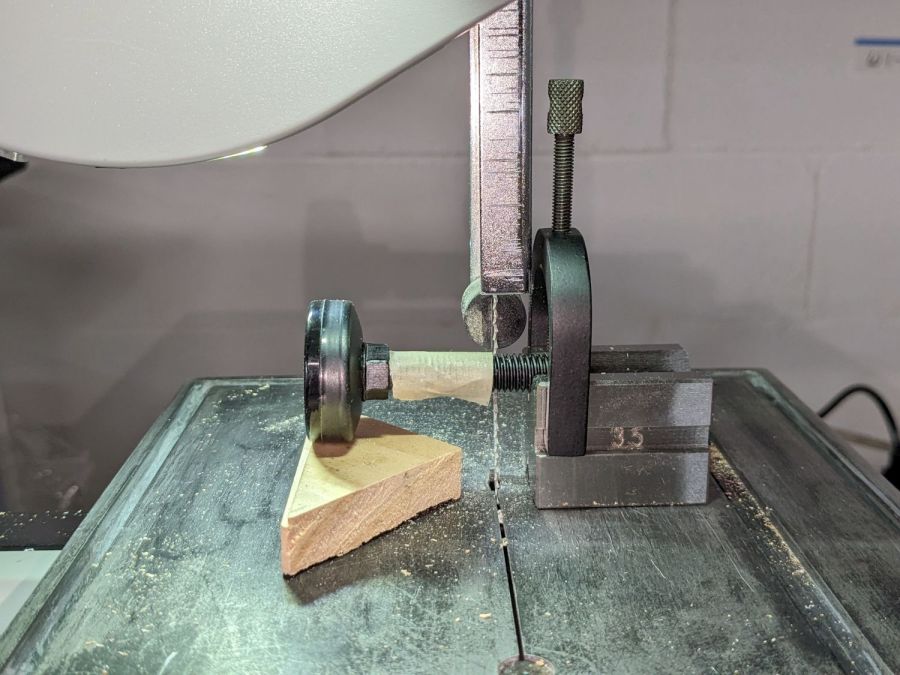
So I cut a snippet of brass tubing that, mirabile dictu, fit both the hole and the M6 screw, mixed up some wood epoxy and buttered it up:
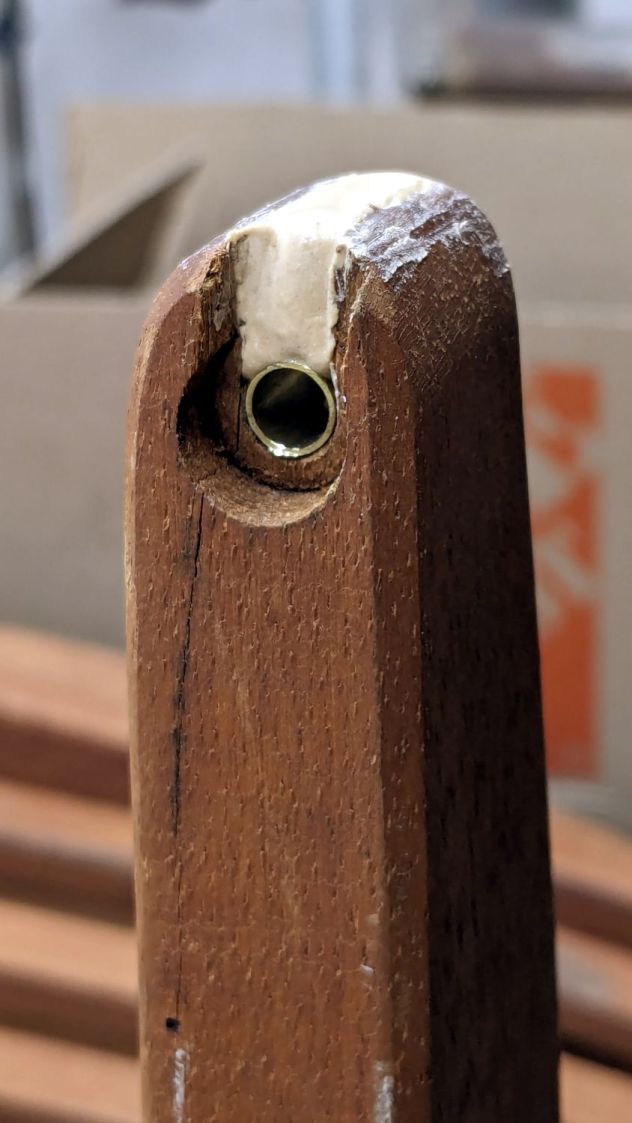
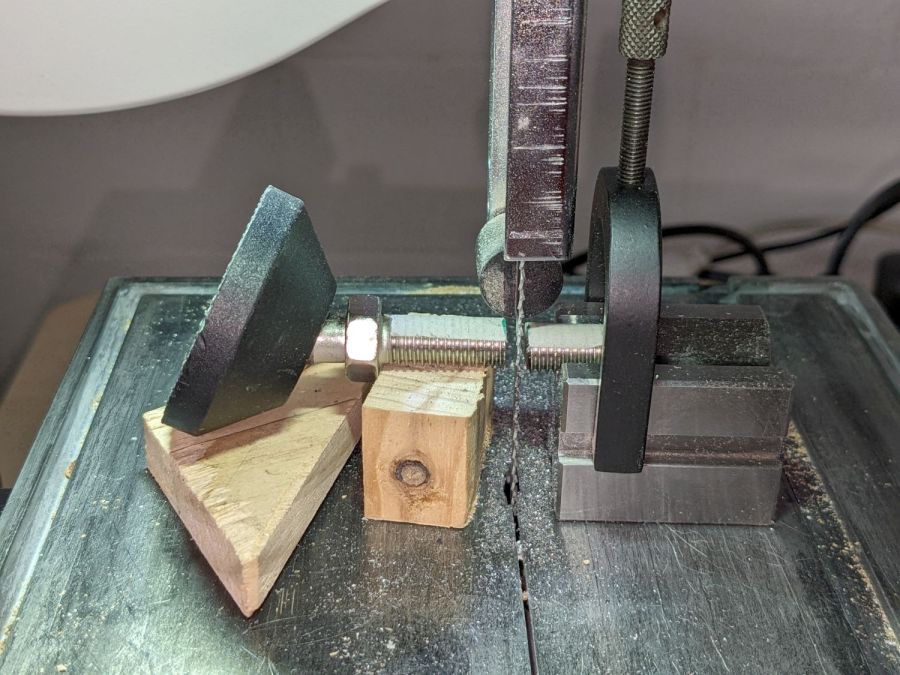
The crack extended entirely through the arm and was more extensive that seemed reasonable to expect the epoxy to handle on its own:
So I slobbered soaked saturated the cracks with wood hardener and clamped them shut:
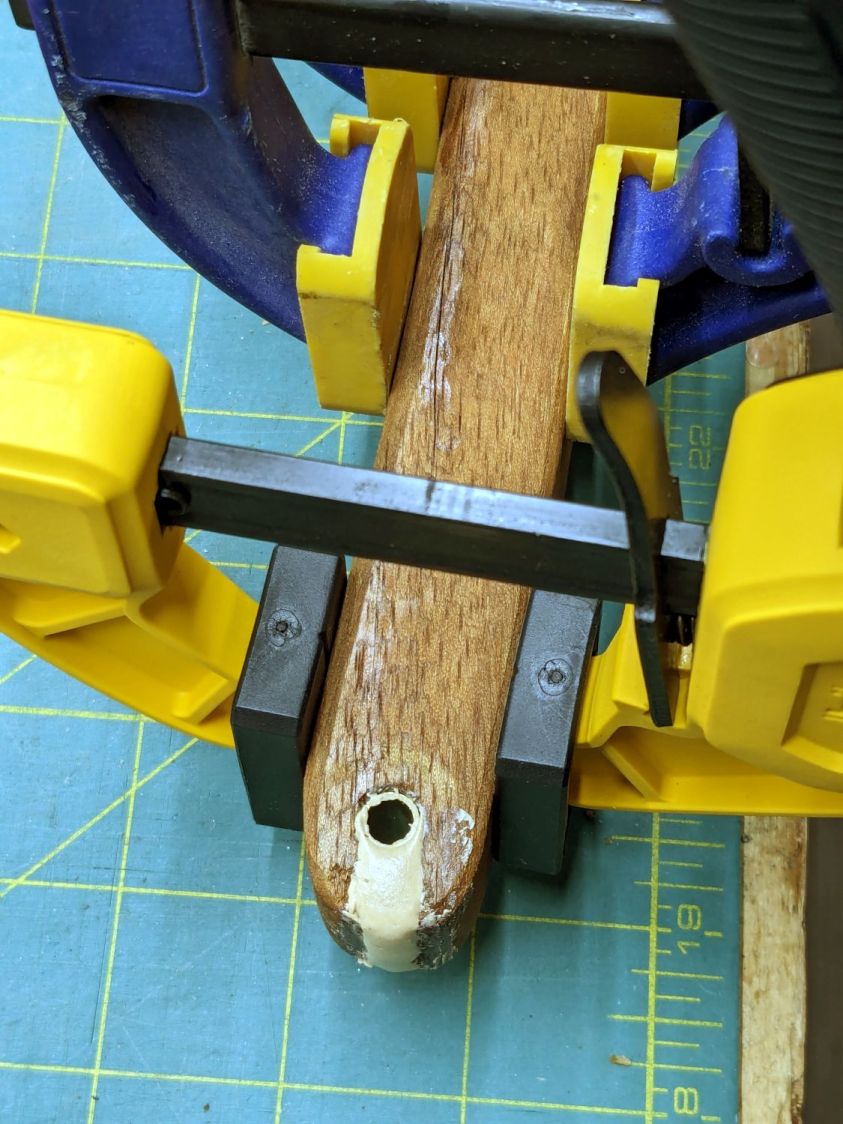
The hardener is intended to solidify rotted wood, but it makes a reasonable adhesive and, being much more liquid than ordinary wood glues, seemed like it would penetrate further into the cracks than anything else on hand. We shall see how this works out.
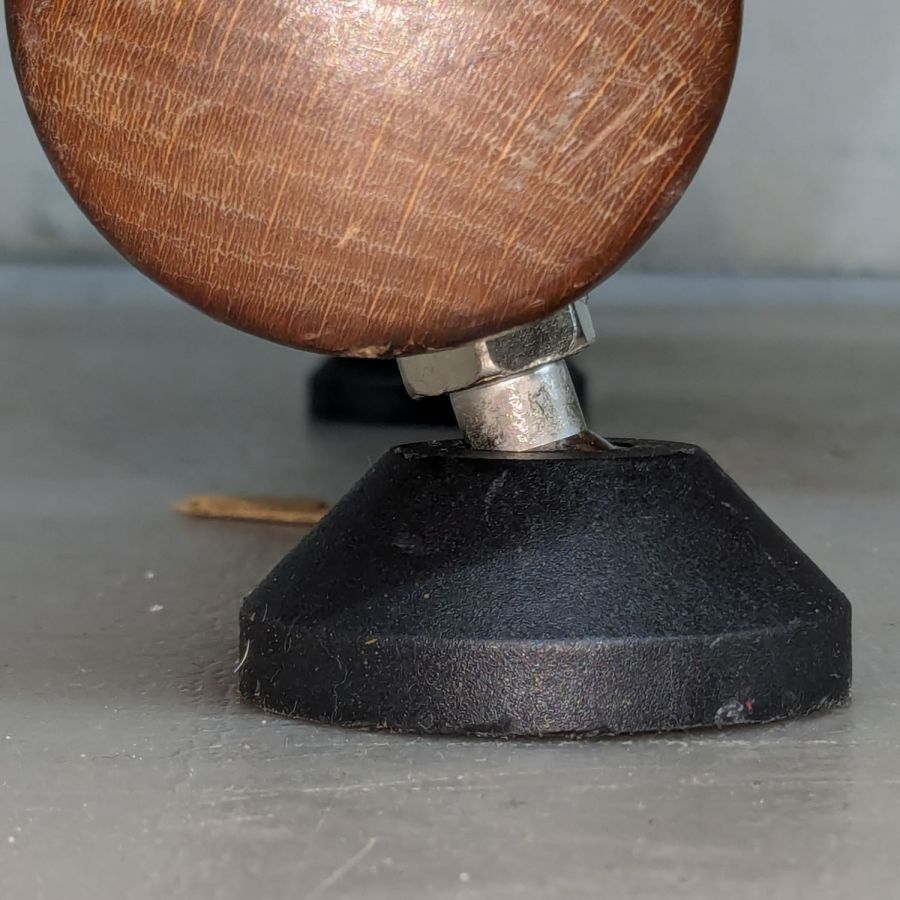
Rummaging in the Drawer o’ M6 Screws produced a better match to the brass tube than the original flat head screw:
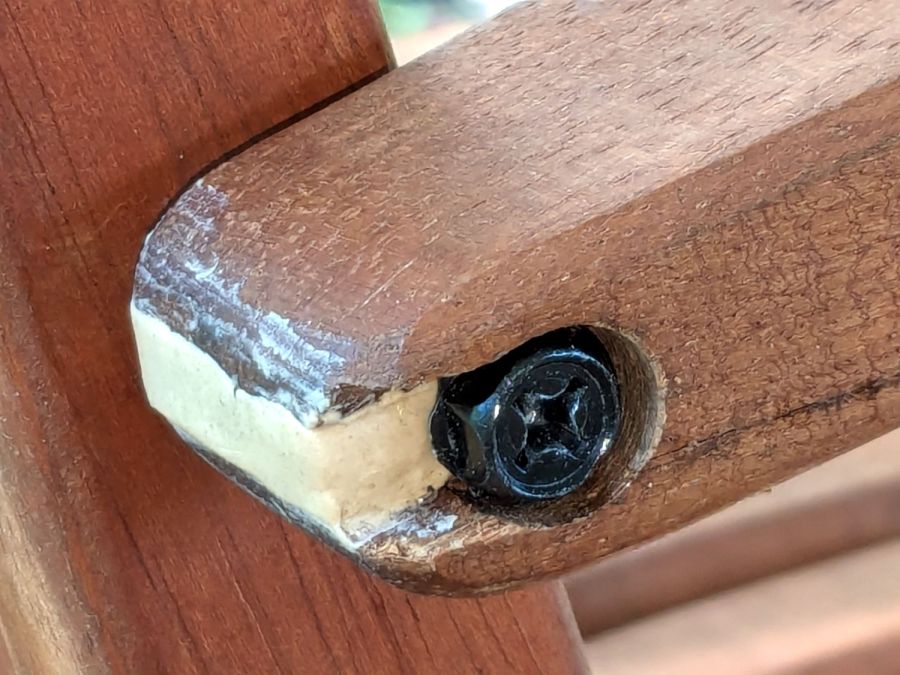
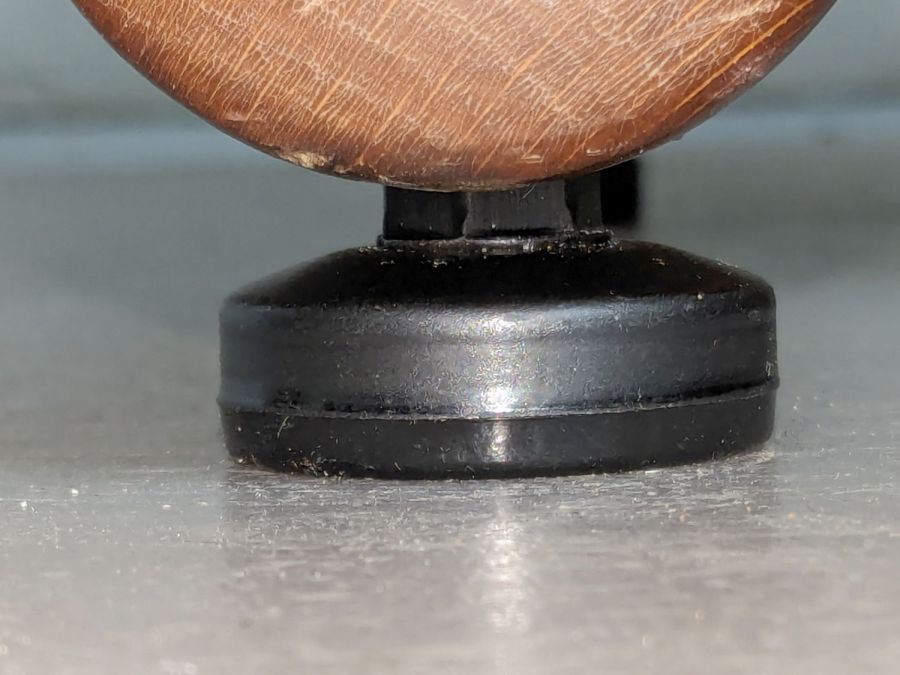
It screws into a fancy tee nut in the upright chair rail, where a dot of thread locker should hold it forevermore.
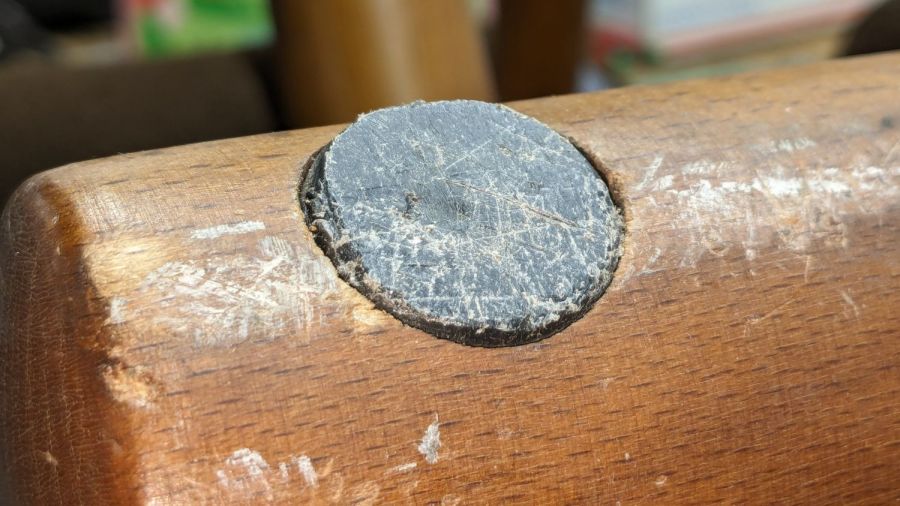
I hit the exposed end with some sandpaper to smooth off the last of those smears and, after a few years, it’ll probably look like it grew there.


