
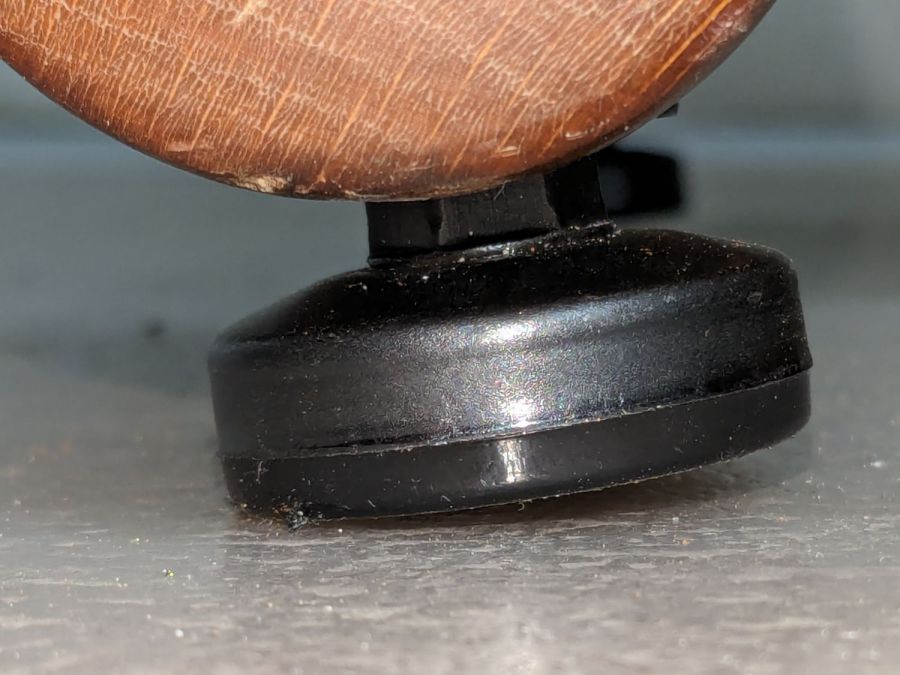
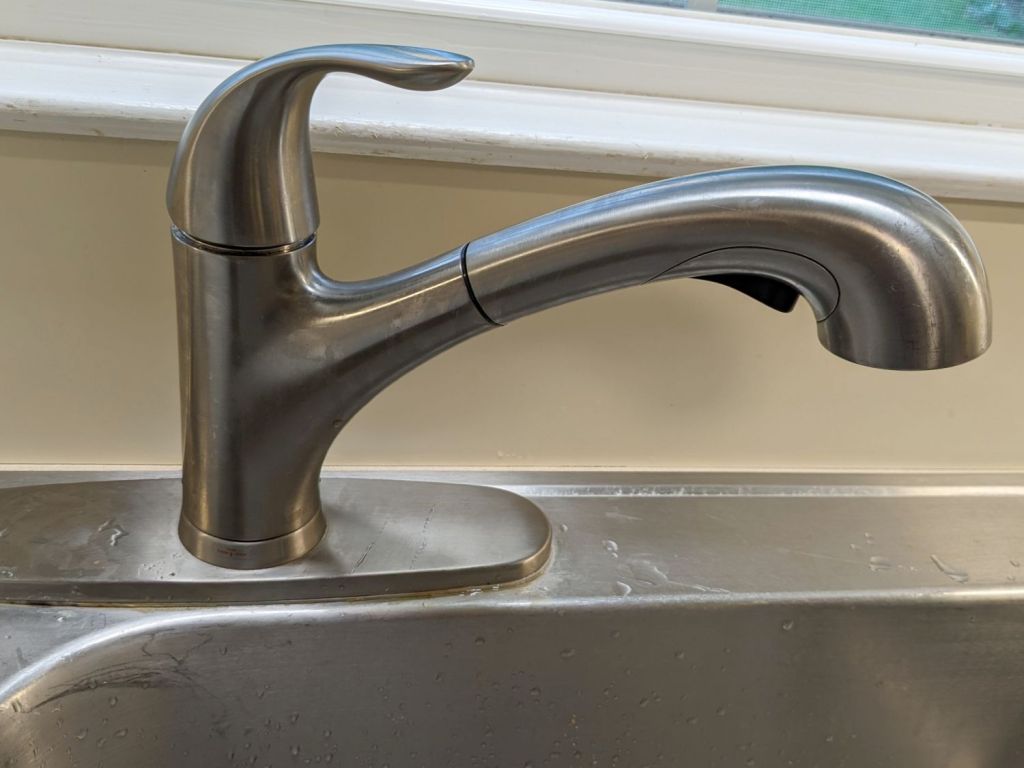
I’ve been using what’s now called a Multi balans chair since shortly after it came out in the 80s, during which time the plastic feet have worn flat:
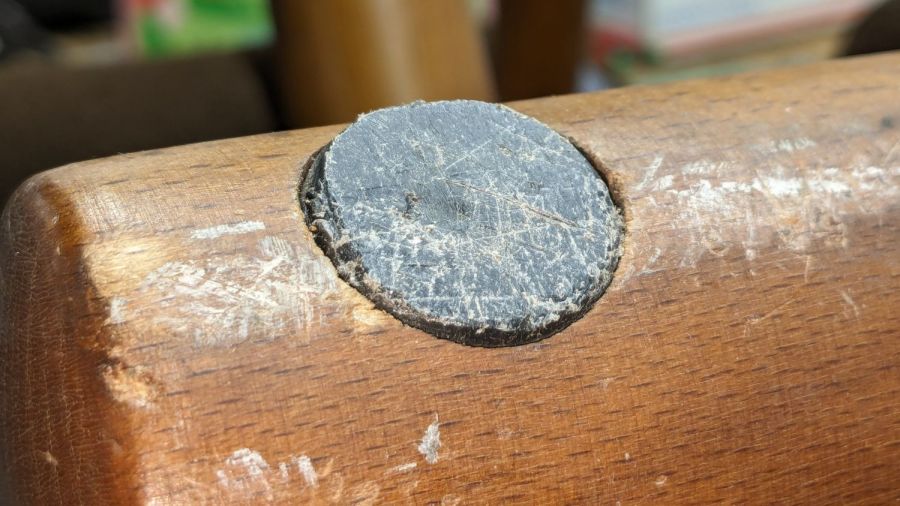
By now, the wood bases ride on the floor, which is a Bad Thing I should have fixed long ago:
The newer Multi chairs have rolling endcaps, but AFAICT that’s not a retrofittable thing.
The feet have no obvious way to get them out, but after I saw how thin the plastic had become on one foot, some experimental carving solved the problem:

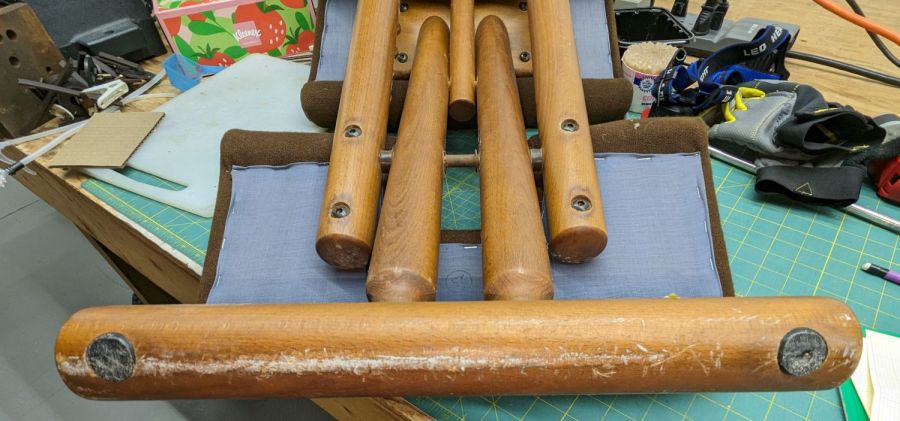
A large bolt threaded into the crude hole provided enough griptivity to yank the feet out:

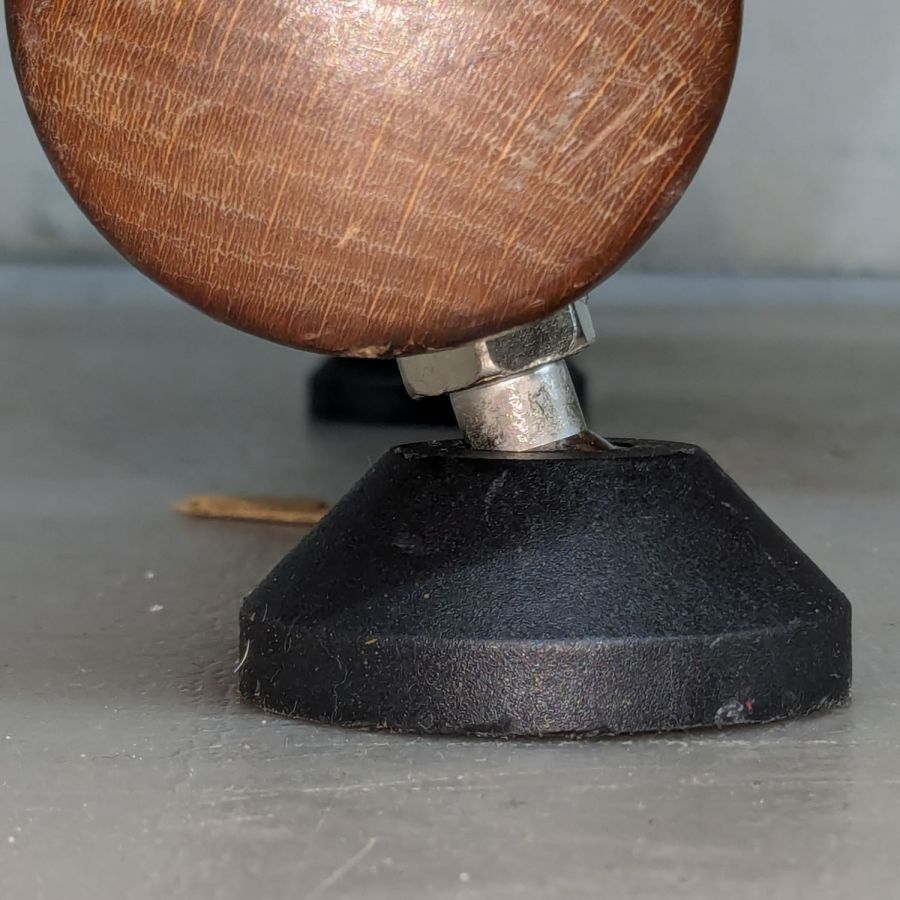
With measurements in hand, I picked up a quartet of furniture leveling feet with M10 stems and tee nuts that exactly fit into the recesses:

I generally buy from sellers who include measurements in their descriptions, although I no longer believe any unit-measurement prices. Most of the time the sizes come out close enough to reality for my simple needs.
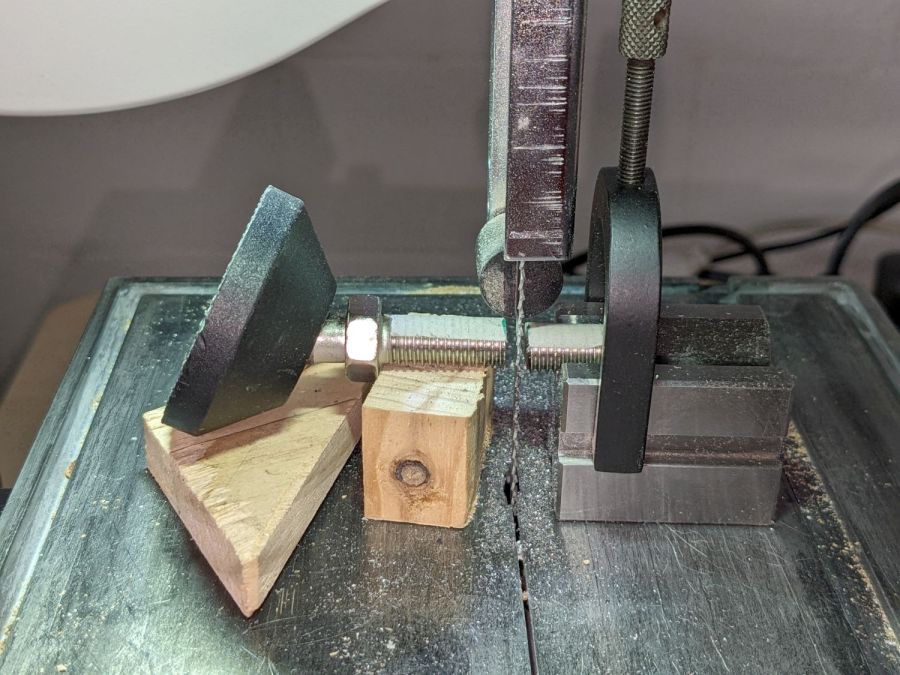
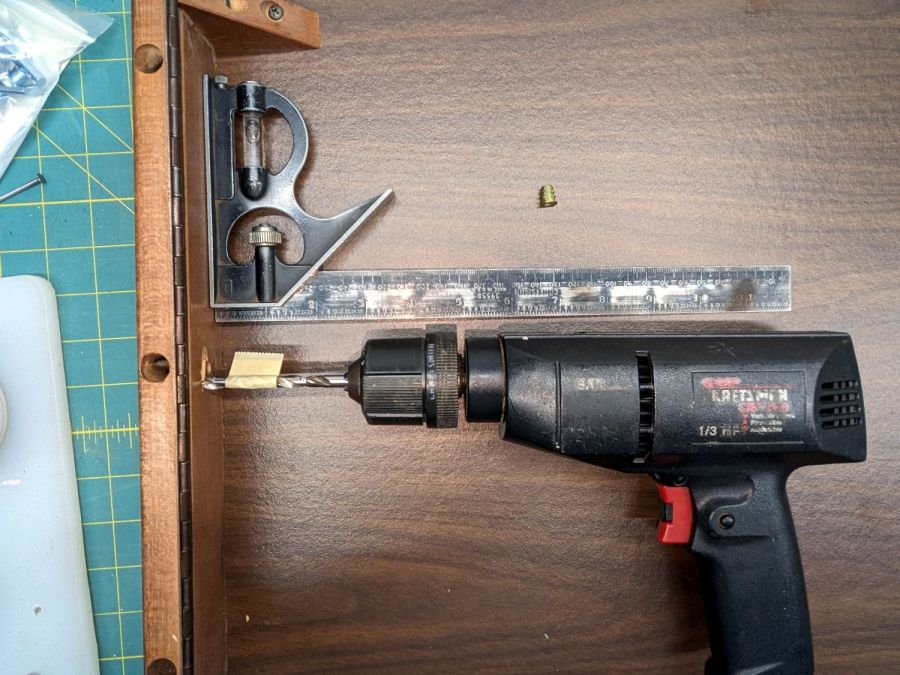
The stems were, of course, too long, but that’s easy to fix:
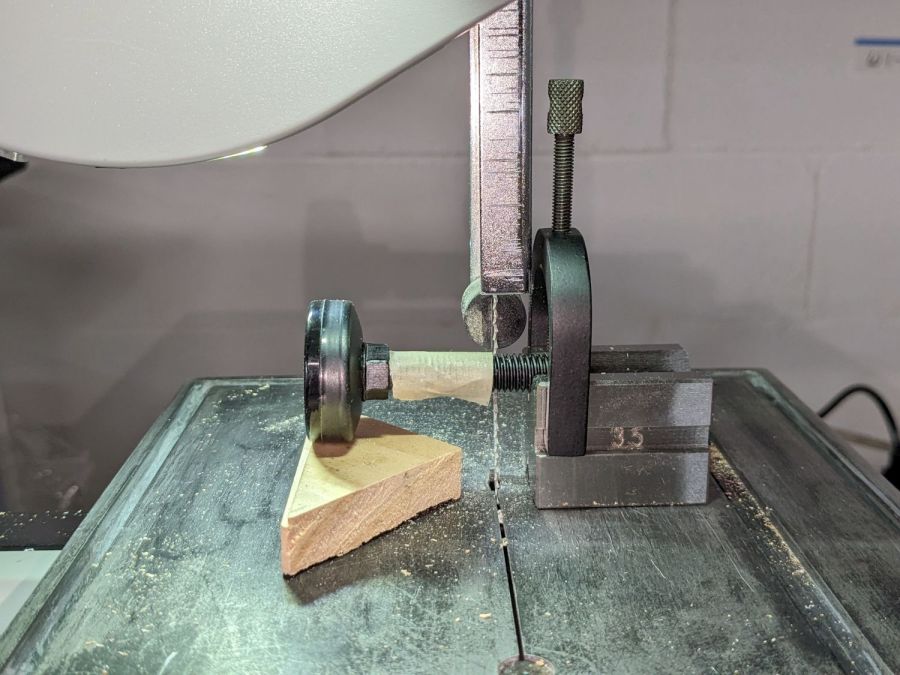
The saw does yank the stem down at the last moment, but cutting slow & steady thins the steel and reduces the drama to manageable proportions. Fitting a scrap of wood exactly under the screw would be a much better technique; be it so moved.
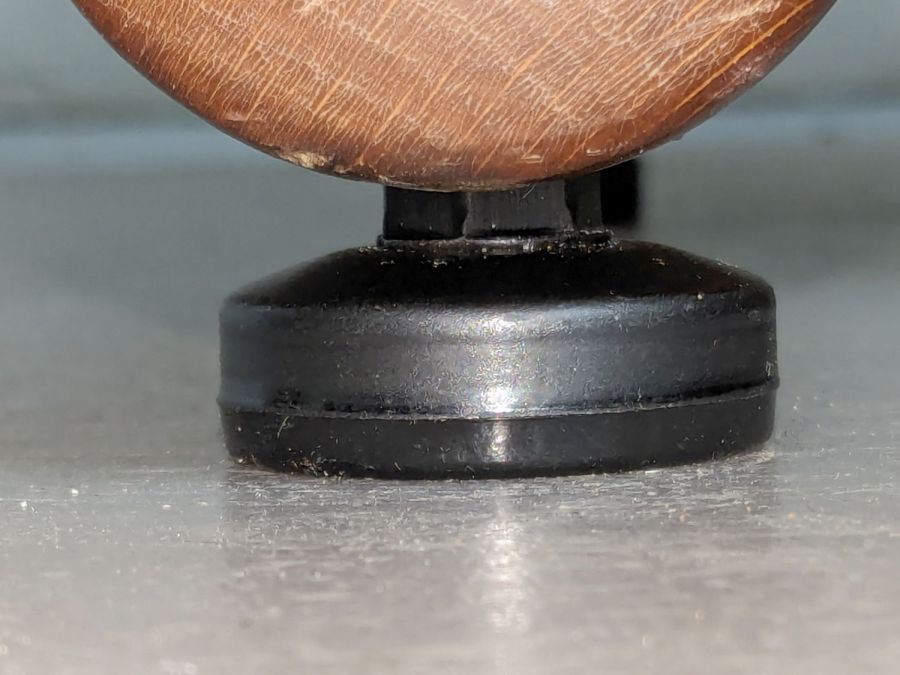
With the chair set to the mid-angle position I normally use, the feet meet the floor almost perfectly:
At the steepest angle, things get skewed:
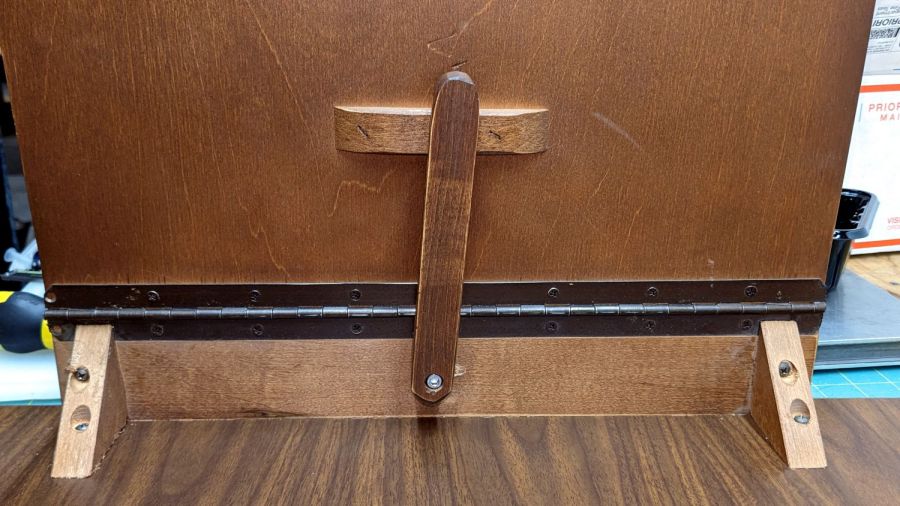
Applying my nearly perfect hindsight, I got a set of swiveling feet and found an appropriate scrap of wood:
Zero drama!
Which looks exactly like it should with the chair at the steepest angle:
The chair now sports two pairs of feet:
- Straight feet on the rear
- Swivel feet on the front
Now, to see how they survive on a chair, rather than motionless furniture.
If you have any idea why the WordPress AI image generator would come up with this, let me know:

That’s not hallucination, it’s just plain irrelevant.
For the record, we also have a couple of equally ancient Variable balans chairs.


