Based on having to seal the rear vent hole of the previous earbud, I did the same for the new one:
The audio quality was terrible, so I tried another bud with a foam windscreen over the hole and a hole punched in the middle of the double-sided white foam tape:

The audio remained unintelligible, so I tried an upscale (but still cheap, because surplus) Koss earbud, first without blocking the vents and then with snippets of Kapton tape:

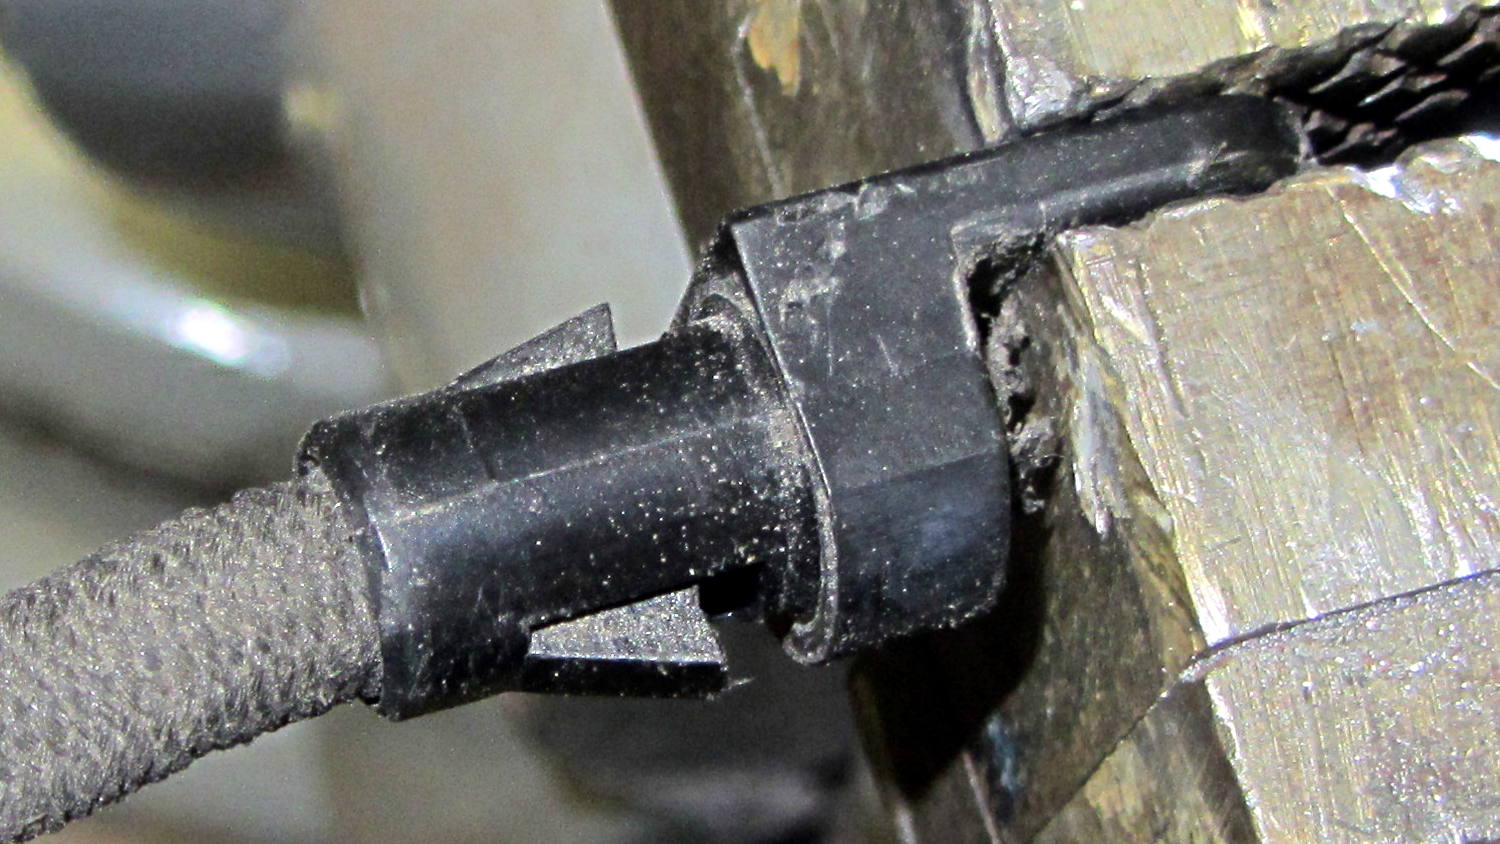
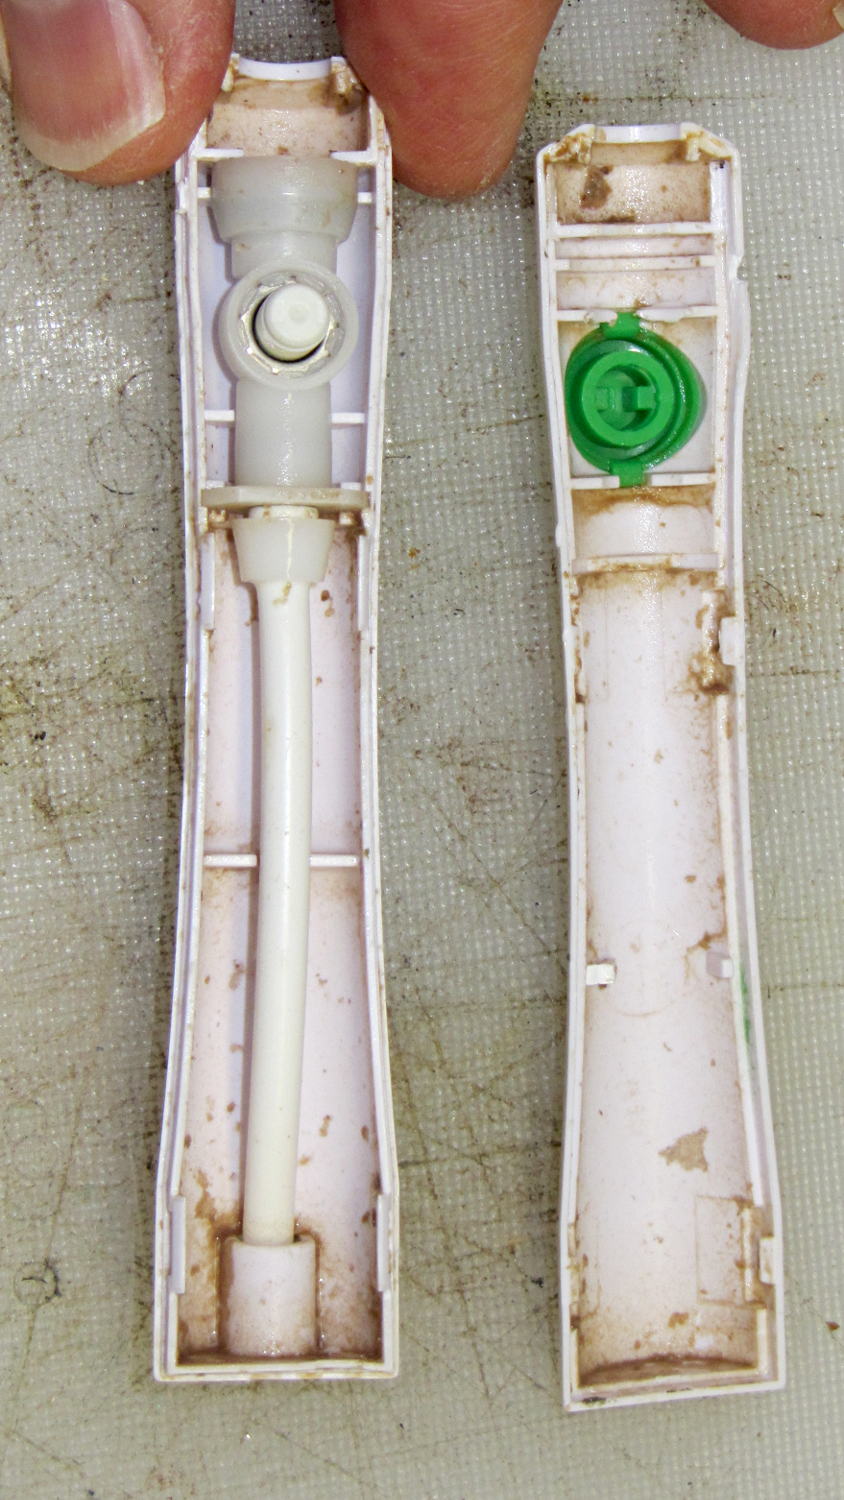
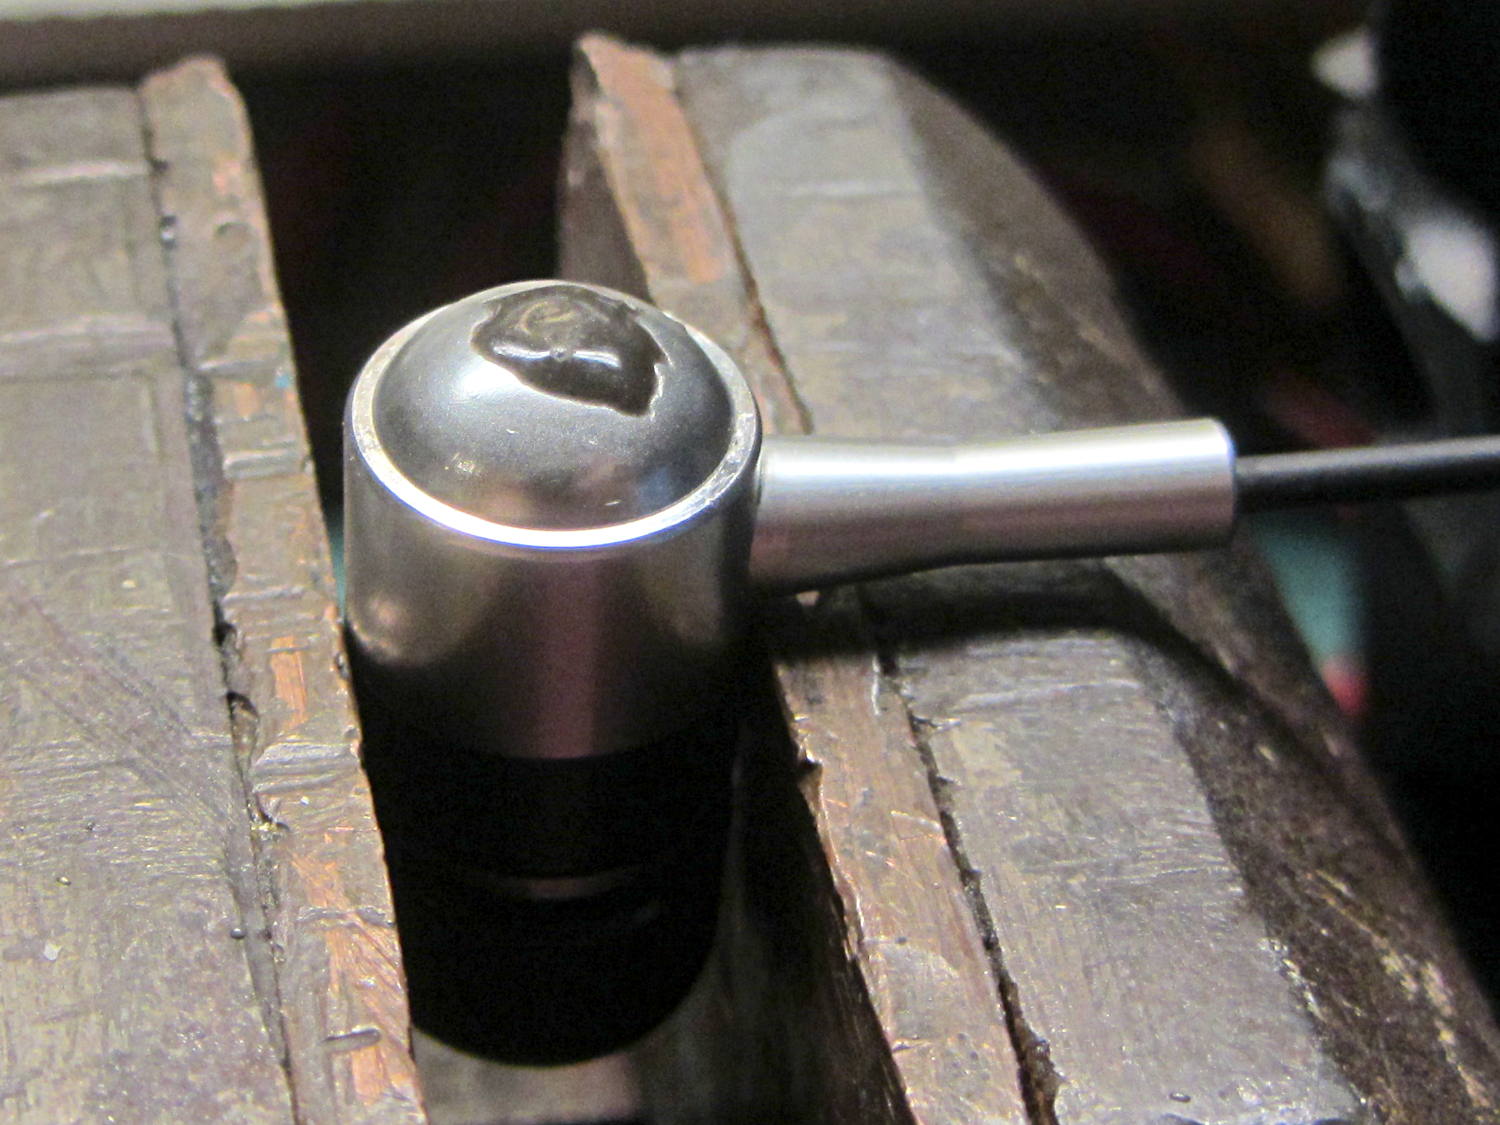
The earphone has three slits on each side, but only the middle slit has a hole penetrating the case; it must be a stylin’ thing.
That sounded better, so I’ll roll with it. There’s supposed to be a foam cover over the housing, but those things always get grody and fall off; there’s not much point.
As nearly as I can tell, contemporary earbud designs optimize for volume (dBm/mV) and thumpin’ bass, all to the detriment of actual audio quality. Based on numerous samples over the years, there is zero correlation between price (admittedly, on the low end) and audio quality (admittedly, with my crappy hearing).
I own a pair of very nice (and thoroughly obsolete) Shure E2c sound-isolating ear beetles that sound great (even with my crappy hearing), but I’m unwilling to chop them up for the bike headset …