You know how we’re constantly reminded not to click on links in emails from “people we don’t know” and never provide personal information?
I’m certain this email came from a physician I’m about to see, but, with a concealed URL like that, somehow I just can’t bring myself to Get started like this:
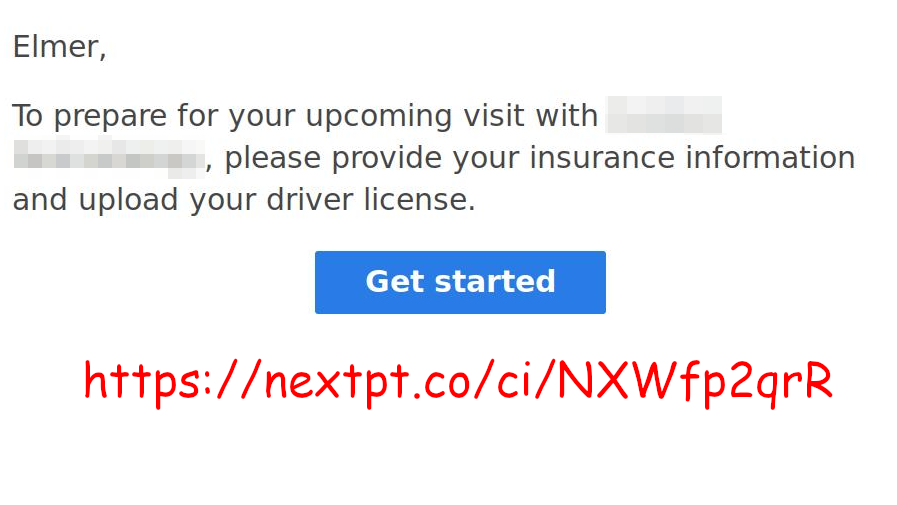
Remember, I’m in the US and *.co links are typically “foreign”, so they are going out of their way to look sketchy. I replaced several characters in the URL to make it invalid, but it closely resembles the original.
Of course, everything is outsourced these days, so the physician and her staff have nothing to do with the scheduling and patient information group, so they will have no idea what’s going on or be able to do anything about it.