A stack of glass shelves has long awaited this fate:

As with the paving tile, the image came from a grayscale photo run through a halftone filter. The leftmost four images were burned through a titanium dioxide layer poured / spread over the glass surface. The rightmost two were burned directly into the glass, serving as a reminder that glass absorbs infrared radiation. The power levels varied from 15% to 60%, although I wasn’t taking notes, with a 400 mm/s scan speed.
It looks much the same when viewed from the rear:

Although the process is often described as blasting chips out of the glass, there’s definitely melting going on. A closer look at the middle image in the top row, with darker gray patches from titanium fused into the glass:

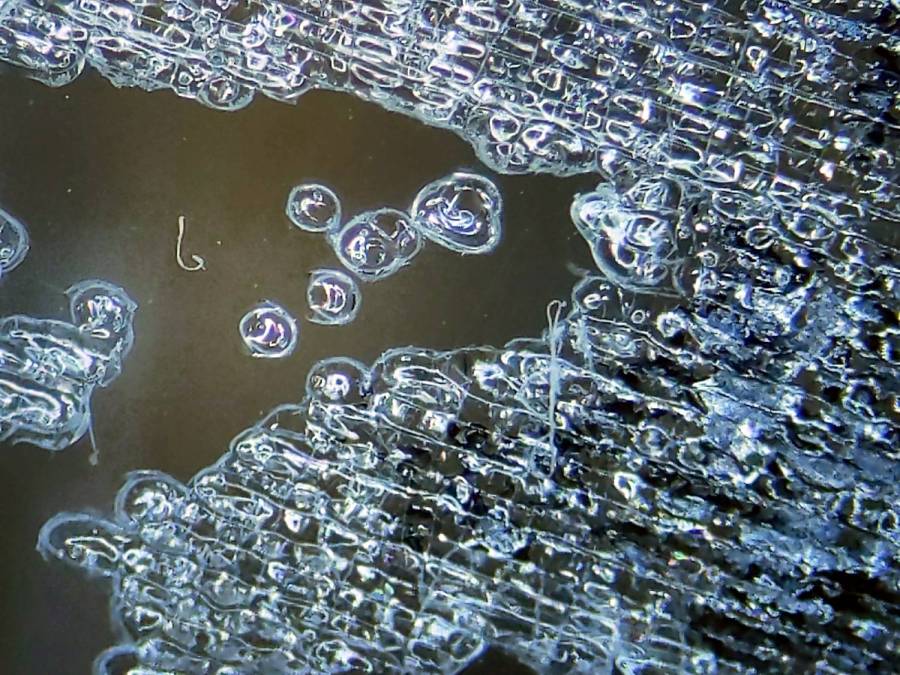
Some pits have only a tiny dot of titanium, almost invisible against the glare from the glass around the rim:
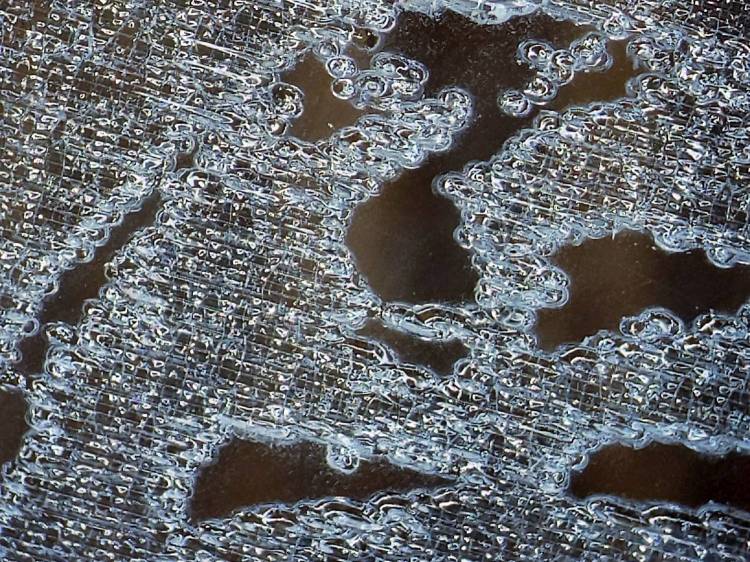
A very close look shows damaged glass, with titanium in some of the pits:
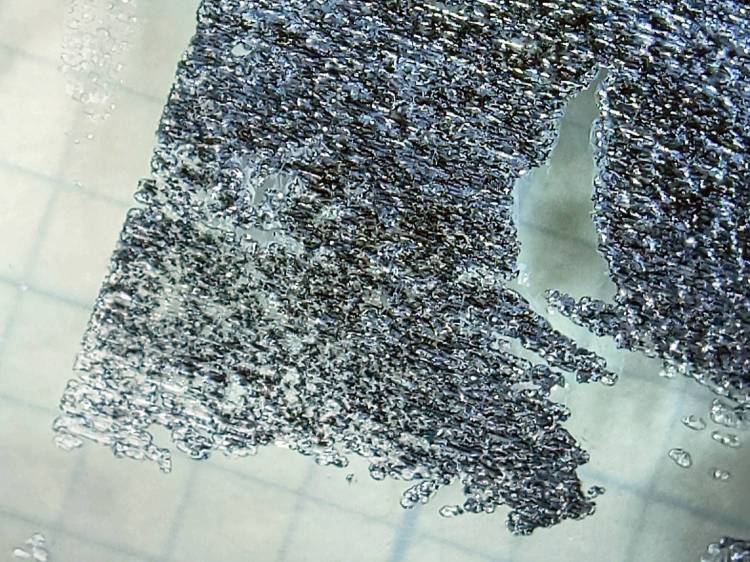
Higher laser power fuses more titanium into contiguous areas that appear much darker, as in the middle bottom image:
This is loosely based on commentary in two LightBurn forum threads about variations on what’s known as the Norton White Tile Method, with more examples on the V1 Engineering forum. Just applying TiO₂ seems less awful than various paints / primers / whatever, with the additional benefit of eliminating the overhead of spraying / cleaning up.
The secret seems to be having enough power to chip the glass and decompose the TiO₂ into darker titanium, while not blasting the result entirely off the surface. Fairly obviously, this will require more experimentation than I’ve done so far.
Minimal assist air protects the laser focus lens from the debris and plenty of ventilation air carries the abrasive result out of the cabinet.
Not something I foresee doing a lot of, but at least I know what happens.
