Ed Nisley's Blog: Shop notes, electronics, firmware, machinery, 3D printing, laser cuttery, and curiosities. Contents: 100% human thinking, 0% AI slop.
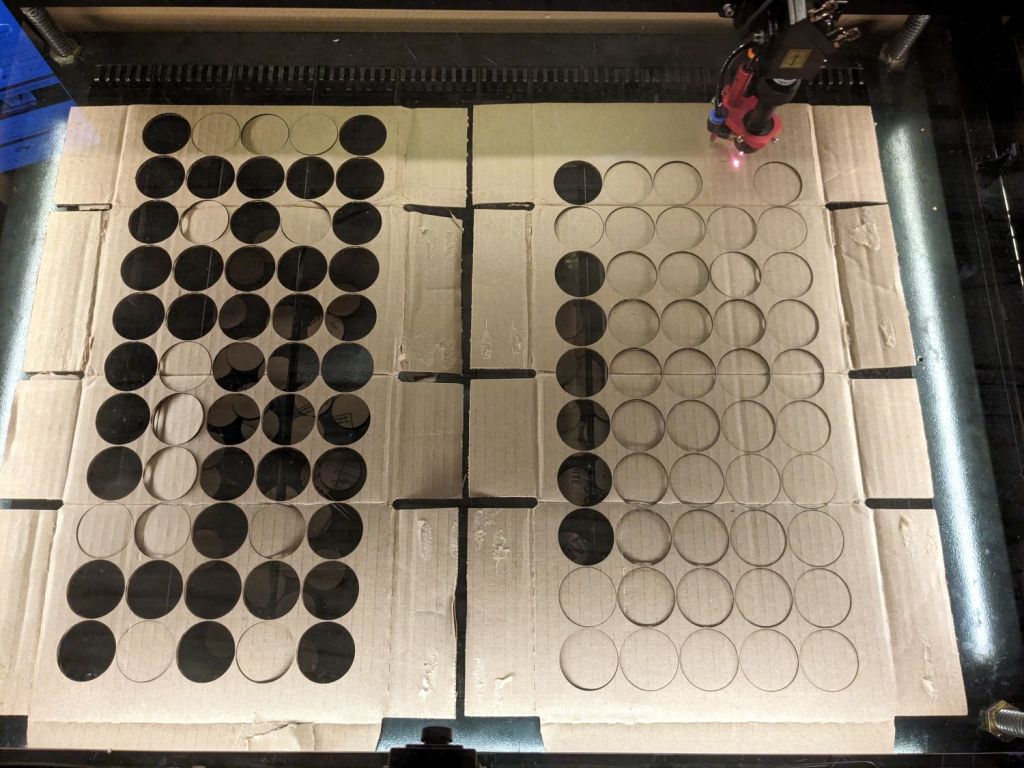
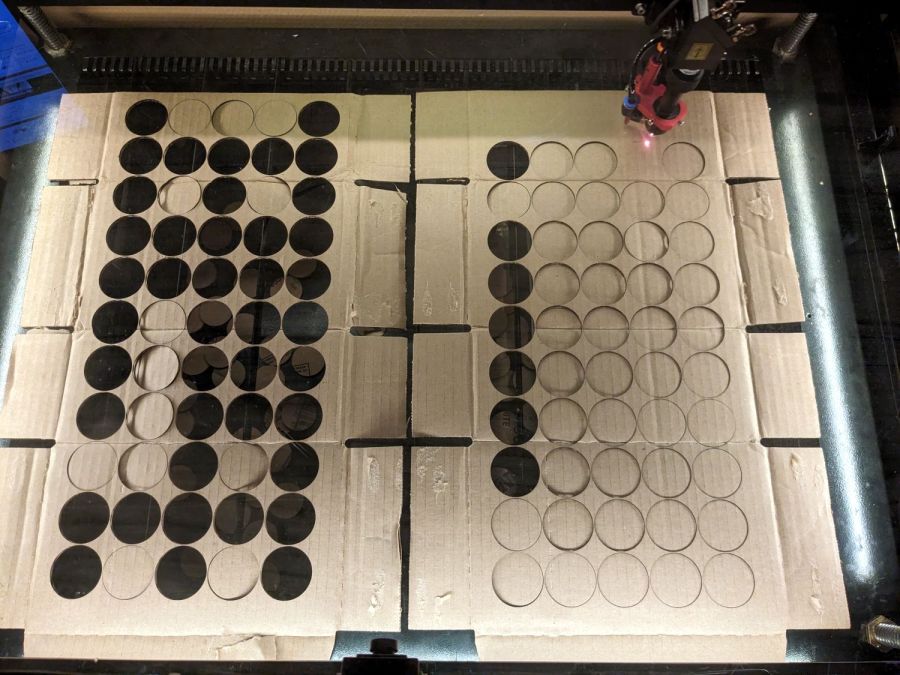
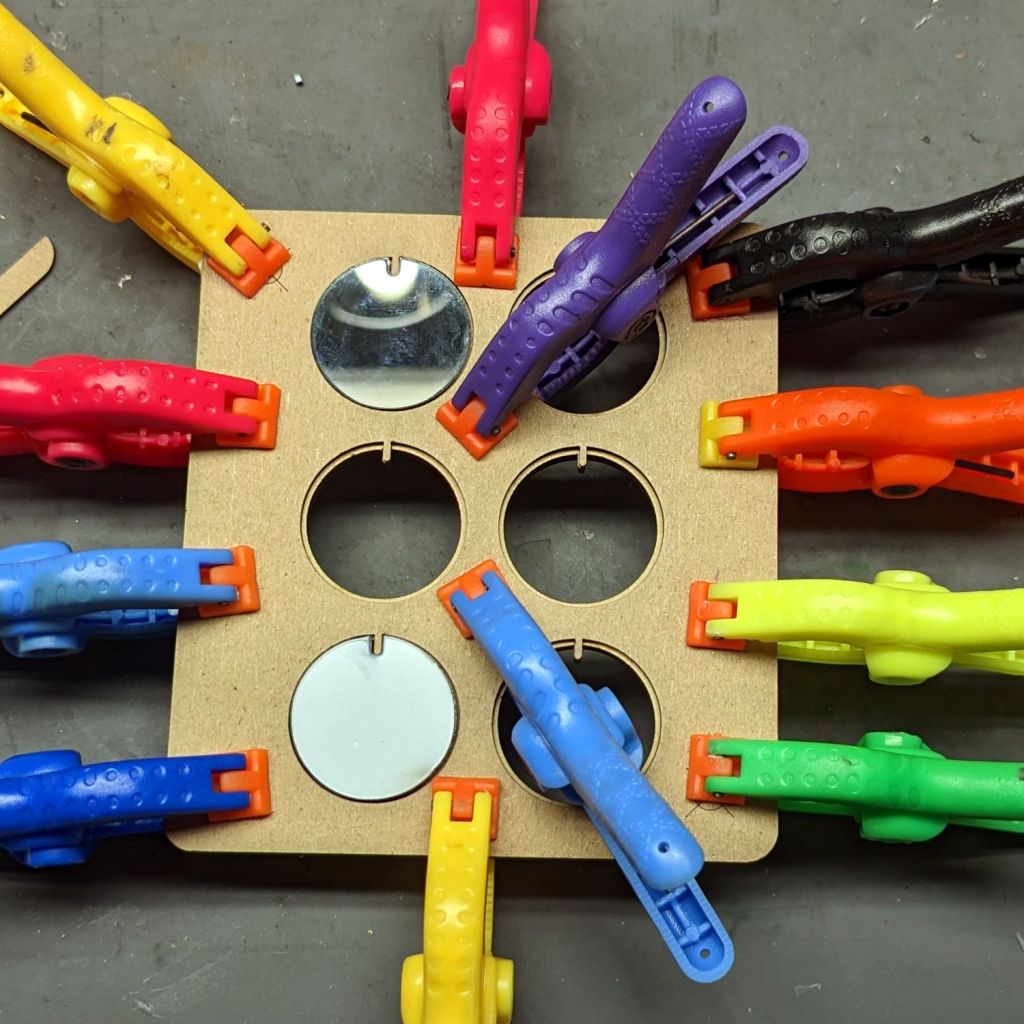
Draw a 42 mm circle, set the layer to cut corrugated cardboard, turn the circle into suitable arrays, flatten some boxes from the heap, and Fire the Laser:
Seedling starter pot bottoms
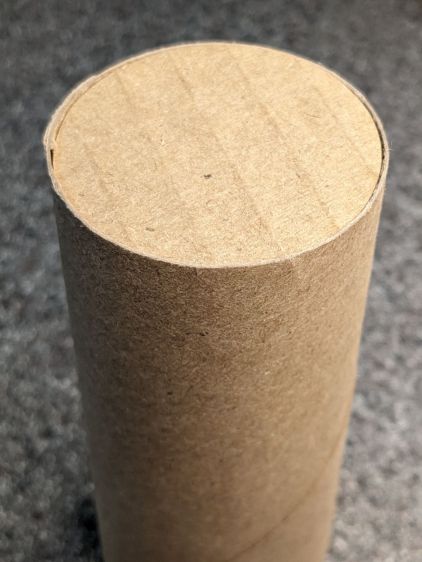
Collect the fallen disks from the chip tray and jam one in place as a serving suggestion, where it fits like it was custom-made:
TP roll seedling starter pot bottom
You’d still want to fold some flaps over the disk to keep it in place, but now your pot has a real bottom.
I have no idea if 42 mm is a Galactic Constant, but it worked for the pile of tubes we had on hand.
Some geometry review and a bit of fiddling with LightBurn produced regularized patterns suitable for laser cuttery:
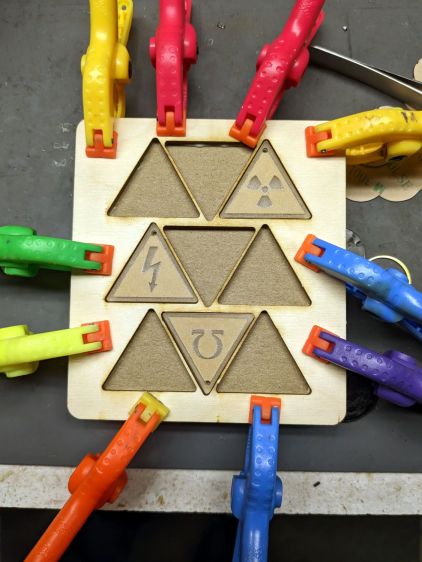
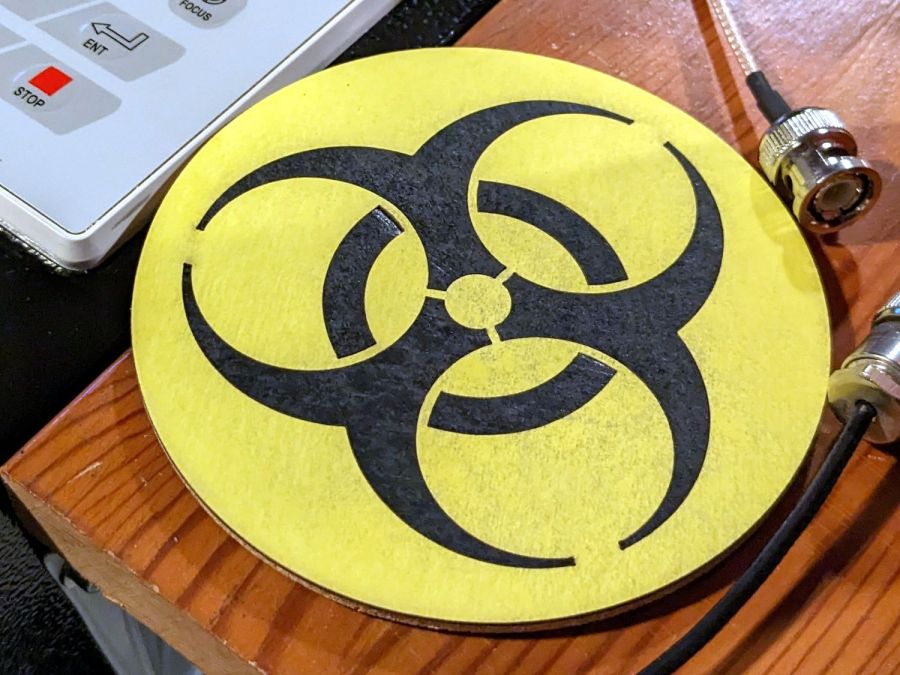
Danger Zone Earrings – radioactive – handful
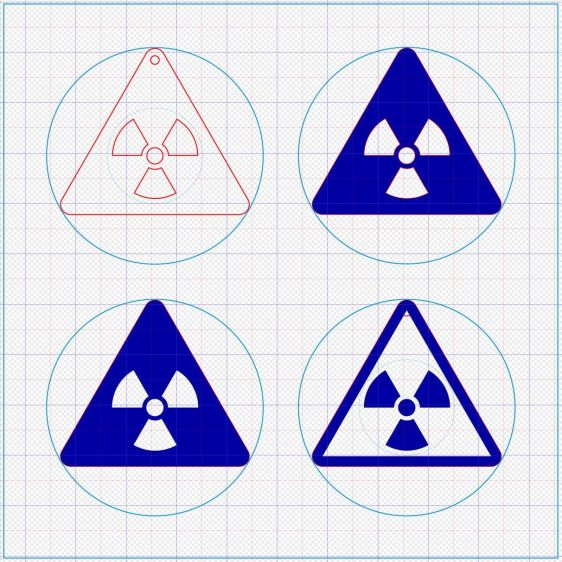
A key trick: circumscribe the figure with a circle on a tool layer, then group the whole mess together, so that the center of the circle coincides with the desired center of the figure. In particular, the geometric center of an equilateral triangle is not at the center of its vertical extent:
Danger Zone Earrings – radioactive – LB layout
The dark blue layer engraves the surface, the red layer cuts through 3 mm acrylic, and the light blue layer is the tooling.
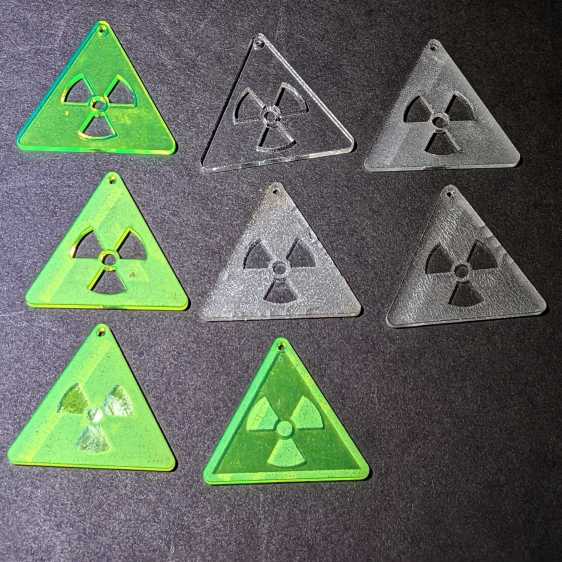
I like the edge-lit ones, although the simplicity of laser-cut clear acrylic is hard to beat:
Danger Zone Earrings – radioactive – white light
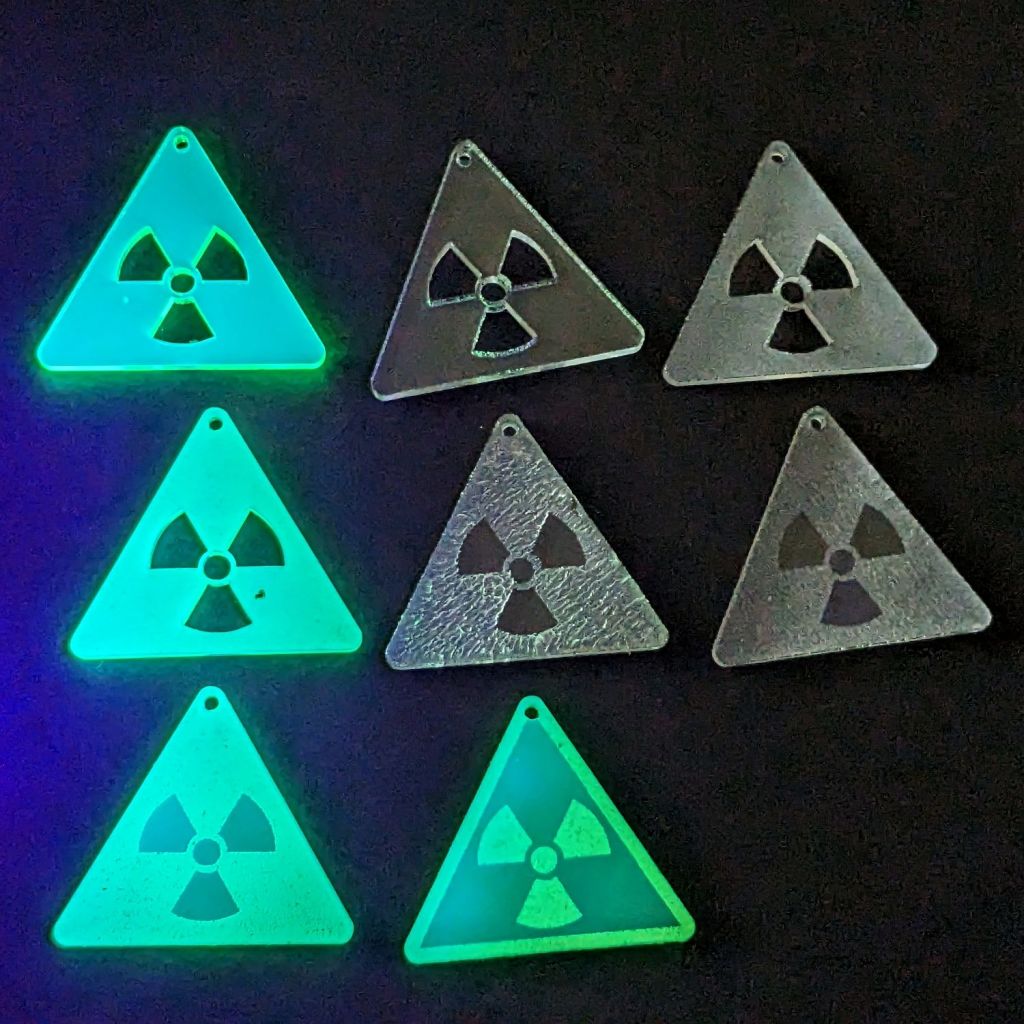
Wearing them in a place flooded with UV radiation would set you apart:
Danger Zone Earrings – radioactive – GITD UV
The careful observer will note stress cracking in the two clear earrings in the middle row. Those came from the vintage paper-covered acrylic sheet and I used alcohol to clean off the not-quite-vaporized glue just to see if isopropyl alcohol would behave differently than denatured alcohol. Nope, the cracks appear instantly.
Peeling the paper and engraving the bare surface produced the clear-frosted earring in the upper right, with the radiation symbol cut out of the sheet. Engraving without surface protection tends to deposit vaporized acrylic dust everywhere, so it would require hand cleaning without the cutouts.
The cutouts get 0.1 mm inward offsets to slightly increase the wall thickness around that central circle.
One combination I didn’t try: engrave the triangle perimeter for emphasis and cut out the symbol for contrast with edge-lit acrylic.
Dropping other symbols into place should be straightforward, with the center of the circumcircle as the snap target.
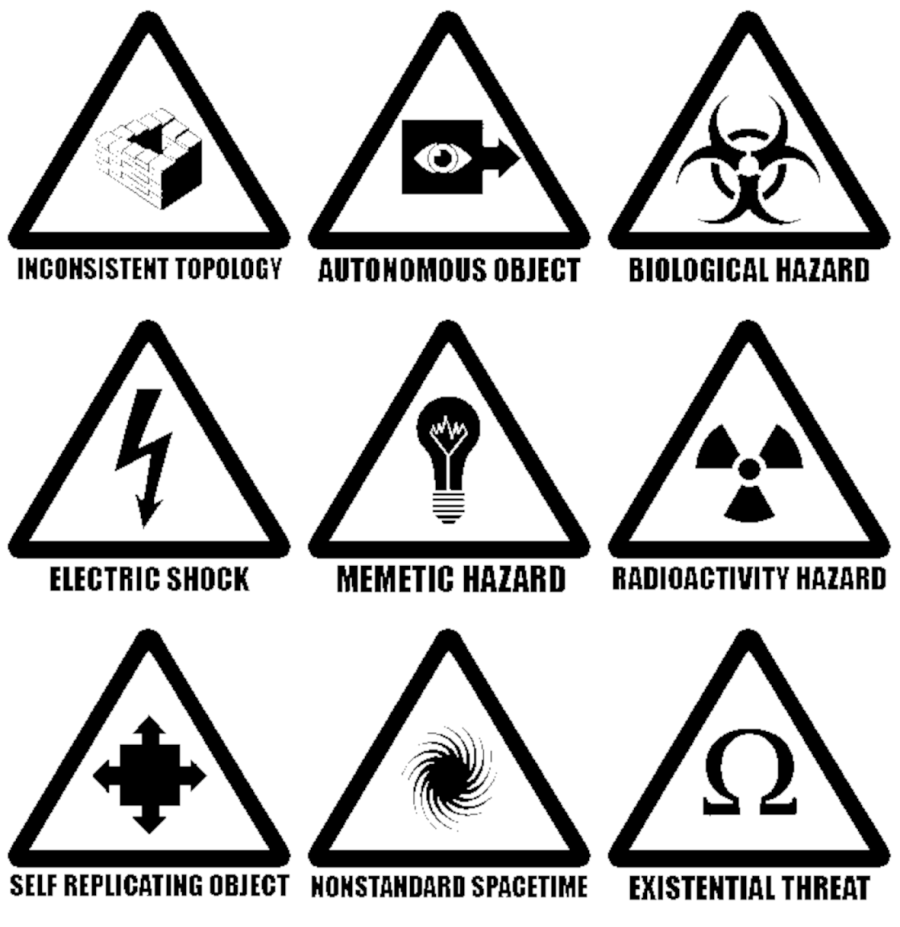
Then I traced them into LightBurn vectors suitable for engraving, added hanging holes, and fit a perimeter cutout. This being a test, I took a number of shortcuts resulting in slightly off-center engravings and ignored a number of image botches (most notably in the Inconsistent Topology figure.
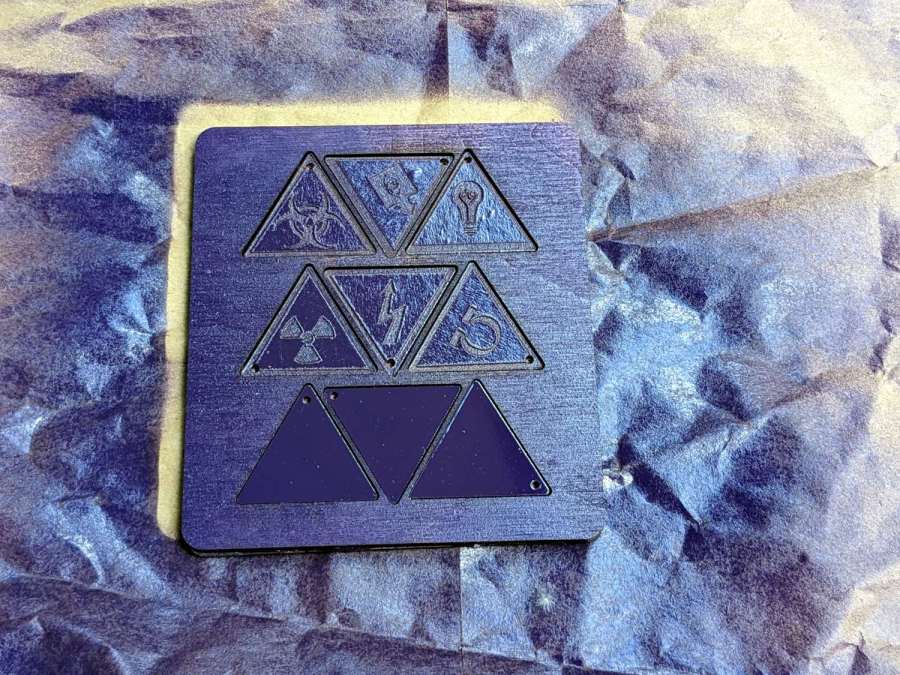
A quick painting fixture kept (most of) the rattlecan paint off the edges:
SCP Warning Labels – fixture clamping
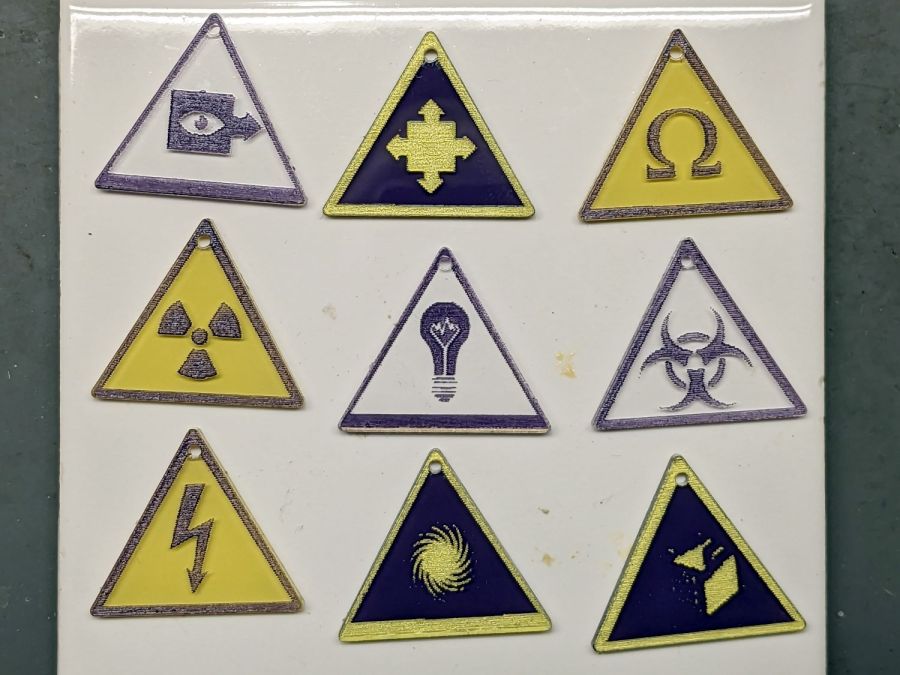
The acrylic is old enough to have brown paper protective layers, rather than fancy plastic sheets. I peeled various combinations and shot various sides with purple:
SCP Warning Labels – purple coat
Remove some, flip others over, and hit ’em with yellow:
SCP Warning Labels – yellow coat
I expected purple markings over a yellow background to look best:
SCP Warning Labels – purple over yellow
But the inverse version seems more contrasty (ignore the off-center cutout):
SCP Warning Labels – yellow over purple
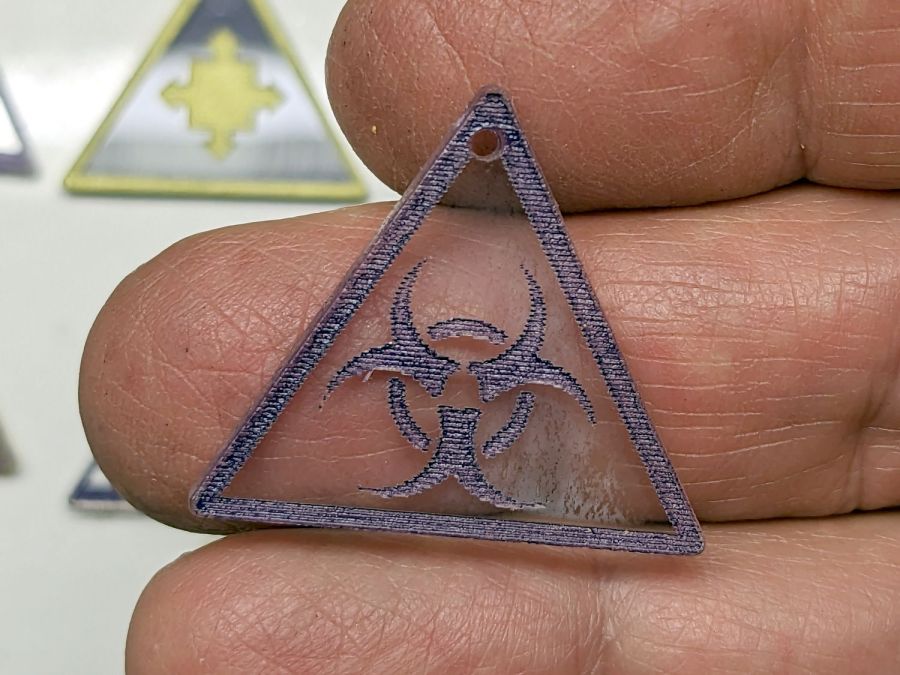
I think the purple-on-clear version would look better with edge-lit acrylic:
SCP Warning Labels – purple over clear
The 0.15 mm line spacing seems too coarse, but trying to get a perfectly flat engraved bottom seems futile.
A second coat of paint on the engraving would definitely boost the contrast.
If you were going to do this for real, you’d definitely recreate the images with vectors right from the start, using the original images as inspiration.
All in all, I like ’em, but there’s some improvement required before anybody else does!
Cutting or engraving patterns on earrings should go more smoothly with a fixture:
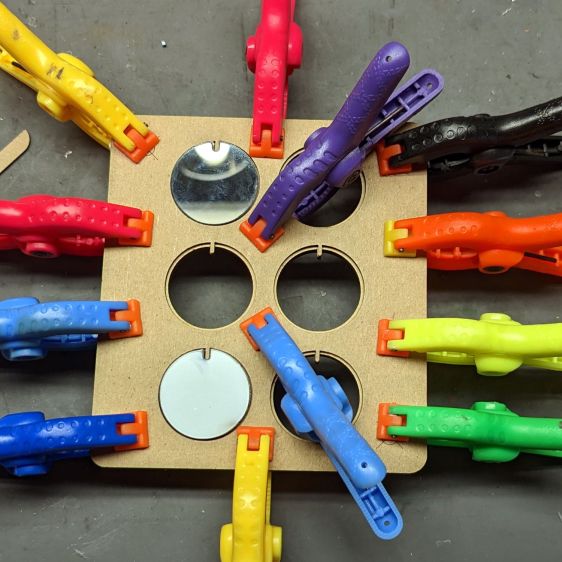
Earring fixture – demo install
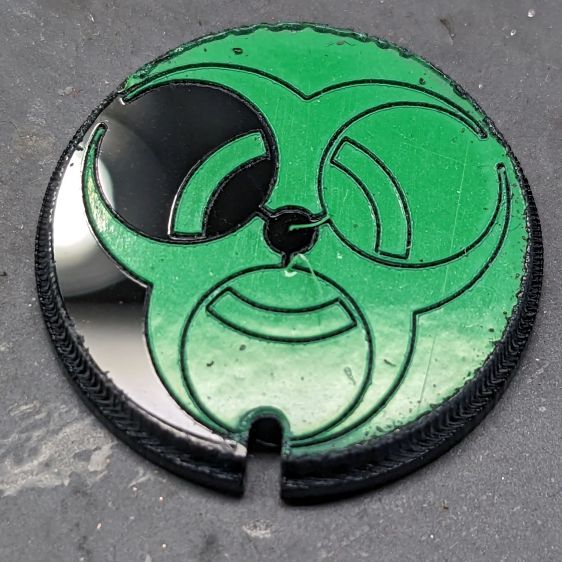
That’s a serving suggestion, using the Biohazard test pieces, which also helped align the top and bottom layers while gluing:
Earring fixture – clamping
That used all my little clamps: obviously I need more!
The bottom layer (red) is MDF for strength and the top layer (orange) is chipboard because that’s all it needs:
Earring fixture – LB layout
The little tab along the top ensures alignment using the jump ring cutout. The central hole will let me cut through the earring, should that be necessary.
The two strips over on the left get glued on the bottom, spaced to align along one of the aluminum knife blade rails, as with the craft stick fixture. With that lined up, any two of the four targets will serve to align the template with the fixture using LightBurn’s Print-and-Cut tool, as with the craft stick template.
That’s built directly from the original specs to get the spacing and symmetries correct. The freebies I could find all suffered from various degrees of bad design & layout.
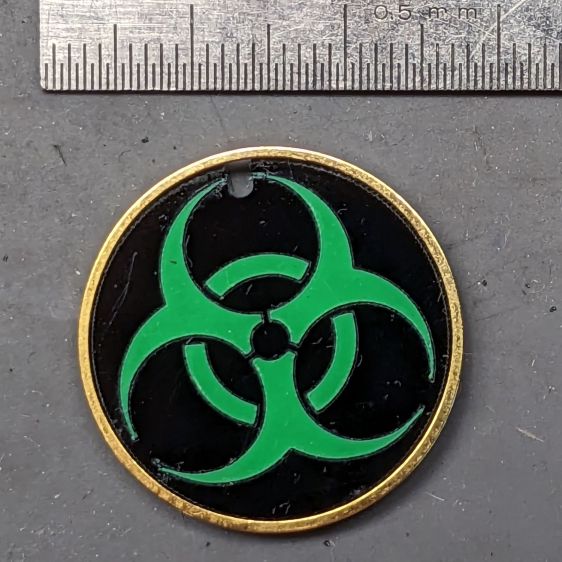
Shrunken down to 25 mm OD, the tips become vanishingly small:
Biohazard earring – vinyl sample
It’s the same laser-safe polyurethane vinyl as the SD card reader, this time applied to 3 mm black acrylic. The “gold” ring is just parked in place, as this one wasn’t presentation-quality.
Contrary to the usual transfer-tape method of applying PSA vinyl, I stuck the sheet to the acrylic before cutting, then weeded it directly off the acrylic:
Biohazard earring – vinyl weeding
Kiss-cutting the vinyl with dot mode ate into the acrylic, but the soon-to-be-weeded areas protected the surroundings and the result came out looking pretty good. To me, anyhow.
Flushed with success, I tried some almost certainly not laser safe glow-in-the-dark tape:
Biohazard earring – GITD weeding fail
The mess in the upper left is the tape’s double-sided adhesive intended to hold the glowy layer in place forever. Of course it weeded poorly!
Seen in its natural environment, however, weeding may not be necessary:
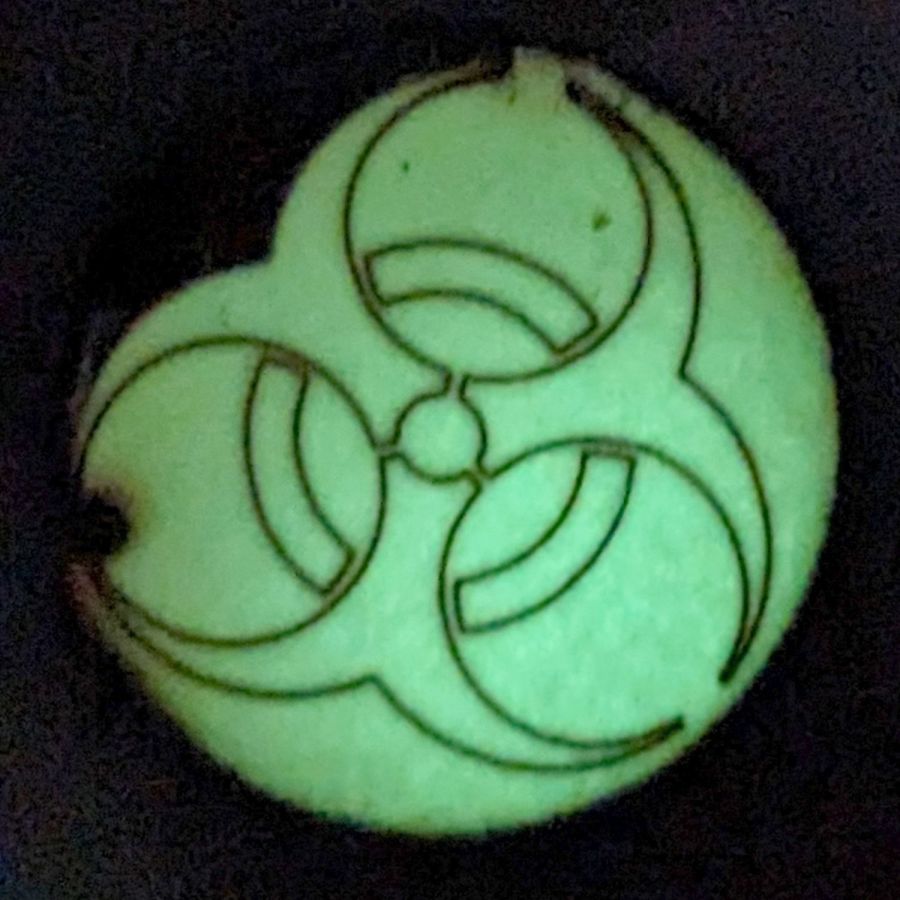
Biohazard earring – GITD tape glow
Engraving the rebated rim leaves quite a bit of debris & scorch marks around the perimeter. A mask layer atop the GITD tape seems like a Good Idea™.
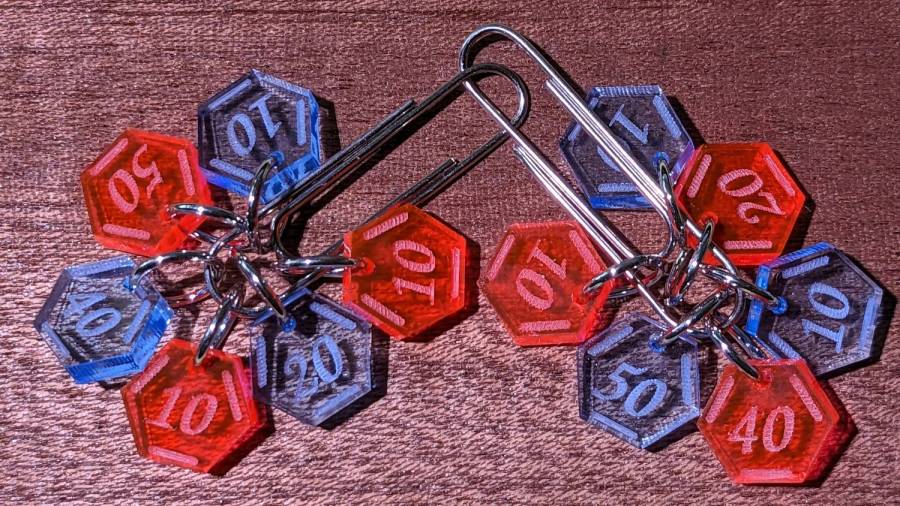
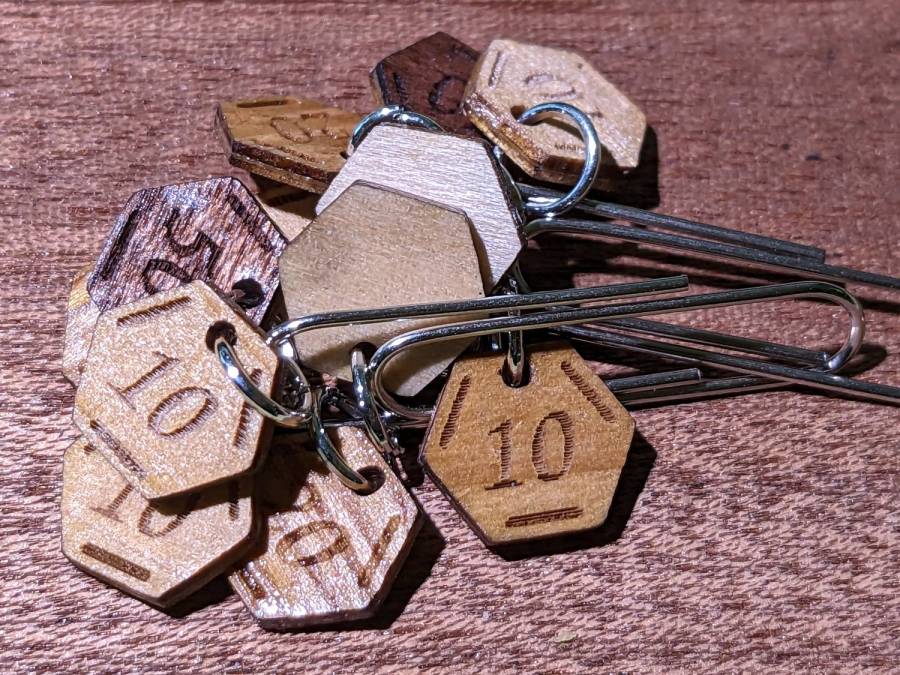
Our Young Engineer knits during rare moments of downtime and sketched an idea for stitch counters to mark progress between those moments. There being nothing like a new project to take one’s mind off all of one’s previous projects:
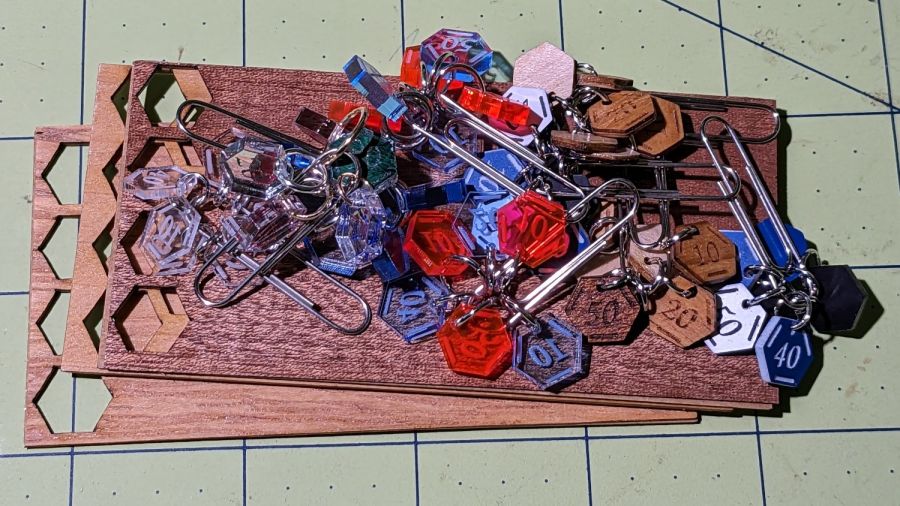
Stitch Counters – overview
These are more along the lines of feasibility / material tests than finished products, so you’ll see plenty of rough edges.
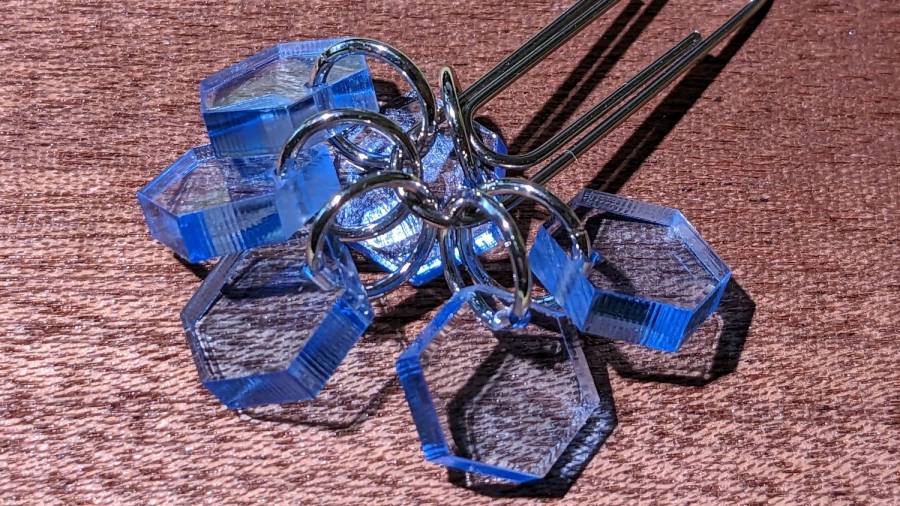
Prior to doing this, we agreed that 3 mm material was probably too thick, particularly given the small scale: the hexagons are 10 mm edge-to-edge with a 1.5 mm hole for the jump ring.
The jump rings are (mostly) 8 mm OD, which may or may not be the right diameter for all possible knitting needles.
The count sequence goes 10 20 10 40 50 10 with alternating colors:
Stitch Counters – red and blue
Those came from 3 mm red and blue transparent acrylic, looking entirely too much like candy. Cutting two identical layouts from two different materials, then swapping a few counters, gives me two related-but-different sets. This idea is also subject to revision.
I like the set of 3 mm acrylic mirror counters colored with Sharpie:
Stitch Counters – mirror
Alas, the unprotected mirror backing won’t survive long in the real world and Sharpie ink tends to stress-crack the acrylic. Bonding a thin colored sheet / gel filter to the back with an adhesive sheet in between would work, although I don’t look forward to the fiddly alignment. Bonus: sticky edges are a nonstarter in this application.
A setup error produced a set of unmarked counters that might still come in handy for something:
PXL_20230507_150124595 – Stitch Counters – blue blank
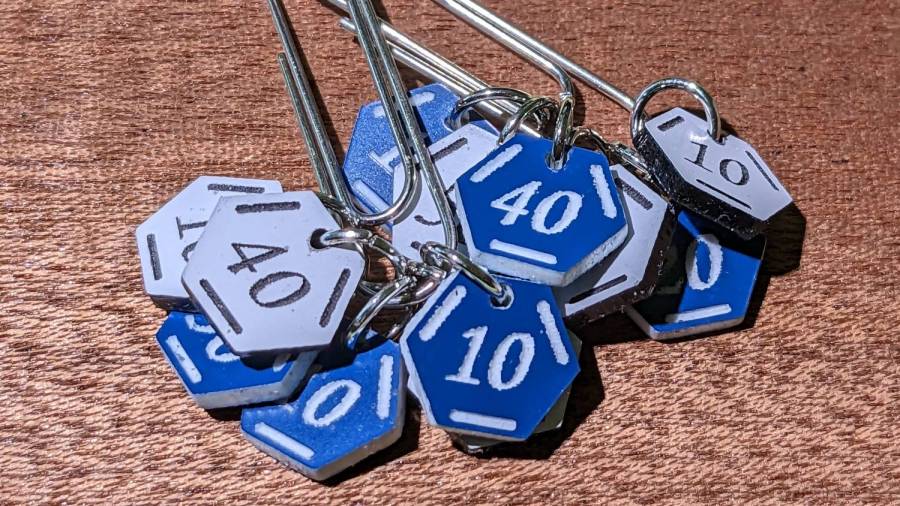
Trolase acrylic 1/16 inch = 1.5 mm sheets produce the most visible legends, in a relentlessly industrial sort of way:
Stitch Counters – Trolase
Those have a single thin layer atop a white or black base sheet, but three-layer 1.5 mm Trolase sheets with matching top and bottom colors (cladding on a white core) would look better.
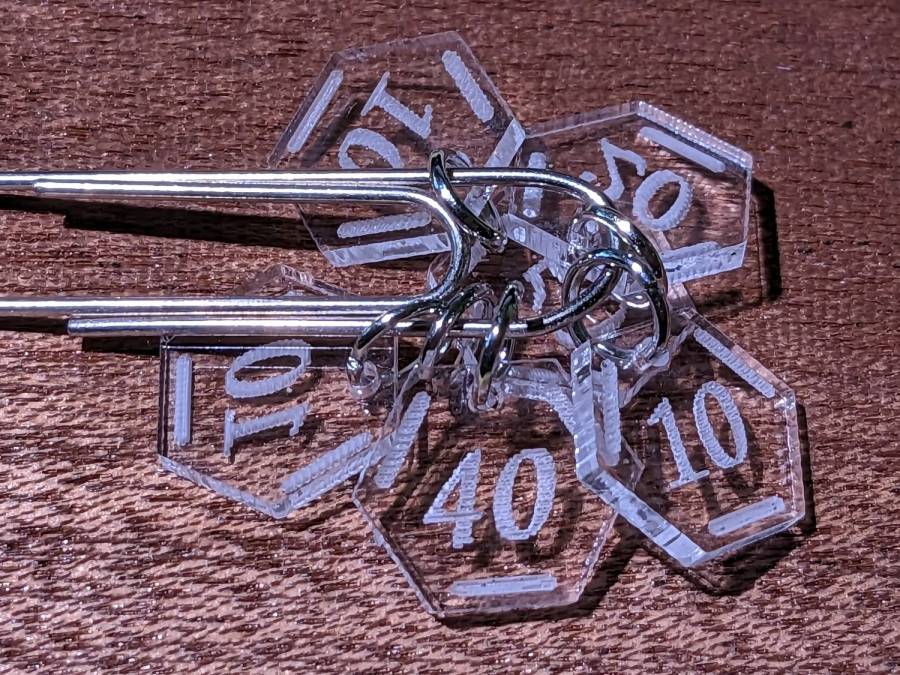
If you can’t decide on a color, go clear:
Stitch Counters – clear
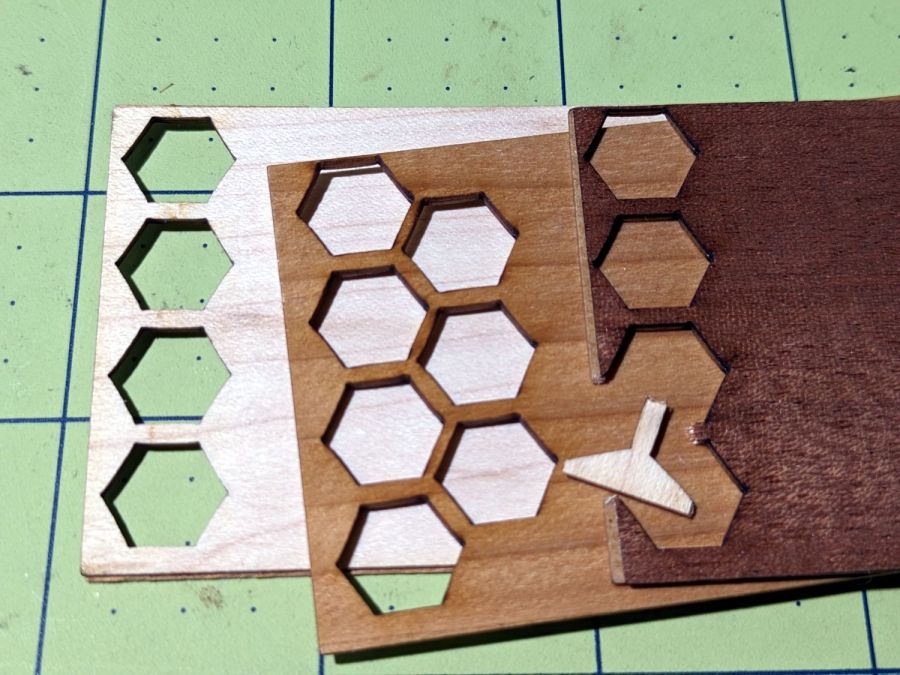
All of those appear on a background of some thin DIY plywood:
Stitch Counters – veneer plywood sheets
The bottom sheet is very pale veneer that came with a layer of genuine 3M 468 transfer tape with 200MP adhesive. I stuck three different veneers on three 100×50 mm rectangles of the stuff to make 1.5 mm thick “plywood”. The adhesive sheet provides lateral strength, not the wood fibers, so it’s not quite as easy to tear as the broken fragment would suggest.
The results look passable, although there’s room for improvement:
Stitch Counters – veneer plywood
After engraving & cutting, I slathered them with clear polyurethane finish and hung them up to dry:
Stitch Counters – wood finish curing
I like the effect, but using the pale veneer for the bottom layer made them look identical from that side. Worse, two of the three top layer veneers had nearly identical colors (one has more grain) after the finish cured.
More thought seems in order, but at least I’ve explored some of the solution space.