Our Young Engineer knits during rare moments of downtime and sketched an idea for stitch counters to mark progress between those moments. There being nothing like a new project to take one’s mind off all of one’s previous projects:
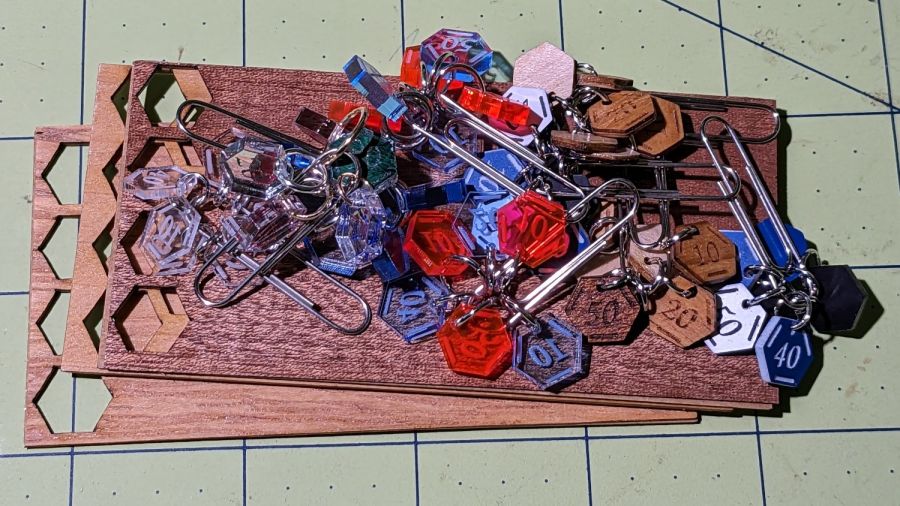
These are more along the lines of feasibility / material tests than finished products, so you’ll see plenty of rough edges.
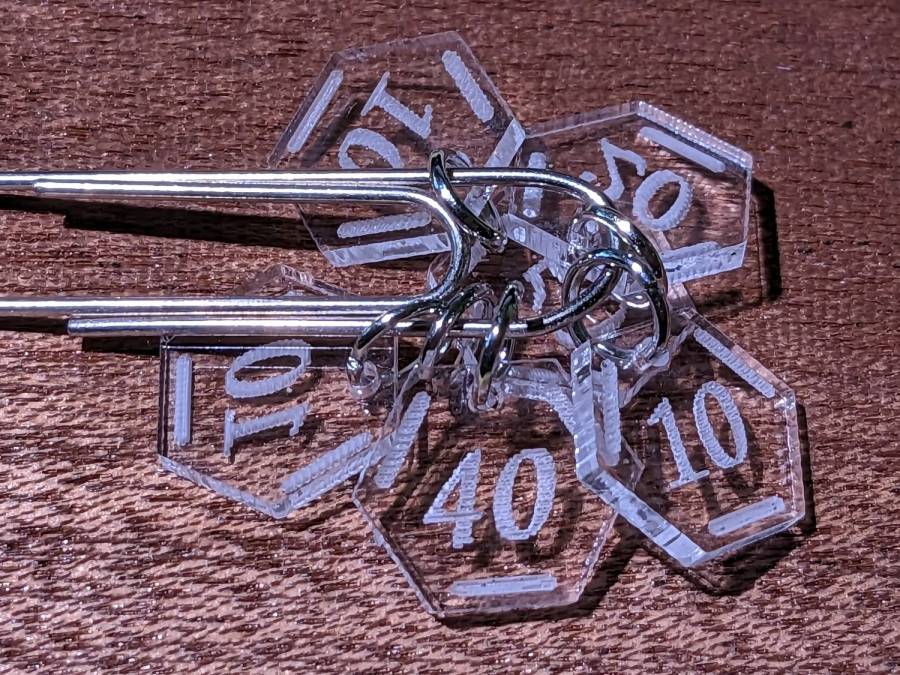
Prior to doing this, we agreed that 3 mm material was probably too thick, particularly given the small scale: the hexagons are 10 mm edge-to-edge with a 1.5 mm hole for the jump ring.
The jump rings are (mostly) 8 mm OD, which may or may not be the right diameter for all possible knitting needles.
The count sequence goes 10 20 10 40 50 10 with alternating colors:
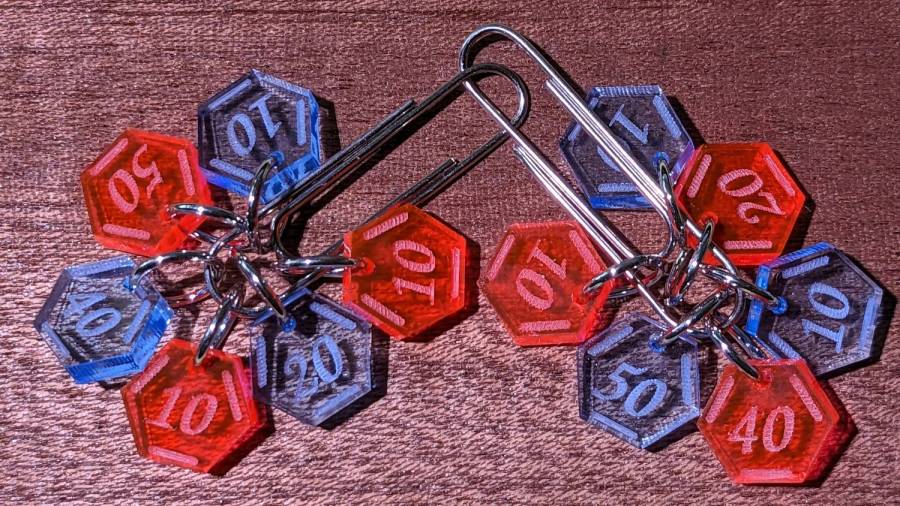
Those came from 3 mm red and blue transparent acrylic, looking entirely too much like candy. Cutting two identical layouts from two different materials, then swapping a few counters, gives me two related-but-different sets. This idea is also subject to revision.
I like the set of 3 mm acrylic mirror counters colored with Sharpie:

Alas, the unprotected mirror backing won’t survive long in the real world and Sharpie ink tends to stress-crack the acrylic. Bonding a thin colored sheet / gel filter to the back with an adhesive sheet in between would work, although I don’t look forward to the fiddly alignment. Bonus: sticky edges are a nonstarter in this application.
A setup error produced a set of unmarked counters that might still come in handy for something:
Trolase acrylic 1/16 inch = 1.5 mm sheets produce the most visible legends, in a relentlessly industrial sort of way:
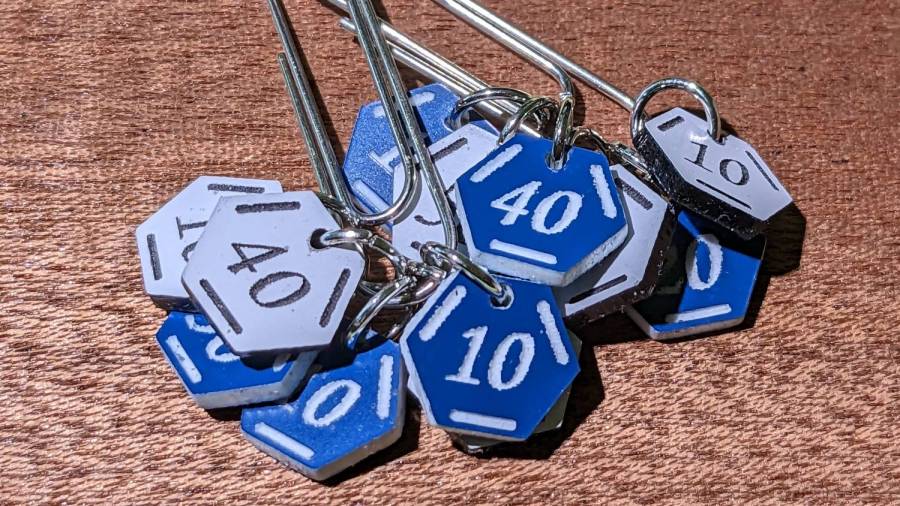
Those have a single thin layer atop a white or black base sheet, but three-layer 1.5 mm Trolase sheets with matching top and bottom colors (cladding on a white core) would look better.
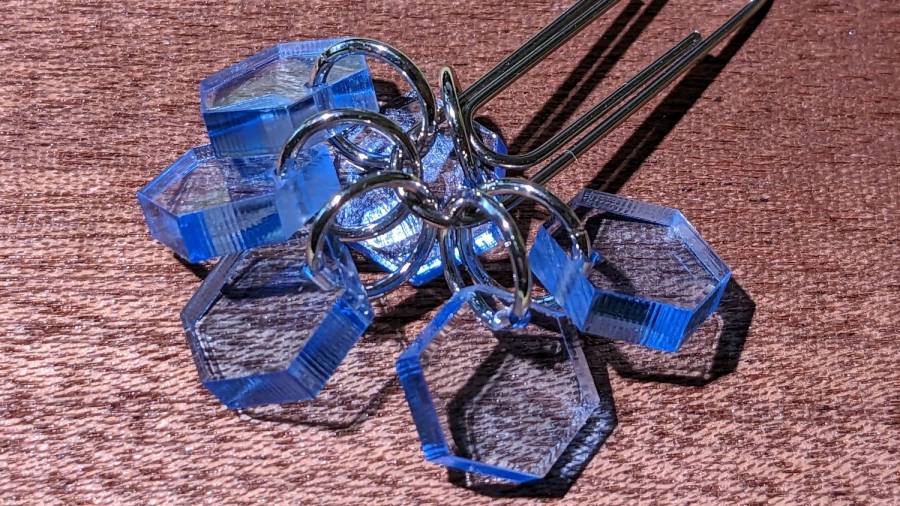
If you can’t decide on a color, go clear:
All of those appear on a background of some thin DIY plywood:
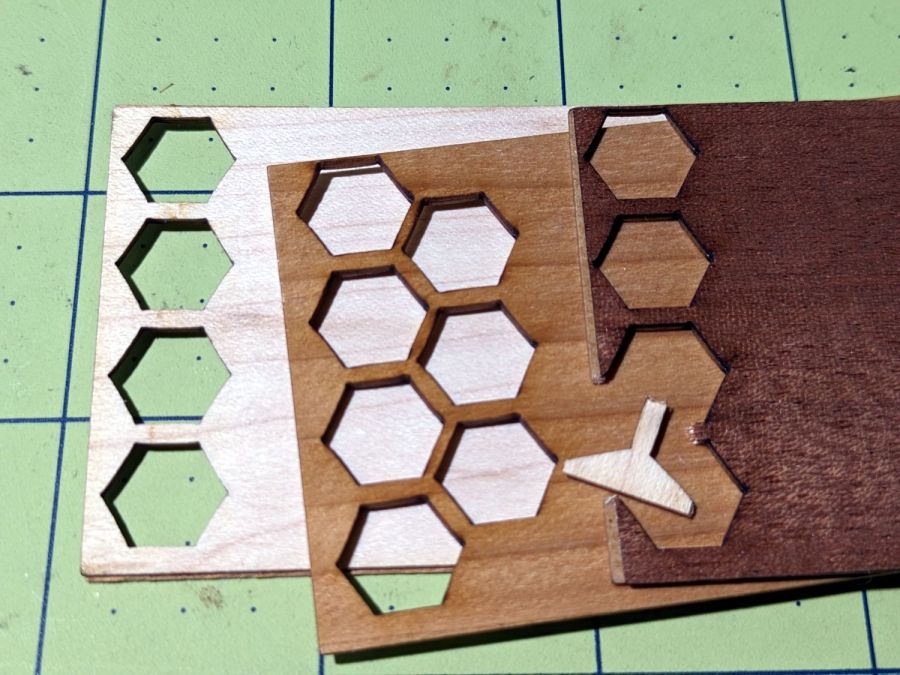
The bottom sheet is very pale veneer that came with a layer of genuine 3M 468 transfer tape with 200MP adhesive. I stuck three different veneers on three 100×50 mm rectangles of the stuff to make 1.5 mm thick “plywood”. The adhesive sheet provides lateral strength, not the wood fibers, so it’s not quite as easy to tear as the broken fragment would suggest.
The results look passable, although there’s room for improvement:
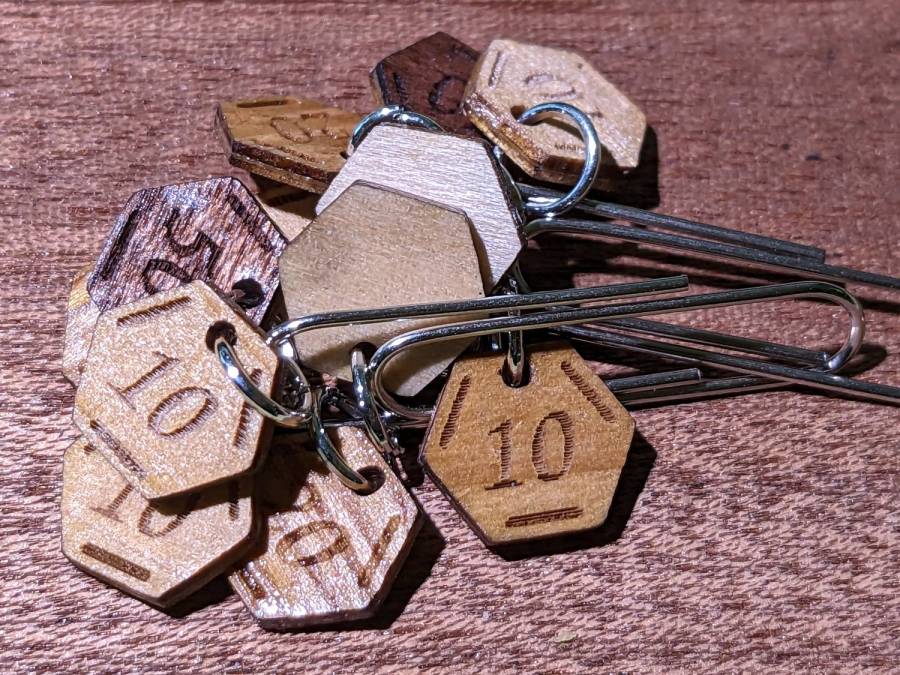
After engraving & cutting, I slathered them with clear polyurethane finish and hung them up to dry:

I like the effect, but using the pale veneer for the bottom layer made them look identical from that side. Worse, two of the three top layer veneers had nearly identical colors (one has more grain) after the finish cured.
More thought seems in order, but at least I’ve explored some of the solution space.

Comments
3 responses to “Knitting Stitch Counters: Material Tests”
I suppose if it’s not part of the solution space it must be part of the precipitate space…
Well played, Sir!
[…] They’re slightly smaller and much lighter than the plastic versions in order to fit them on the remaining DIY veneer plywood from the knitting stitch counters. […]