
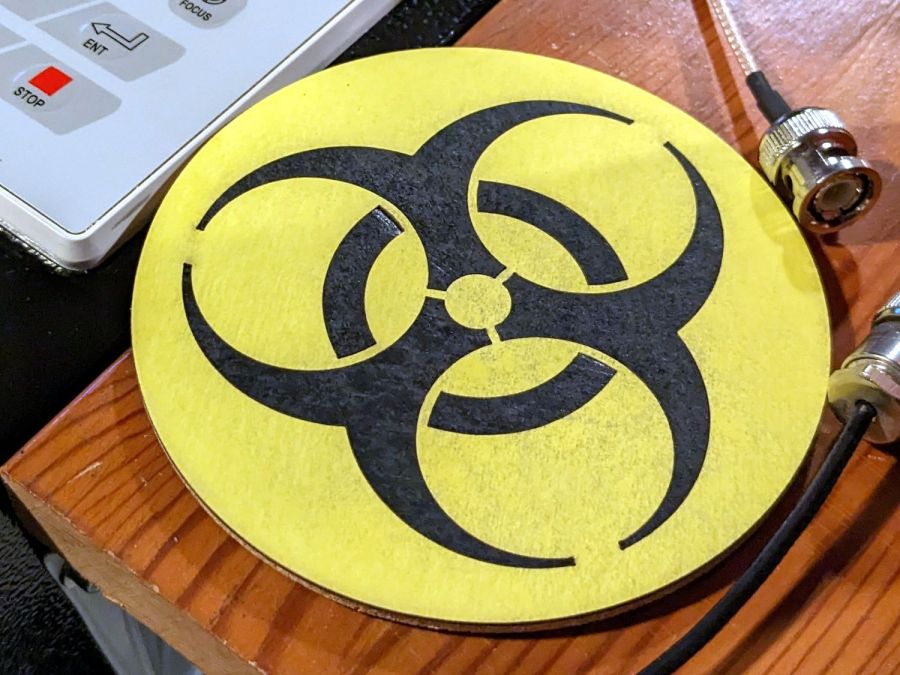
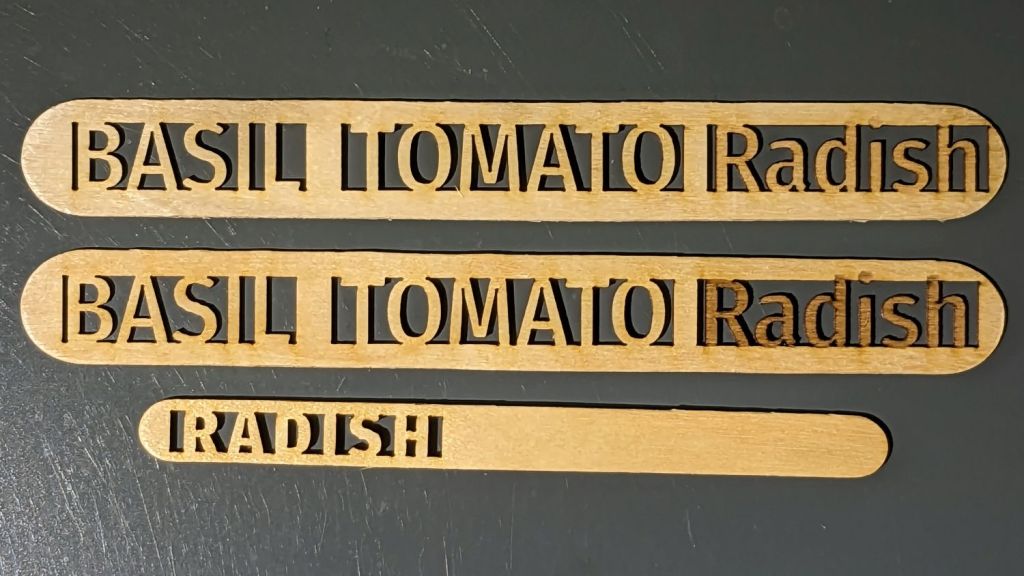
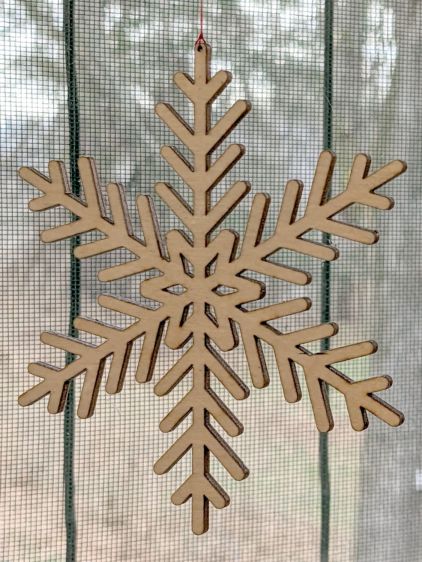
More desk clearing revealed a sketch for another trinket:

That’s built directly from the original specs to get the spacing and symmetries correct. The freebies I could find all suffered from various degrees of bad design & layout.
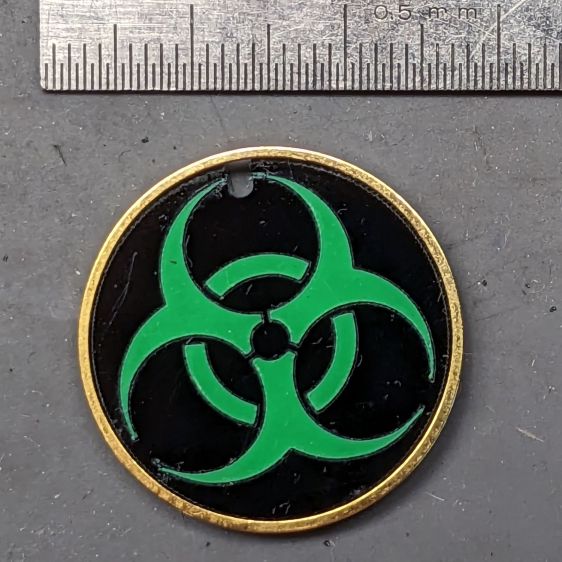
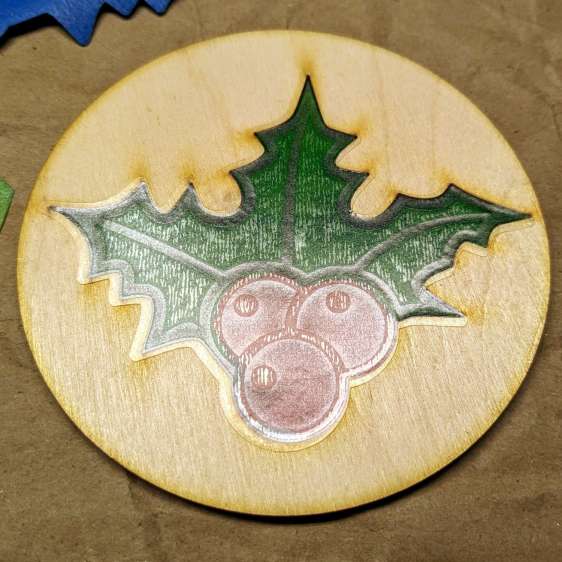
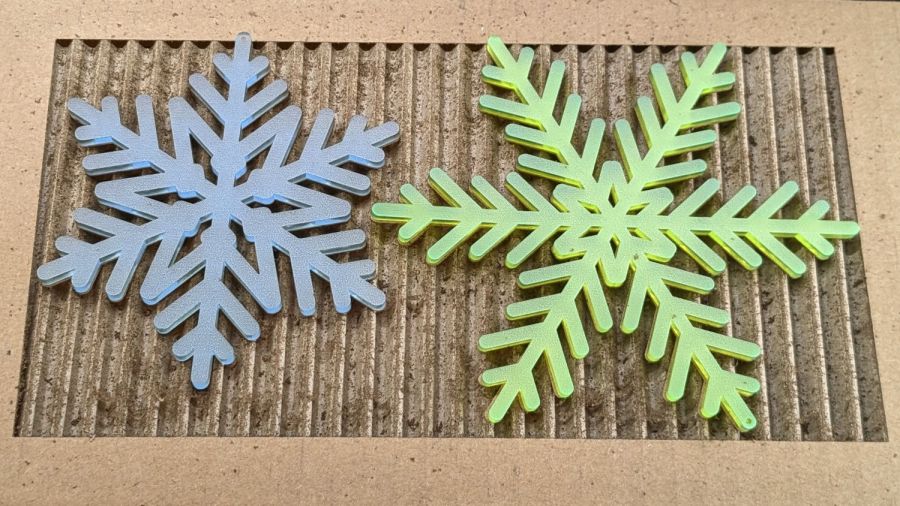
A chipboard coaster provided some reassurance:
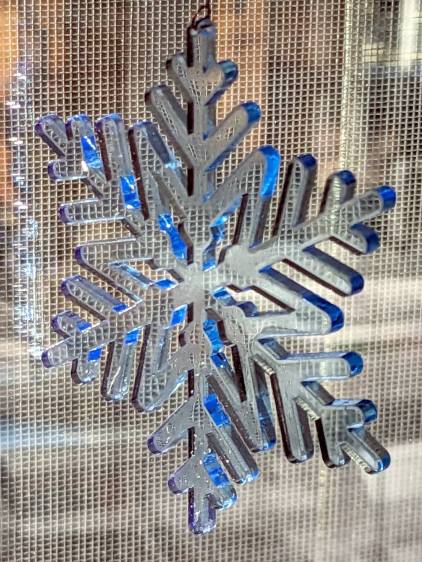
Shrunken down to 25 mm OD, the tips become vanishingly small:
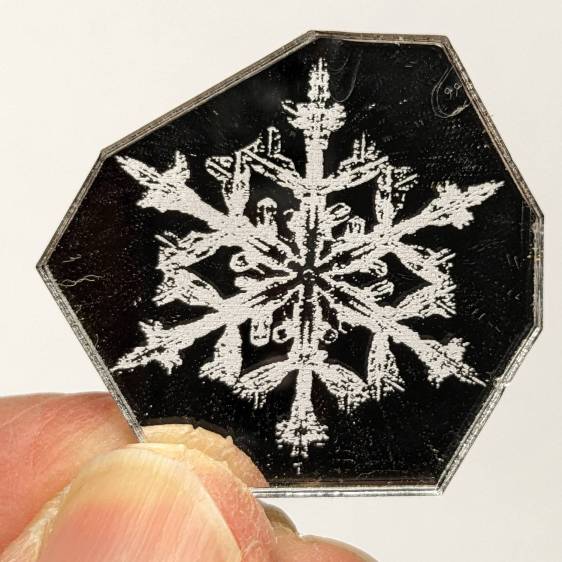
It’s the same laser-safe polyurethane vinyl as the SD card reader, this time applied to 3 mm black acrylic. The “gold” ring is just parked in place, as this one wasn’t presentation-quality.
Contrary to the usual transfer-tape method of applying PSA vinyl, I stuck the sheet to the acrylic before cutting, then weeded it directly off the acrylic:
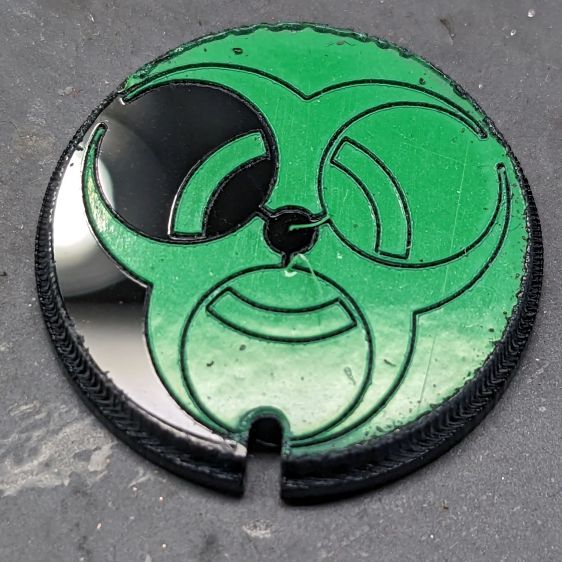
Kiss-cutting the vinyl with dot mode ate into the acrylic, but the soon-to-be-weeded areas protected the surroundings and the result came out looking pretty good. To me, anyhow.
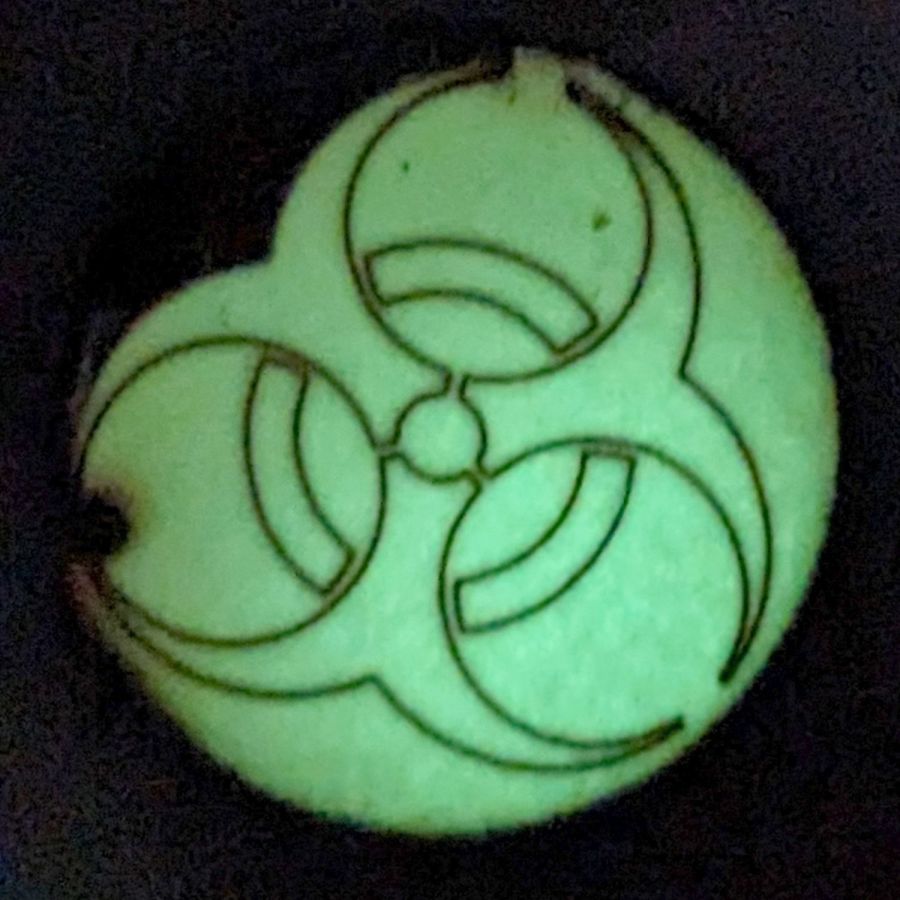
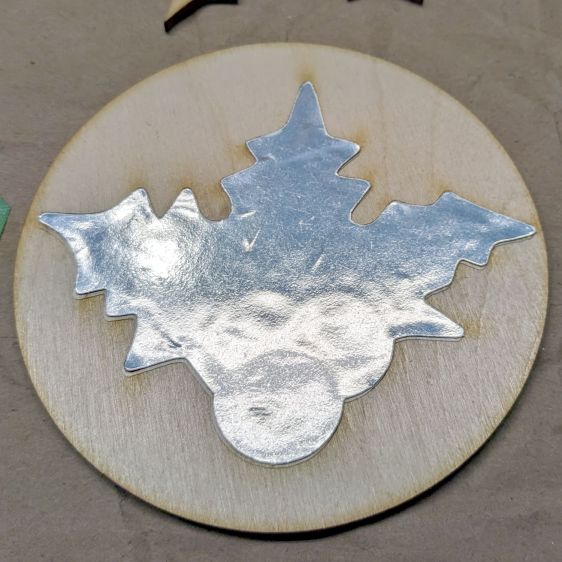
Flushed with success, I tried some almost certainly not laser safe glow-in-the-dark tape:

The mess in the upper left is the tape’s double-sided adhesive intended to hold the glowy layer in place forever. Of course it weeded poorly!
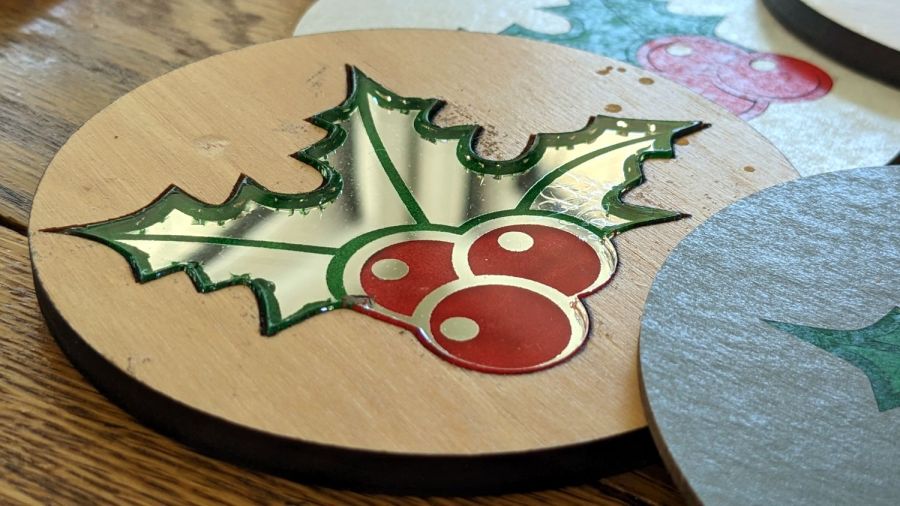
Seen in its natural environment, however, weeding may not be necessary:
Engraving the rebated rim leaves quite a bit of debris & scorch marks around the perimeter. A mask layer atop the GITD tape seems like a Good Idea™.
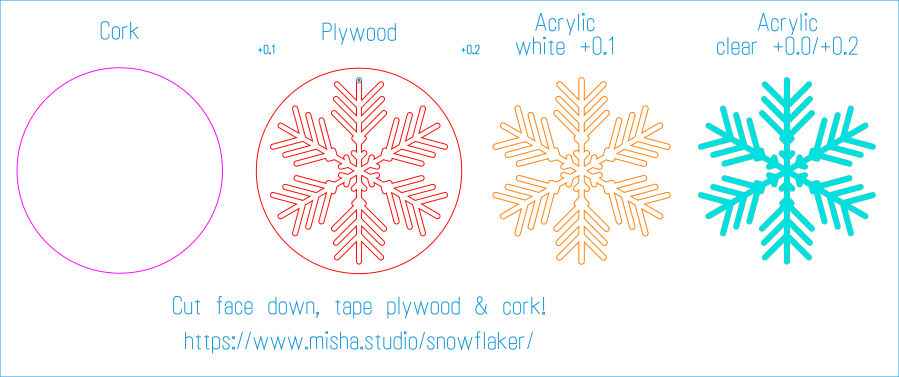
The LightBurn SVG layout as a GitHub Gist:


